

So it’s been a while since my last post. It’s not that I haven’t been doing things worth writing about. It’s that I’ve been so busy creating that I just haven’t had the time or inspiration to write when all of my creative juices have been flowing into the actual creating! This past month the creating has included cake decorating!
A month of birthdays
All of three of the girls in our family were born in the spring, and all within about a month’s span (mid-April to mid-May). So that means it’s been a cake month! Thankfully I didn’t have to make my own cake. My wonderful mama made a delicious carrot cake for my birthday. And though chocolate is usually my favorite, I’m all chocolated out after two giant chocolate cakes and cupcakes for my girl’s birthdays. (Because they apparently have inherited my family’s love for all things chocolate–thanks Mom 🙂 .)
We seriously have been eating cake for the past month!
Cutting my work out for myself
Esther’s cake was complicated enough, and included 2 batches of chocolate cake, a batch of homemade marshmallow, and a batch of construction gingerbread! I was very happy with how it all came together because I had no idea if the gingerbread would hold up, or how the tree in my head would translate into cookie and marshmallow. But, it worked out better than I had hoped, and not too bad for my first time with construction gingerbread (it also tasted amazing!).

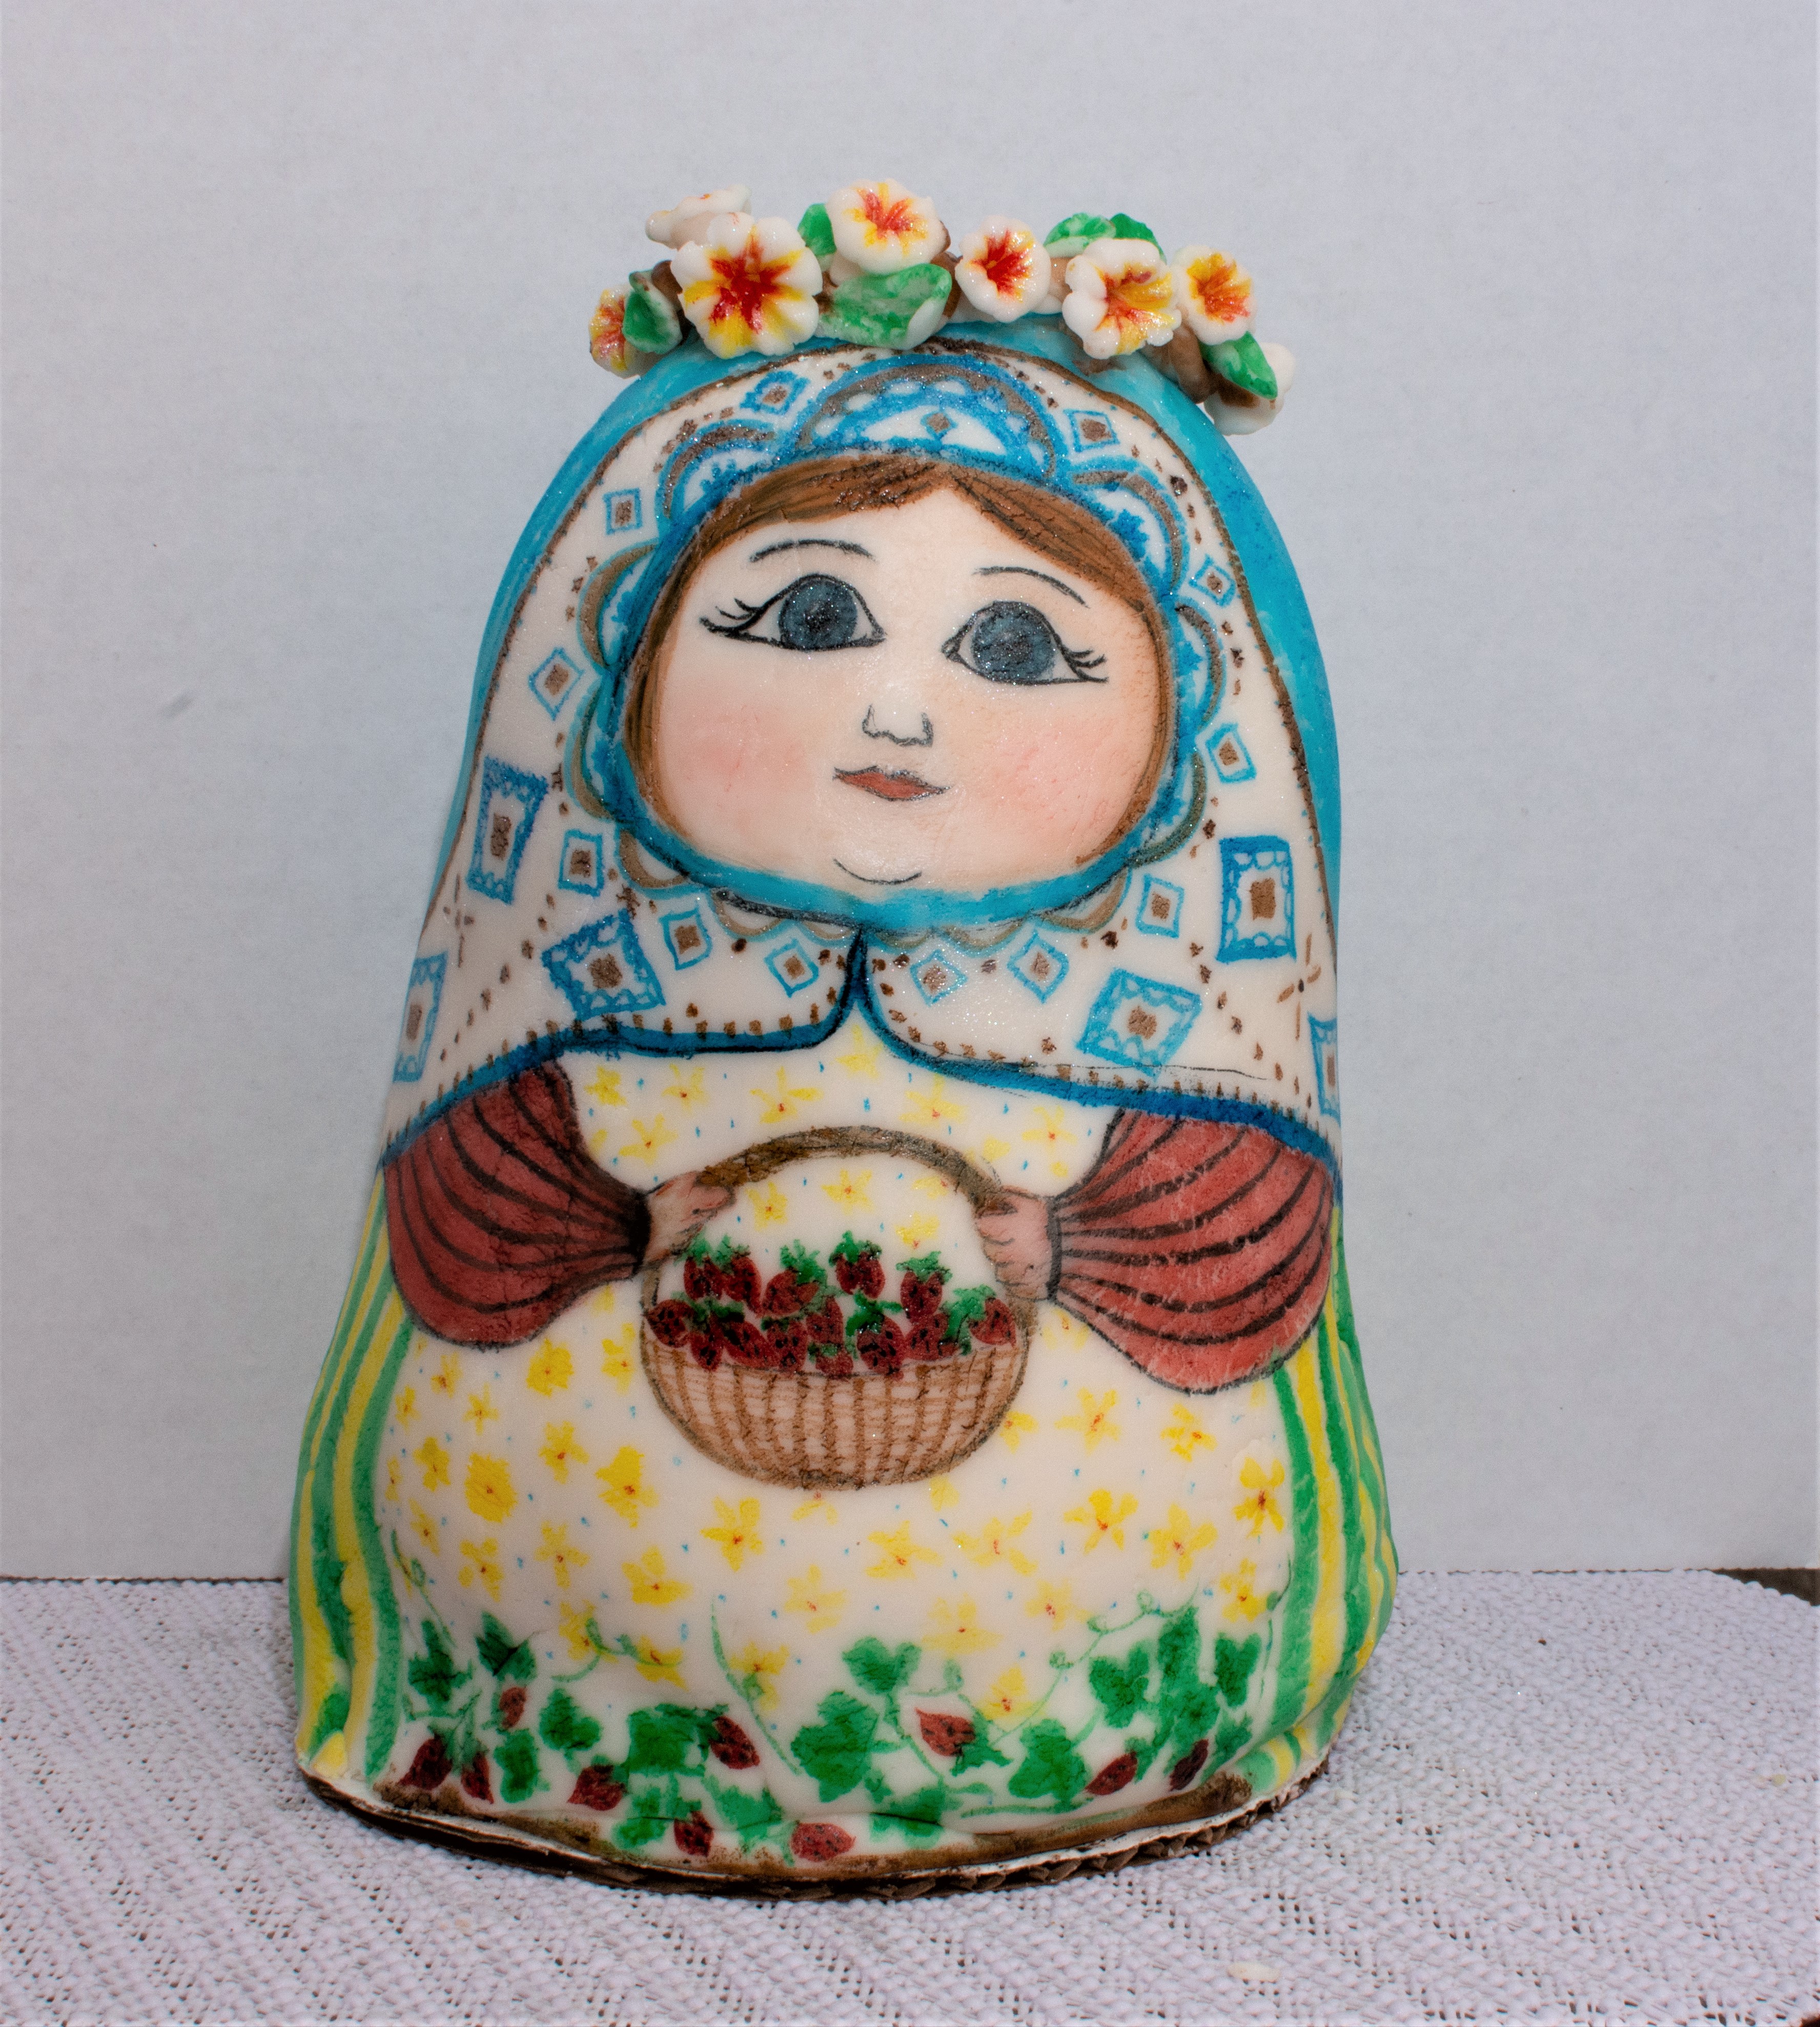
But Ella’s cake was my “May Masterpiece” which saw me working with three mediums and techniques I’d never done before: sculpting rice crispy treats, working with fondant, and painting on fondant. I am pretty thrilled with the results and though I don’t usually have a hard time cutting into the cakes that I make, this one was incredibly difficult to cut. The way she looked at me, it just felt like I was cutting up a friend. As it was, I had to cut into the back first, and then peel the front fondant off the cake in one piece so that I didn’t cut into her face. 🙂 Michael had to do the final disposal when the cake was gone because I just couldn’t bear to throw her empty fondant shell away myself.
But this post is about Esther’s cake.
“Pooh Sticks”
Apparently it is a two-year-old thing to be in love with Winnie-the-Pooh. Ella also went through that phase, and for her cake two years ago I bought some little plastic figurines that played around the sides of her cake.


So when it became evident that Esther’s favorite character is also Winnie-the-Pooh, I decided to reuse the little figurines, but with a different theme. This time, the characters would be standing on a bridge playing “Pooh Sticks”. The cake decorating kit that I had bought two years ago with the figurines also included a bridge and a little plastic tree (which I found out are no longer included in this set when I searched for it). I liked the idea of a tree since it was supposed to be The Hundred Acre Wood, but that tree was just pathetic!
After brainstorming with the amazing and encouraging, Lorna Tyrrell from Displays of Confection, I decided that I would make my own tree using construction gingerbread for a trunk and marshmallow coiled up for the green foliage. Well, working on a cake while taking care of two little girls is not easy–too many little fingers getting into things and “helping”. So I was glad that I spaced it all out and gave myself a day for making the marshmallow, a day for making the gingerbread, and a day for baking the cakes. Even so, this night owl lived up to that title for about a week before the birthday party.
Gingerbread day
I made a template for the tree trunk out of paper and laid it on top of the dough to trace it and cut out the gingerbread tree trunks. They were notched, one at the top and one at the bottom, so that they would fit together to stand up. The batch was HUGE and I ended up making three sets of tree trunks in addition to twigs, bush trunks, and stumps.


By the time I had finished the tree trunks it was already pretty late at night. I just stood there in the kitchen looking at all the dough I still had–trying to think of a way to use it. I decided to make extra bushes and stumps because I didn’t know what I might need them for. Boy was I glad that I did! They became an essential part of the marshmallow ball making process. I glued the gingerbread together with royal icing that I had tinted brown by adding cocoa powder. They were some pretty strong structures.

The tree trunk still standing a week later. 
Marshmallow day
On marshmallow day I made up a batch of vanilla flavored marshmallow and then tinted it green. Using a large piping bag, I piped the marshmallow into long lines onto cookie sheets that were covered in green sugar. Then I covered the tops of the long marshmallow ropes with more green sugar and left them to dry overnight. I had used up all the green sugar I had, but I still had lots of marshmallow left. So, I decided to make leaves and circle blobs. I covered the leaves with yellow sugar, and the blobs in cocoa powder. Little did I know just how useful these random marshmallow blobs would be!
Cake day
The cake was two batches of chocolate cake from scratch, with chocolate ganache and fresh raspberries sandwiched in between. After filling it I wrapped it well in plastic and froze the whole cake so that it would stay together and not get smushed during transport (we had to take the whole thing with us up to grandparents in Western NY–6 hours away). I made the icing on premises and did all the final decorating in NY. Boy was I glad that I’d done all that prep ahead of time!
Happy Bumbles

When it came time to assemble the tree and make the big marshmallow coils, I realized that I needed something to coil the marshmallow ropes around in order for them to have shape and structure. So I used some of those extra bush trunks as the base, and bulked up the inside of the marshmallow balls with the extra leaves. This was in an effort to save all the green sugar rope for the outside of the marshmallow balls-where it would be seen. So making all those extras paid off! Happy bumble number 1.
Happy bumble number 2 was when I realized that the blobs of marshmallow that I had covered in cocoa powder looked like rocks–rocks that were perfect for this cake! So with scissors I cut each circle blob into two slightly uneven pieces. Then I stuck them around the outside of the cake to look like different sized boulders. I also placed a few around the “waterfall” to be the rocks at the bottom. The effect worked! I was happily surprised.
Creating convincing water
The water was clear piping gel over blue icing. I spread blue icing on the bottom of the river bed, water fall, and the pool at the bottom. Then I made up some vanilla flavored piping gel. While the piping gel was cooling in the fridge/freezer (I am impatient) I thought I’d use my time wisely and get started on the forest floor.
I sprinkled some green sugar and cocoa powder onto the white buttercream, and though most of it stayed on top, some of it slid down into the river and the pool at the bottom. This was frustrating to me. But, happy bumble number 3, when I finally got the piping gel into the river bed and down into the pool, the green sugar started to bleed into the gel around the edges where it had fallen, and the effect was to make it look much more realistic than it otherwise would have looked! I mean, who has ever seen a river and waterfall pool that is crystal clear with no muck around the edges?
I was happy to discover that I could make a rapids effect by squeezing white icing into the gel with a bit of a wiggle. And, dragging my small spatula through it vertically made it look like moving water! Another happy bumble? I really just stumble and bumble my way into these cakes. Which is why it is so thrilling! I don’t even know what it will be like when it is done. The process is so exciting and unpredictable!
Stay put you!
After gluing the Winnie-the-Pooh characters to the bridge with royal icing so they wouldn’t keep sliding off, I was able to place the whole bridge on the cake and glue owl to a stump. I also used the royal icing to glue gingerbread sticks together to form letters. I carefully placed the letters on top of the pool at the bottom of the falls so that the “Pooh Sticks” that were being dropped into the water looked like they were floating down the river, over the falls, and forming the words “Happy Birthday Esther”.


After adding some grass with my grass piping tip, and some little flowers, the cake was ready for the giant tree. I didn’t want the weight of the tree to compress the cake. So, I cut a few dowels and gave a small cake board some support to keep the tree from squishing the cake.

The big brownish black spot is the cake board covered in piping gel and cocoa powder so it would blend in and the tree would stick.
Happy Birthday to You!
And so, many happy bumbles later, I was pleased to present my creation to my two year old. The details of the cake may have been lost on her, but the theme did not disappoint. She was very excited about her “Pooh cake” (not to be confused with “poo cake”) and couldn’t wait to eat it! A success! Happy birthday sweet girl!


3 thoughts on “Let Them Eat Cake!”
Wow wow wow!
What a special treat for a happy girl. So glad you have these photos so she can remember it always. A great gift.