

As you know, I love to create things–hence “A night owl’s creations”–and Christmas time is no exception. I love to take ideas for things and do my own DIY spin on them. And though it is a lot easier to just buy gifts, it’s also really fun to be able to make them and add that personal touch. I’d like to share with you a couple gifts that I’m working on for Christmas this year and maybe inspire you to give it a try for someone you love.
Here’s a sneak peak at the line-up in case an idea catches your eye and you want to jump right to it:
- Crochet Edged Blanket
- Charlotte’s Web Pillowcase
- Fleece Blankie
- Bling for a 3-year-old
- Home Made Playdough
Crochet Edged Gamer Blanket
The fleece
The first project that I want to share with you is a simple fleece blanket. It is a Christmas present for my dear hubby who loves to game on his computer in the frigid corner of our living room. Well to be honest he spends his whole day on weekdays in that corner because he works from home. His corner desk is by the big sliding glass door where it seems to be freezing all the time (except in the summer). He has a fuzzy brown blanket that is frequently found wrapped around him with a cat snuggled on it or even in it, on his lap, but it’s getting a bit worn and pilled, and when I found this material at Joann Fabrics I just HAD to get it!
How to edge it?
I bought 2 1/2 yards when it was half off and thought I might do just a simple hem all around it, but at 58 inches wide off the bolt I didn’t want to lose any width by hemming it. I also didn’t really want to use a silky blanket binding because I didn’t really think that it would match the style I was going for. So I thought to myself, “I wonder what it would look like if I crocheted an edging around it? It would add some extra width and then I could also add some more color that would tie into the blanket colors and also look really cool!”
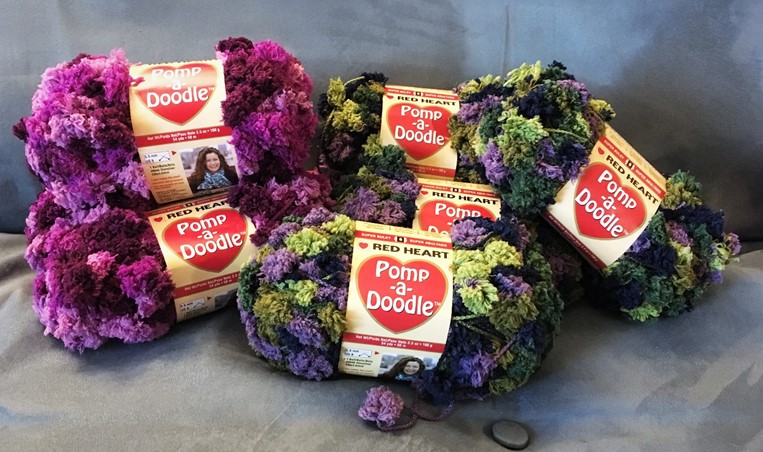
Raiding My Yarn Stash (And Buying More)
So I dug through my yarn stash for yarn that would match and found a nice yellow, and a black. I also found a red, but it was the coarser RedHeart Super Saver yarn, and I wanted something a little bit softer. It also wasn’t quite the right color. So, to the store I went, to buy yet more yarn. I found some nice Red Heart With Love yarn, color “Holly Berry”, and I also found an awesome ombre orange yarn by Caron Simply Soft called “Gold Ombre” that looked super cool. So I decided to use a combination of the yellow, red, orange and black for the blanket edging.
Starting The Crochet Boarder
I have this teeny tiny crochet hook that was given to me by Michael’s grandmother that I believe was used for crocheting lace. The top of the hook is a little bit tapered, and it is so small that it can pierce fleece with some force. So, with a little bit of practice I found it fairly easy to crochet through the fleece all around the edge. And, once I’d gone all around once, I was able to crochet into the first row and build it up from there.

The Pattern I Made
After I built it up to 3 rows of yellow (counting the first row in the fleece), I switched to red and did a chain 2 and then crocheted down the side to overlap the second row with a single crochet into the top of the first row. After another chain 2 I skipped 2 more stitches and repeated the dive into the first row. I continued this all around the blanket. When I switched to orange, I had to chain 3 in between each “dive” because the Caron Simply Soft yarn has a smaller diameter than the Red Heart With Love yarn and a chain 2 was too short. For the orange row I made the “dive” with a single crochet into the top of the second row, and one stitch to the right of the red one. When it came time to switch to black I chained 3 in between each “dive”, just like with the orange, and single crocheted into the top of the third row to the right of the orange “dive”. After that last row was done, I went around one more time in black doing a single crochet in the top of the black “dives” and 2 single crochets over the black chain in between.

I think it looks awesome! And it is an easy way to spruce up a chunk of fleece and really turn 2 1/2 yards from fabric into a blanket. Aaaand if you have a lot of yarn laying around that happens to match a piece of fleece, then you don’t even need to buy anything extra. Win!
Charlotte’s Web Pillowcase
The second project that I’d like to share is a simple pillowcase that I made for Ella.
Why Charlotte’s Web?
I had bought this super cute cotton material because I just couldn’t pass it up, especially since we had just finished reading Charlotte’s Web. I had thought that maybe I would make a little book tote for Ella for a Christmas present. Well, after I looked down the list of presents that I already had for her, I realized that I did not need to make her anything else!
But her hair has been getting really snarled in the back recently, and I think that maybe it is because she likes to sleep with her head on a fleece blanket. I think maybe the little pills are catching her hair as she moves at night and tangling it. So I showed her the material and asked if she would like a pillowcase. She was ever so excited at the multitude of “Wilburs” all over the material and loved the idea of a little pillowcase to cover the little pillow that Grandma had made her.
Simple Measuring
I laid the pillow on top of the material to judge how big I should cut it while considering seam allowances. (Ella was not happy that I had covered up her Wilburs.) I cut the fabric to the right width and pinned down the selvage edge to make the typical wide hem on the pillowcase, about 3 inches. I didn’t cut off the selvage because I wanted the selvage to work for me as an anti-raveling strategy, and I couldn’t see any discoloration from the logo through the fabric, so it didn’t bother me.

Eyeballing it 
Hem at opening pinned 
Sides pinned
Yay Craft Night!
I waited till I had a craft night planned with my friend, and we sat and chatted while she crocheted and I hand stitched the little pillowcase. I first stitched the wide cuffs, and then, folded it in half with right sides together and stitched the sides up. My hand stitching is a little bit wobbly, but it came out surprisingly well. After washing, it went on the pillow that is now on Ella’s bed. She still likes to sleep with her fleece “elephant blankie”, but now she puts her head on her “Wilbur pillow” and snuggles with her blankie next to her cheek.

Hand stitched 
Yay pillow case!
Oh and the lack of a “Charlotte” doesn’t seem to bother her. She explains that away by saying that this is after Charlotte died. ?!?!?
It did turn out really cute, and would be a great, simple, and easy Christmas gift, especially if you just machine sewed it!
Fleece Blankie for Cousin
Another project in cue is a fleece blanket for Ella’s cousin. We do a name draw in our family at Christmas time and Ella has her cousin who would like a blanket for her bed. Now, Ella absolutely LOVES her fleece blanket that I made for her, so I thought that it would be really fun to have Ella pick out some awesome fleece and then “help” me make a blanket just like her “kitty blanket”.
Picking out the Fabric
So, we went to the store, just the two of us, and looked at ALL the fleece. It’s really funny how fleeces might all be labelled the same, like “anti-pill”, but will have a different feel to them. Some are soft and snugly, while others have a strange almost squeaky feeling to them. Well we found some soft snugly fleece with these super cute llamas on it (or are they alpacas?) and bought satin blanket binding to match. For 2 1/2 yards of fleece we bought 2 packages of the blanket binding that were 4 3/4 yards a-piece.

Adding the Binding
This is a really simple project. You just lay out the piece of fleece you want to bind with the right side up, and then spread the binding around the edge with the slightly wider side on the underside. Then you sandwich the fleece with the binding and pin it all the way around. If you want to do mitered corners you can, or you can just square them off. I like to fiddle with the mitered corners because I like the way they look.


My helper handed me the pins 
Then you just stitch all the way around from the top-side, with the widest zig-zag stitch and a fairly short stitch length, like a 1.5 or so. I like to keep the top of the binding in the center of my presser foot, so that the bottom of the binding, which sticks out just a little bit farther than the top, will be caught with the left side of the zig-zag, but missed with the right side so that it doesn’t have a rough edge on the underside of the blanket.


Once you’ve gone all around it’s done! Viola! A beautiful, snugly, cute blankie!
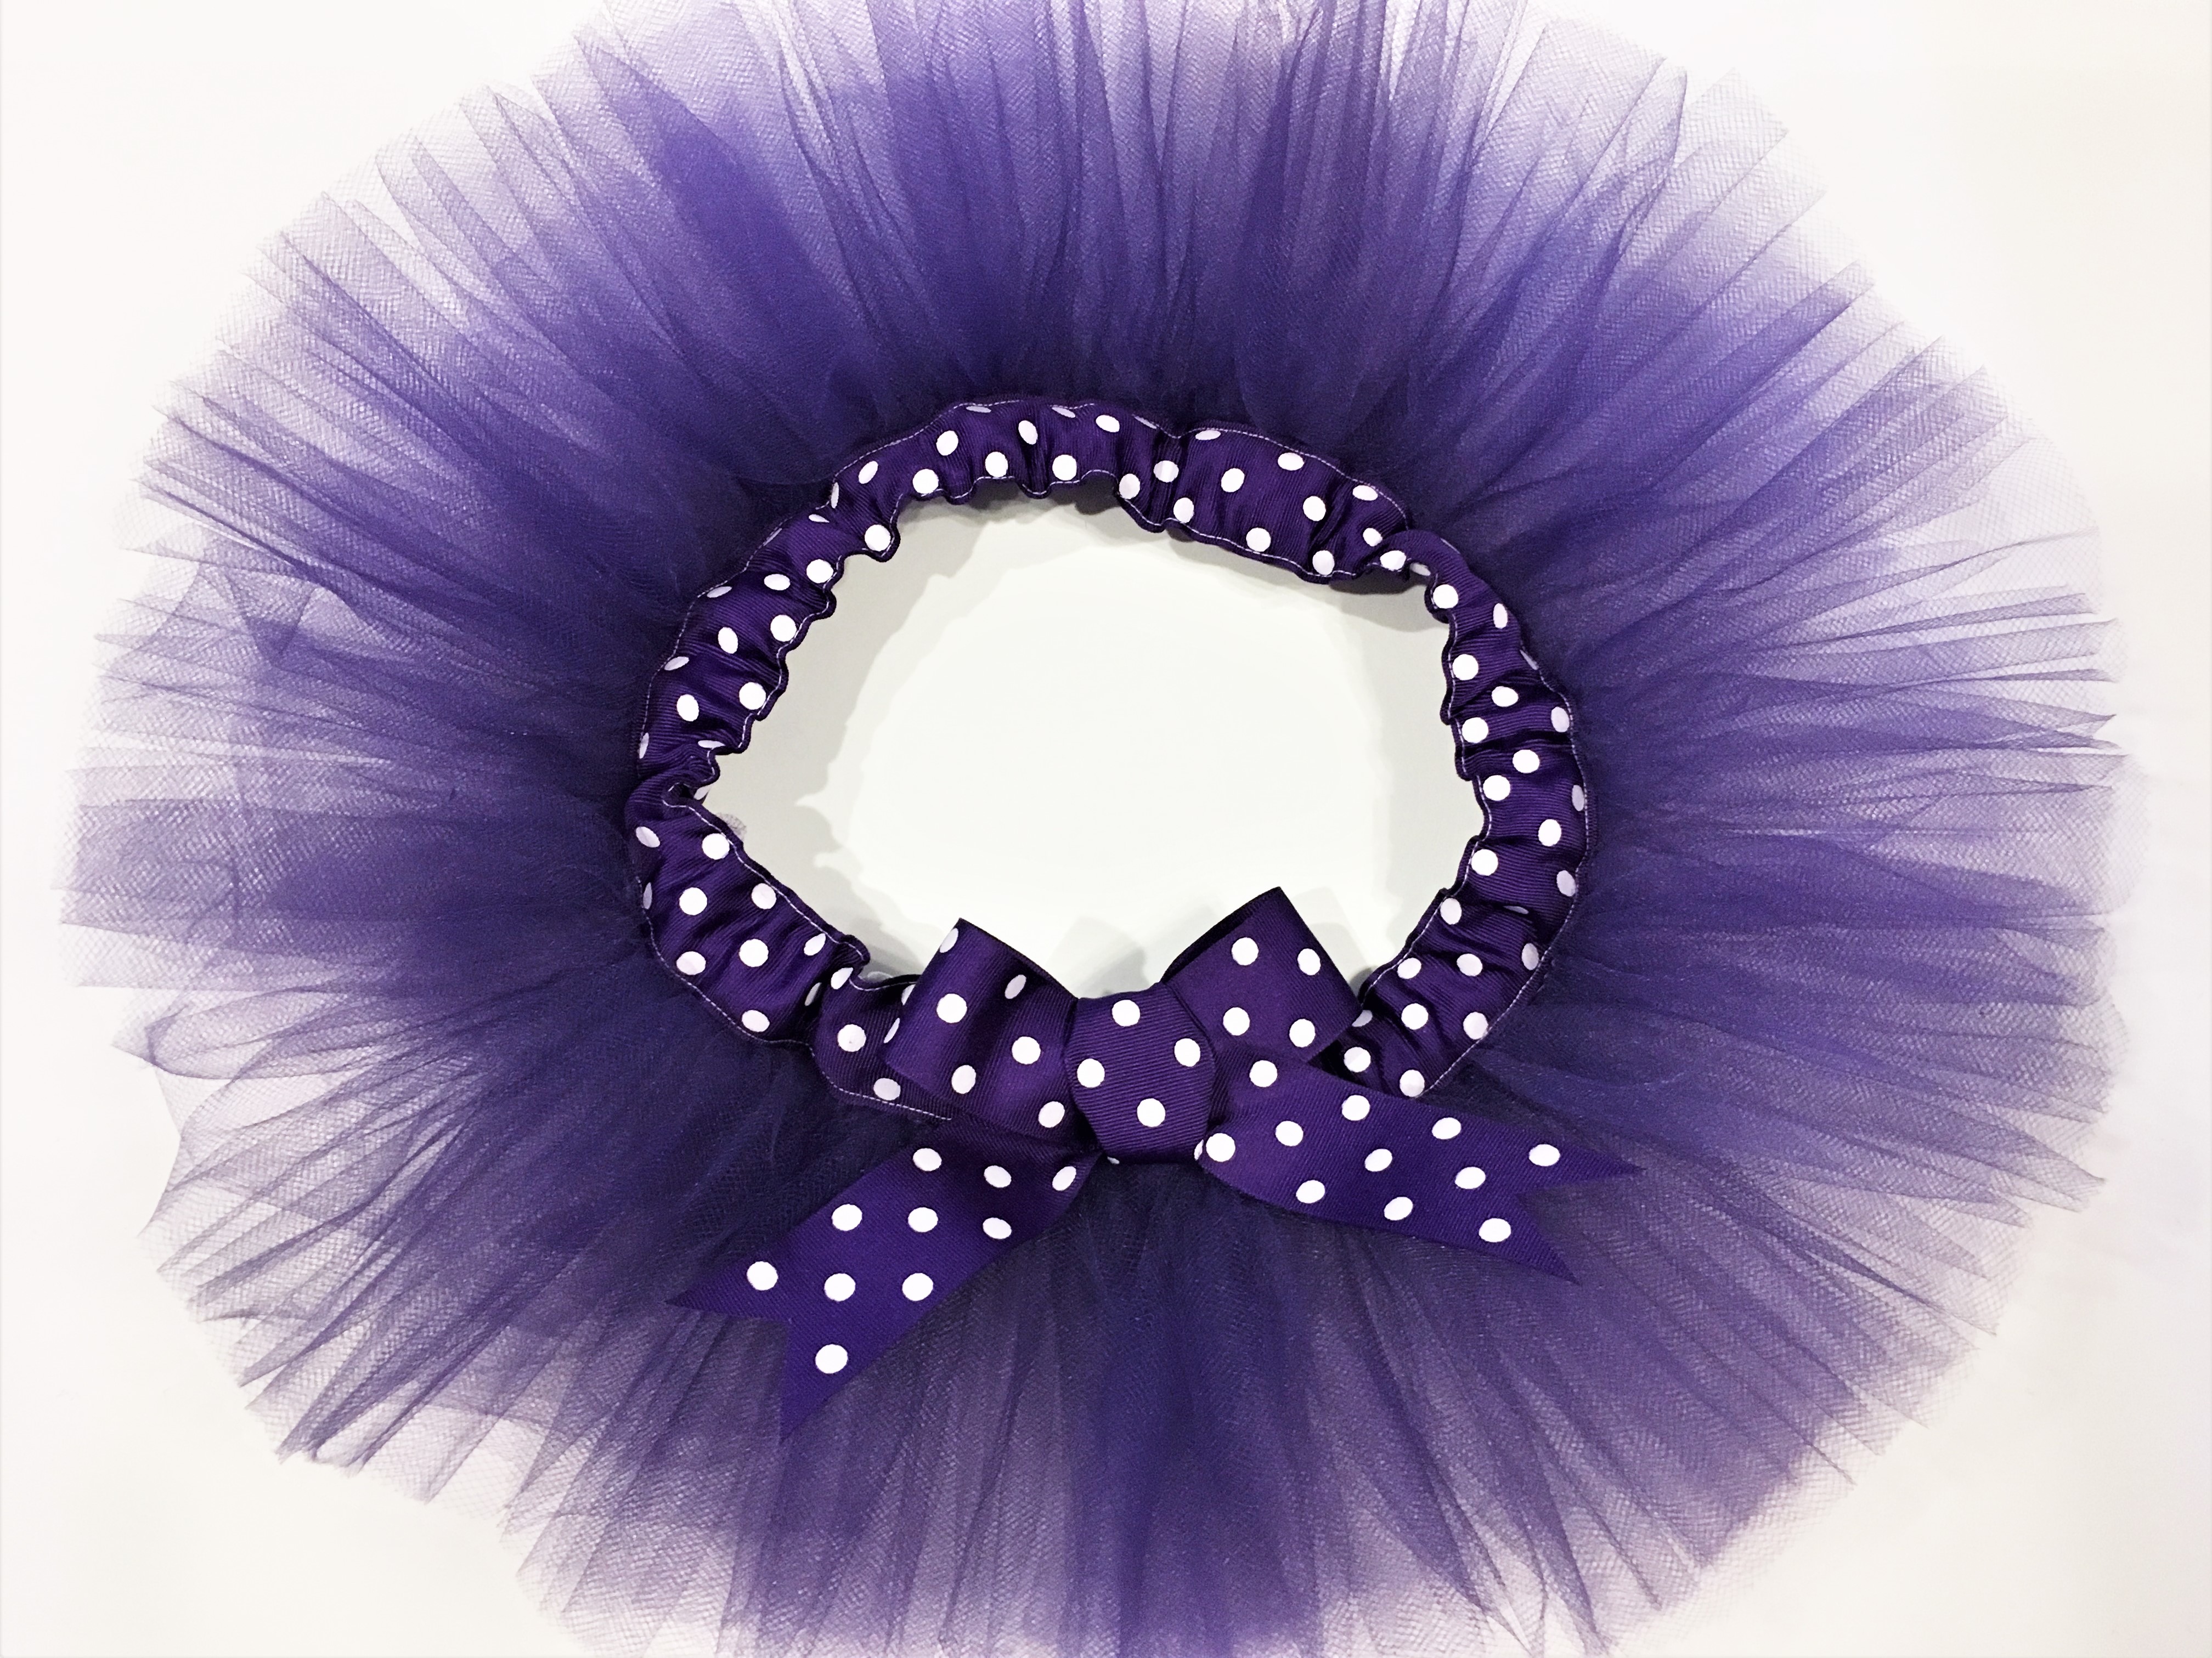
Bling for a 3-year-old
So, one of Ella’s Christmas presents this year is a musical jewelry box. I had one as a child and really liked it. So, when I saw this one, practically new in it’s box at a consignment sale, I snagged it for Christmas. But what good is a jewelry box without any jewelry? So, I decided to make her a necklace and bracelet set for her jewelry box.
Children’s jewelry supplies
I had some leftover stretchy jewelry cord from another project that we did recently (Ella strung the beads on a necklace for a friend’s birthday gift). And I was also recently in A.C.Moore and their beads were on sale. So I came away with some pretty awesome toddler bling beads with which to make an awesome toddler bling necklace.
Safety features to include for young children
The thing about the stretchy cord is that knots don’t stay very well. To fix this problem I used super glue and other beads to help hold the knots in place. I also used a break-away clasp for the necklace–just in case. Amazon has them in all sorts of fun colors. I bought these silver ones because previously Ella has told me that “silver is my best!” Another safety feature I wanted to include, since we have a 1 1/2-year-old wandering around and putting all sorts of things in her mouth, is knotting the cord between beads in the case that it does break. This will hopefully prevent the entire string of beads from going all over the floor. It does mean though, that I had to cut the cord extra long to be sure to have enough length for both the necklace and the knots.
How I attached the break away clasp
I attached the break away clasp by threading the cord through one side of the clasp and then threading on a small bead. I then threaded the cord back through the clasp end and the bead kept the cord from going back through the hole entirely. I threaded the cord back through the last few beads that I had added before the clasp, and then super glued it and the bead on the inside of the clasp to keep it from coming undone. I did the same thing to the other side and viola! A cute sparkly necklace that will be safe for a 3-year-old to wear.

A matching set
After I finished the necklace I decided to use some of the remaining beads to make a little matching bracelet and over-the-ear dangle earrings. I used the same method of tying knots every few beads, and super gluing the ends after they had been tied and tucked under beads to secure them.


Now I will have a bejeweled 3-year-old who can wear her bling as she plays with the wind up music jewelry box. Now, how to keep them out of reach of the soon to be 2-year-old will be the challenge. At least I don’t have to worry too much about choking hazards.
Home Made Playdough
Last but not least, I made playdough for our friends and cousins. Home made playdough is very easy to make and not very expensive. If you have the ingredients in your kitchen you can whip up a batch very quickly as a last minute gift for any kid (or kid at heart) in your life.
Natural food dyes
I made my playdough with natural food dyes for my friends and family who are sensitive to food dye, in the case that they decided to give it a taste–as children are want to do. Even though it won’t taste good because of all the salt, it is completely safe to eat.
Save time by making big batches
Now when I made my playdough I knew that I wanted to make a lot so that I could split up the batches to give some of each color to each family on my list. My recipe makes about 1 cup of playdough and I wanted 1/2 cup of each color, times six. So I tripled my recipe and made it up six times with six different colors. Then I divided each color into six equal portions and wrapped them in plastic wrap before packaging them all up in tiny Ziplock containers.

Yummy scents
I also used essential oils to give the playdough fun scents! A little goes a long way and I made sure to keep the ratio low for children’s sensitive skin. It’s more for the fun of the scent than anything else, but just imagine how therapeutic it could be to squish a soft purple dough that smells like lavender. Ahhhhhhh.
So here is my recipe, I don’t remember where it comes from since I have had it for years, so I apologize for not being able to properly attribute it.
Home-made Playdough
- 1/2 c. flour (I used organic, but whatever you have is fine)
- 1 tsp. cream of tarter
- 1/6 c. (which is 2 TBSP + 2 tsp) salt
- 1/2 c. water
- 1/2 TBSP vegetable oil
- food coloring to desired color if using
Directions
So, to make the playdough, you combine the water, oil, and food coloring in a pot on the stove, whisk the dry ingredients together (flour, cream of tarter, and salt) and then add the dry to the wet. Give it a good stir to get any lumps out, and cook on medium heat while stirring until it comes together into a stiff ball, and is cooked through. Then, you just let it cool and knead it till smooth. If you want to add essential oils for a fun scent you add them at the kneading stage.
You can store the playdough in an airtight container or wrapped in plastic wrap for months. We have had playdough last for many months without becoming moldy or dry when stored properly. Now, if you are like us, and have curious cats around who like to chew on everything they shouldn’t, then you may find little holes in the plastic wrap and dry hard spots where they bit through the plastic. Yeah, I guess I need to make some new playdough for ourselves now….
But there you go, a really simple, easy Christmas gift that the kids will love! And adults too, no judging. The texture is a lot softer and nicer than store bought playdough, and even without the essential oils it smells a lot nicer than store bought too.
I went crazy and made my own packaging with labels and everything. Totally not necessary, but definitely fun!

There’s still time
Well, there you have it! These are just a few of the Christmas gifts I’ve been working on. I hope you’ve been inspired to create some of your own. Hey there’s still a whole week plus before Christmas! There’s still time! 🙂
Happy crafting! 🙂


