


Here is the story of the pumpkin hats and how they came to be:
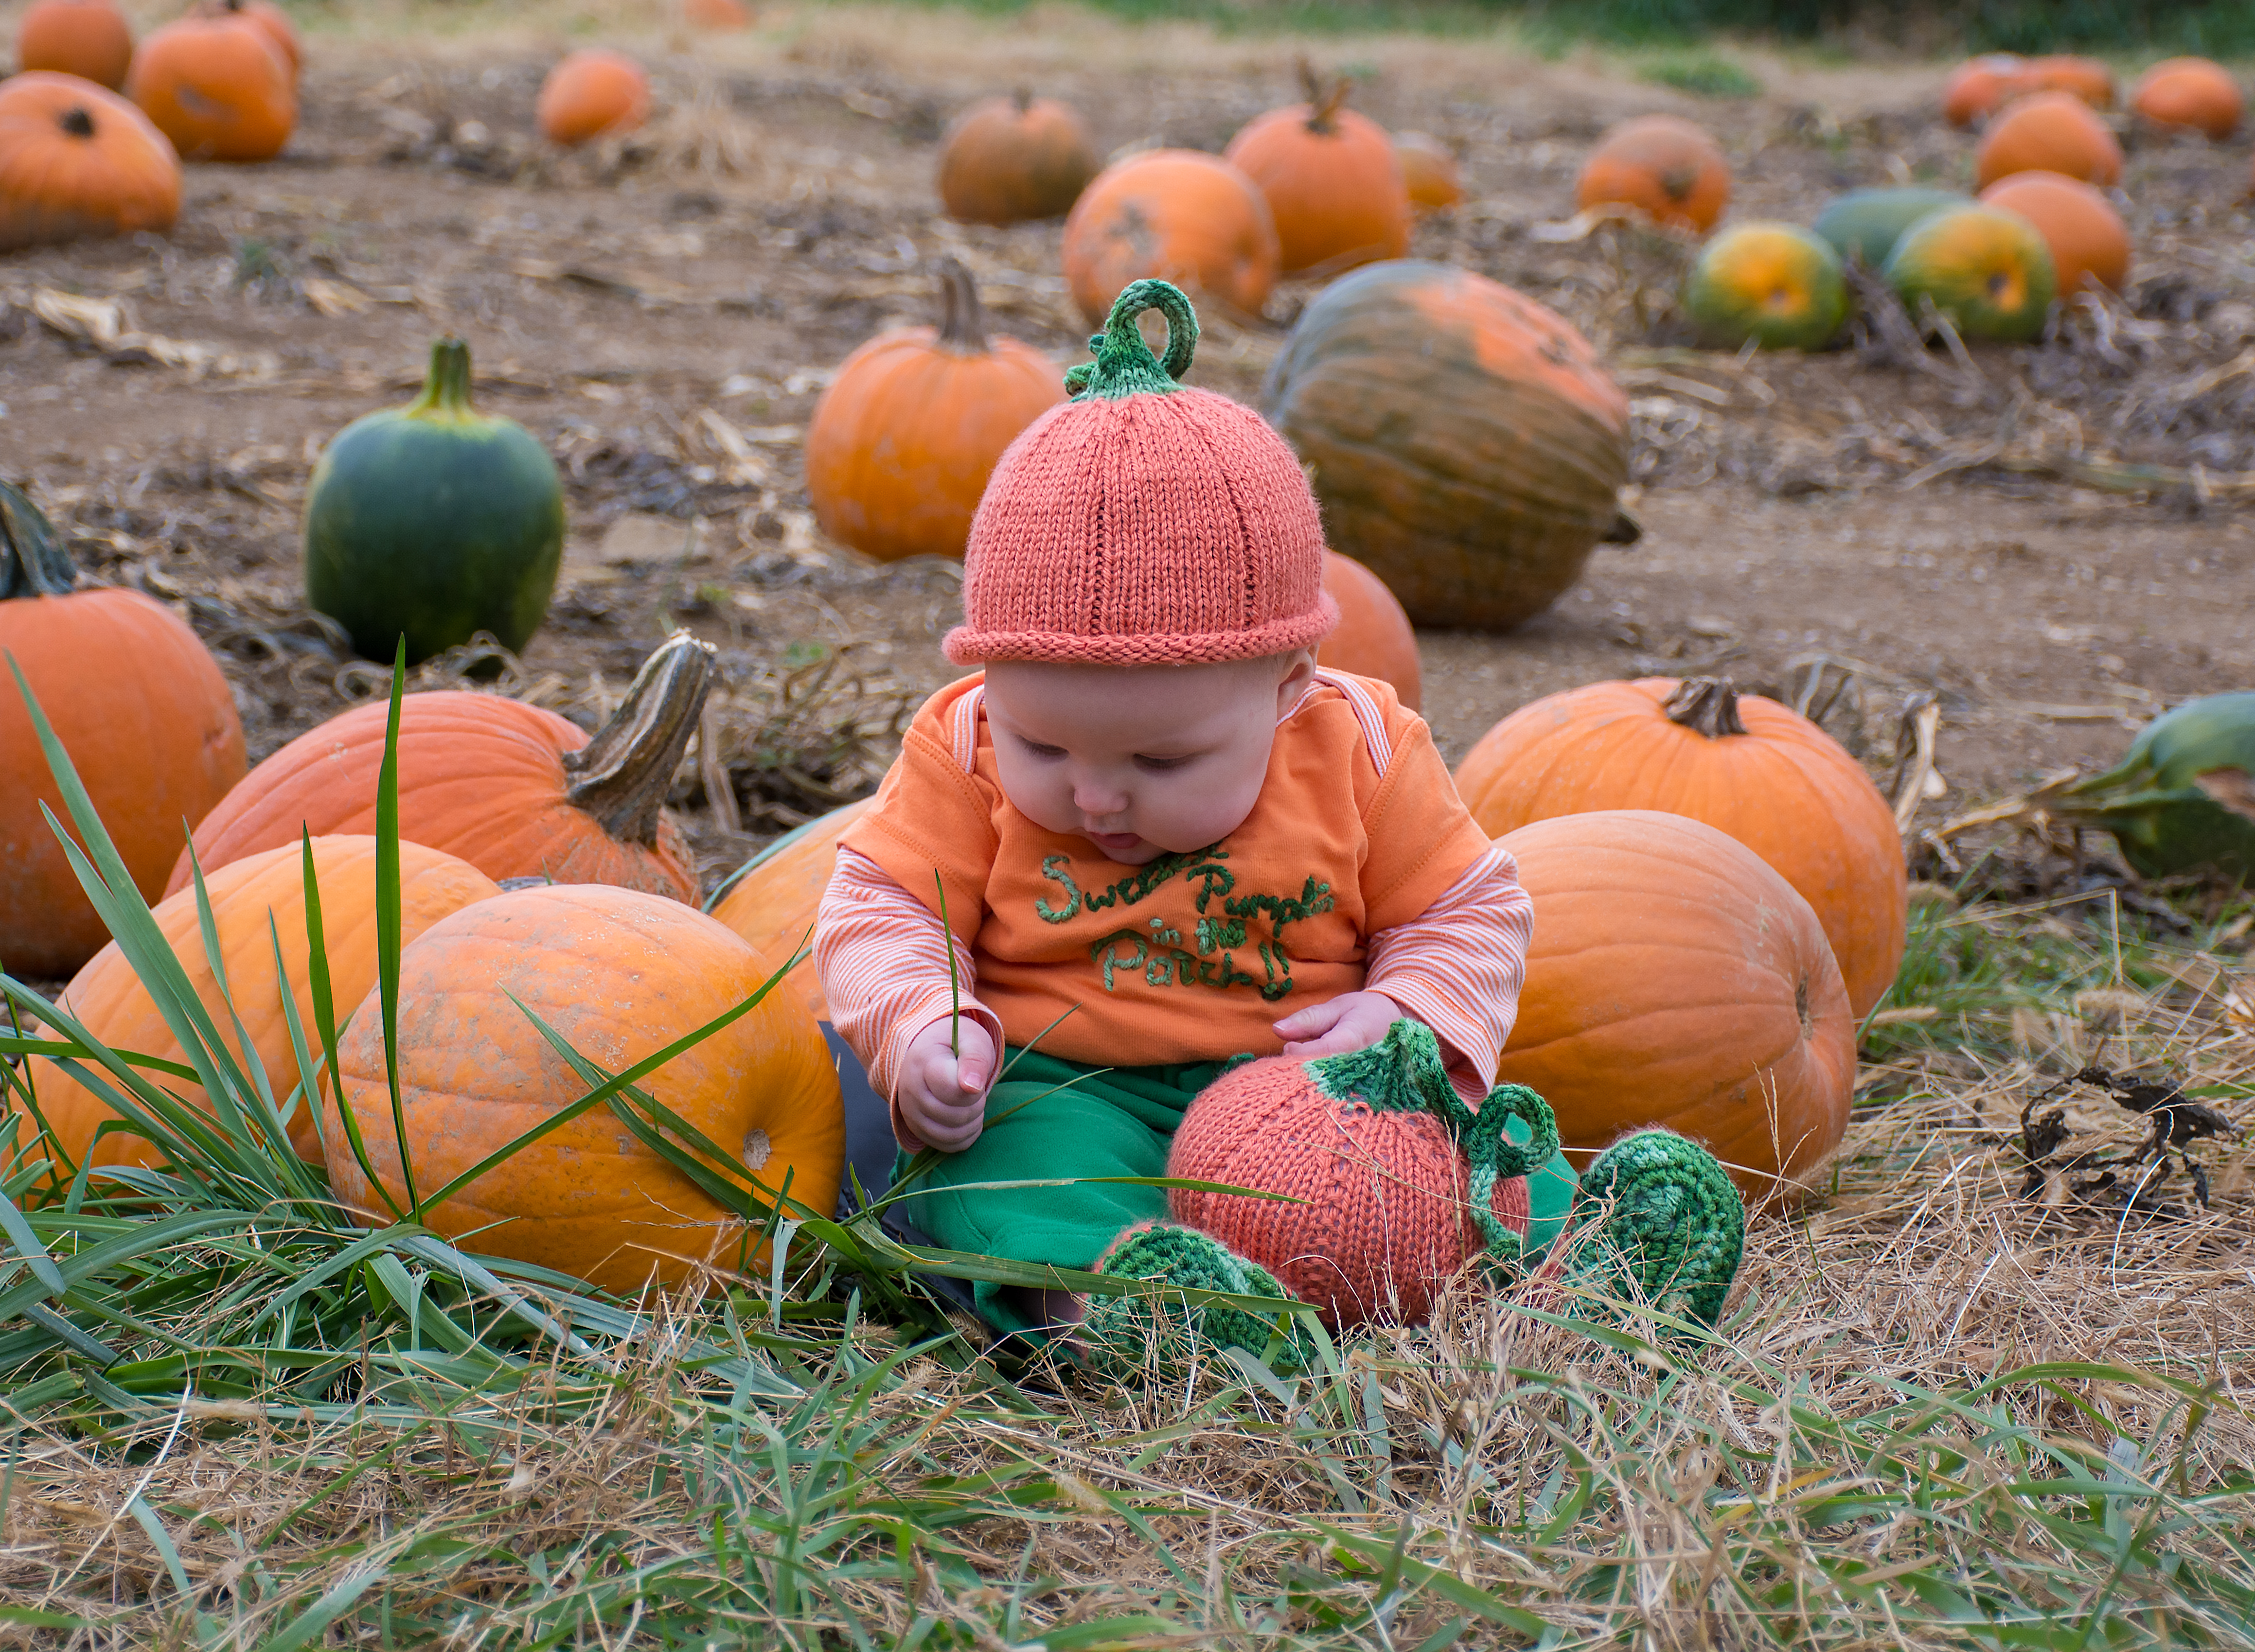
I admit it, I’m one of those parents who likes to get my girls all dressed up for photo shoots. Only we’ve never actually had a professional photo session done, so its just me playing with poses and Michael playing with the camera. And I guess I won’t pretend that I am any good at it. But we’ve got some pretty cute subjects, so it’s hard not to get at least one picture that I like. We also don’t do it very often, (because it ends up as a much bigger deal than it was meant to be, and is like herding cats) but when we do, I like to have props and outfits. They may or may not be very elaborate, but when I get the chance, I love to create things. And, having children is the perfect excuse to create pieces that are adorable that I might not otherwise have thought to make!
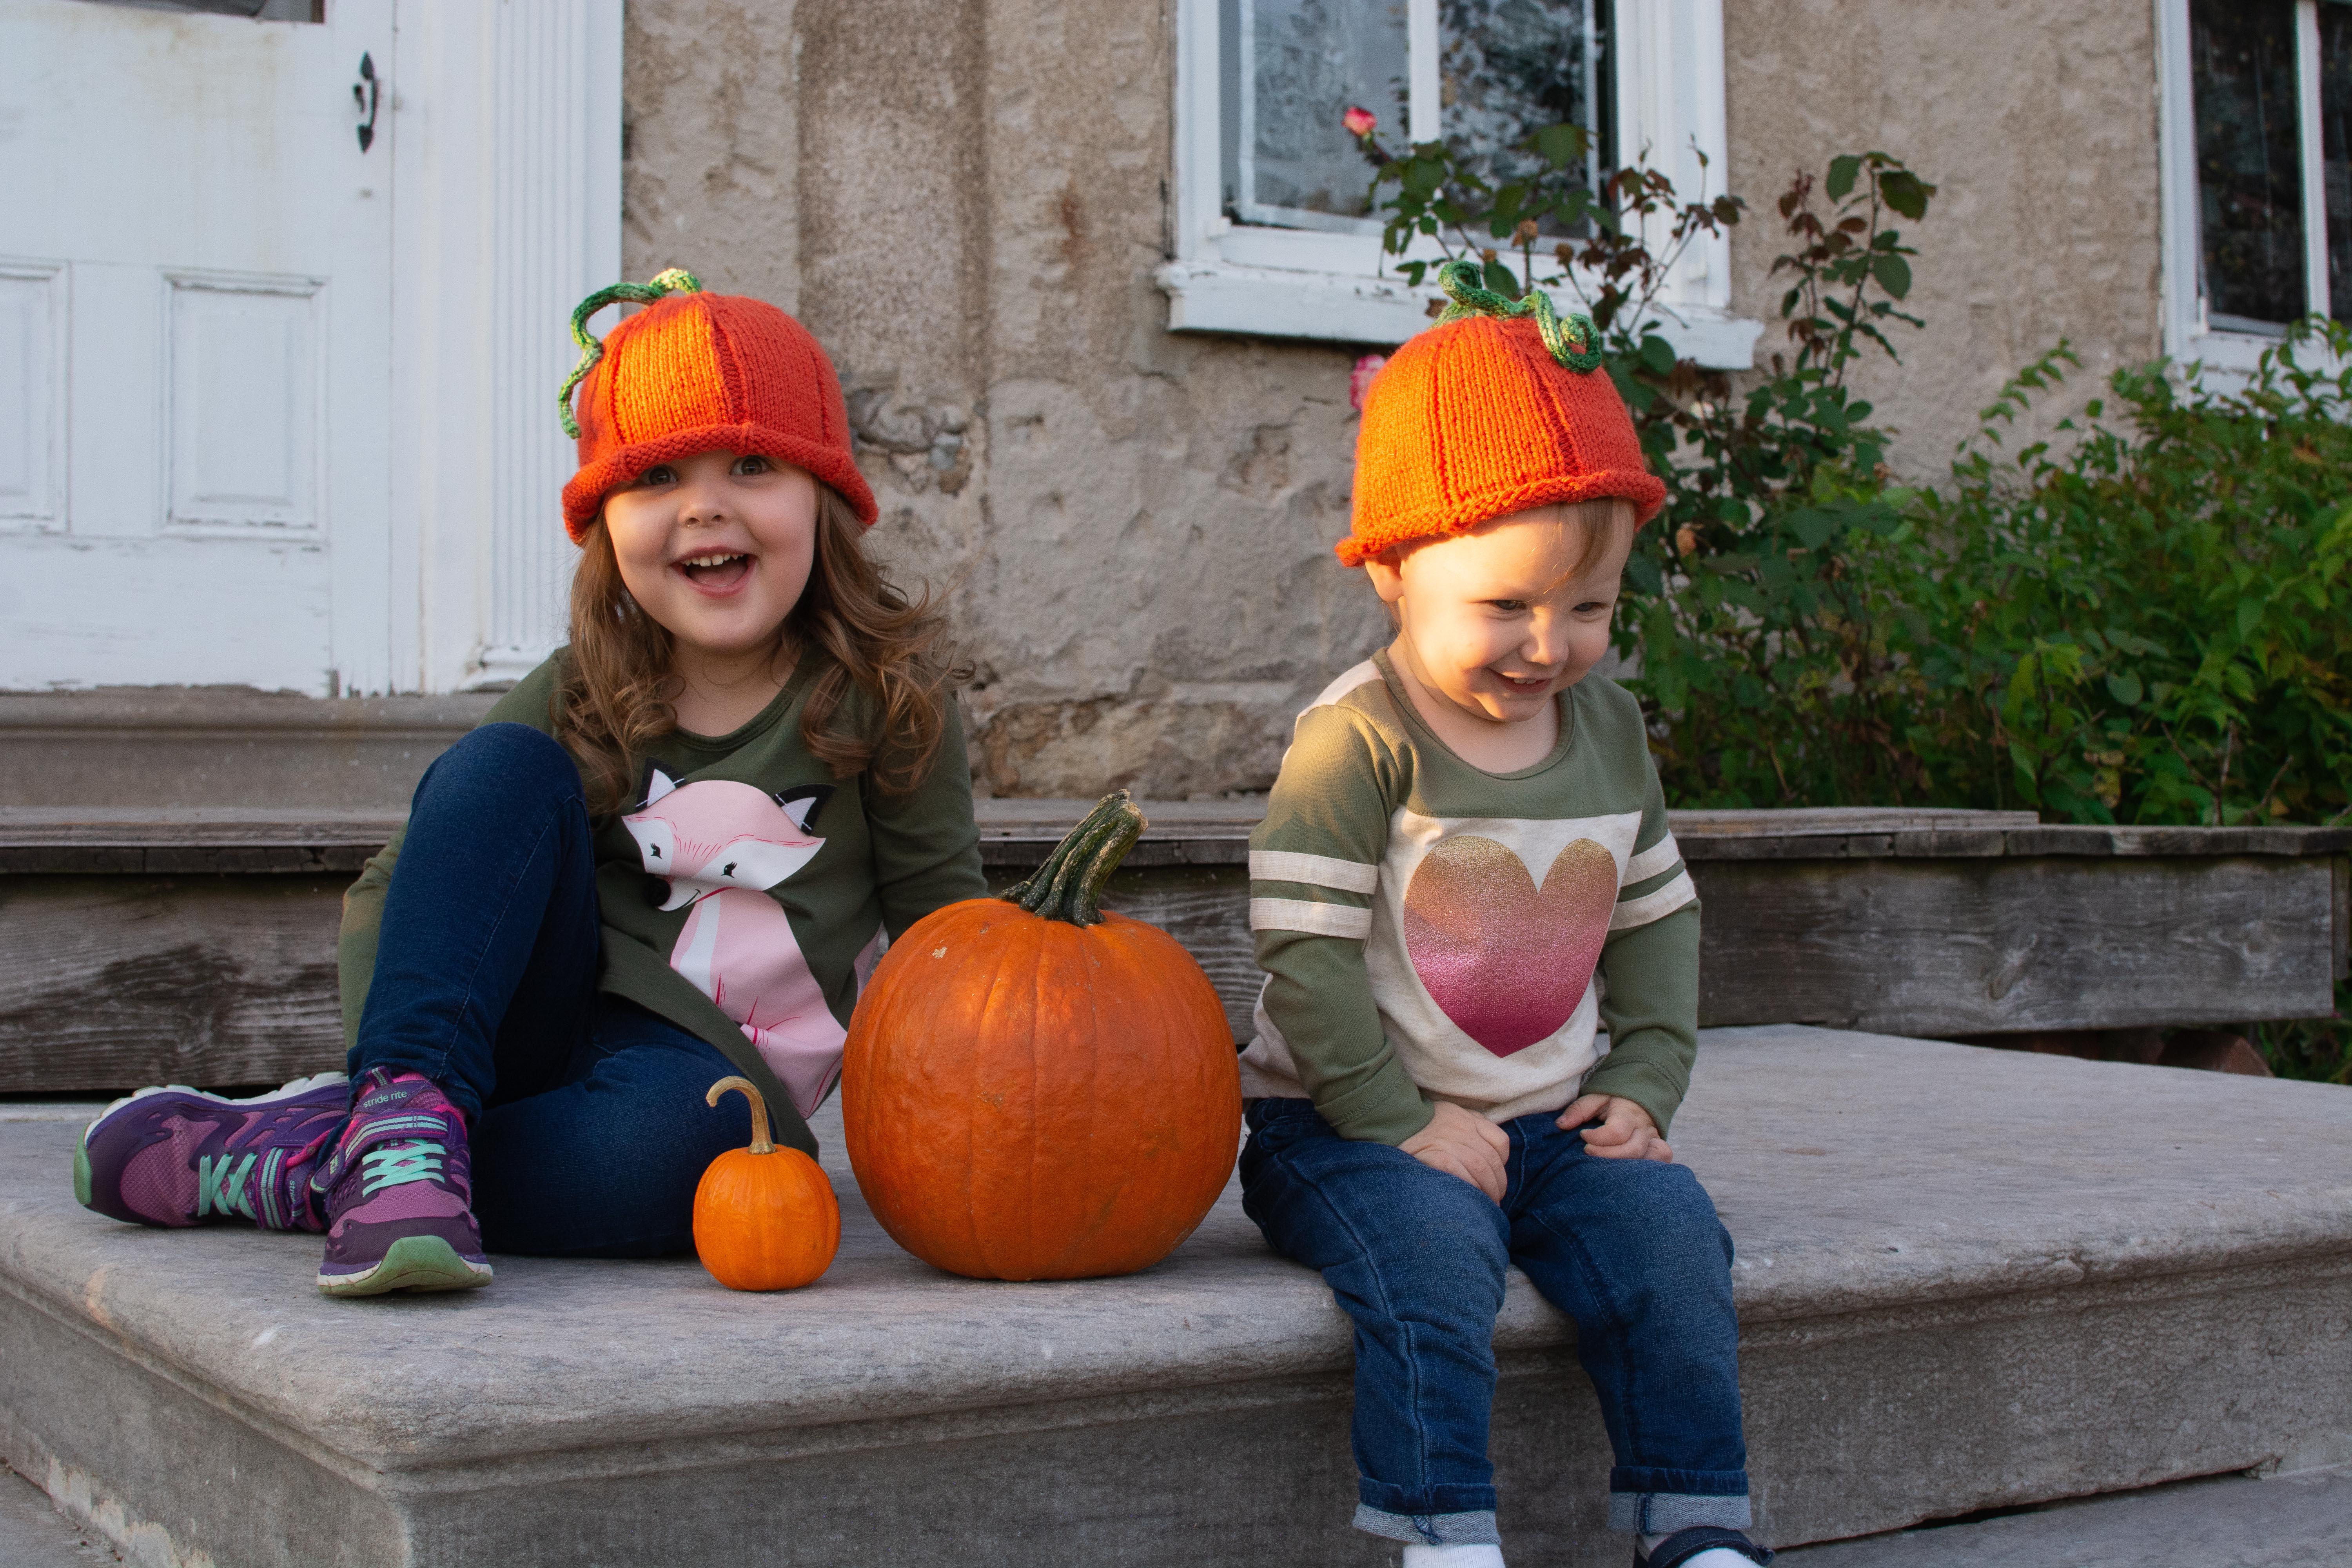
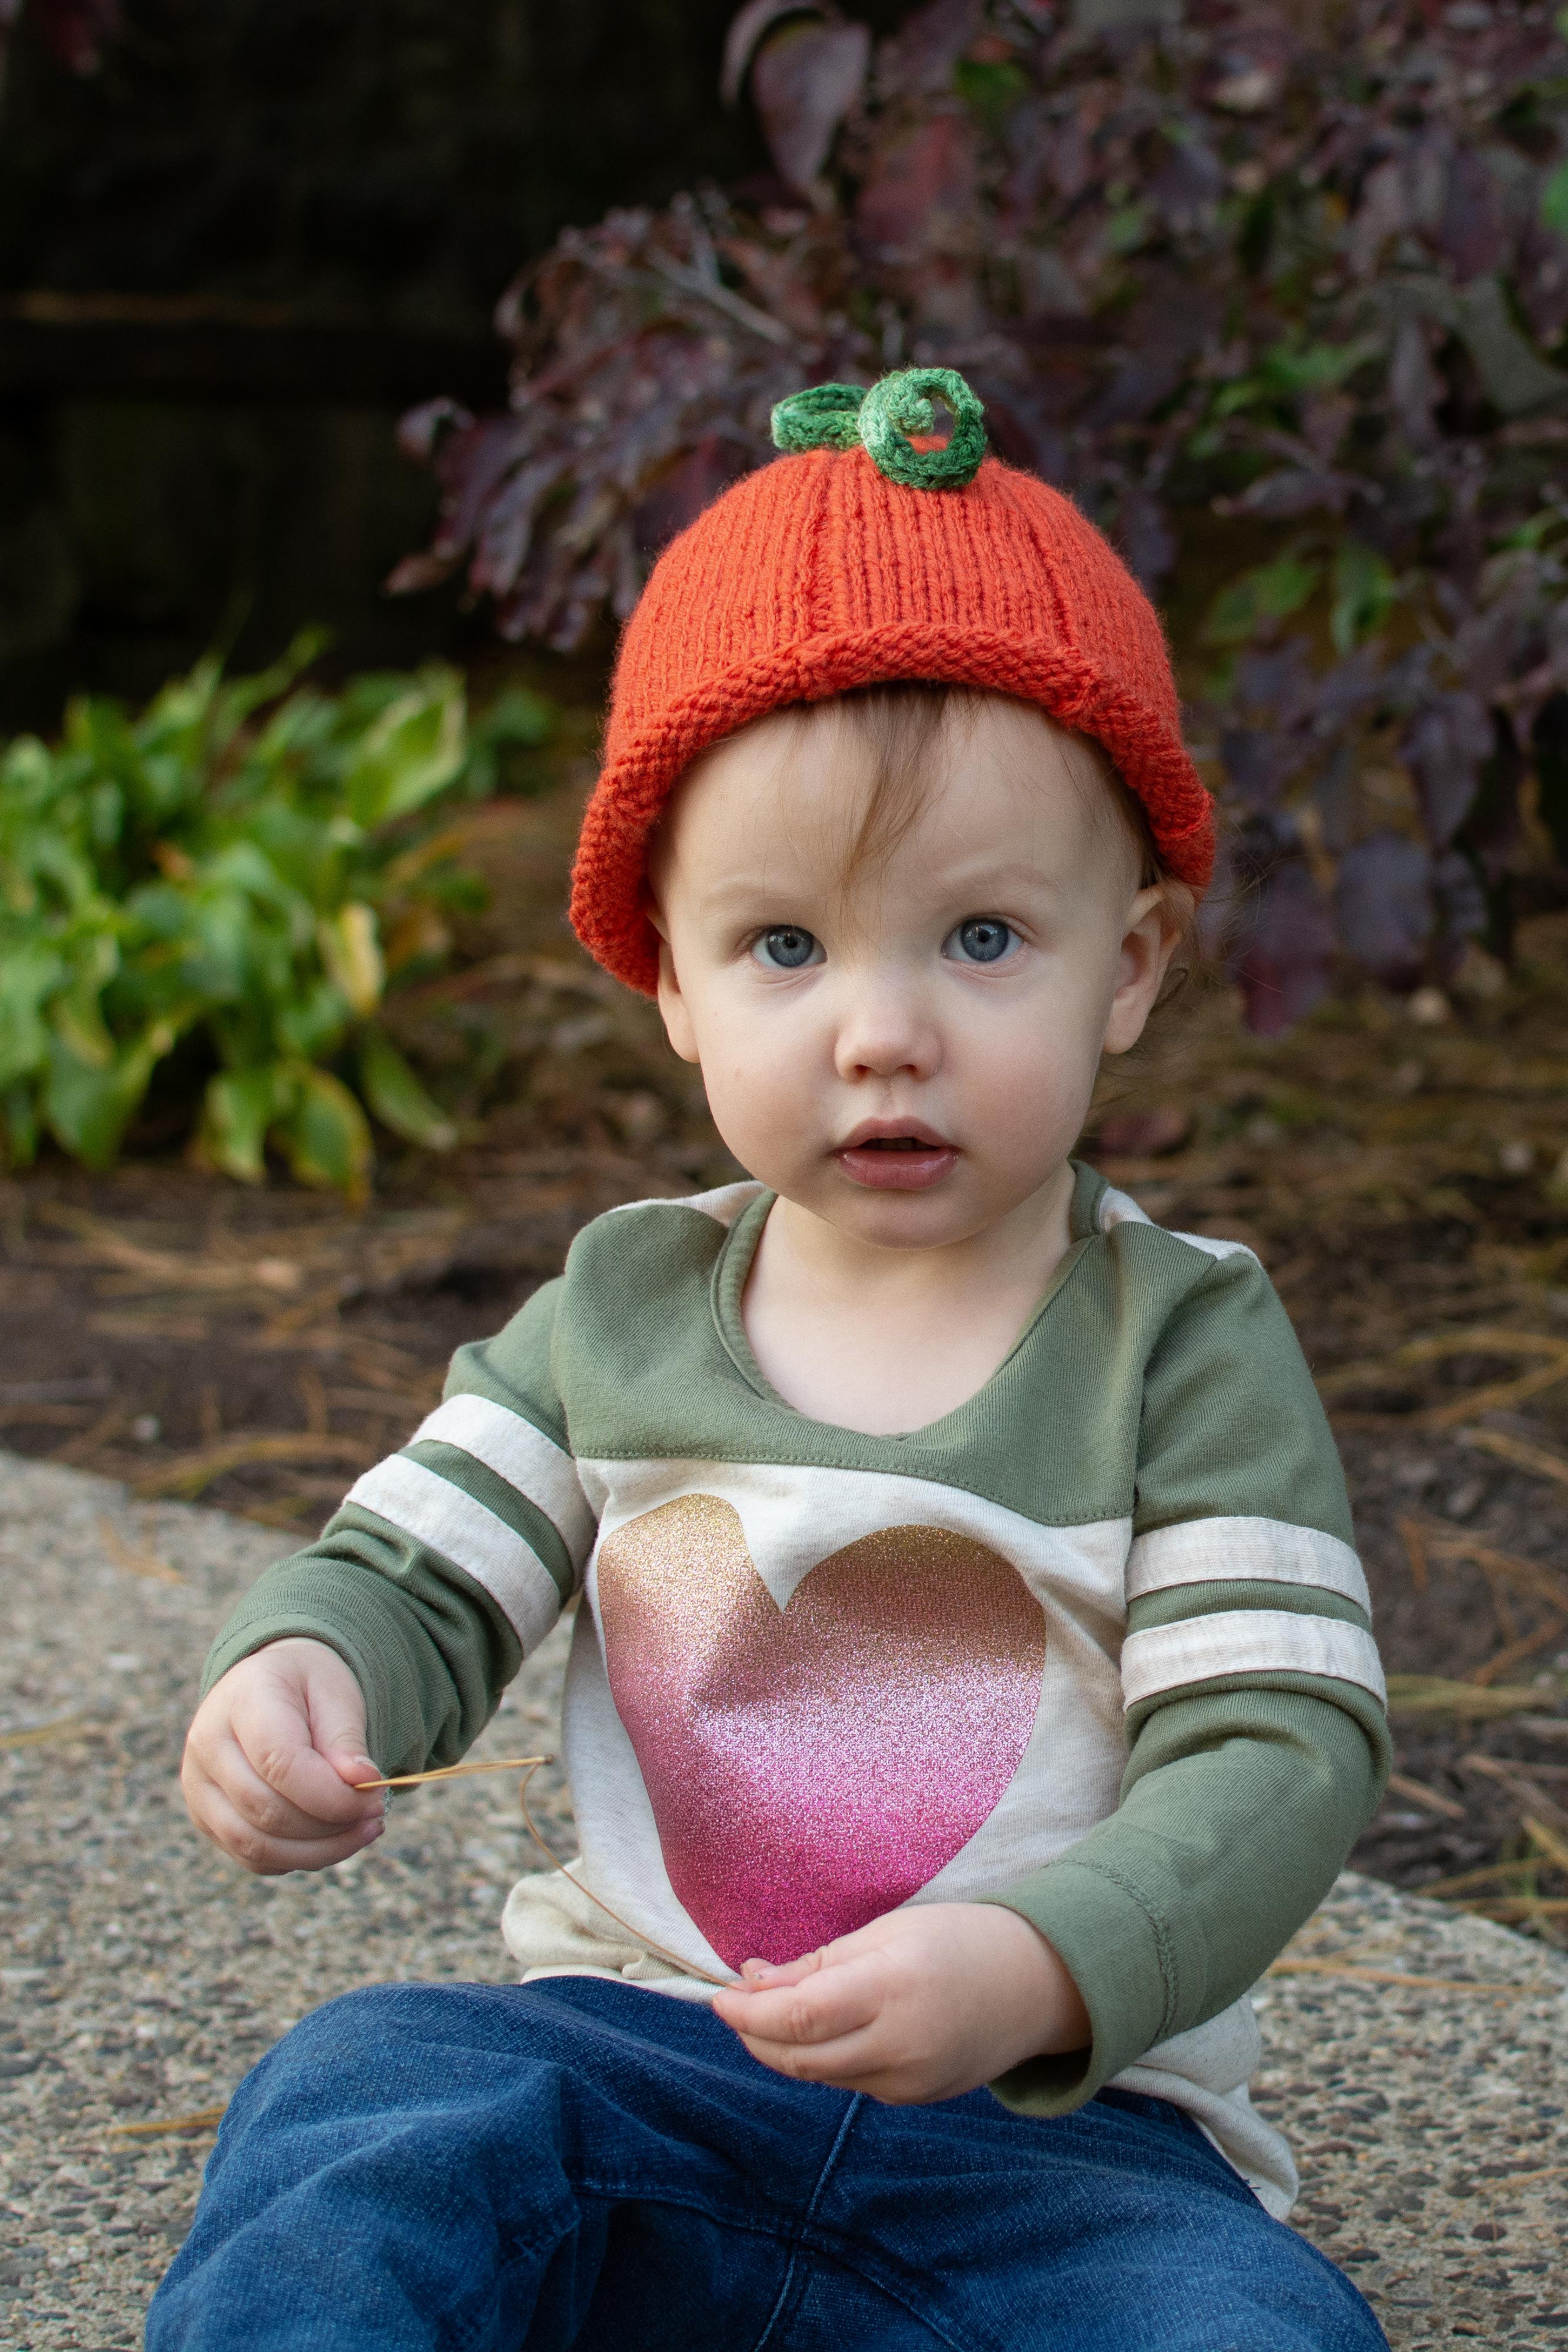
Three years ago I made baby Ella a cute little pumpkin hat, and made her an outfit to go with it that said “Sweetest pumpkin in the patch”, complete with matching booties and stuffed pumpkin. The outfit was too small for Esther when I pulled it out again this fall, so I passed in on to her cousin. But, I thought to myself, “If one pumpkin head is cute, then two sister pumpkin heads would be even cuter!” So what else could I do but make them matching pumpkin hats?

I had made up my own pattern for the first little hat, so even though I hadn’t written it down, I knew it couldn’t be too hard to do it again. And, since I took the time to write it down as I went along this time around, I can share my pattern with you all here! Will the girls look back on my “photo shoot” pictures and roll their eyes at their crazy mom who made them wear pumpkins? Only time will tell….
Yarn and Gauge
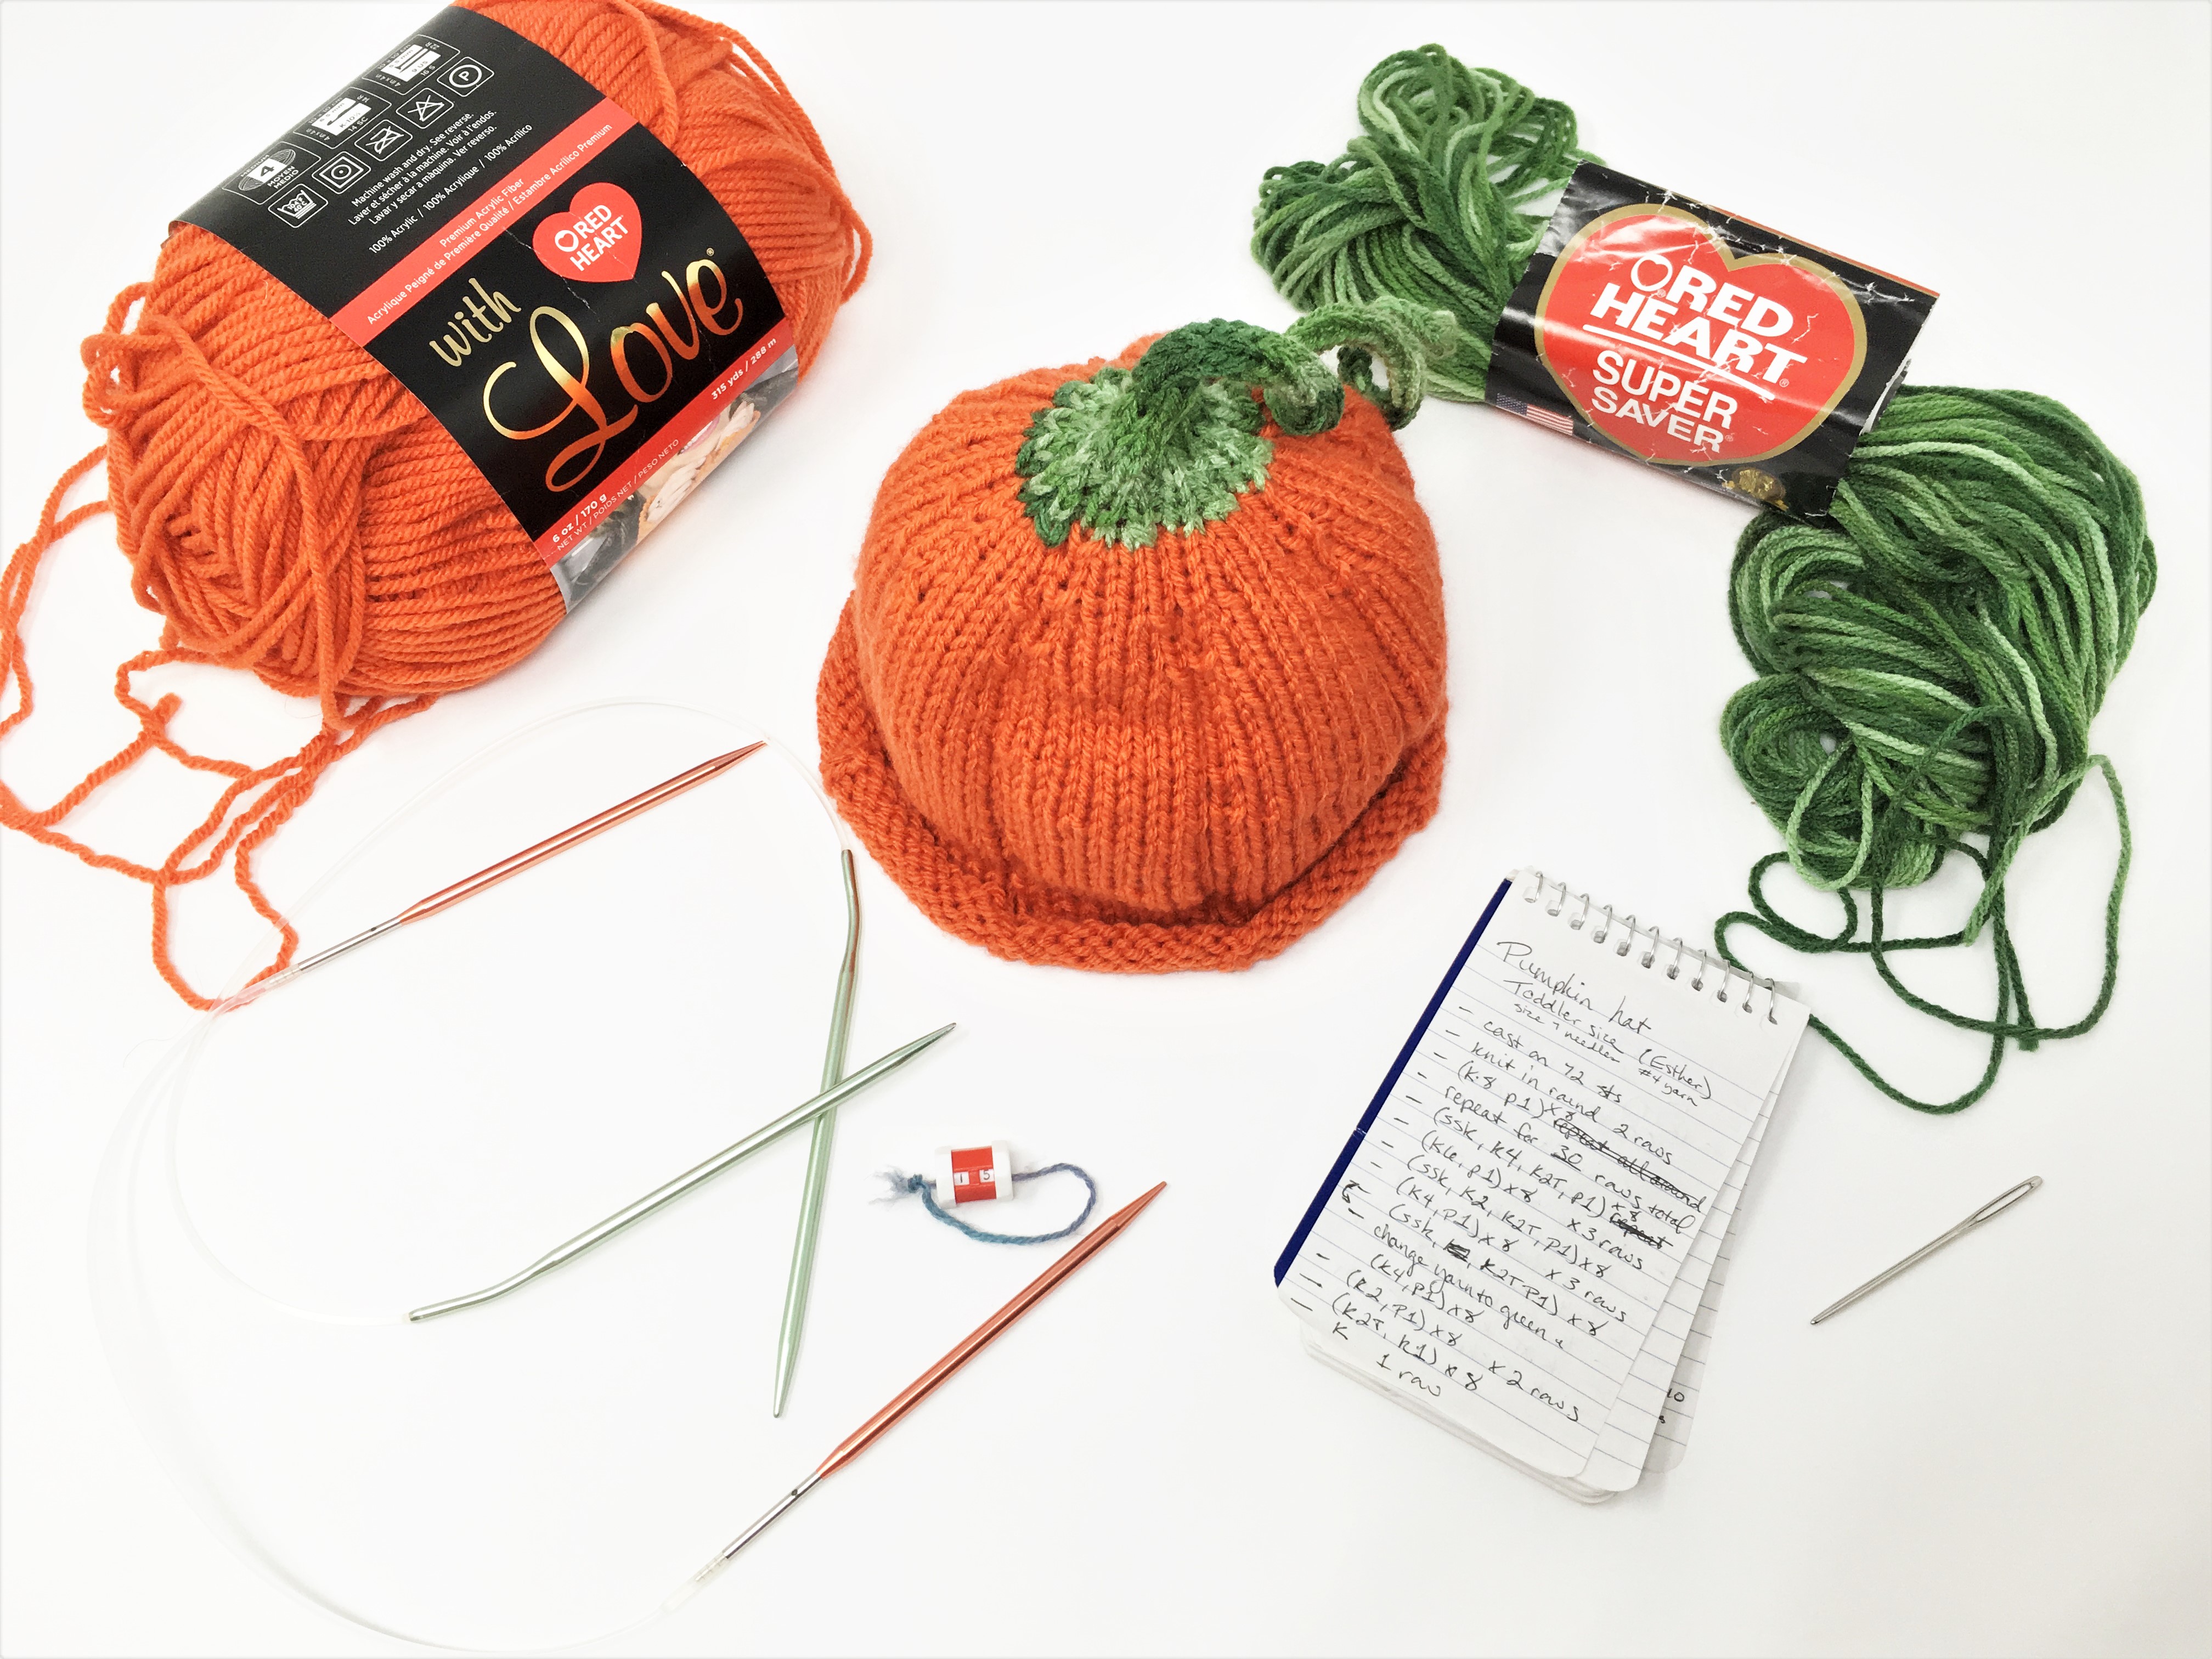
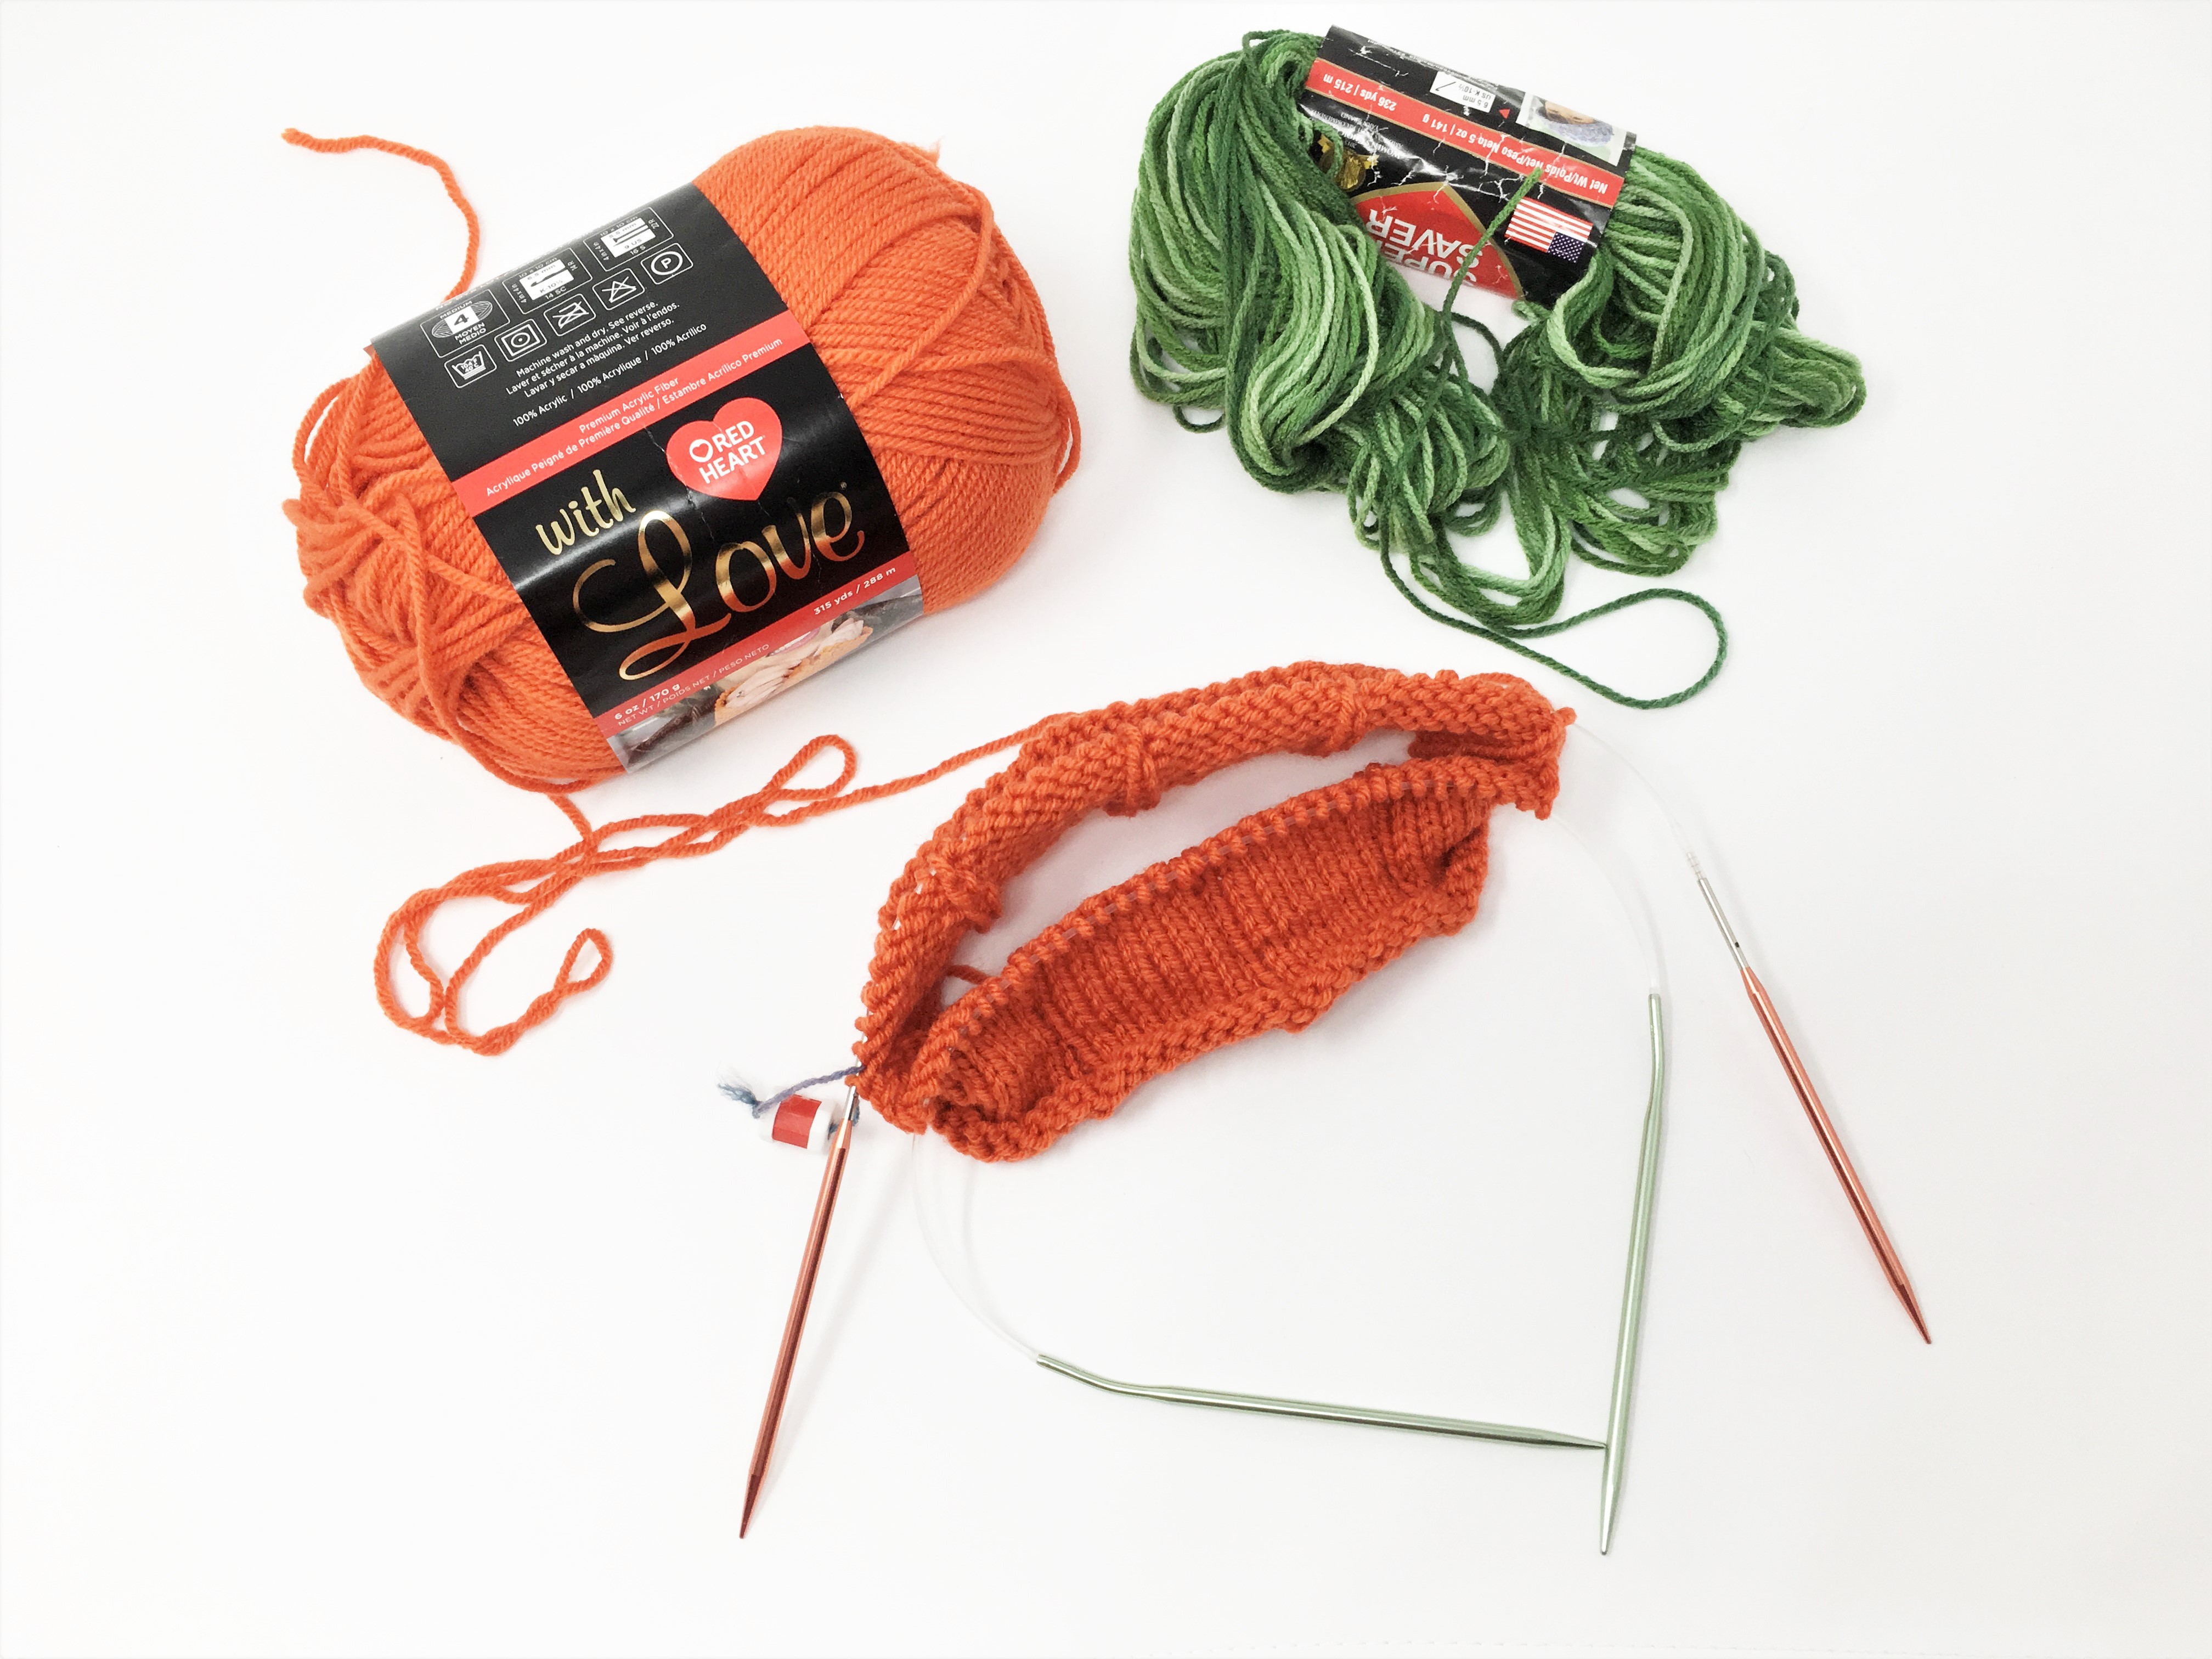
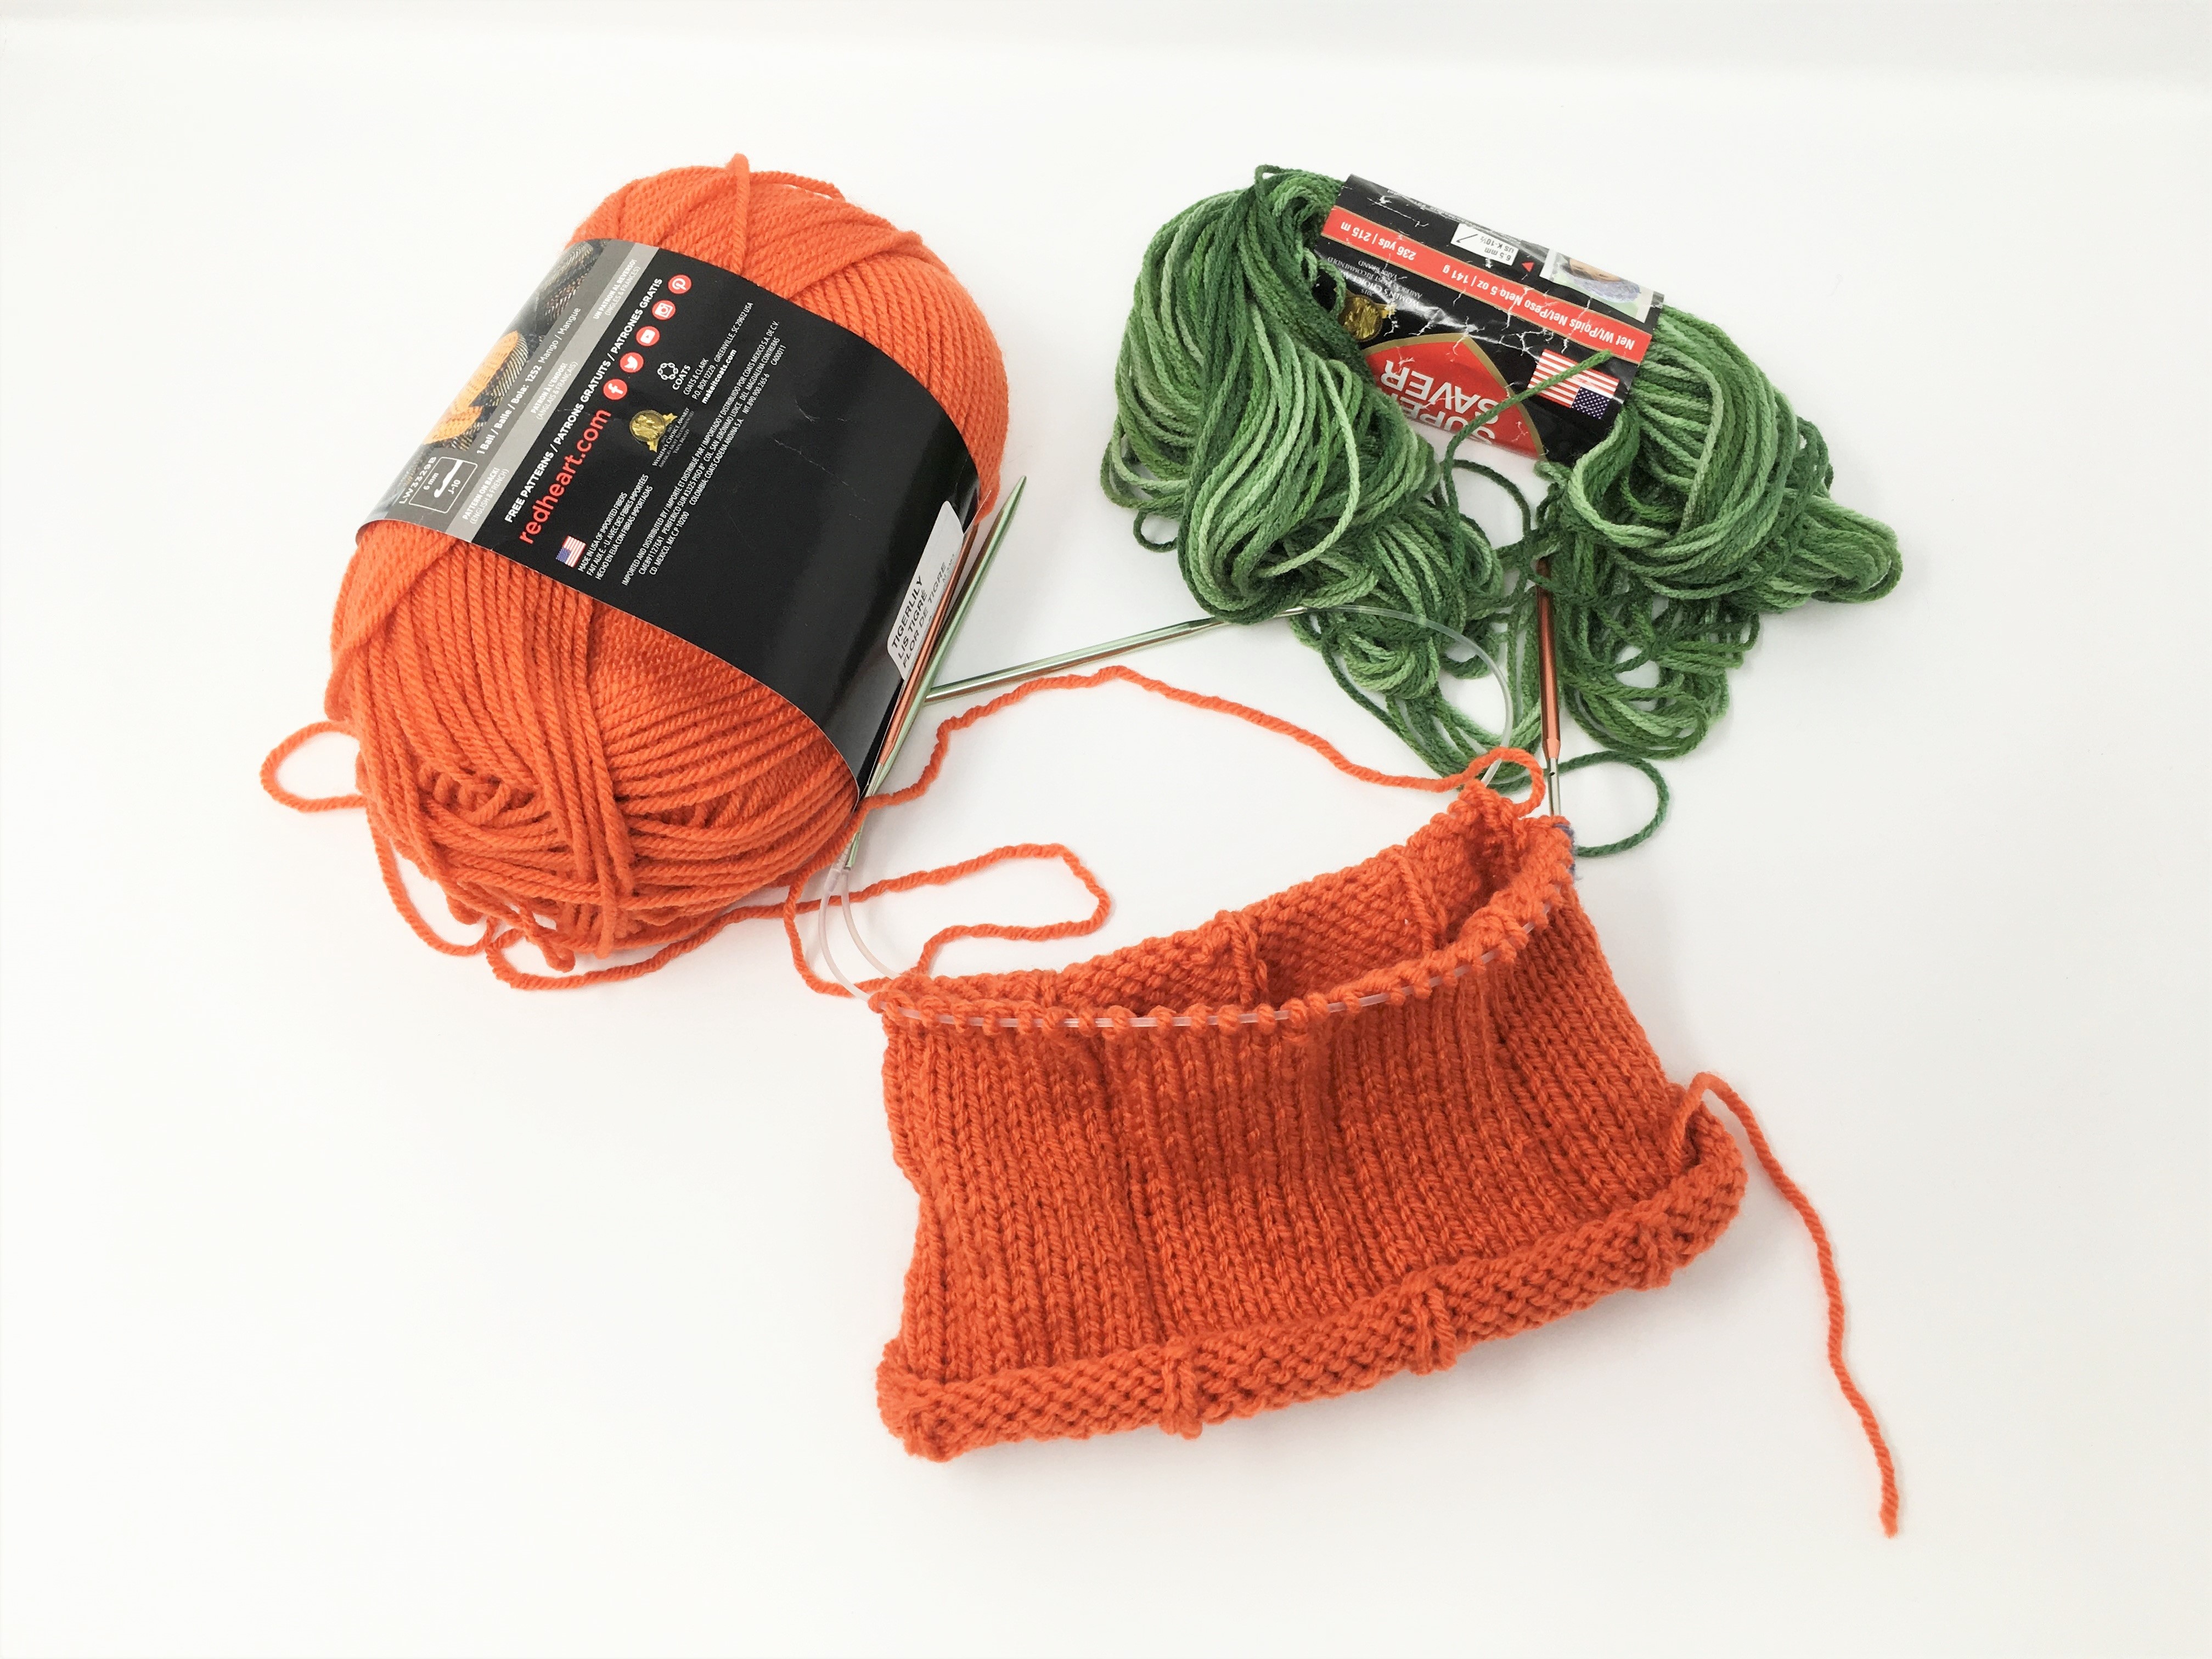
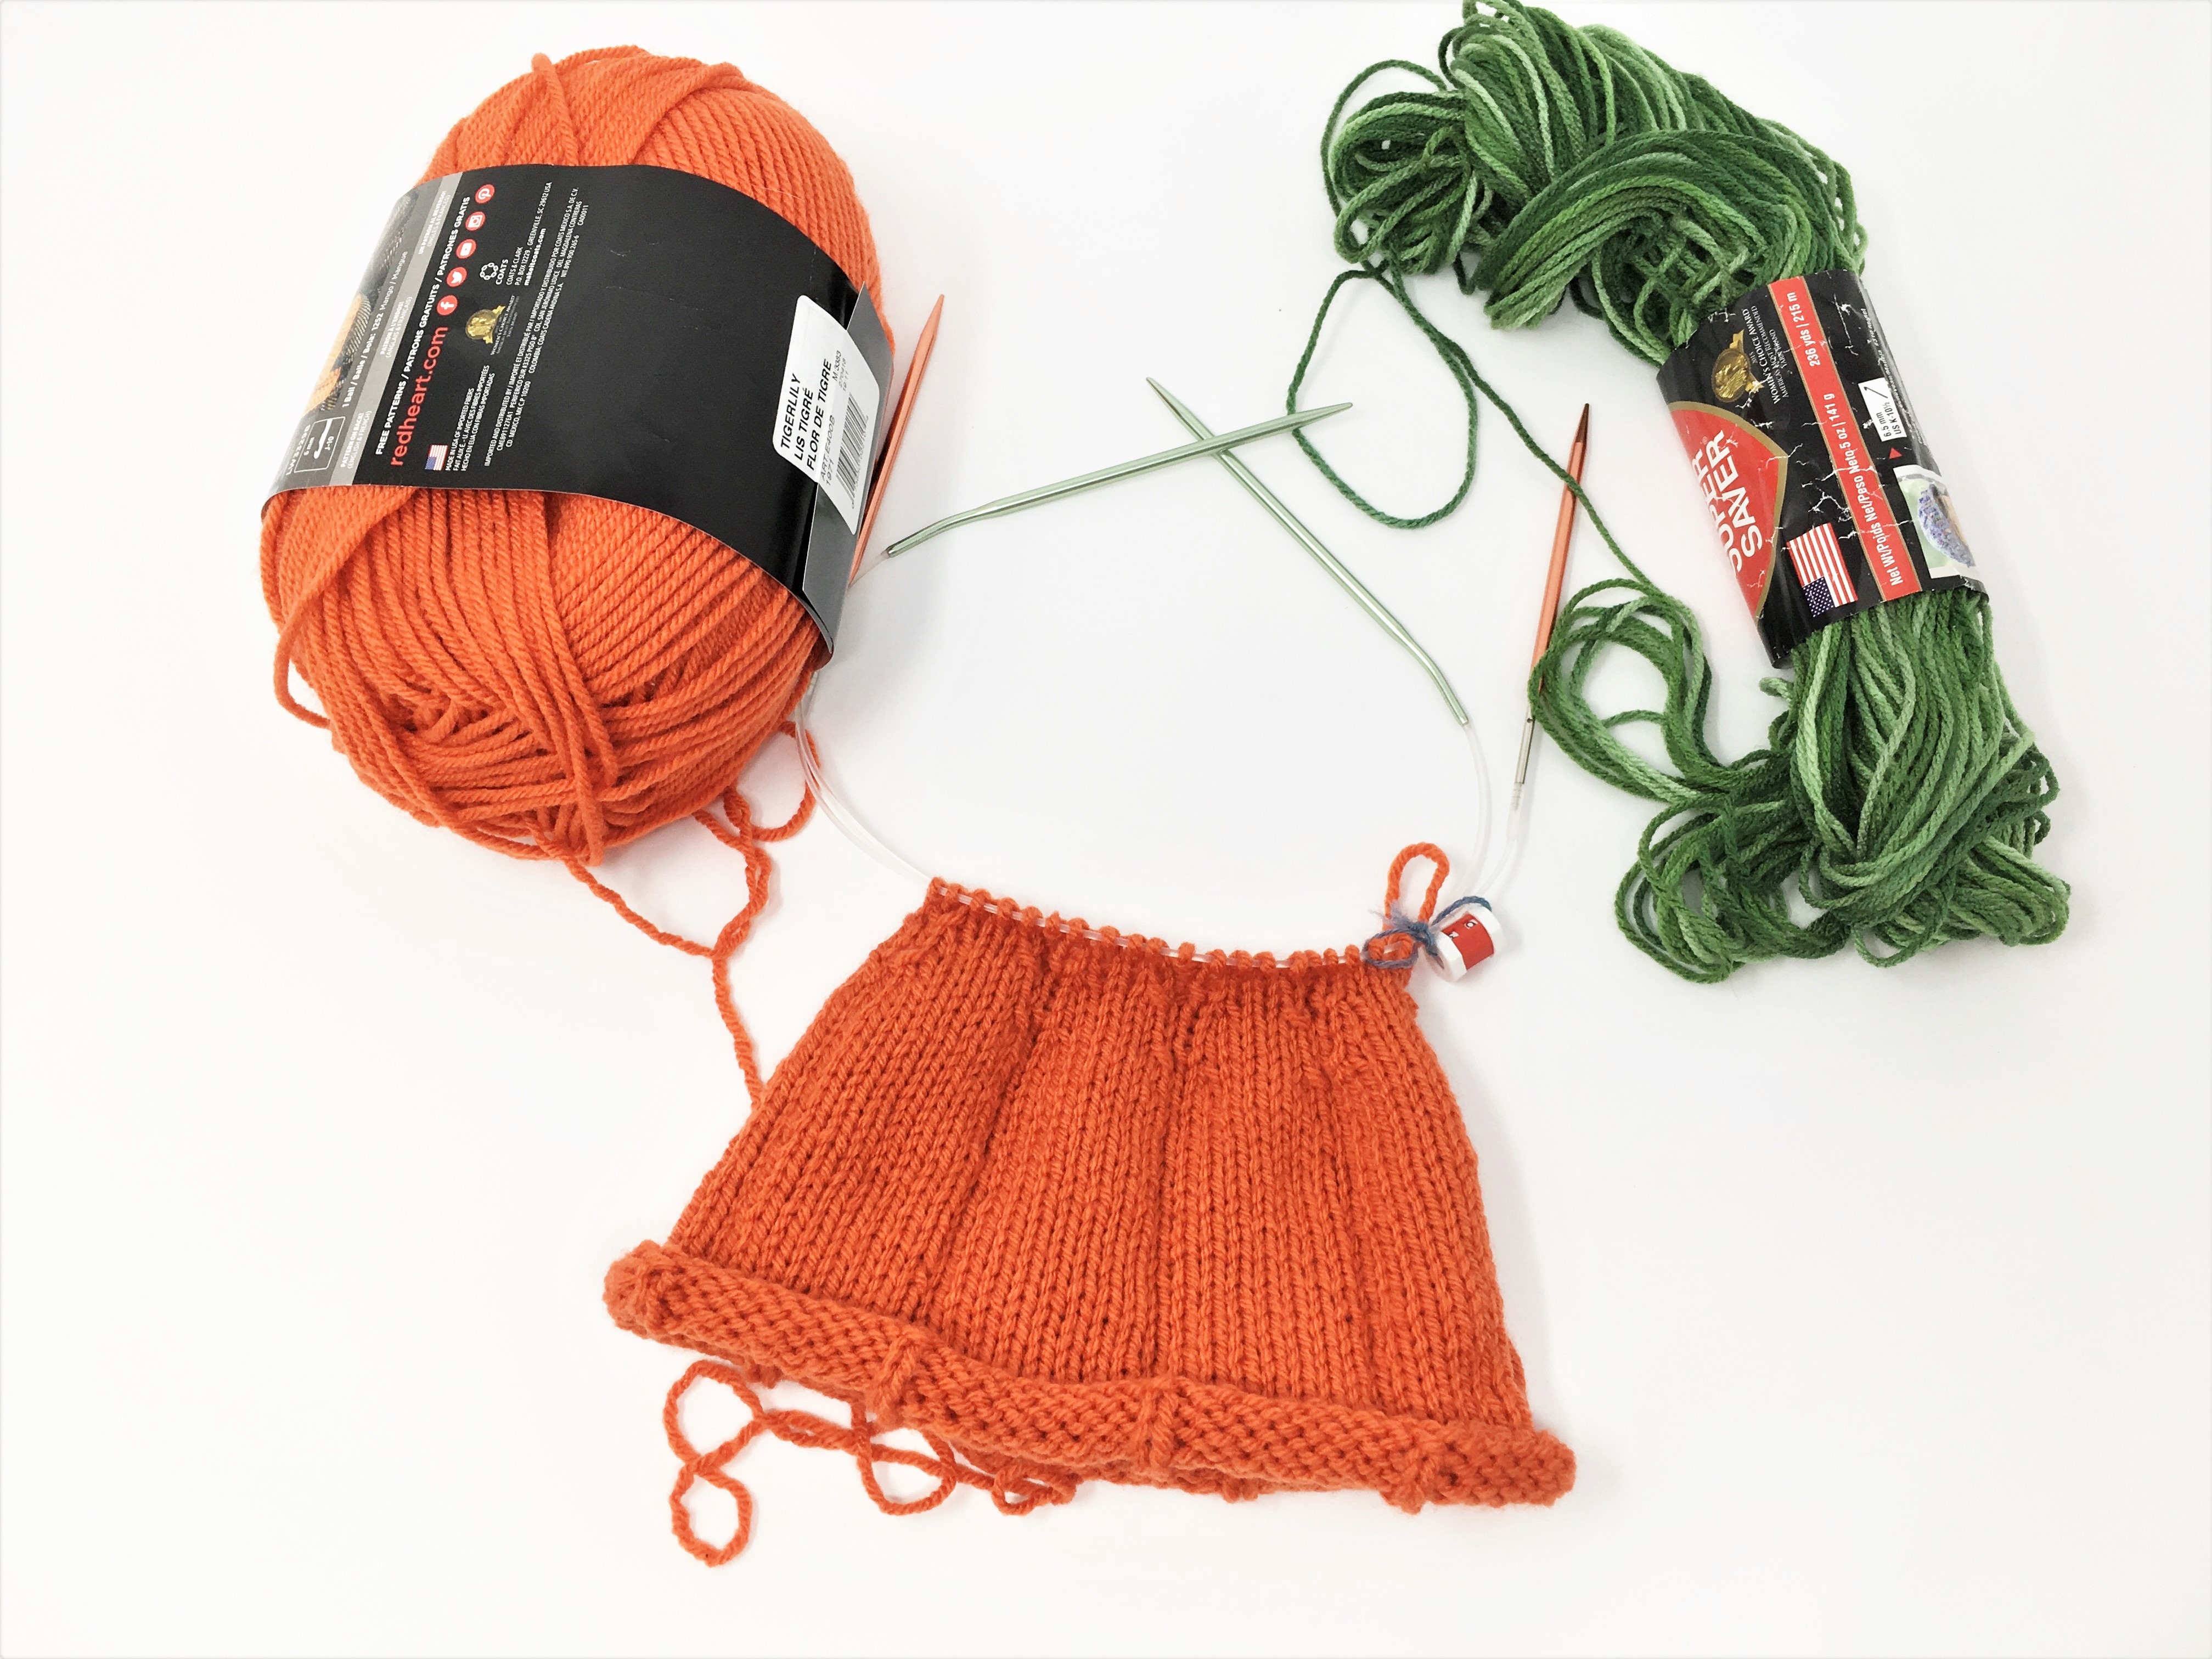
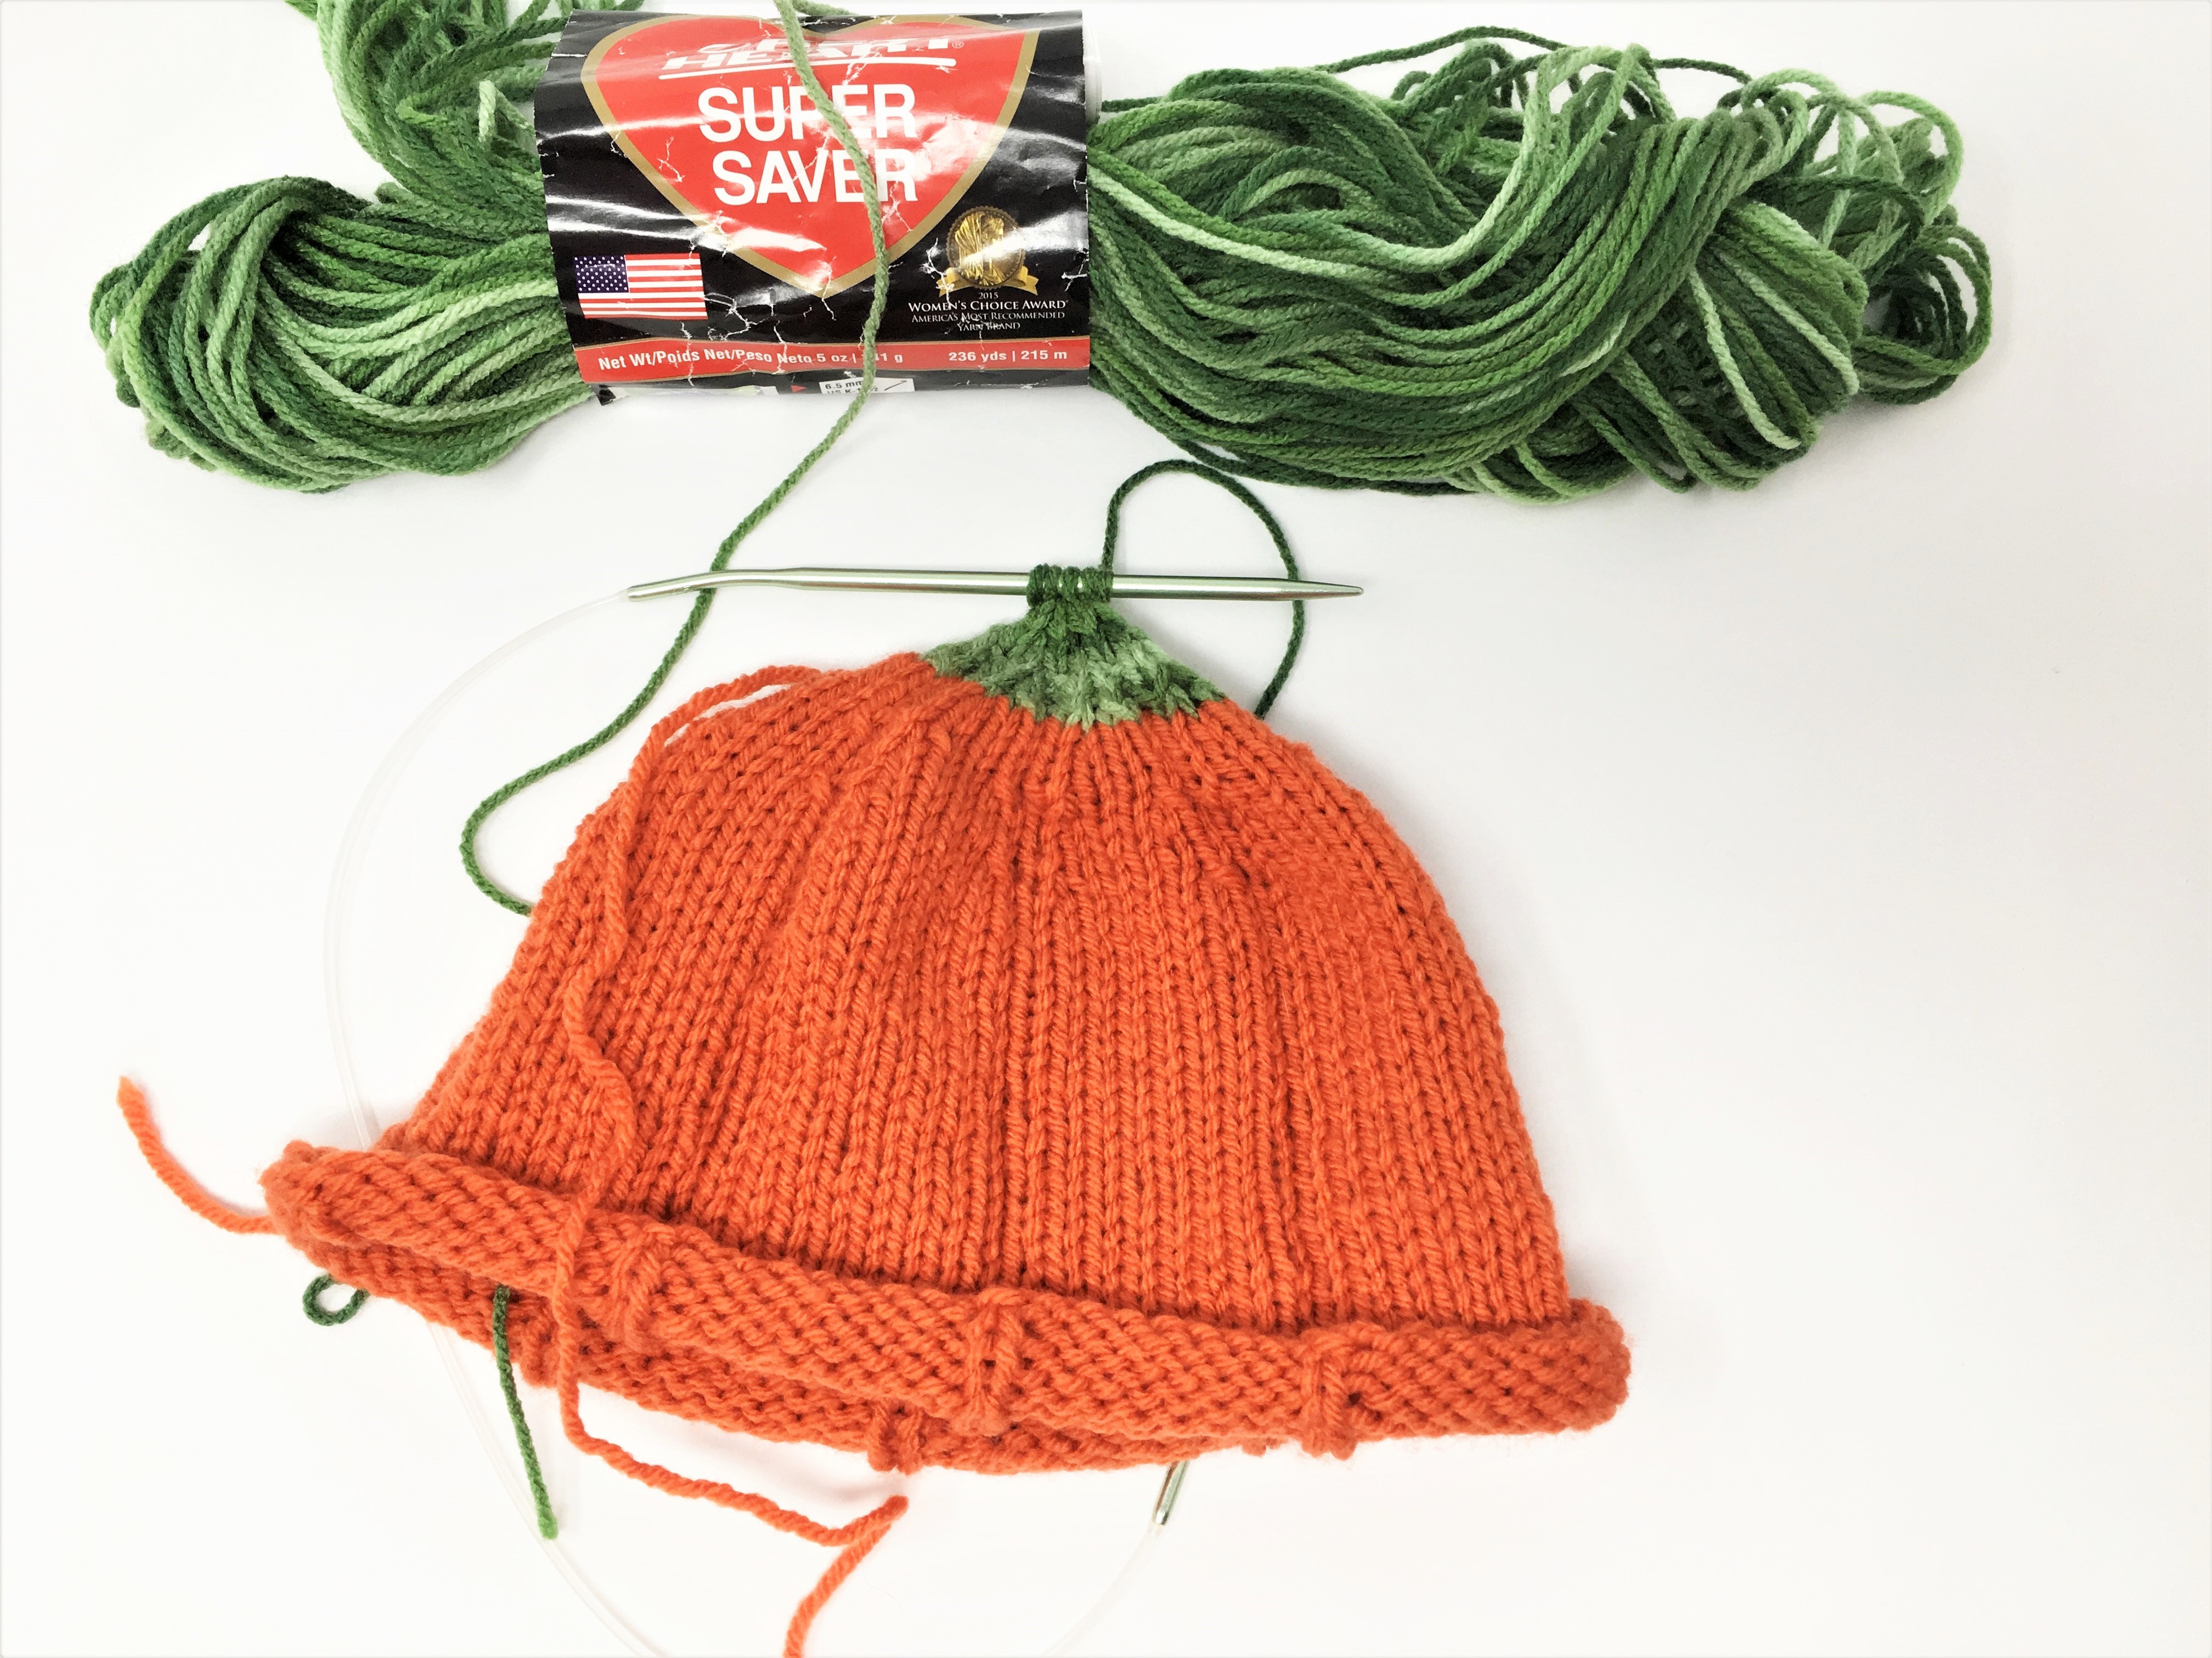
The yarns that I used were Red Heart with Love, color “Tigerlily”, and Red Heart Super Saver, “Green Tones” Both are medium weight yarns that recommend size 8 or 9 knitting needles. I used size 7 needles because that is what I had at the time. Using size 7 needles gave me a gauge of 27 rows tall and 16 stitches wide in a 4×4 inch square.
The Pattern
The concise pattern with common knitting abbreviations is at the end of the post if you want to skip right to it. Or follow along with me to see the process of how I made my little pumpkin hat. The following pattern is for a 12-24 month size child’s hat which I intended to fit Esther, but I also included sizing for the larger toddler size hat in the concise pattern at the end.
Knitting in the Round
So when I am knitting something in the round that has a smaller circumference than my circular knitting needles I like to do one of two things. Either a) I choose a circular needle that has a very long cable so that I can do a magic loop, or b) If I happen to have two sets of circular needles of the same size, I knit one side of the circle with one set of circular needles, and the other side with the other set. Since my very long cable option is currently in use for another project, I chose to do the two sets of circular needles option.
Circular vs. Double Point Needles
A note on why I prefer circular needles over double points. Of course you could use double point needles for this pattern, and they have been used for years for just such projects as this, but I don’t like them as much and it all comes down to laddering. No matter how hard I try I just can’t seem to knit with double points without having a bit of laddering–where there is a small gap between the stitches that were held on different needles.
When I use circular needles I don’t have this problem, even when using the two sets or magic loop techniques which are similar to double points. The difference, I think, has to do with the thinness of the cable. So when I am knitting the first stitch of a new section, where there would normally be a small gap between sections, I can tighten the last stitch of the previous section down to the width of the cable instead of the needle, and eliminate the “ladder” that I would otherwise have with double points. Anyhow, that is why I prefer this method. Let me know what you like best in the comments.
Pumpkin Hat Pattern and Process
1. Cast on 72 stitches in “Tigerlily“. This number is easily divided by 8 so that my pumpkin hat will have 8 sections, with 8 stitches in each, divided by purl ribs. To scale the hat up or down just add or subtract a multiple of 8 plus the corresponding purls, one purl for every 8 knits. So for example, the first hat I made, when I wasn’t sure about sizing and my goal was a hat for Ella, I cast on 88 stitches so that my 8 sections had 10 stitches each with one purl dividing them.
2. Connect the first stitch to the last to form a circle, making sure not to twist the stitches around, and knit the first row.
My Method For Knitting in the Round with Two Sets of Circular Needles
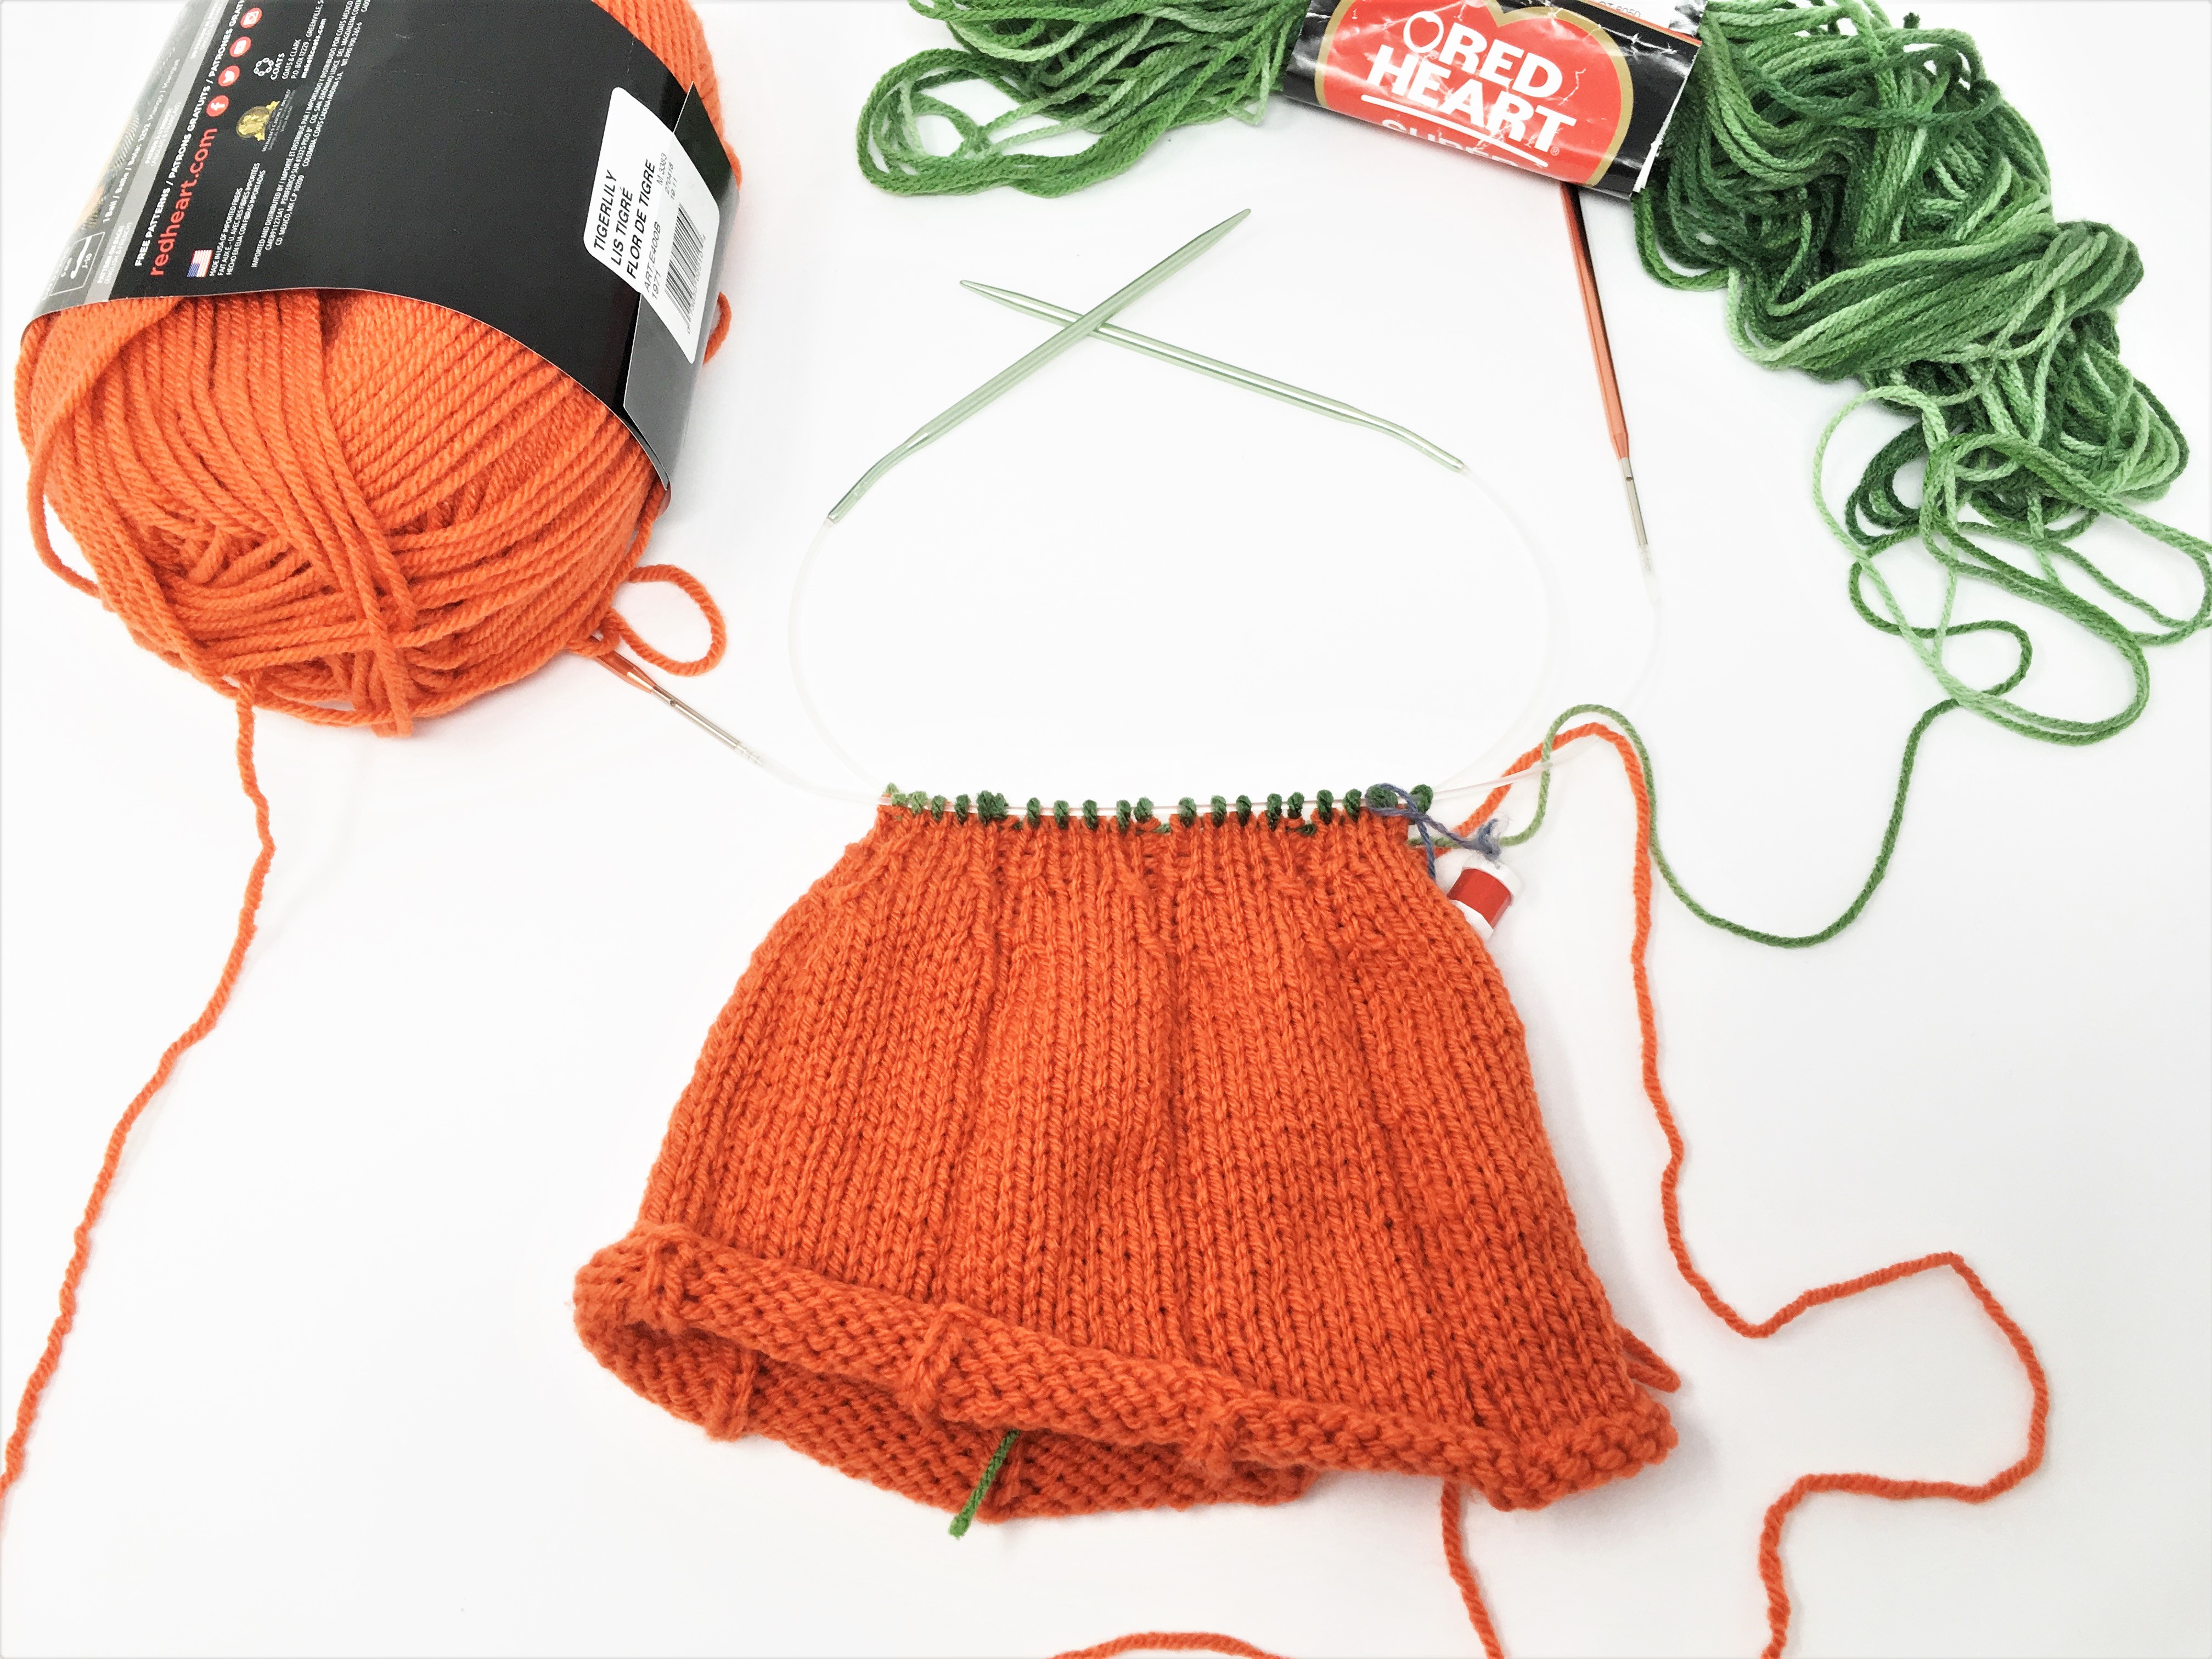
So, as I mentioned above, I sometimes like to knit in the round using two sets of circular needles that are the same size. I typically cast on the number of stitches required onto one set, and then slide them down so that the non-working end is at the end of one of the needles, ready to be worked. I then use the second set of circular needles to work it, connecting the circle from the working end, until I have worked half of the stitches that I cast on.
Once I have worked half of the stitches, I put down the second set of circular needles and pick up the other end of the first set of circular needles to complete the first round of stitches. Now I have half of the stitches on one set of circular needles, and the other half on the other set. So next I just slide the stitches to be worked onto the working needle, and use the other end of the circular needle that those stitches are on to complete that half of the stitches. In this way I work around and around, keeping half of the stitches on one set of needles and the other half on the other set. This is what it looks like once you’ve gotten a few rows in:


3. After the first row of just knit, you can begin the pumpkin pattern by knitting 8 stitches and purling 1. This knit 8, purl 1 pattern is repeated around the hat 8 times till you have completed that row. Then that same pattern is repeated until you have completed 32 rows in that pattern. For me 32 rows was long enough, but if you wanted a deeper hat you could knit more rows like this, it is entirely up to the maker. Once it was as long as I needed, I began the decrease.

4. Many hats will do a knit 2 together every so often as a decrease which creates a sort of spiral, but since this is a pumpkin, I wanted it to look like one with the ribs. So I chose to decrease using a slip, slip, knit on the left side of each rib (or purl), and a knit 2 together on the right sides. So the pattern for the first round of decrease is slip slip knit, knit 4, knit 2 together, and purl 1. Repeat this 8 times.
5. This reduces the number of stitches in each pumpkin section to only 6. So the pattern for the next three rows is knit 6, purl 1 eight times.
6. The next decrease row brings the total stitches in each section down to 4 and looks like this: slip slip knit, knit 2, knit 2 together and purl 1, eight times.
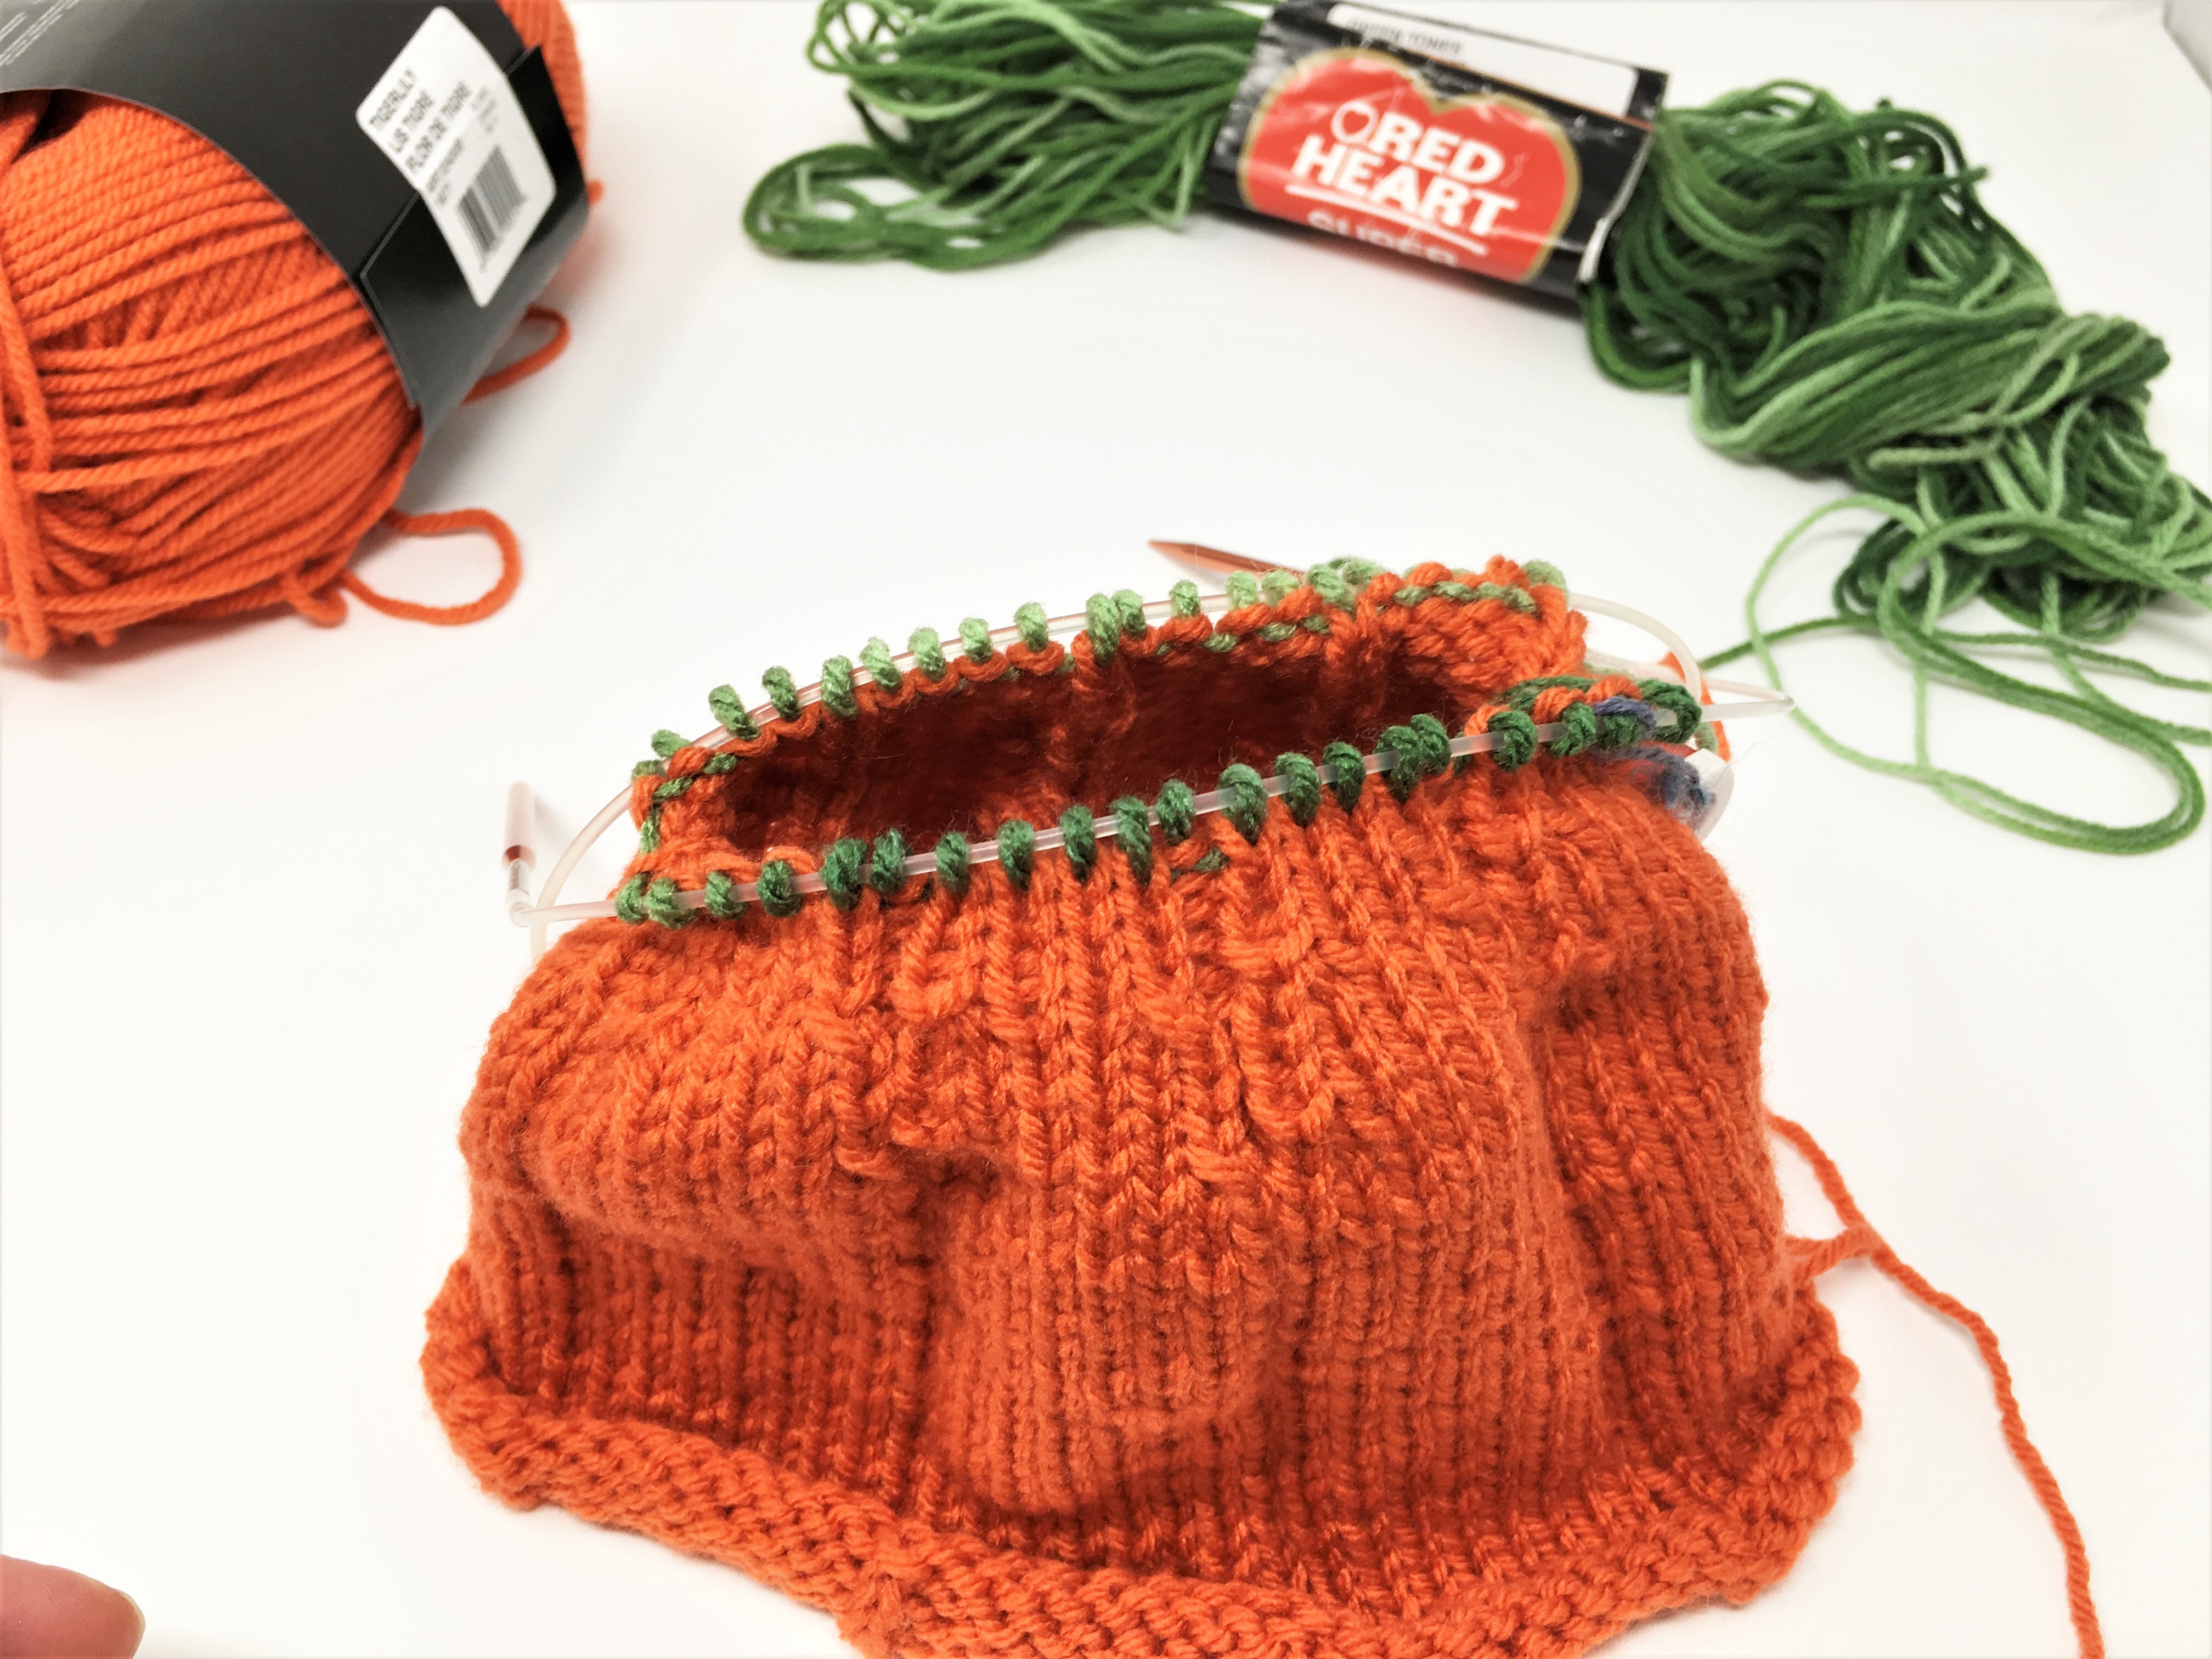
7. After that decrease round, knit 3 rows by knitting 4 and purling 1, eight times. There will now be 40 stitches total, and your pumpkin hat body is done!

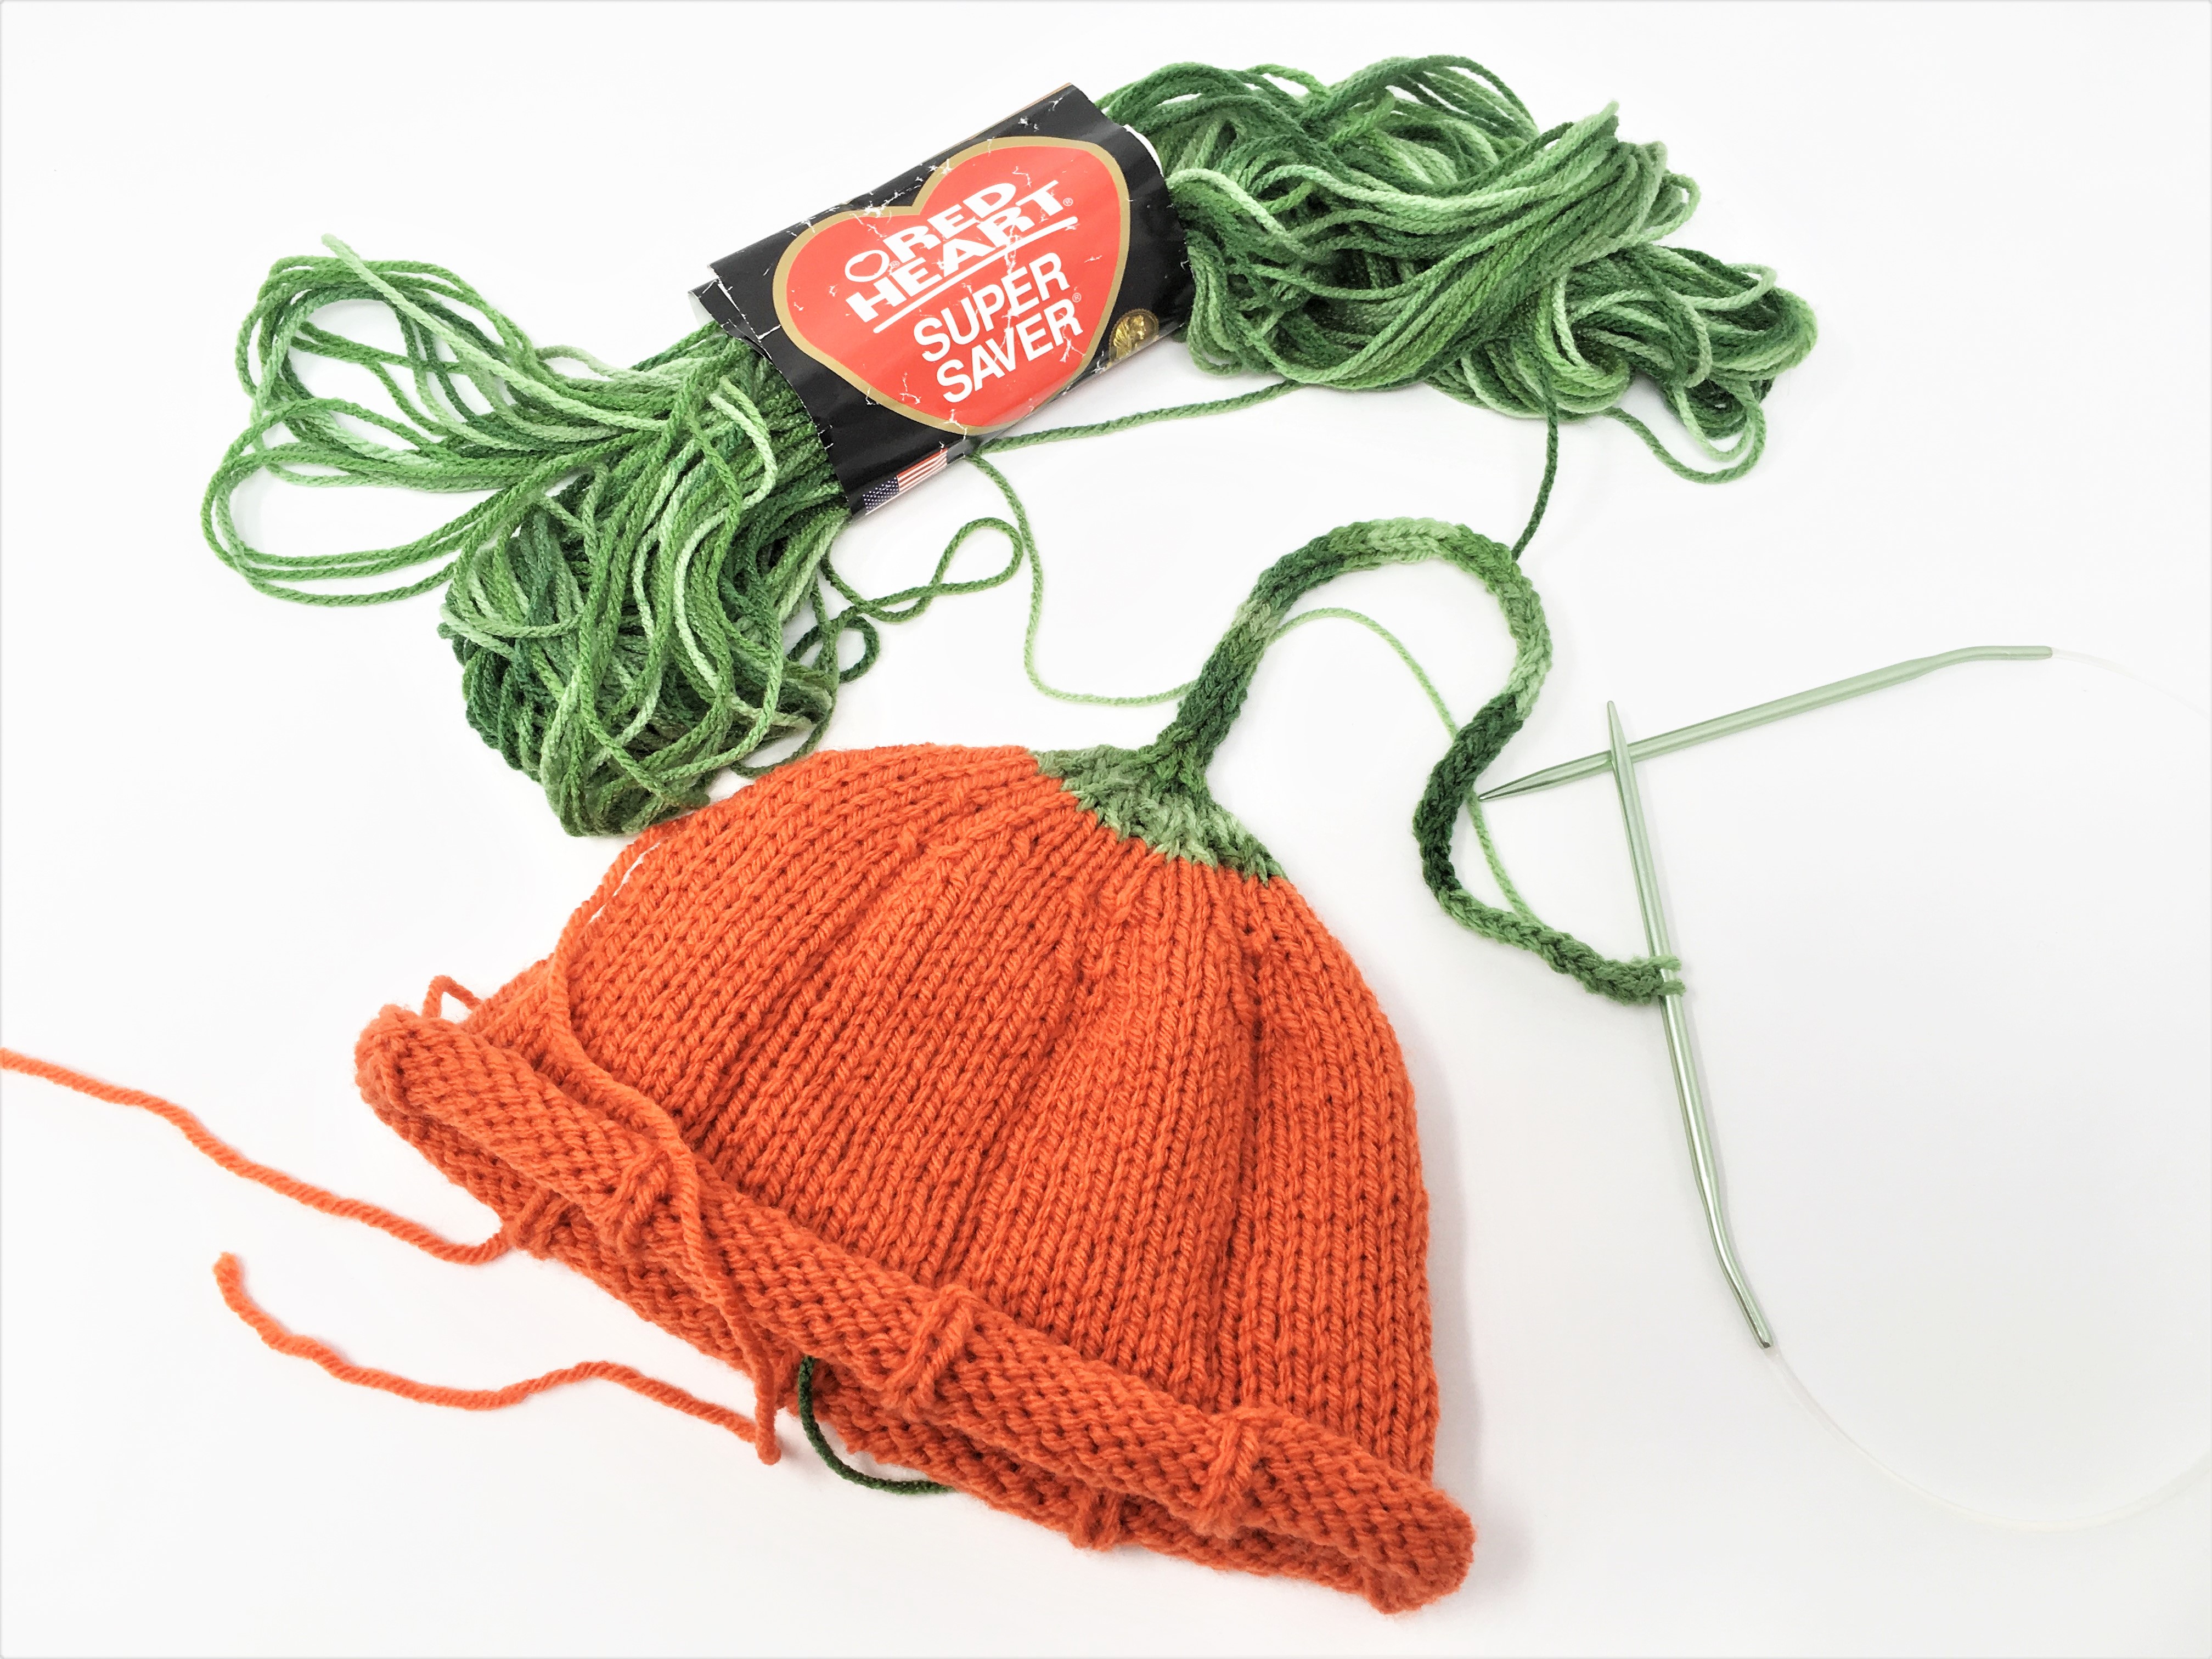
8. Now comes the exciting color change. Change the yarn color to “Green Tones” or whatever green yarn you have lying about that you like, and leave tails about 10 inches or so to weave in.

9. Knit one row with the green in the same pattern as the last orange row: knit 4 and purl 1, eight times.

10. Next is the first decrease row in green and it follows the same idea as the previous decreases, only this time there are no knits left in the middle between the slip slip knit and the knit 2 together. So slip slip knit, knit 2 together and purl 1, eight times..
11. After that decrease there will only be 2 knit stitches left in each section between the purl ribs. Knit 2 rows by knitting 2 and purling one, 8 times around.
12. Closing down more with another decrease will leave only 1 knit stitch between purls. Here is where you will change to all knit stitches without the purls. So, knit 2 together, and then knit one, eight times.
13. The next row is just knit all the way around.
14. This next decrease is to knit 2 together all the way around. This leaves only 4 stitches on each needle.
15. Knit the last 8 stitches once around.

16. Only one more decrease now to make 5 stitches before beginning the I chord. Decrease by knitting 2 together, twice, then knit 1, knit 2 together again and finish with a knit stitch.
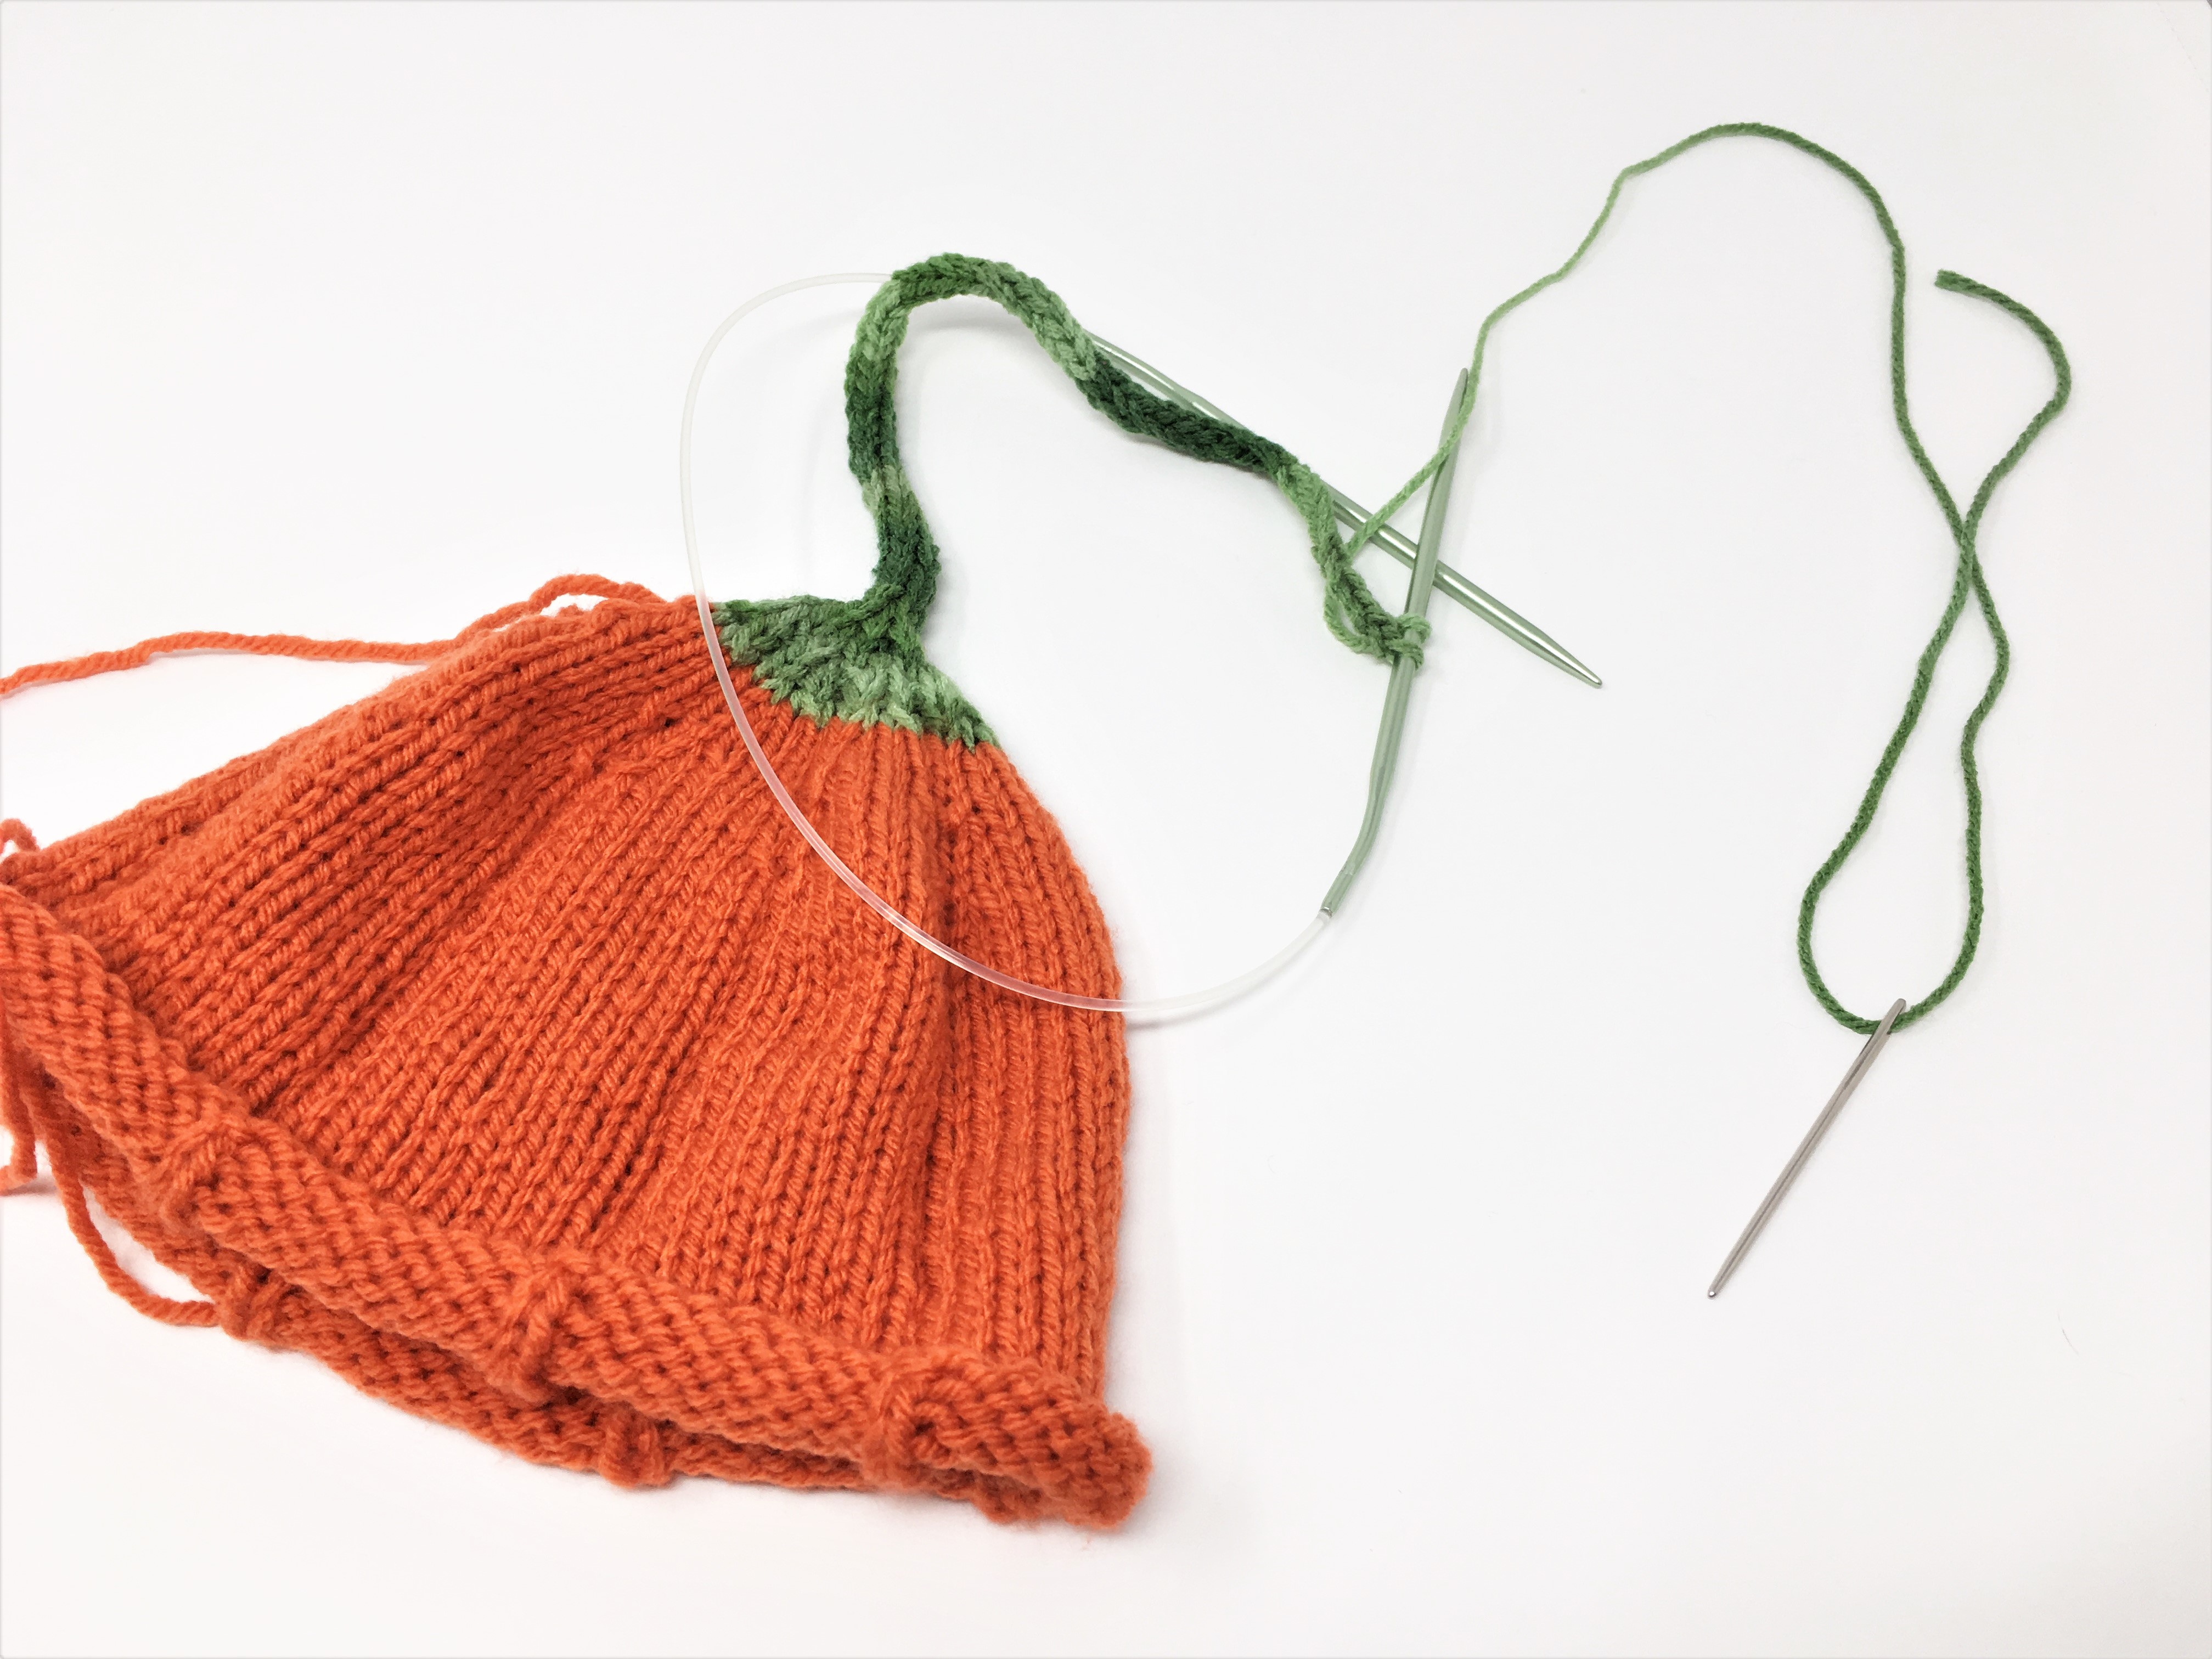
17. Now it’s I chord time! Move all 5 stitches onto 1 circular needle (or double point needle) to start an I chord. An I chord is a small amount of stitches which end up looking like they were knit in the round. You make an I chord by knitting the stitches, and then sliding them down your circular needles or double point needle–to the right, so that the non-working end is back on the needle to be worked again, pulling the yarn around from the back. This doesn’t work well if there are too many stitches because you will get frightful laddering, but it worked fine with 5 and works even better with 4 and 3. Here is a video of this technique (done on double points) if you want to see it step by step.

18. Knit the 5 stitch I chord for 3 rows before decreasing down to 4 stitches.
19. To decrease to 4 stitches, knit one, knit 2 together, knit 2.
20. Knit the 4 stitch I chord for 15 rows
21. Then decrease once again to 3 stitches by knitting 1, knitting 2 together and kitting the last stitch.
22. Continue knitting this 3 stitch I chord for 20 rows.
23. Finally, the last decrease will take the I chord down to only 2 stitches and will be just a knit 2 together and knit 1.
24. Knit the 2 stitch I chord for 15 rows before tying off.

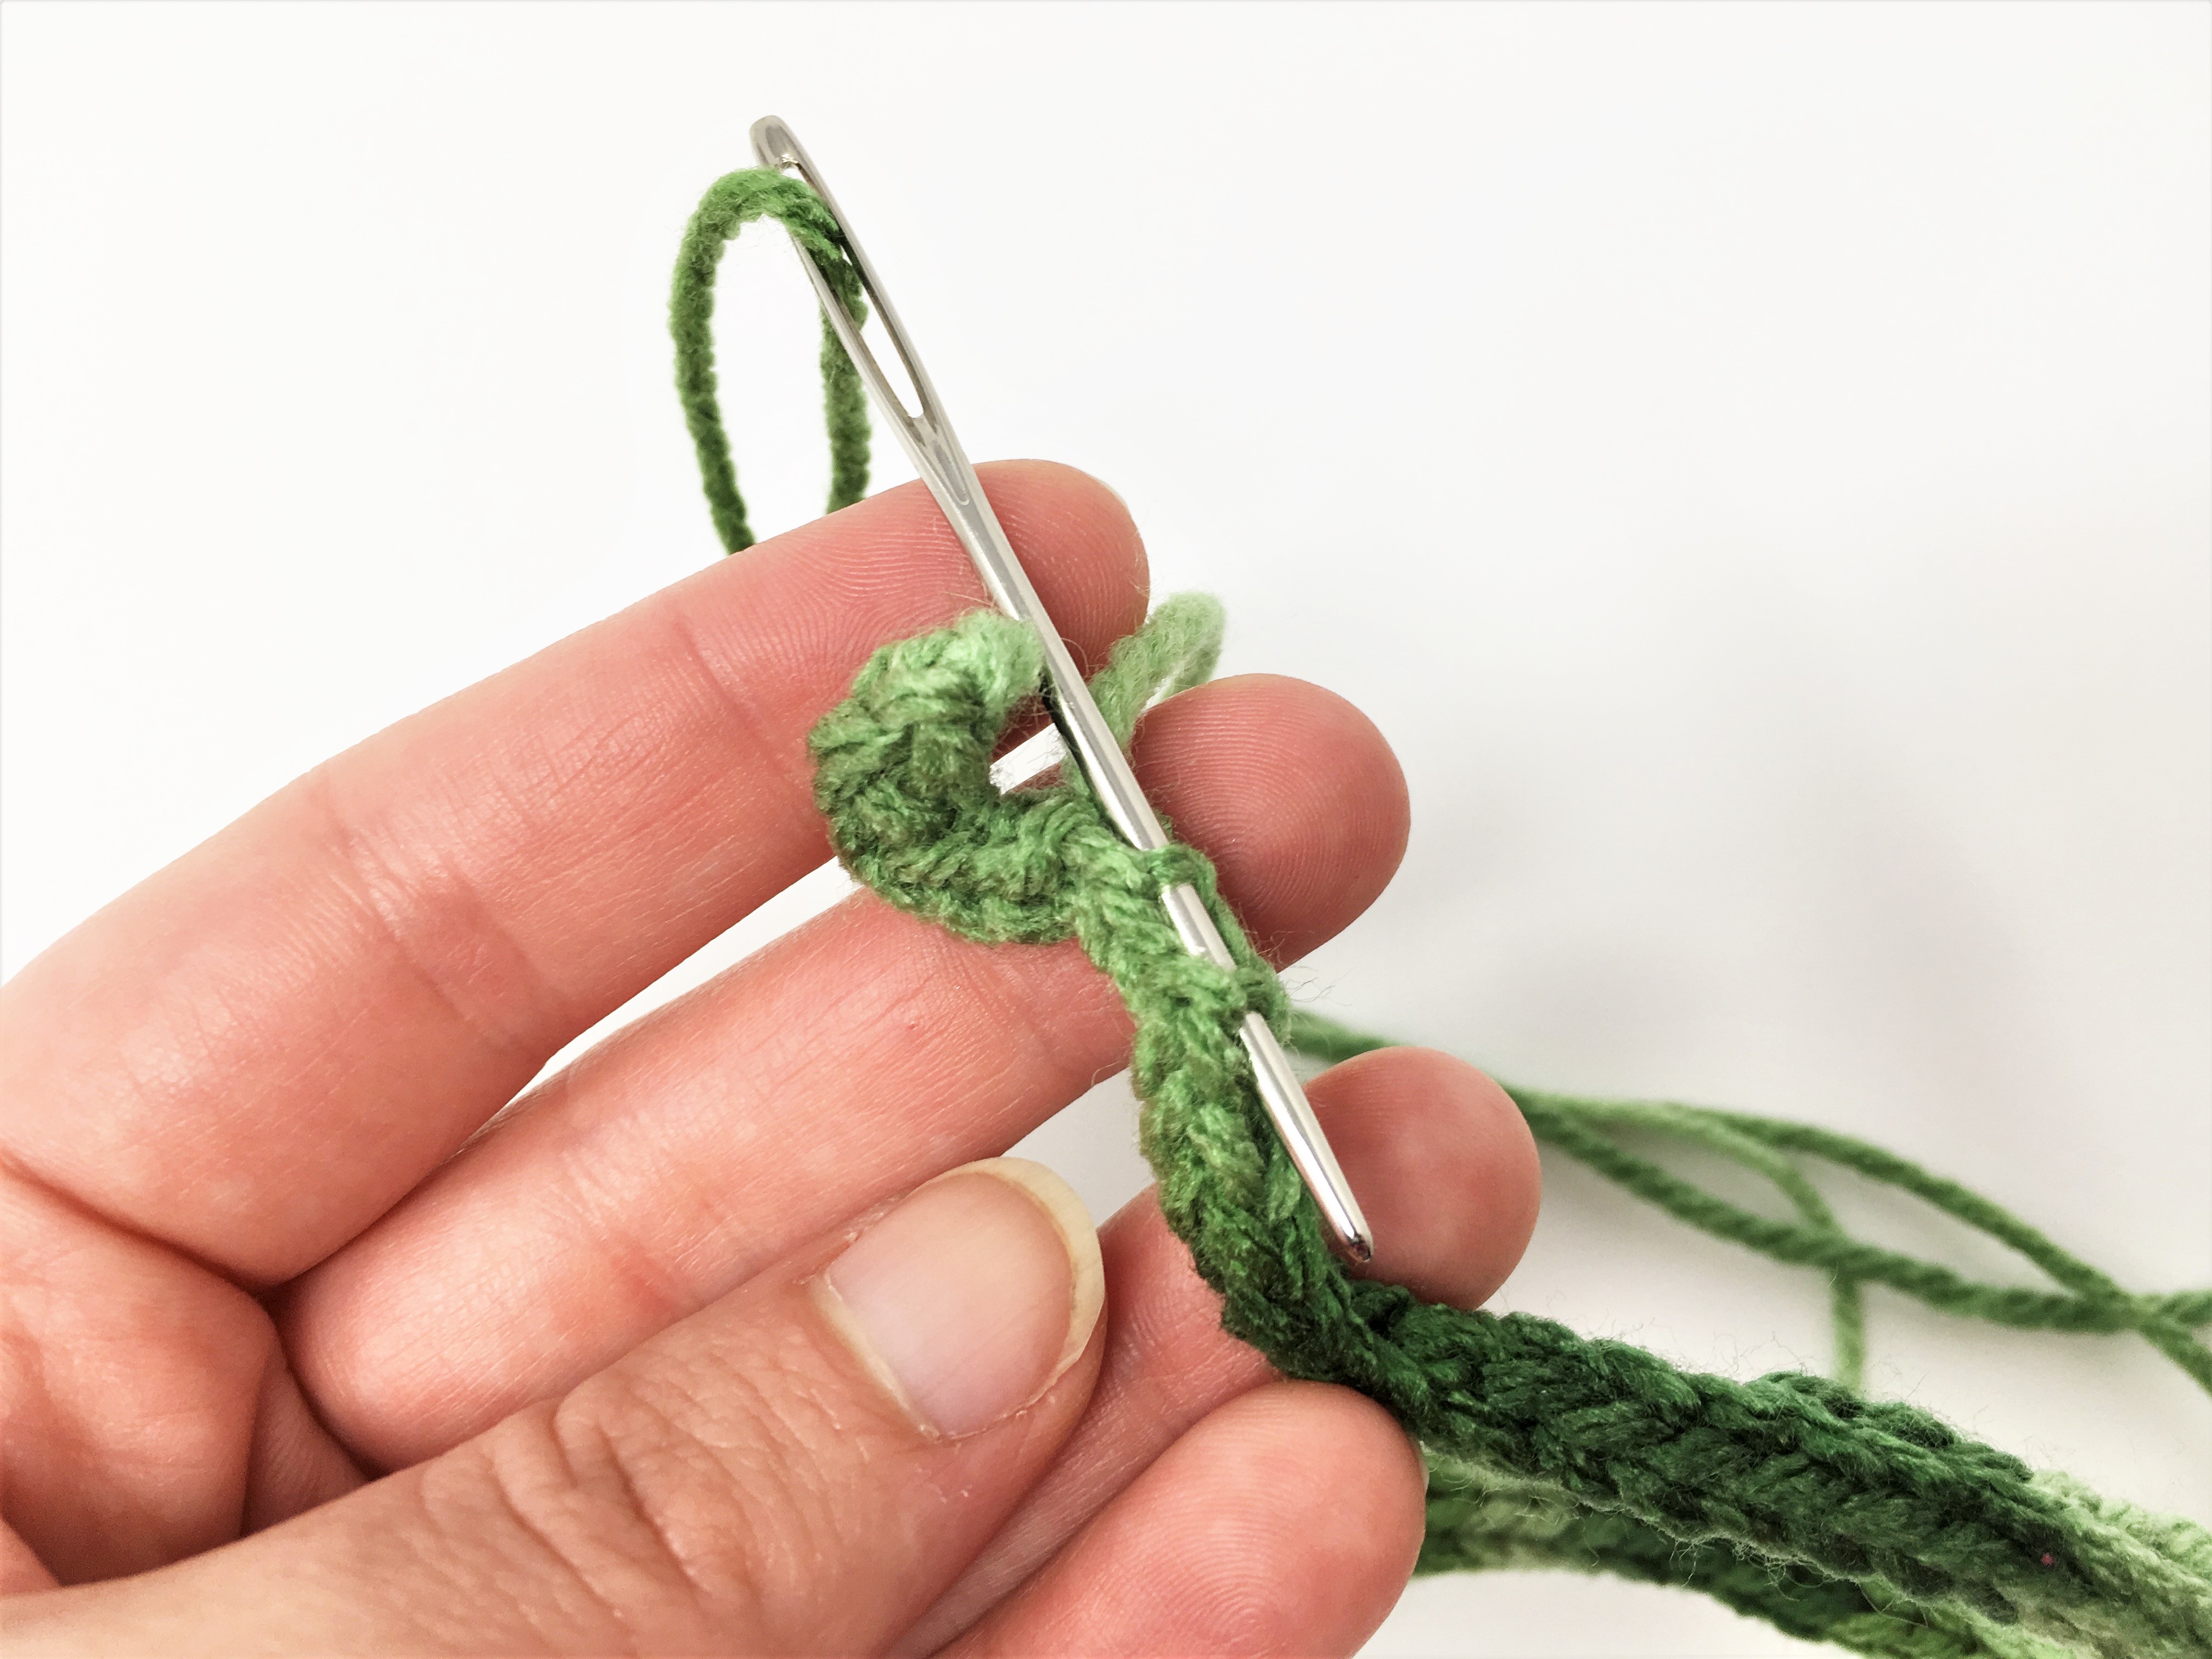
25. When you’re ready to end the I chord, cut the yarn with a tail about 20-25 inches long for forming the curl in the pumpkin stem.

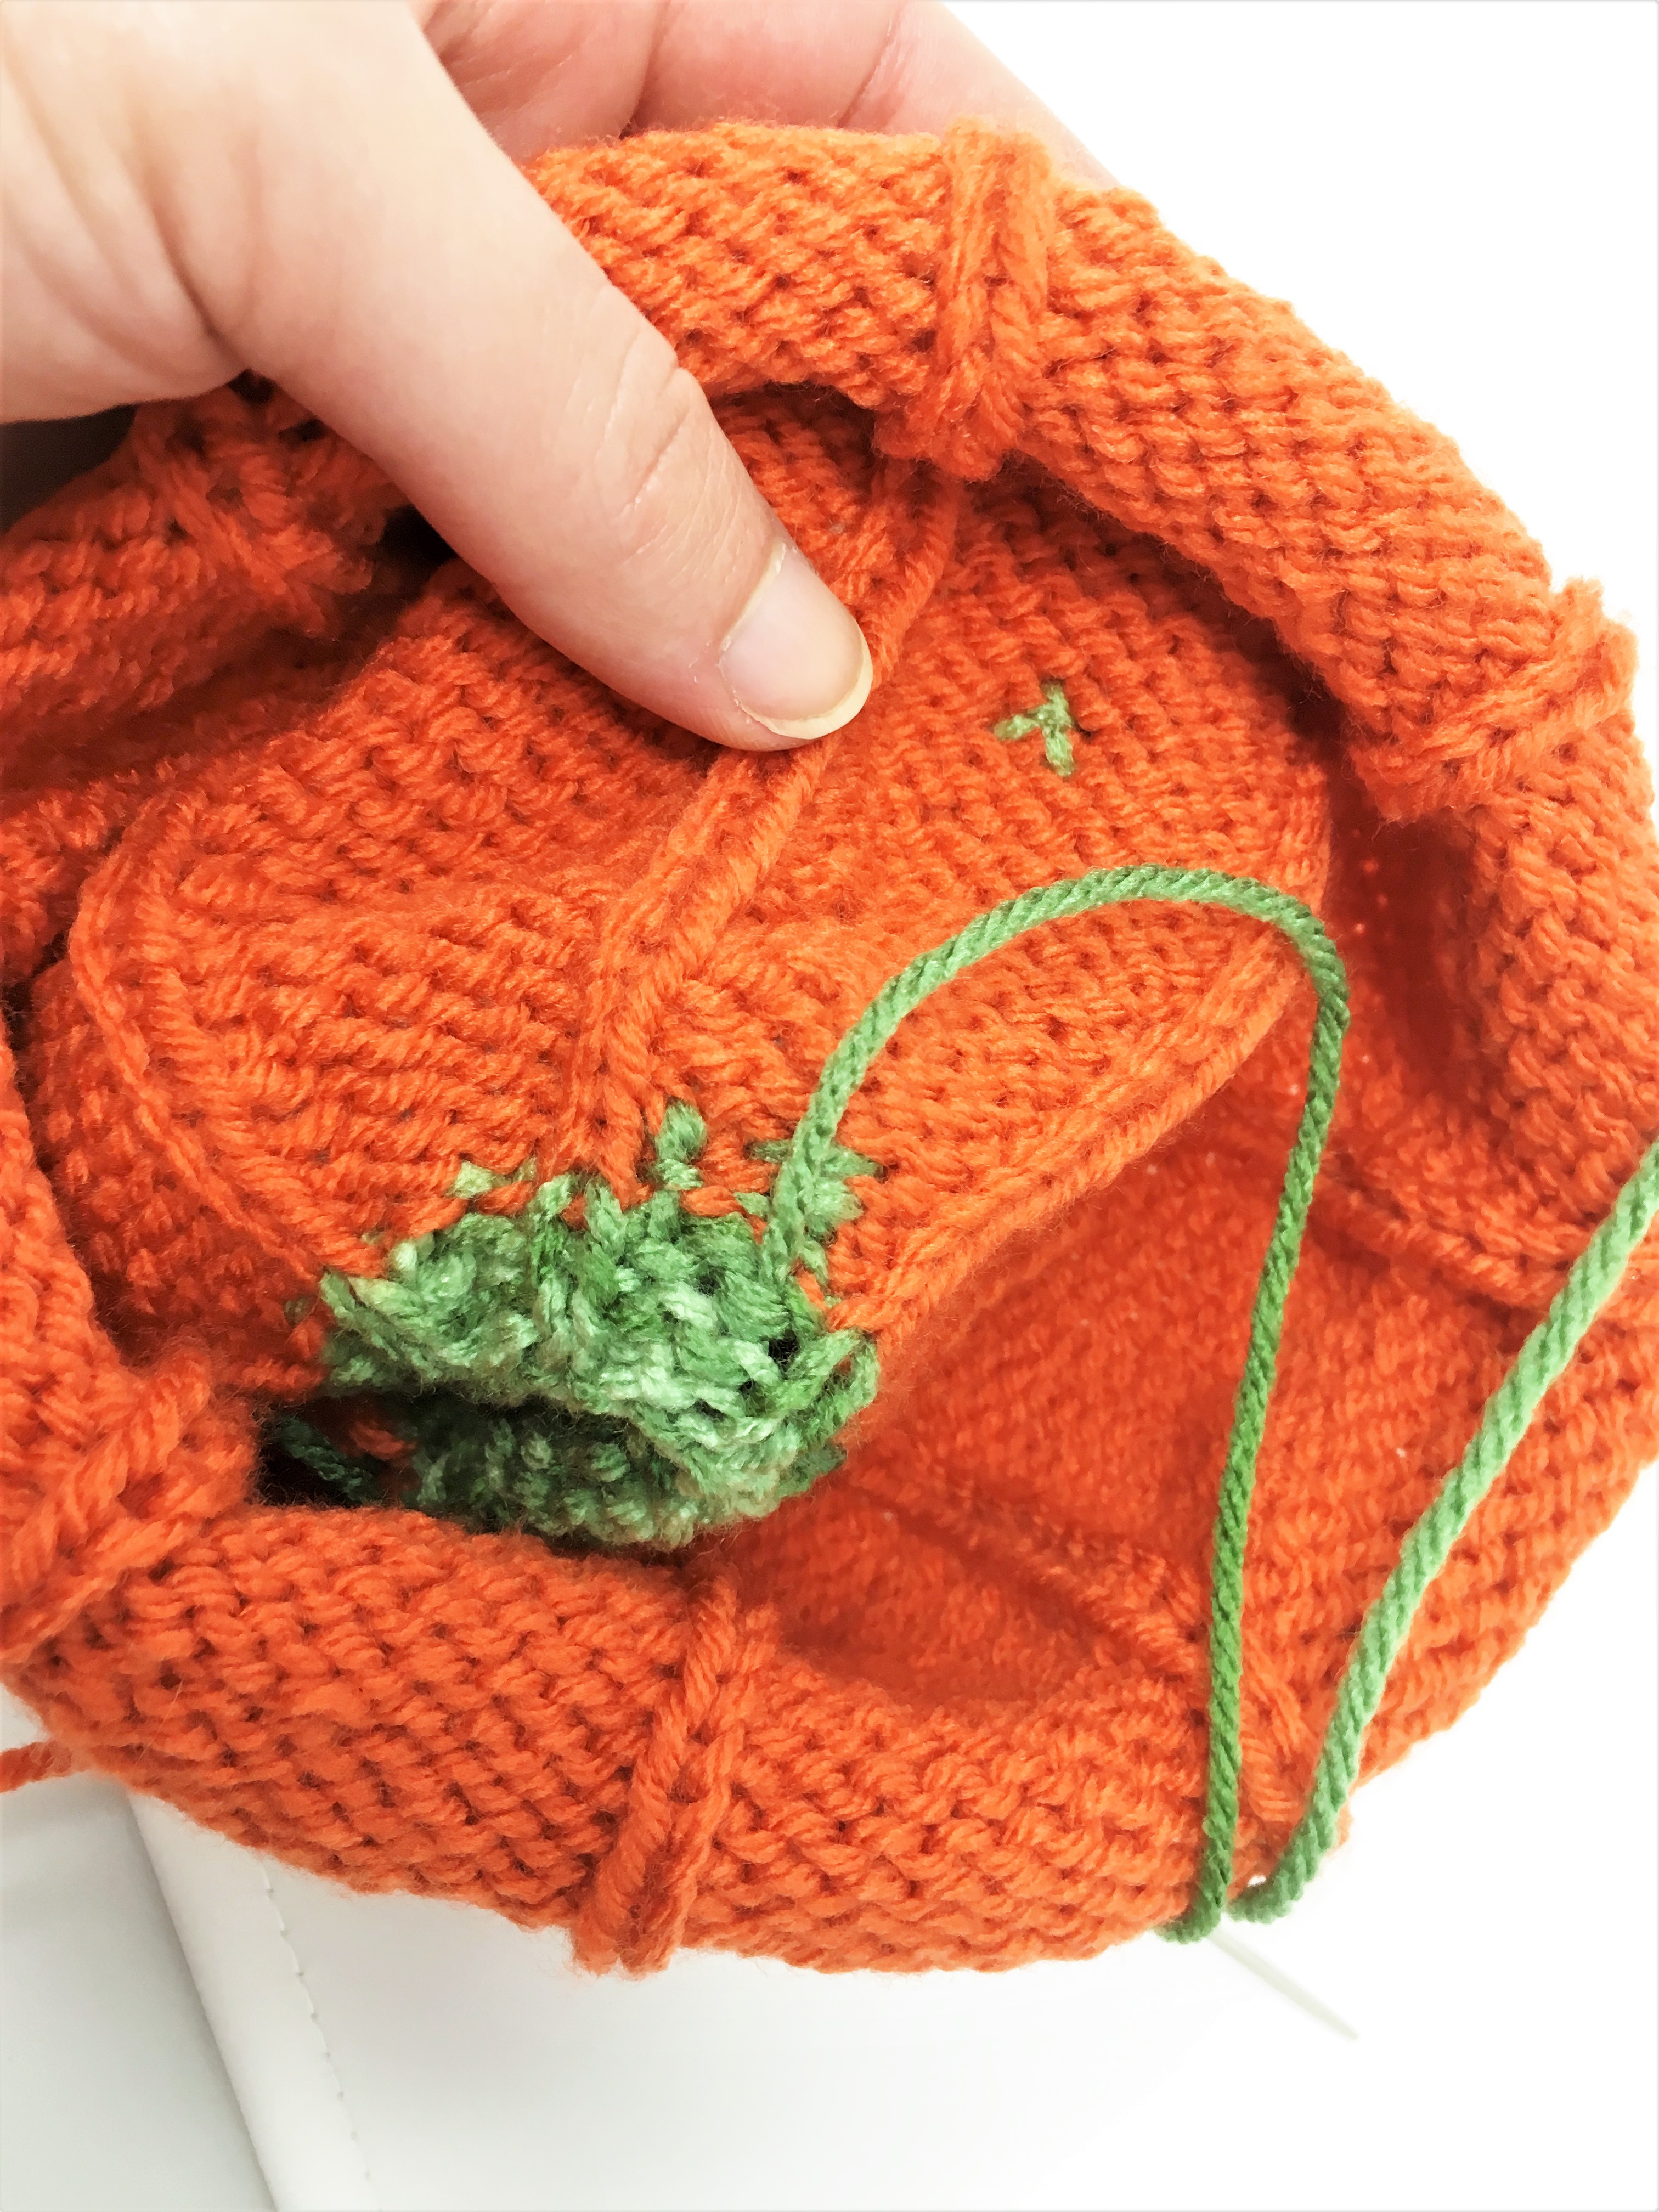
26. Thread a darning needle with the tail and go through the two stitches that are still on the knitting needle twice. Pull the yarn tight and you are ready to begin shaping the curly stem.
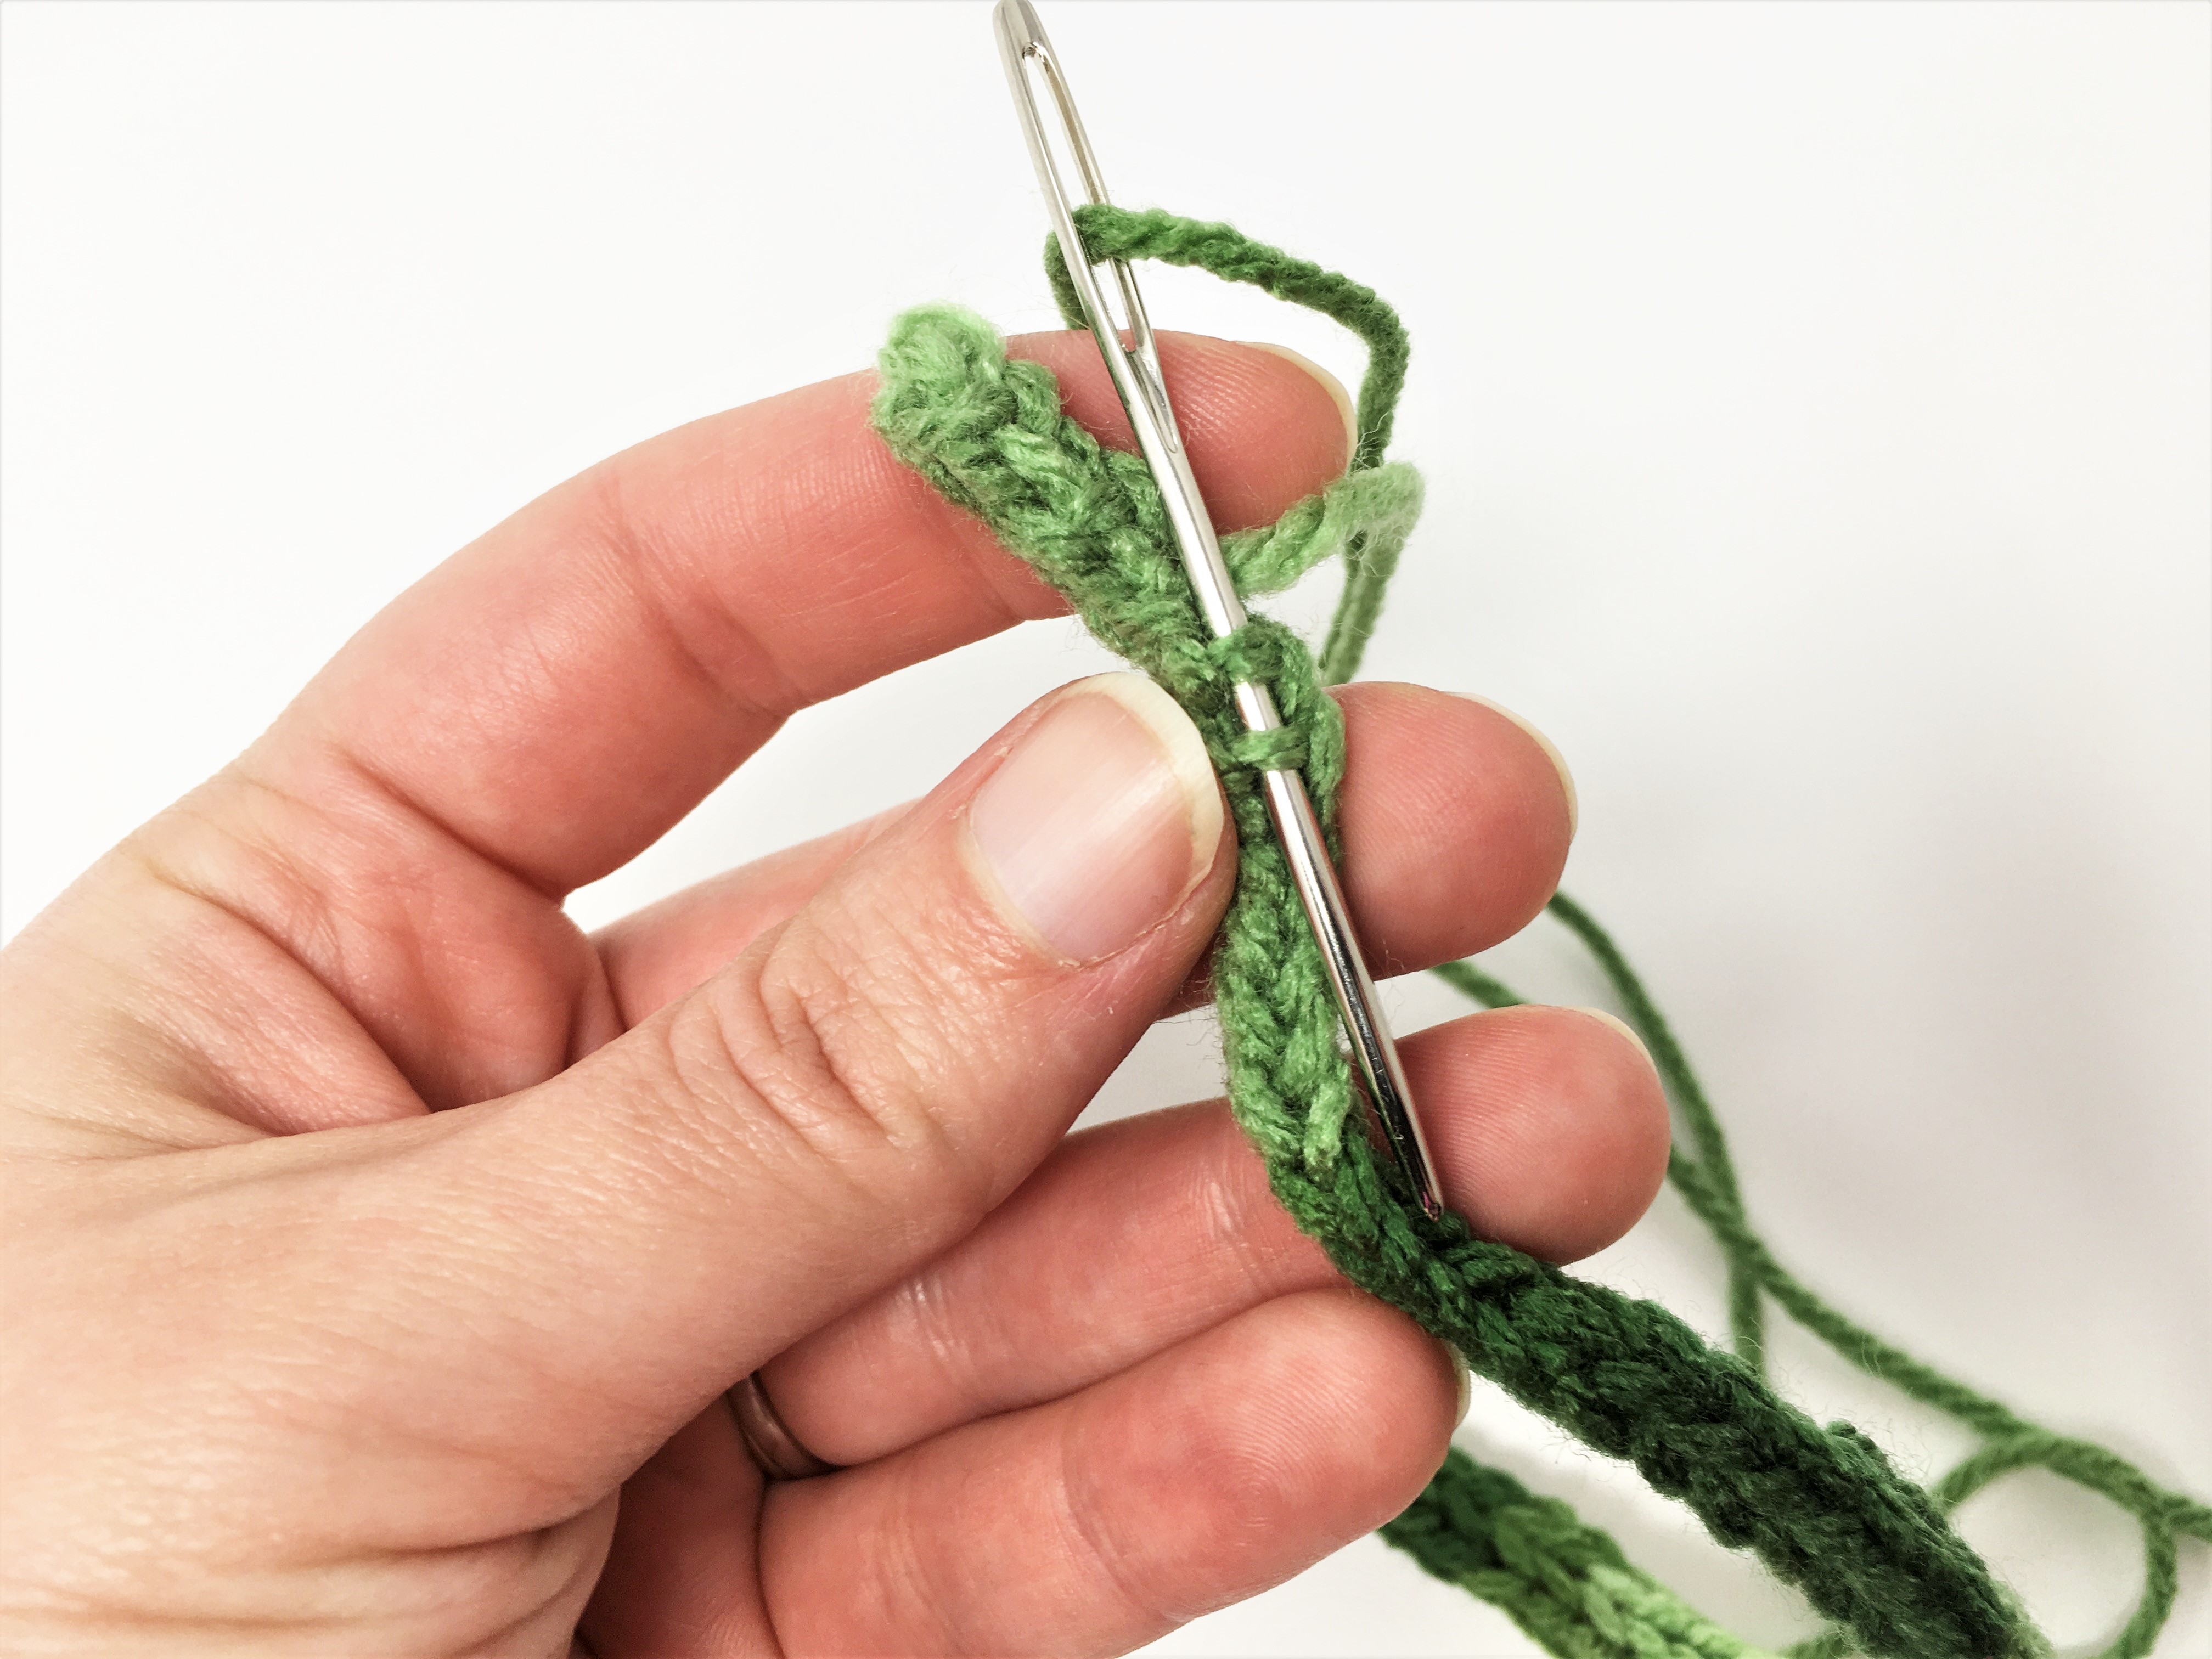
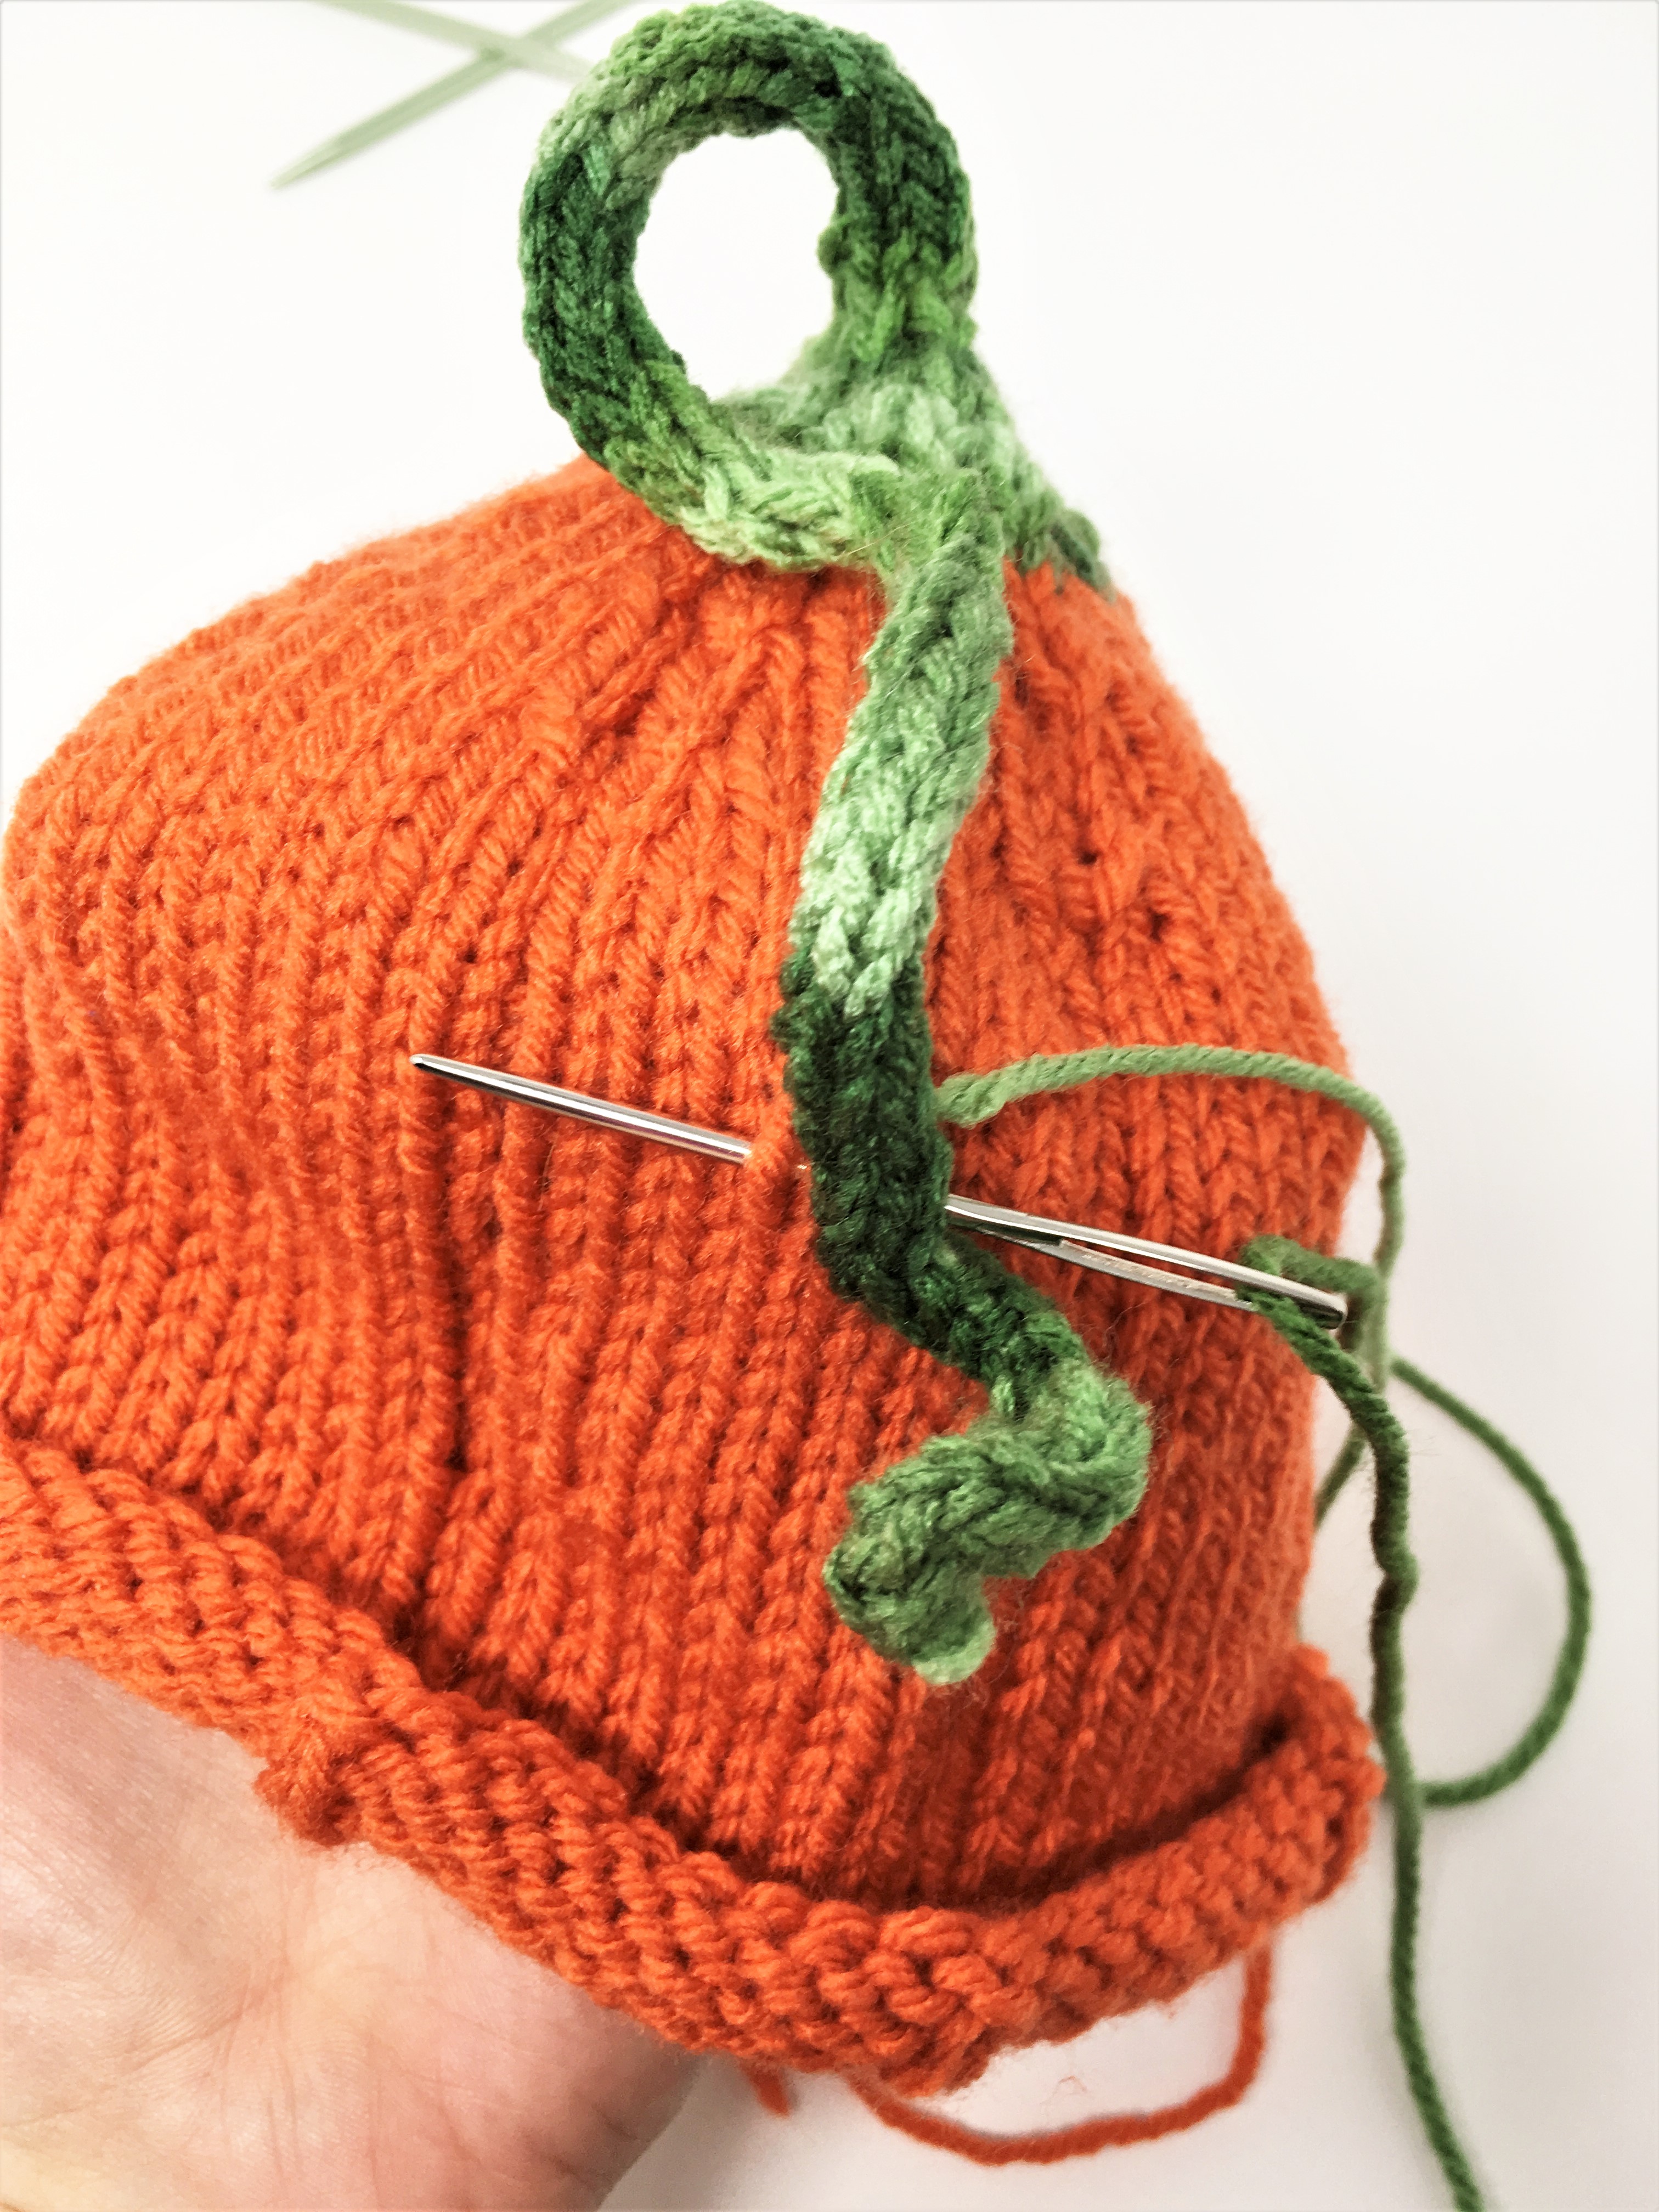
27. To shape the curly stem: Thread the needle through every other bar (the bit of yarn between two stitches) on one side of the I chord, starting from the end, for 5 stitches. Pull the yarn snug to make the I chord start curling, and thread the yarn through the last bar a second time to secure it. Thread the needle through the next 4 stitches in the same way by going into every other bar until you have 4 on the needle, and then pull it snug, going back through the last bar a second time to secure it.


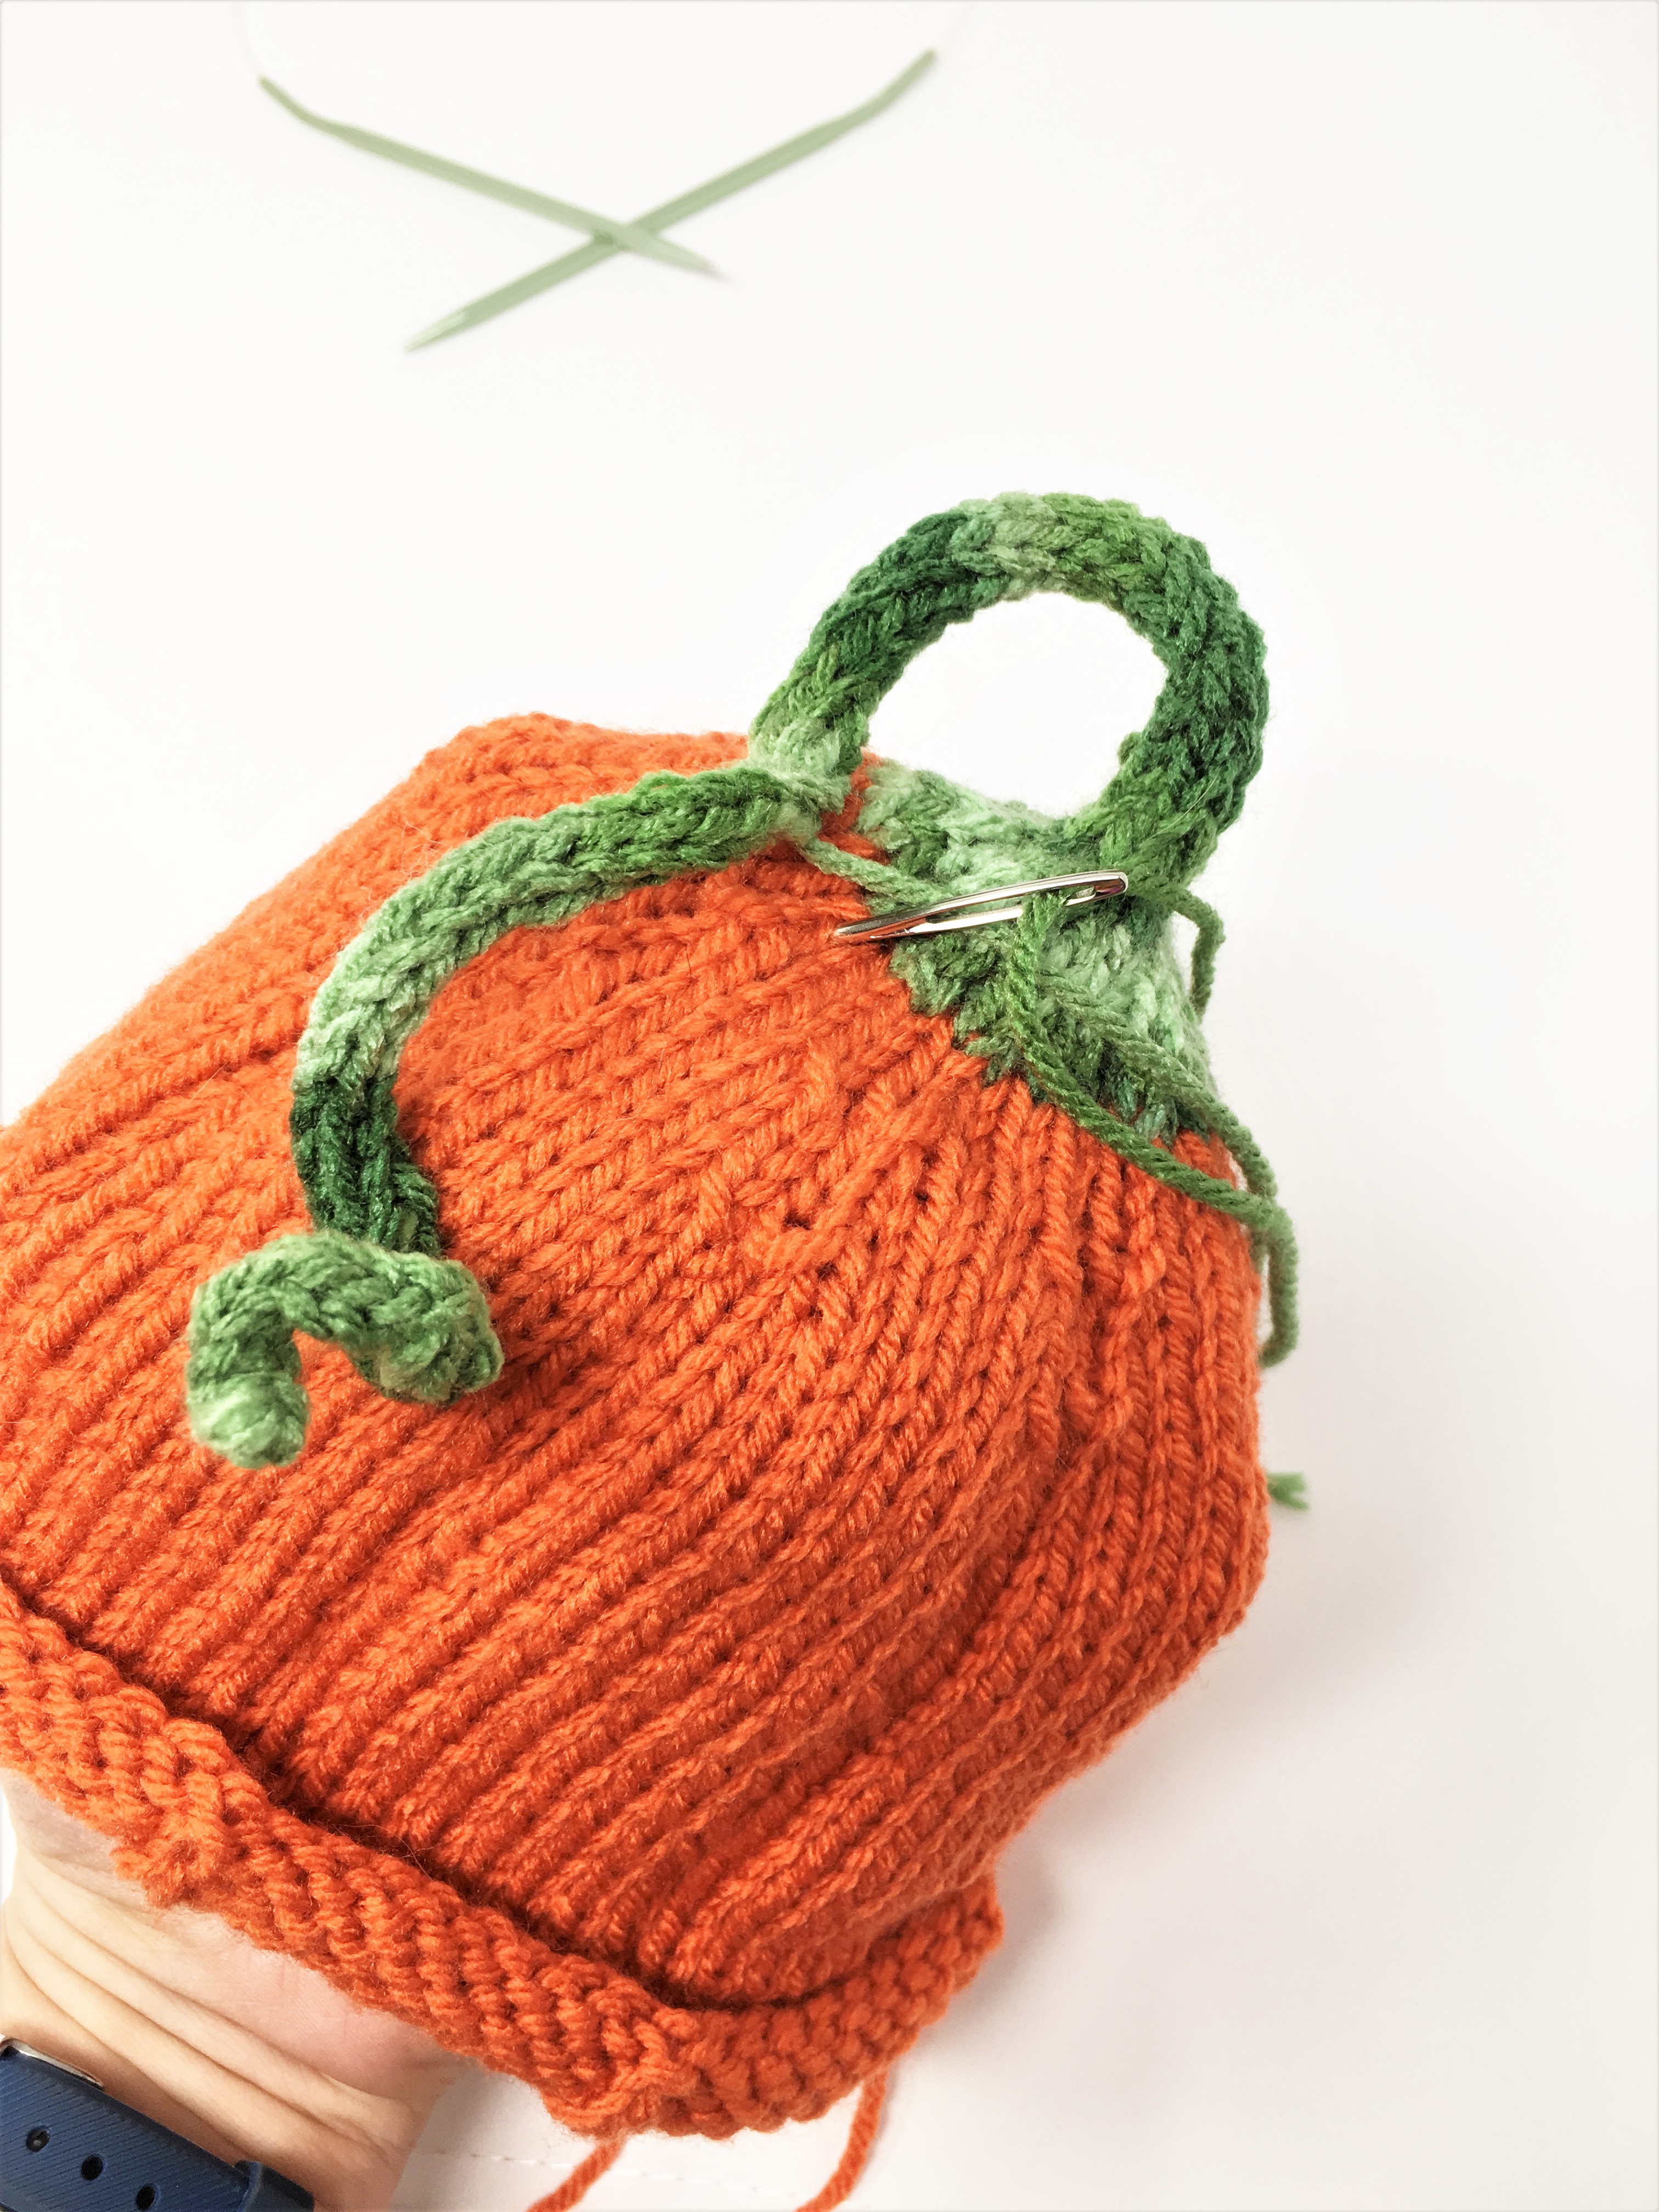
Work, in this way, up the stem until you come to the 3 stitch thick I chord and a spot where you want to secure the stem to the hat. Play with the stem a little bit, giving it a little bit of a twist and imagining where you want to secure it. I recommend securing it in two places onto the hat to help keep the curl. Once you figure out where you want the first curl to attach, stitch it to the hat and secure it well.


Then thread the needle up the center of the stem to the second spot where you would like to secure it, about 2 1/2 inches from the first spot.

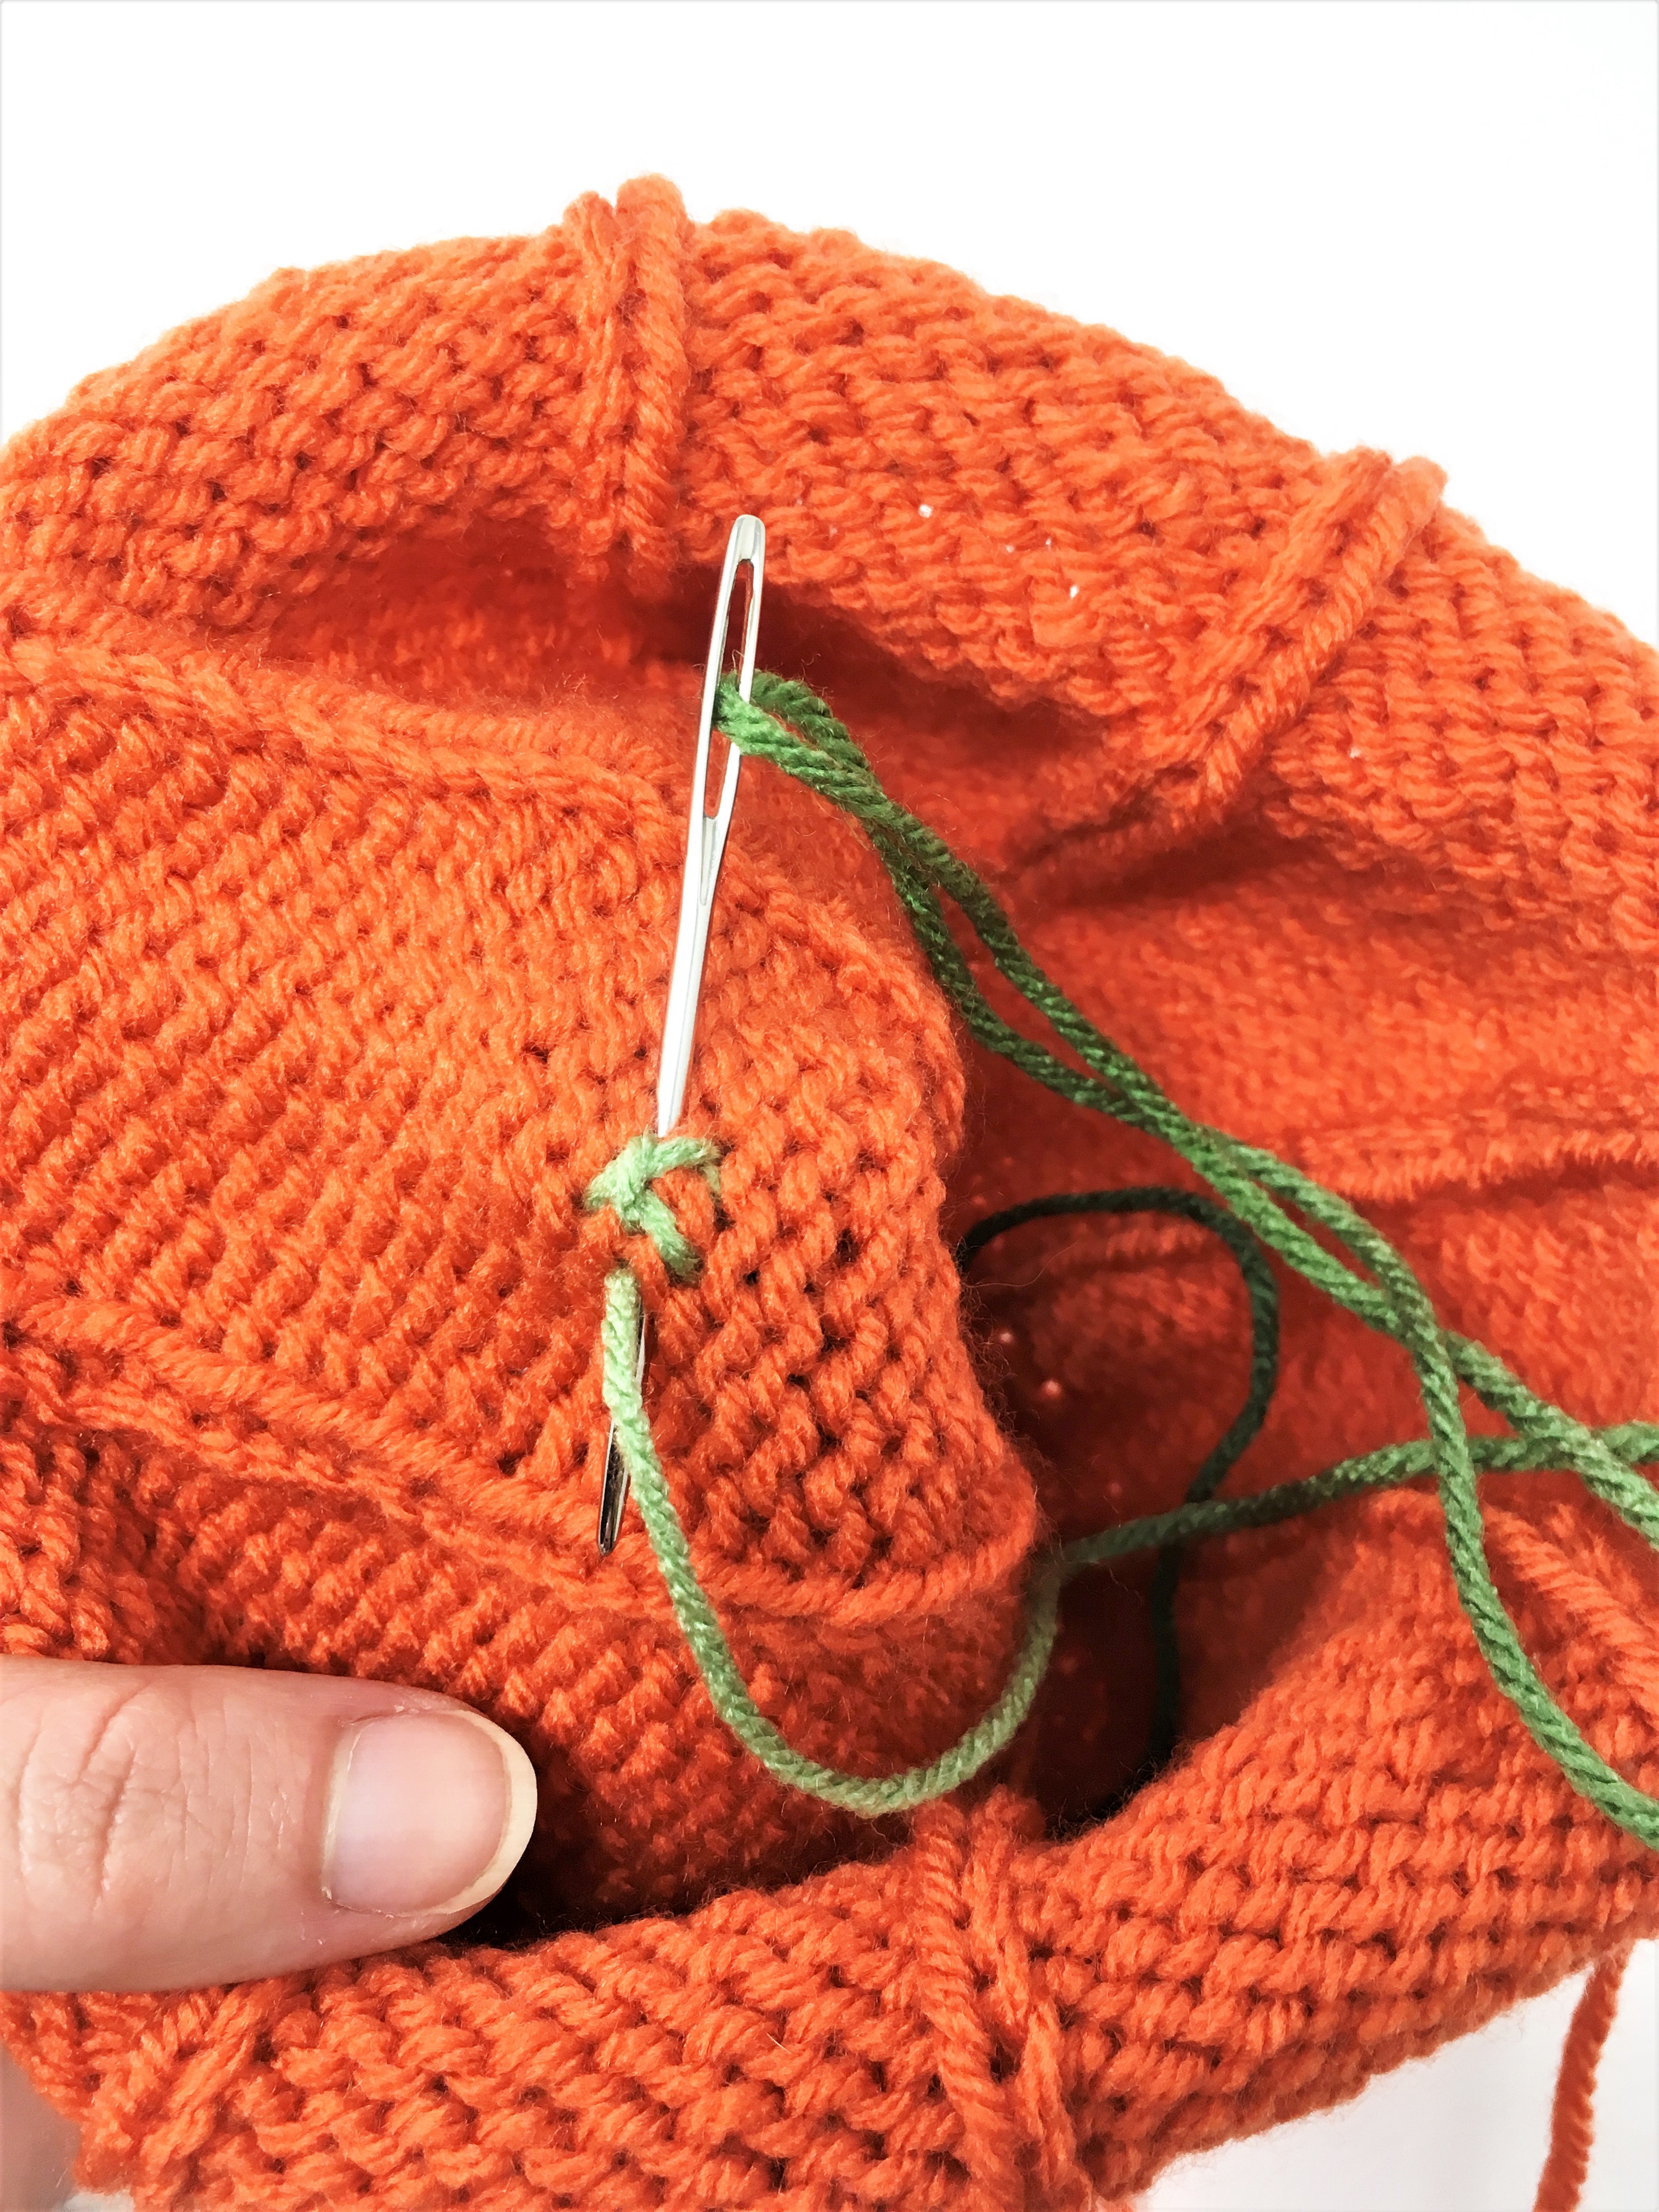
Secure the stem to the hat at this spot as well, and then weave in the tail end into the green stem so it won’t be seen.


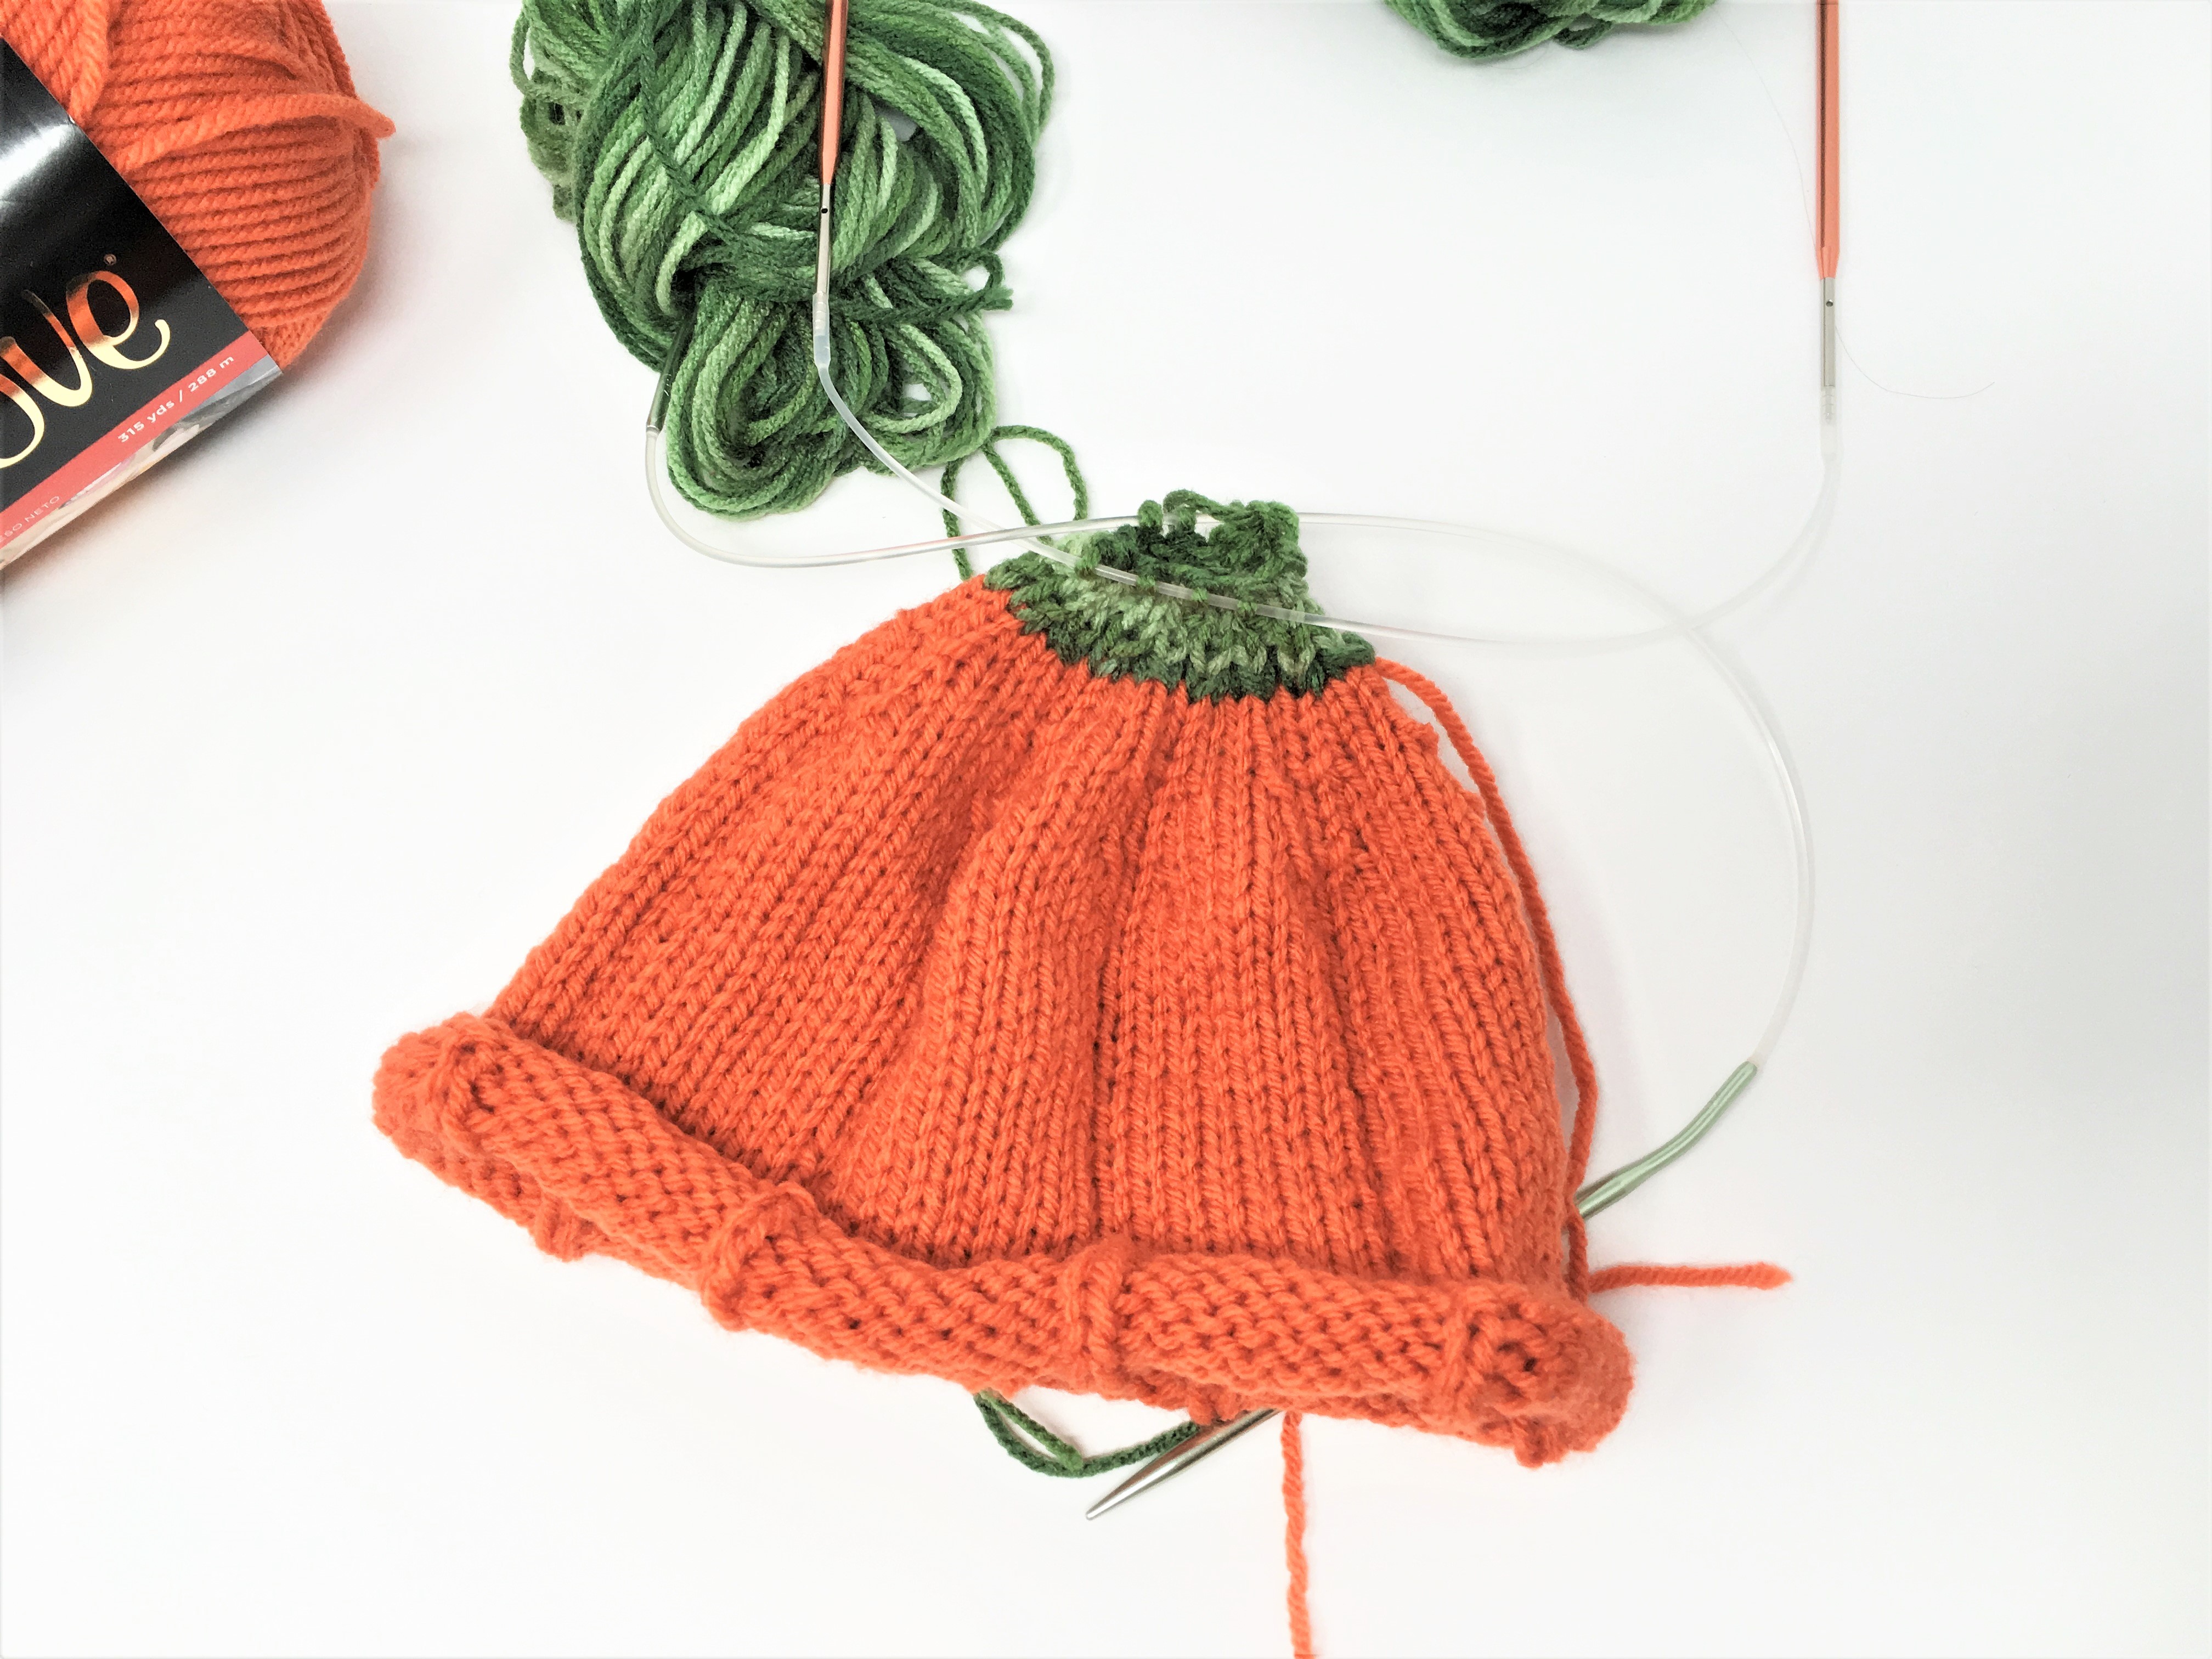
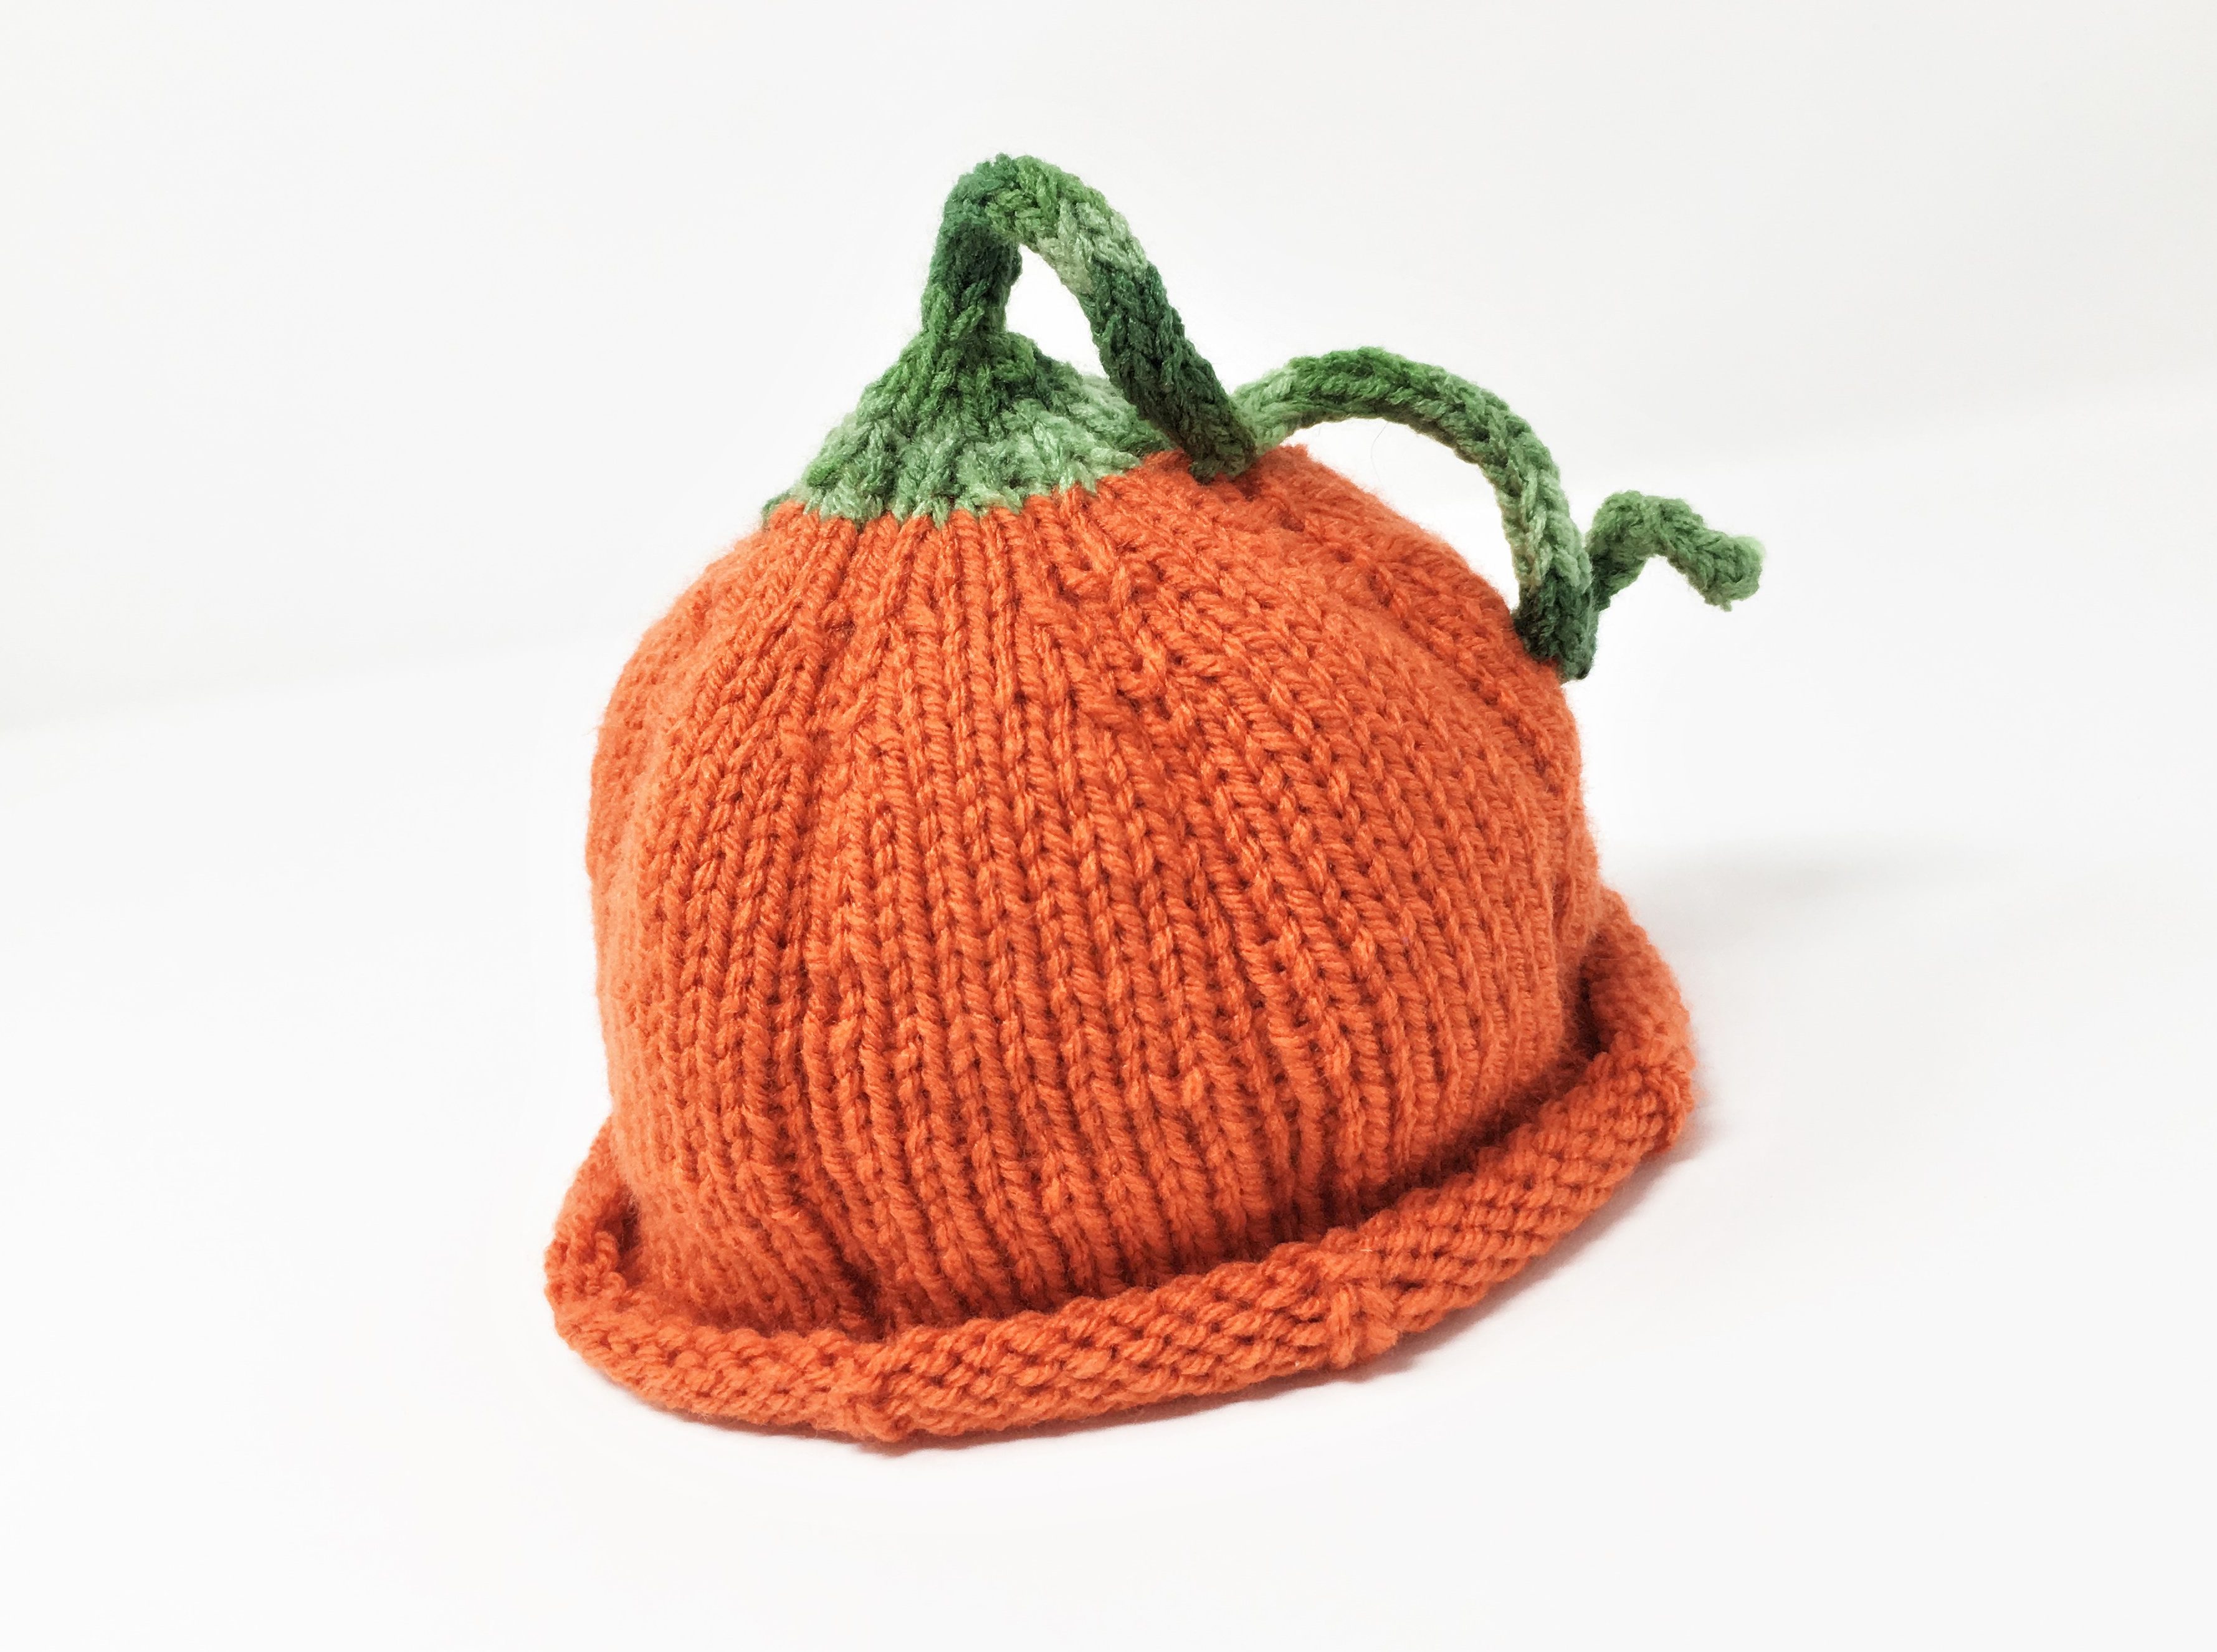
28. After weaving in the other ends your pumpkin hat is done! Yay!

And here is the abbreviated pattern:
Pumpkin Hat Pattern
(*note, numbers and notes for the larger toddler size are in parenthesis in green)
Pumpkin body
1. Cast on 72 sts (88 sts) in “Tigerlily”
2. Connect to form a circle and knit first row.
3. (k8, p1) x8 for 32 rows ((k10, p1) x8 for 32 rows)
4. (ssk, k4, k2tog, p1) x8 ((ssk, k6, k2tog, p1) x8)
5. (k6, p1) x8 for 3 rows ((k8, p1) x8 for 3 rows)
6. (ssk, k2, k2tog, p1) x8 ((ssk, k4, k2tog, p1) x8)
7. (k4, p1) x8 for 3 rows ((k6, p1) x8 for 3 rows) (note: larger pattern needs one more decrease round and knit 3 section to be ready for the next step: ((ssk, k2, k2tog, p1) x8) then (k4, p1) x8 for 3 rows. After this point the two sizes are the same to finish.)
Stem
8. Change yarn color to “Green Tones”, leaving 10 inch tails to weave in.
9. (k4, p1) x8 for 1 row
10. (ssk, k2tog, p1) x8
11. (k2, p1) x8 for 2 rows
12. (k2tog, k1) x8
13. knit 1 row
14. (k2tog) x8
15. knit 1 row
16. (k2tog) x2, k1, k2tog, k1 (to make 5 sts total)
I Chord
17. Move all sts onto 1 circular needle (or double point needle) to start an I chord
18. Knit I chord for 3 rows
19. k1, k2tog, k2 (to make 4 sts)
20. Knit I chord for 15 rows
21. k1, k2tog, k1 (to make 3 sts)
22. Knit I chord for 20 rows
23. k2tog, k1 (to make 2 sts)
24. Knit I chord for 15 rows
25. Cut yarn leaving a long tail (20-25 in. for working ease)
Making stem curl
26. Thread darning needle with tail and go through the two stitches that are still on the knitting needle twice. Pull tight and you are ready to begin shaping the curly stem.
27. To shape the curly stem:
- Thread the needle through every other bar (the bit of yarn between two stitches) on one side of the I chord, starting from the end, for 5 stitches.
- Pull snug to start the curl and thread through the last bar a second time to secure it.
- Thread the needle through the next 4 sts (going into every other bar until you have 4 on the needle), and pull snug, going back through the last bar a second time to secure it. Work, in this way, up the stem until you come to the 3 stitch thick I chord, and a spot where you want to secure the stem to the hat.
- Play with the stem a little bit, giving it a little bit of a twist and imagining where you want to secure it. I recommend securing it in two places onto the hat to help keep the curl.
- Once you figure out where you want the first curl to attach, stitch it to the hat, securing it well, and then thread the needle up the center of the stem to the second spot where you would like to secure it, about 2 1/2 inches from the first spot. Secure the stem to the hat at this spot as well, and then weave in the tail end into the green stem so it won’t be seen.
28. Weave in ends and your hat is done!
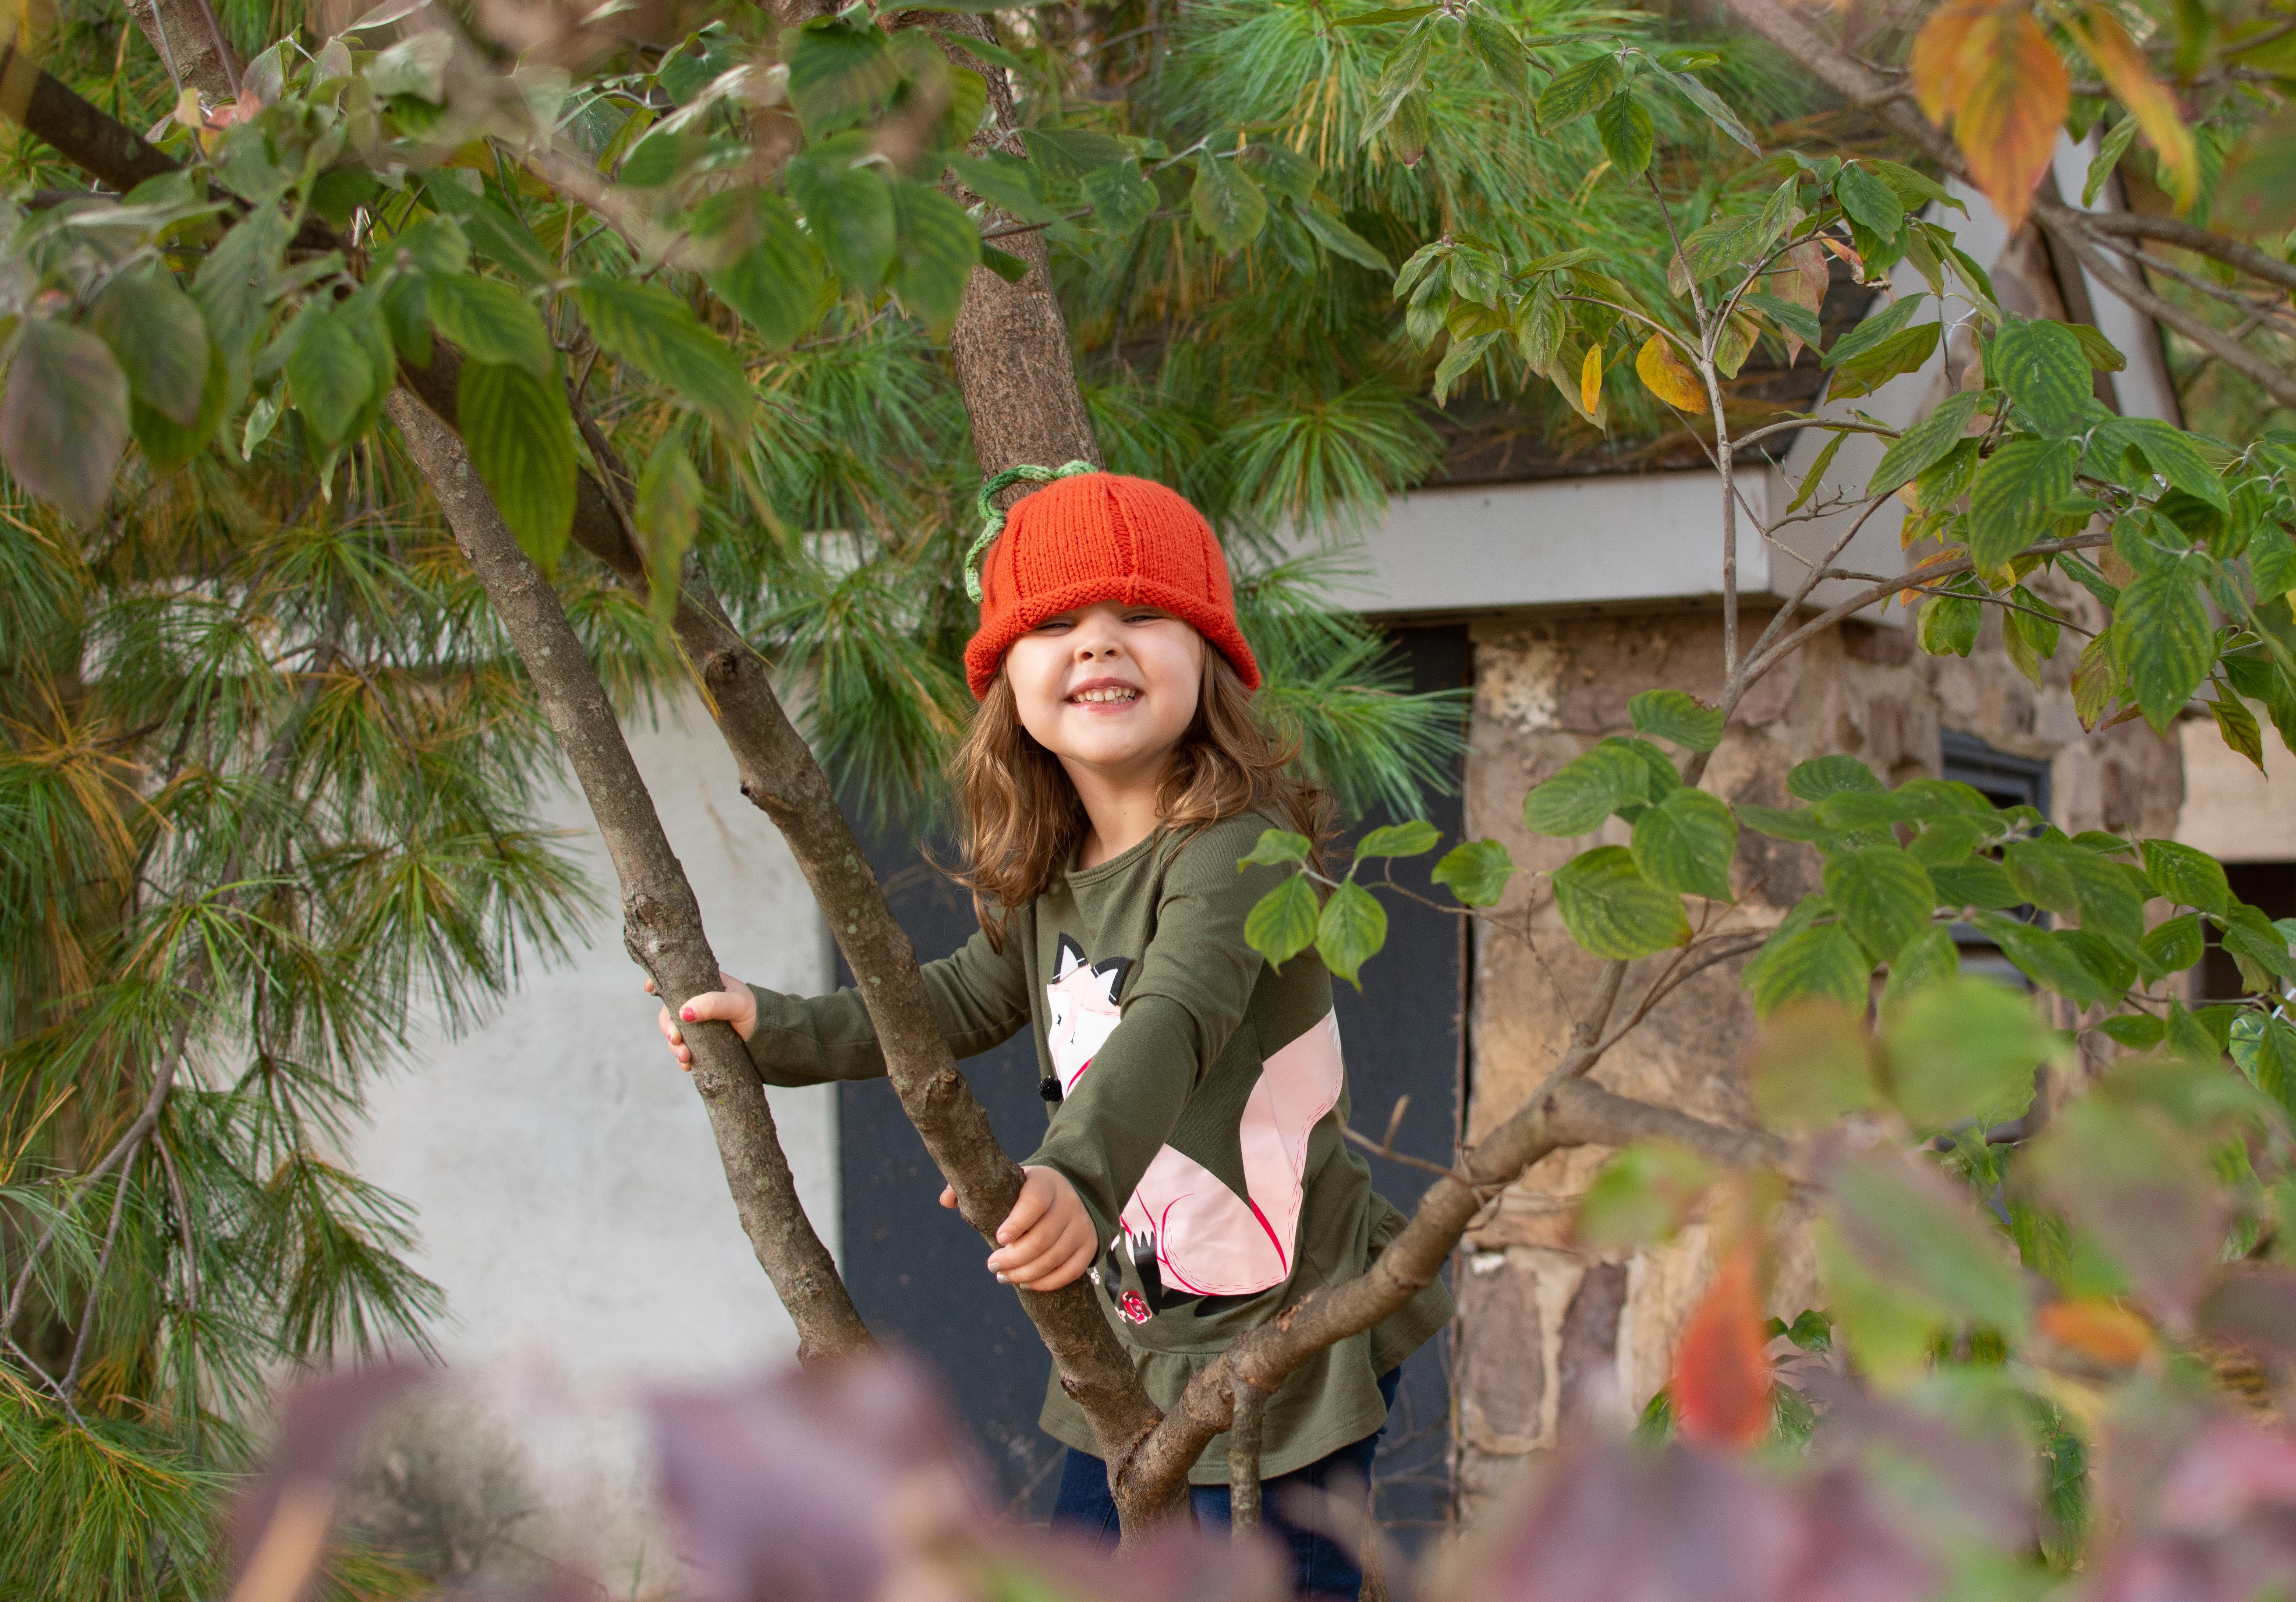
Photo Shoot Results……
And in case you were wondering how my cat herding worked out here are a couple of the better ones. Hahaha!


