


“Lakey Eggs”
I vividly remember as a child having what we eventually termed “lakey eggs”. As you may have guessed, it was the mixed up version of “achy legs”. These growing pains would effect my legs the most and I would have a really hard time going to sleep at night, and would even wake up in the middle of the night with pain that wouldn’t go away. I remember my dad kindly rubbing my legs for me, and my feet, where the pain seemed to stem from. I also remember that heat helped a lot too.
Rice Sock
So, when my own daughter began waking up in the middle of the night with “lakey eggs” I pulled out the old rice sock for her. It really does help and it’s super easy. If you’ve never made a rice sock it’s as easy as taking a long sock, pouring uncooked rice into it and tying a knot. You then can microwave it for about a minute or two, depending on how hot your microwave gets and then put it on whatever body part is hurting, where heat would be indicated.
The Inception of the Snuggle Rice Buddy
Now, I got inspired last night to replace the rice sock that was requested (because it had a hole in it) with a cute little snuggle buddy that would work just like the rice sock. The idea was simple enough, make a buddy shaped rice insert, and then make a soft fleece cover for it that would be shaped like a stuffed animal. Here is my rudimentary idea sketch:

The Pattern Making Process
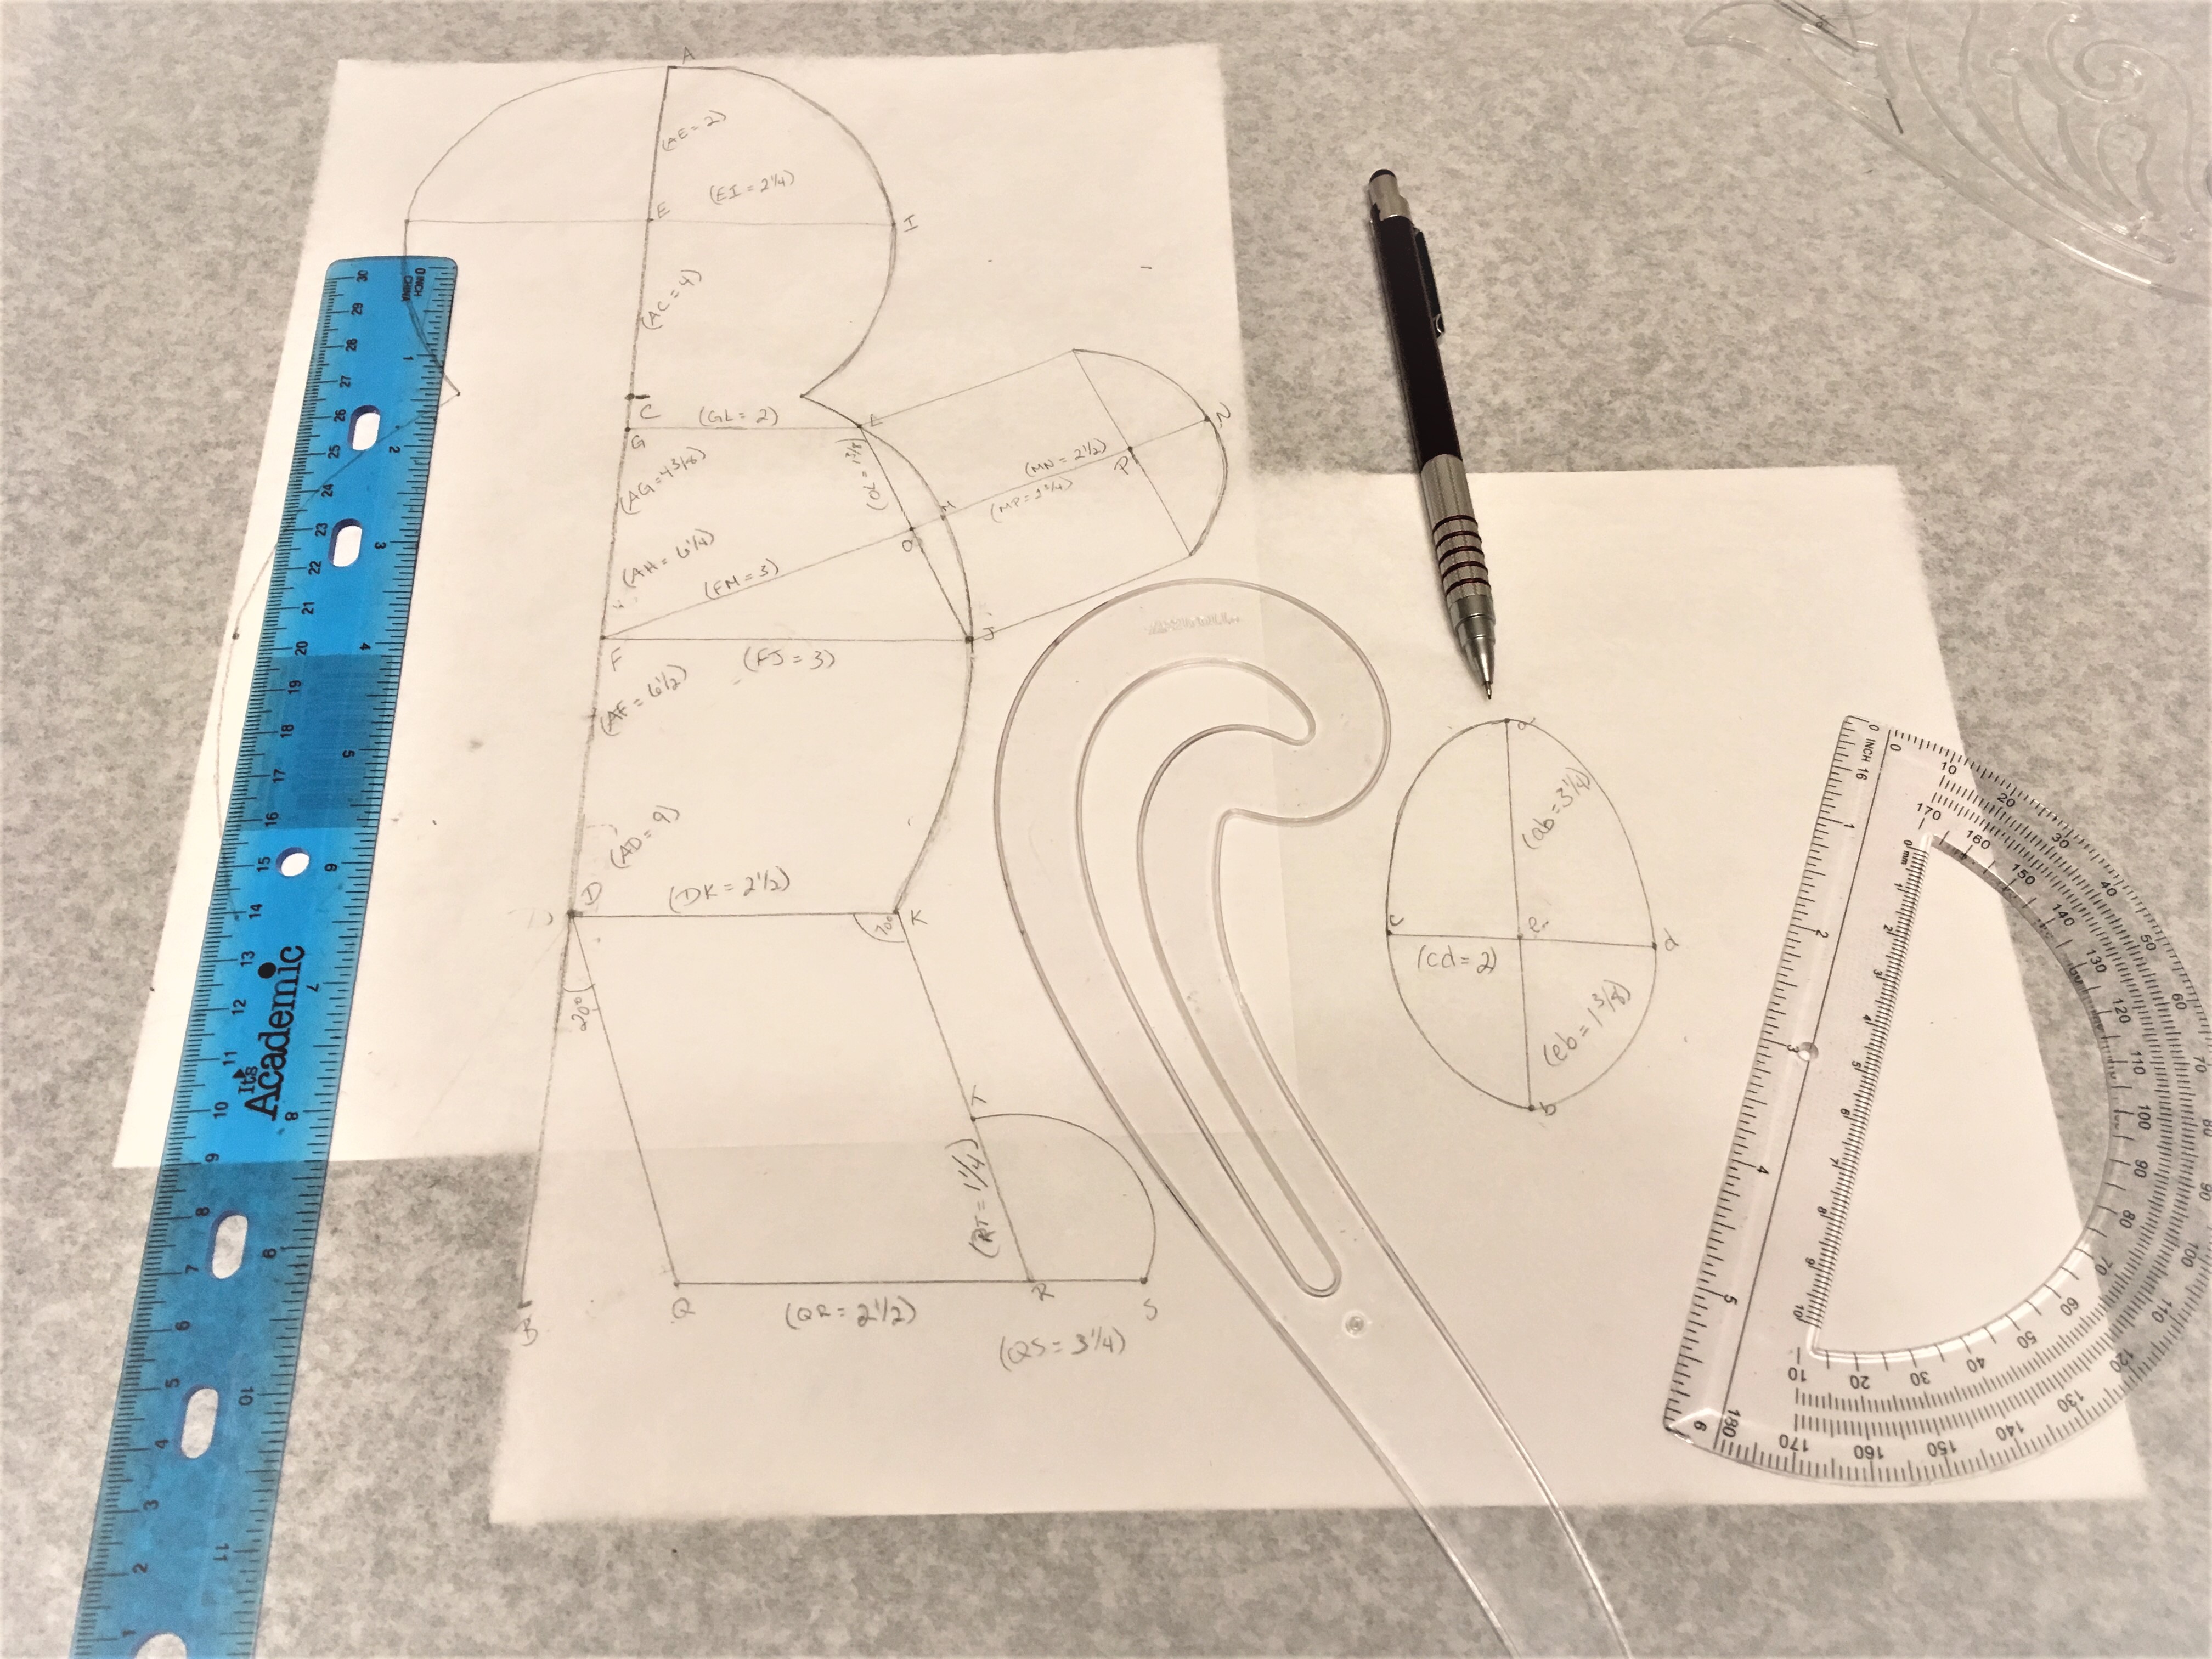
Of course I could have just drawn a shape onto paper for a simple pattern, but that would not be something that I could share with you all. So I got out my pattern drafting tools–pattern paper, ruler, protractor, French curve set, and pencil–and got to work drafting a proper pattern that I would be able to share.


Why Two Pieces?
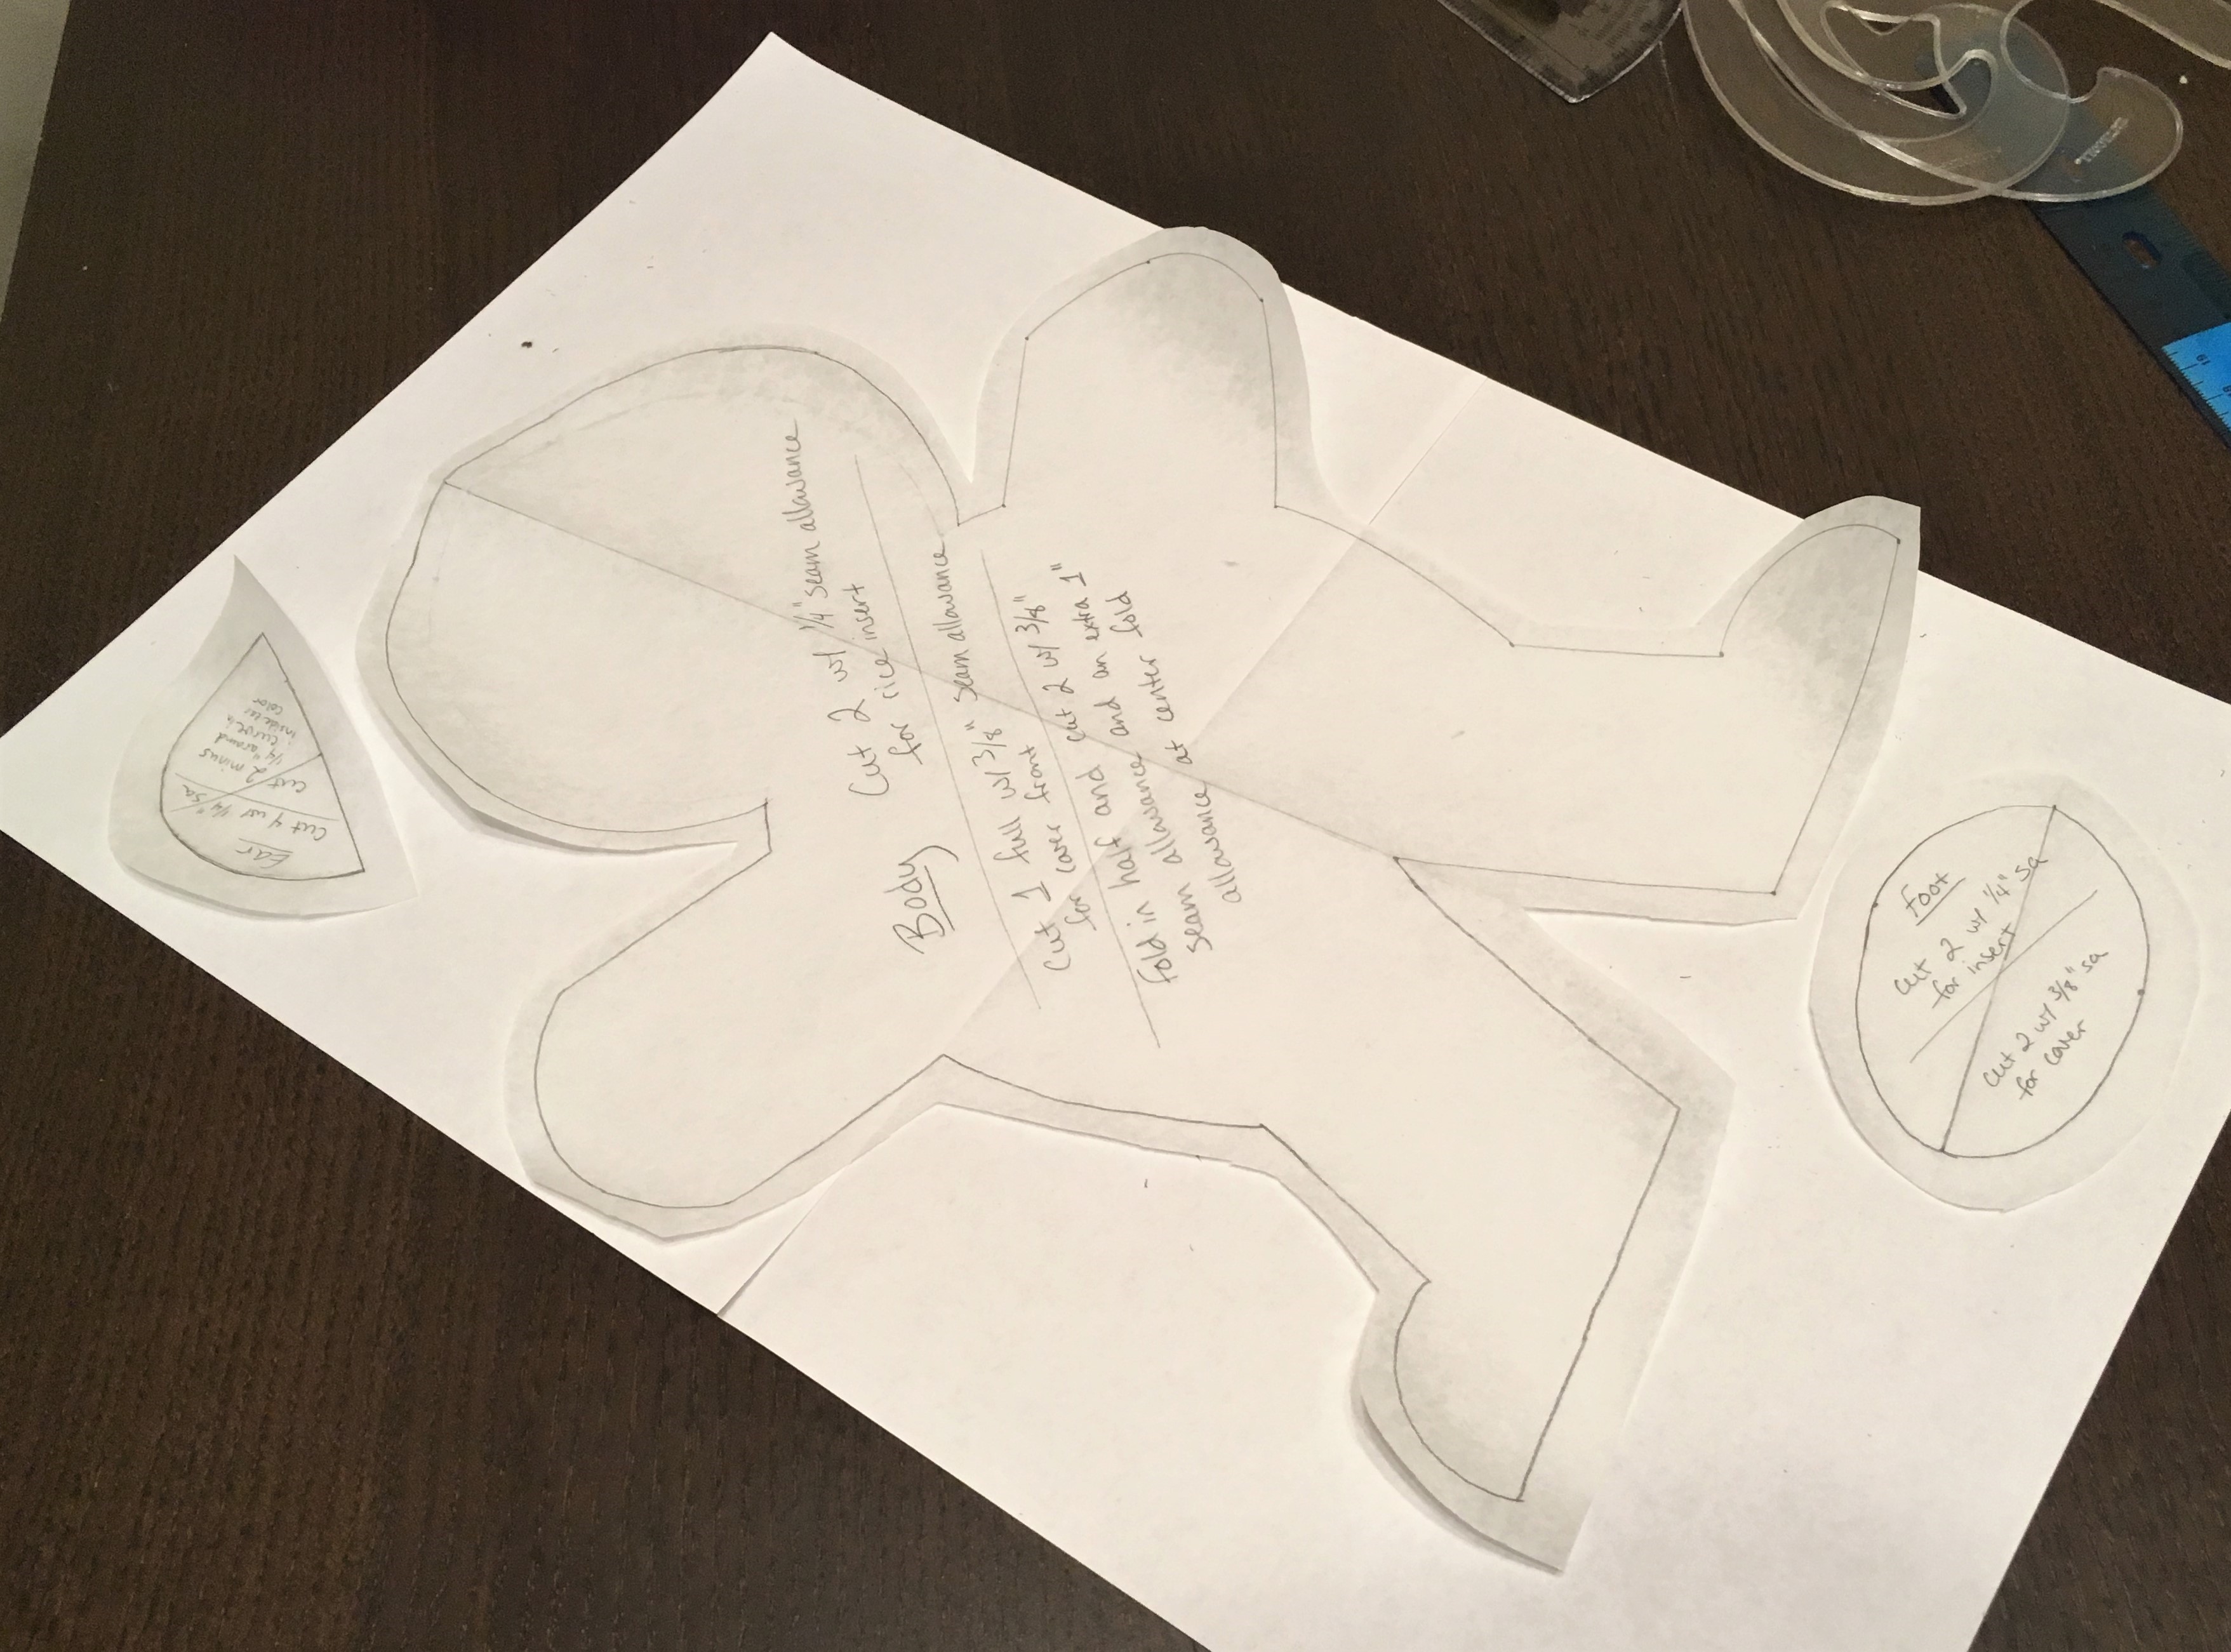
After the mathematical draft, I traced the pattern to be simpler, and was then able to use it for my snuggle buddy. I used the same pattern for both the rice insert and the cover. I wanted it to be in two pieces because, for one, I wanted to be able to wash the outer cover if/WHEN it got dirty. And two, I’ve had the experience of microwaving a rice sock in a fleece cover and have noticed moisture trapped in the fleece. As you can probably guess, rice + moisture ≠ great, unless of course you are hungry and are attempting to cook it. So to be on the safe side I chose to make a removable cover that I can take off when I want to microwave my buddy.
My aunt just gave me this super snuggly gray fleece that I was dying to use, so I chose some contrasting colors to go with it, and after locating my velcro, I was ready to begin.

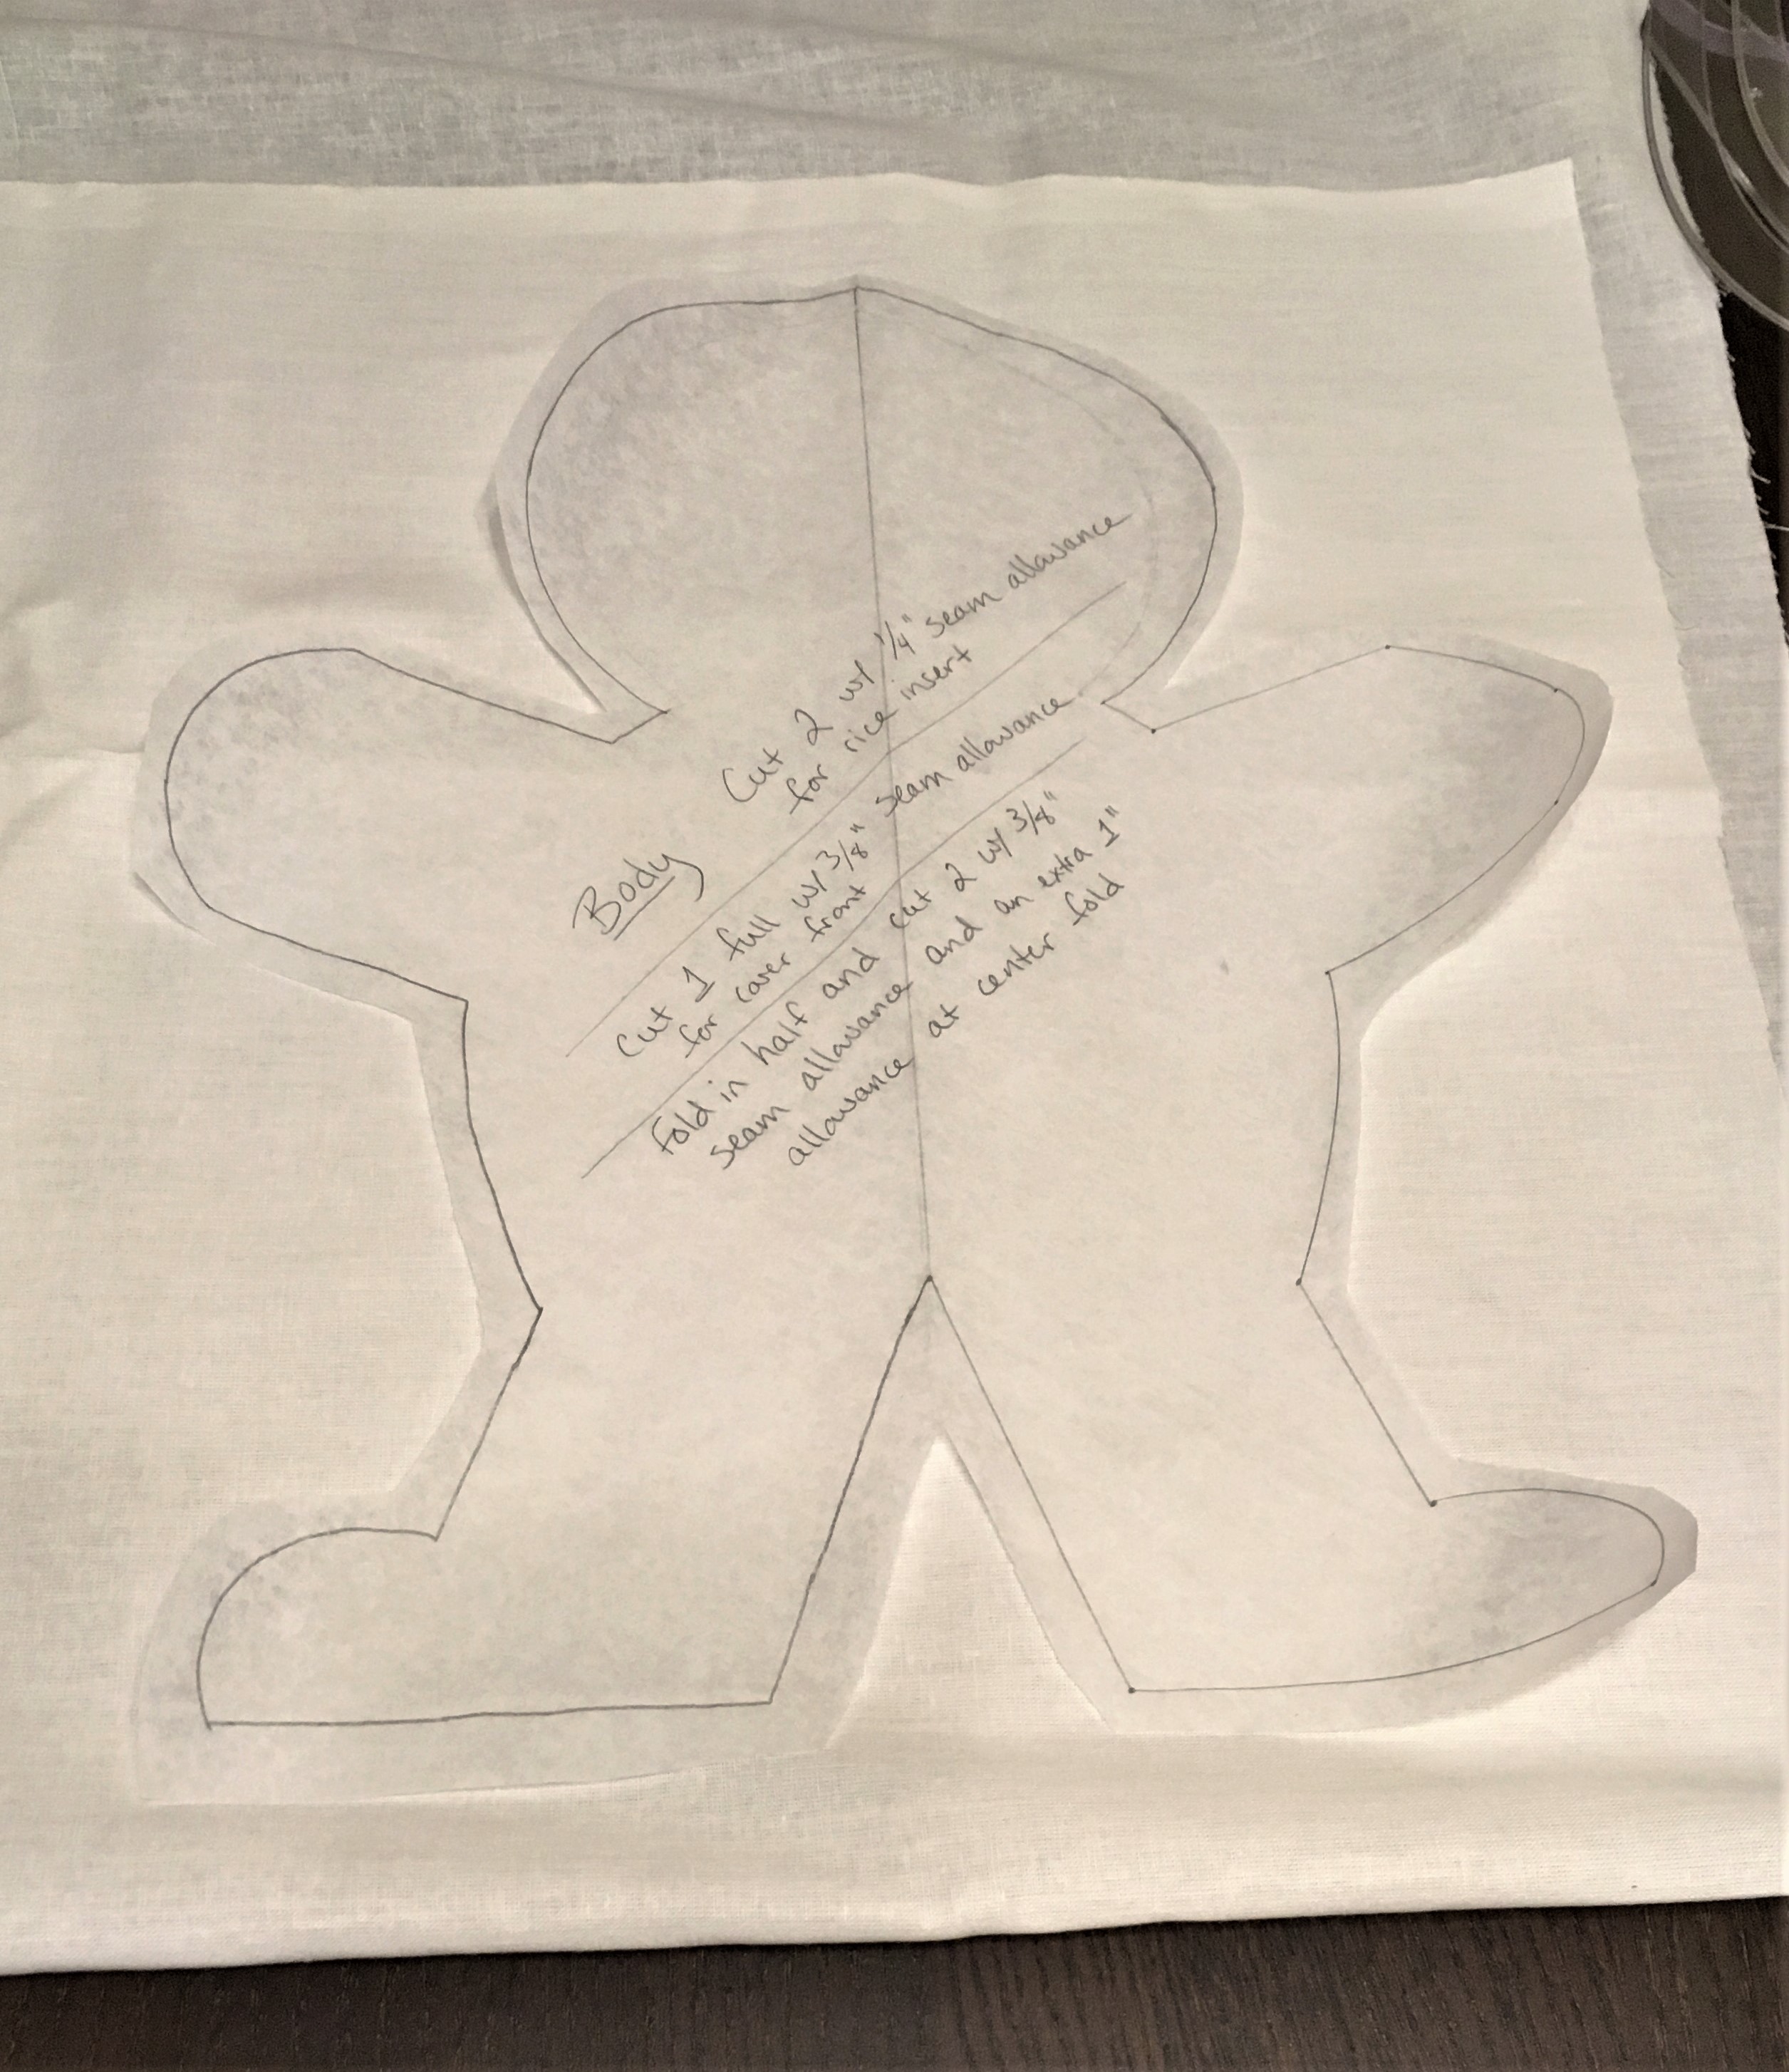
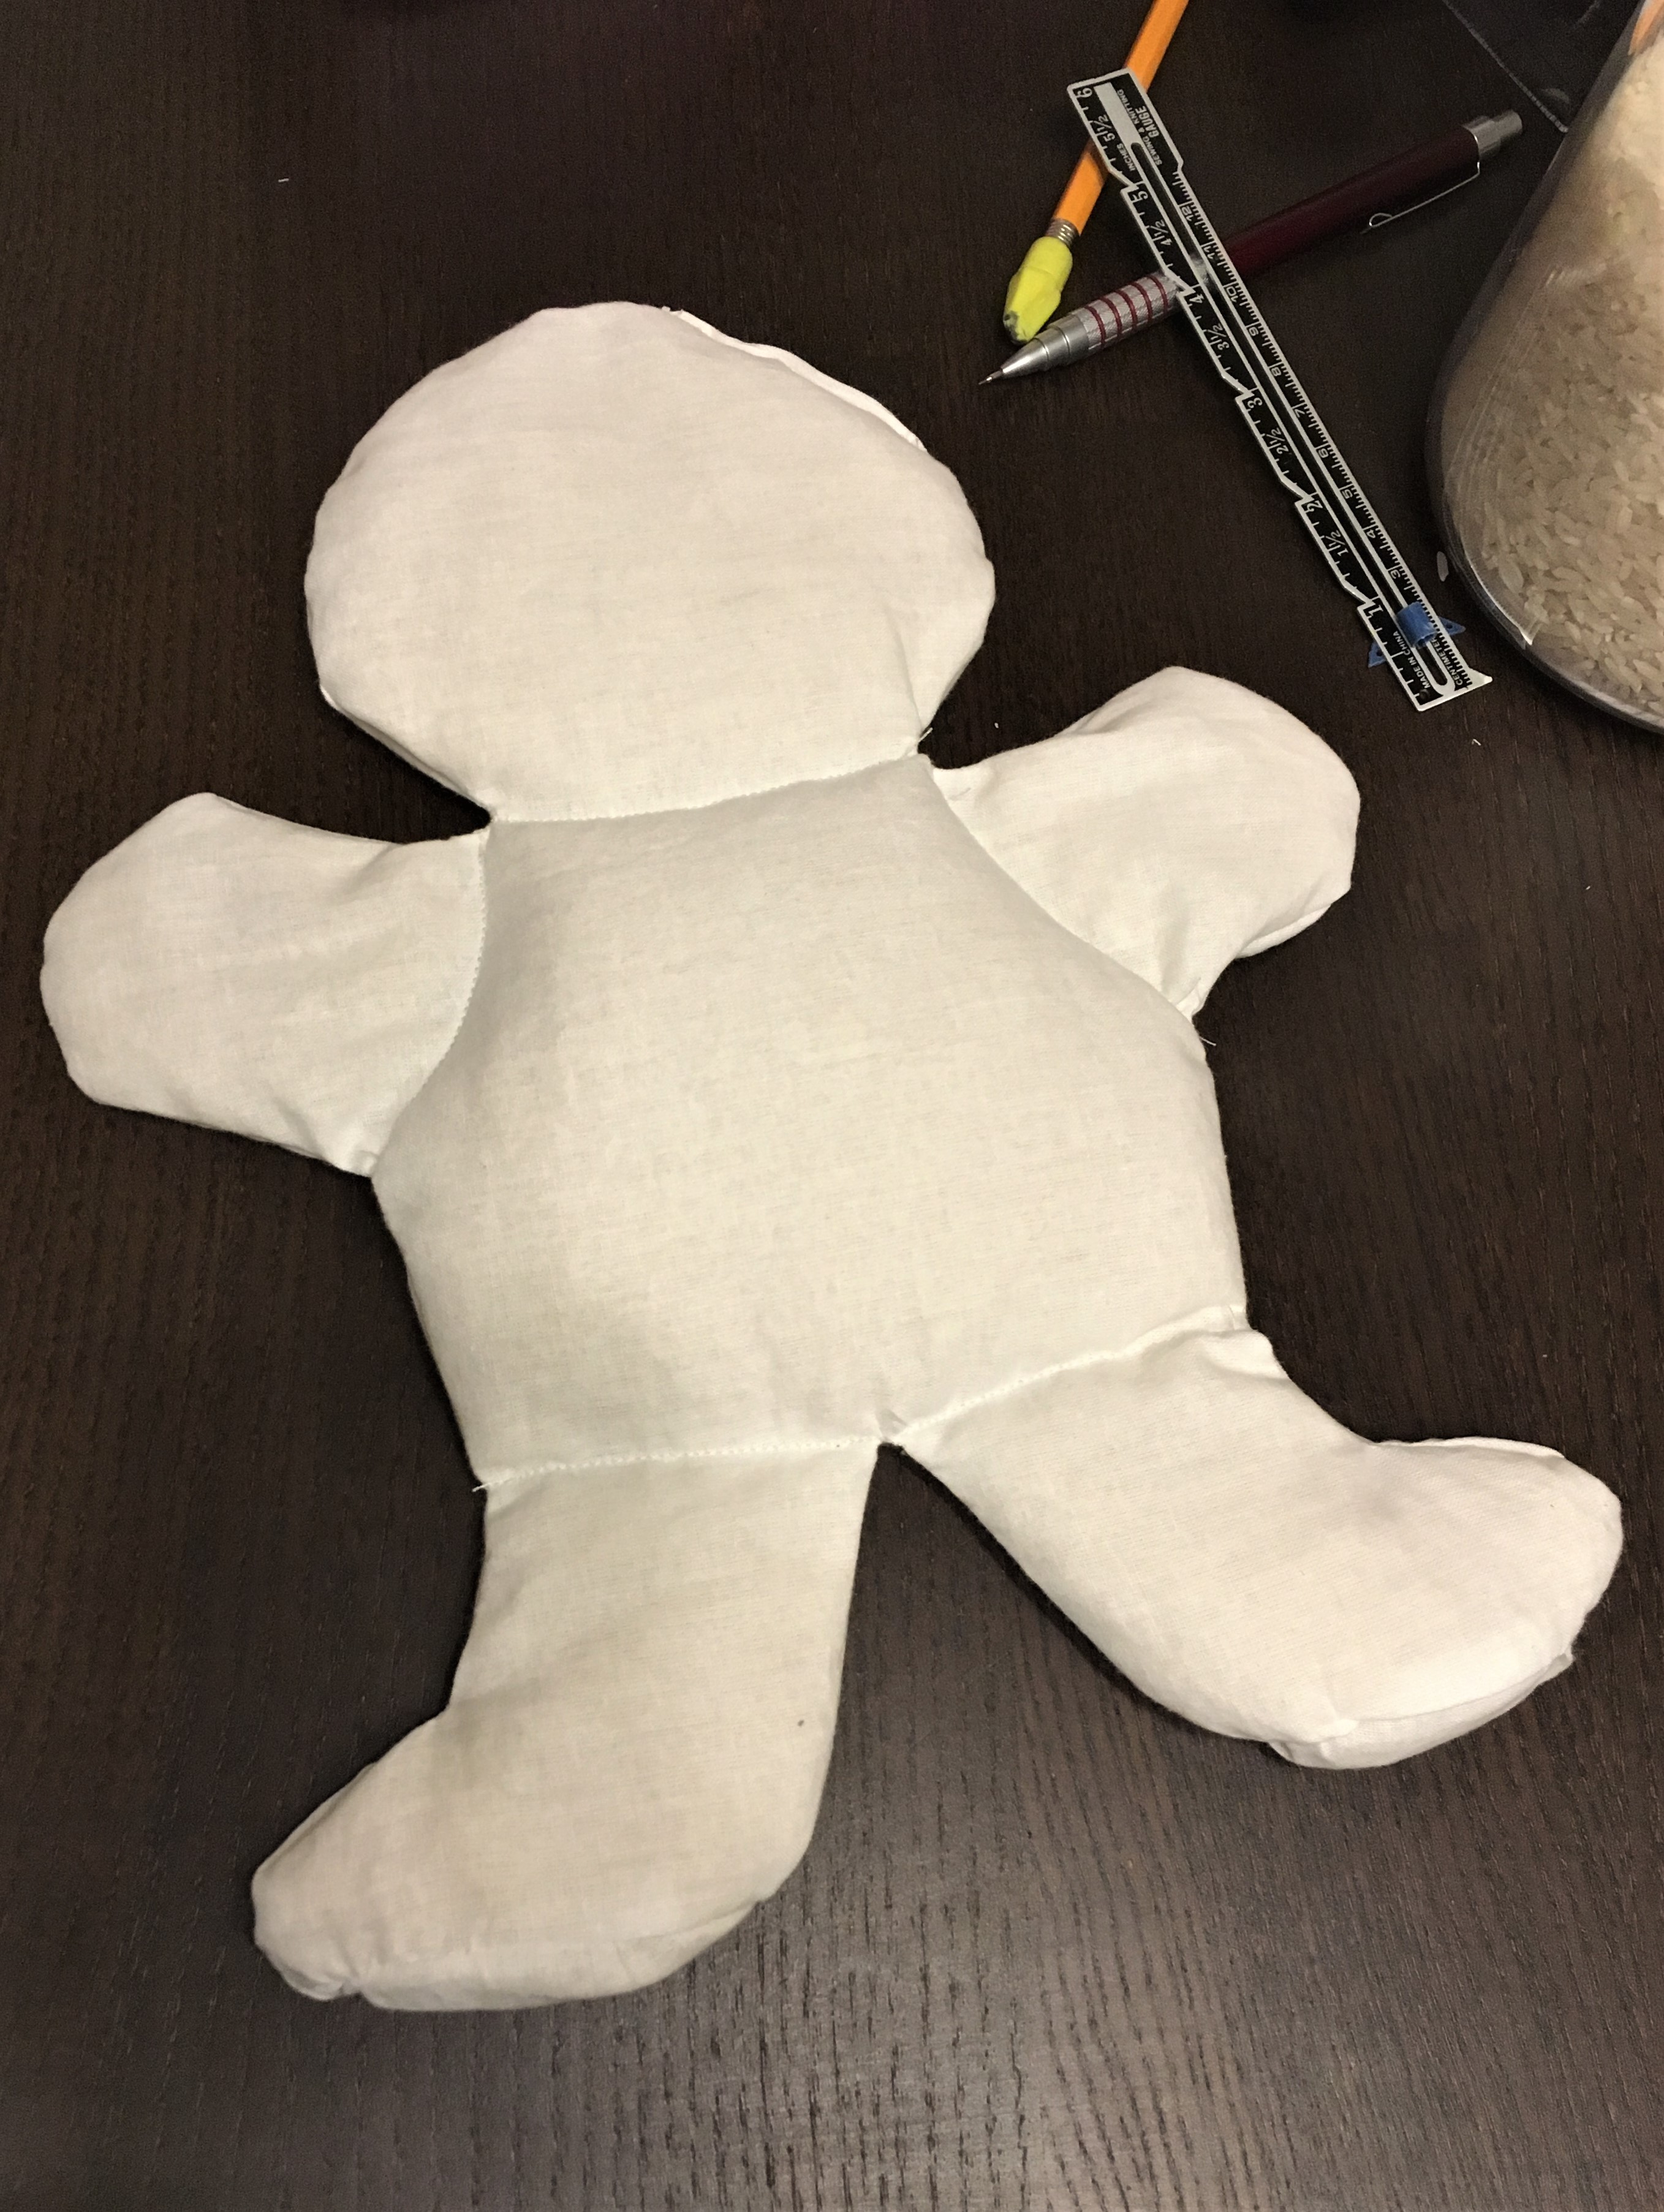
The Muslin Rice Body Insert
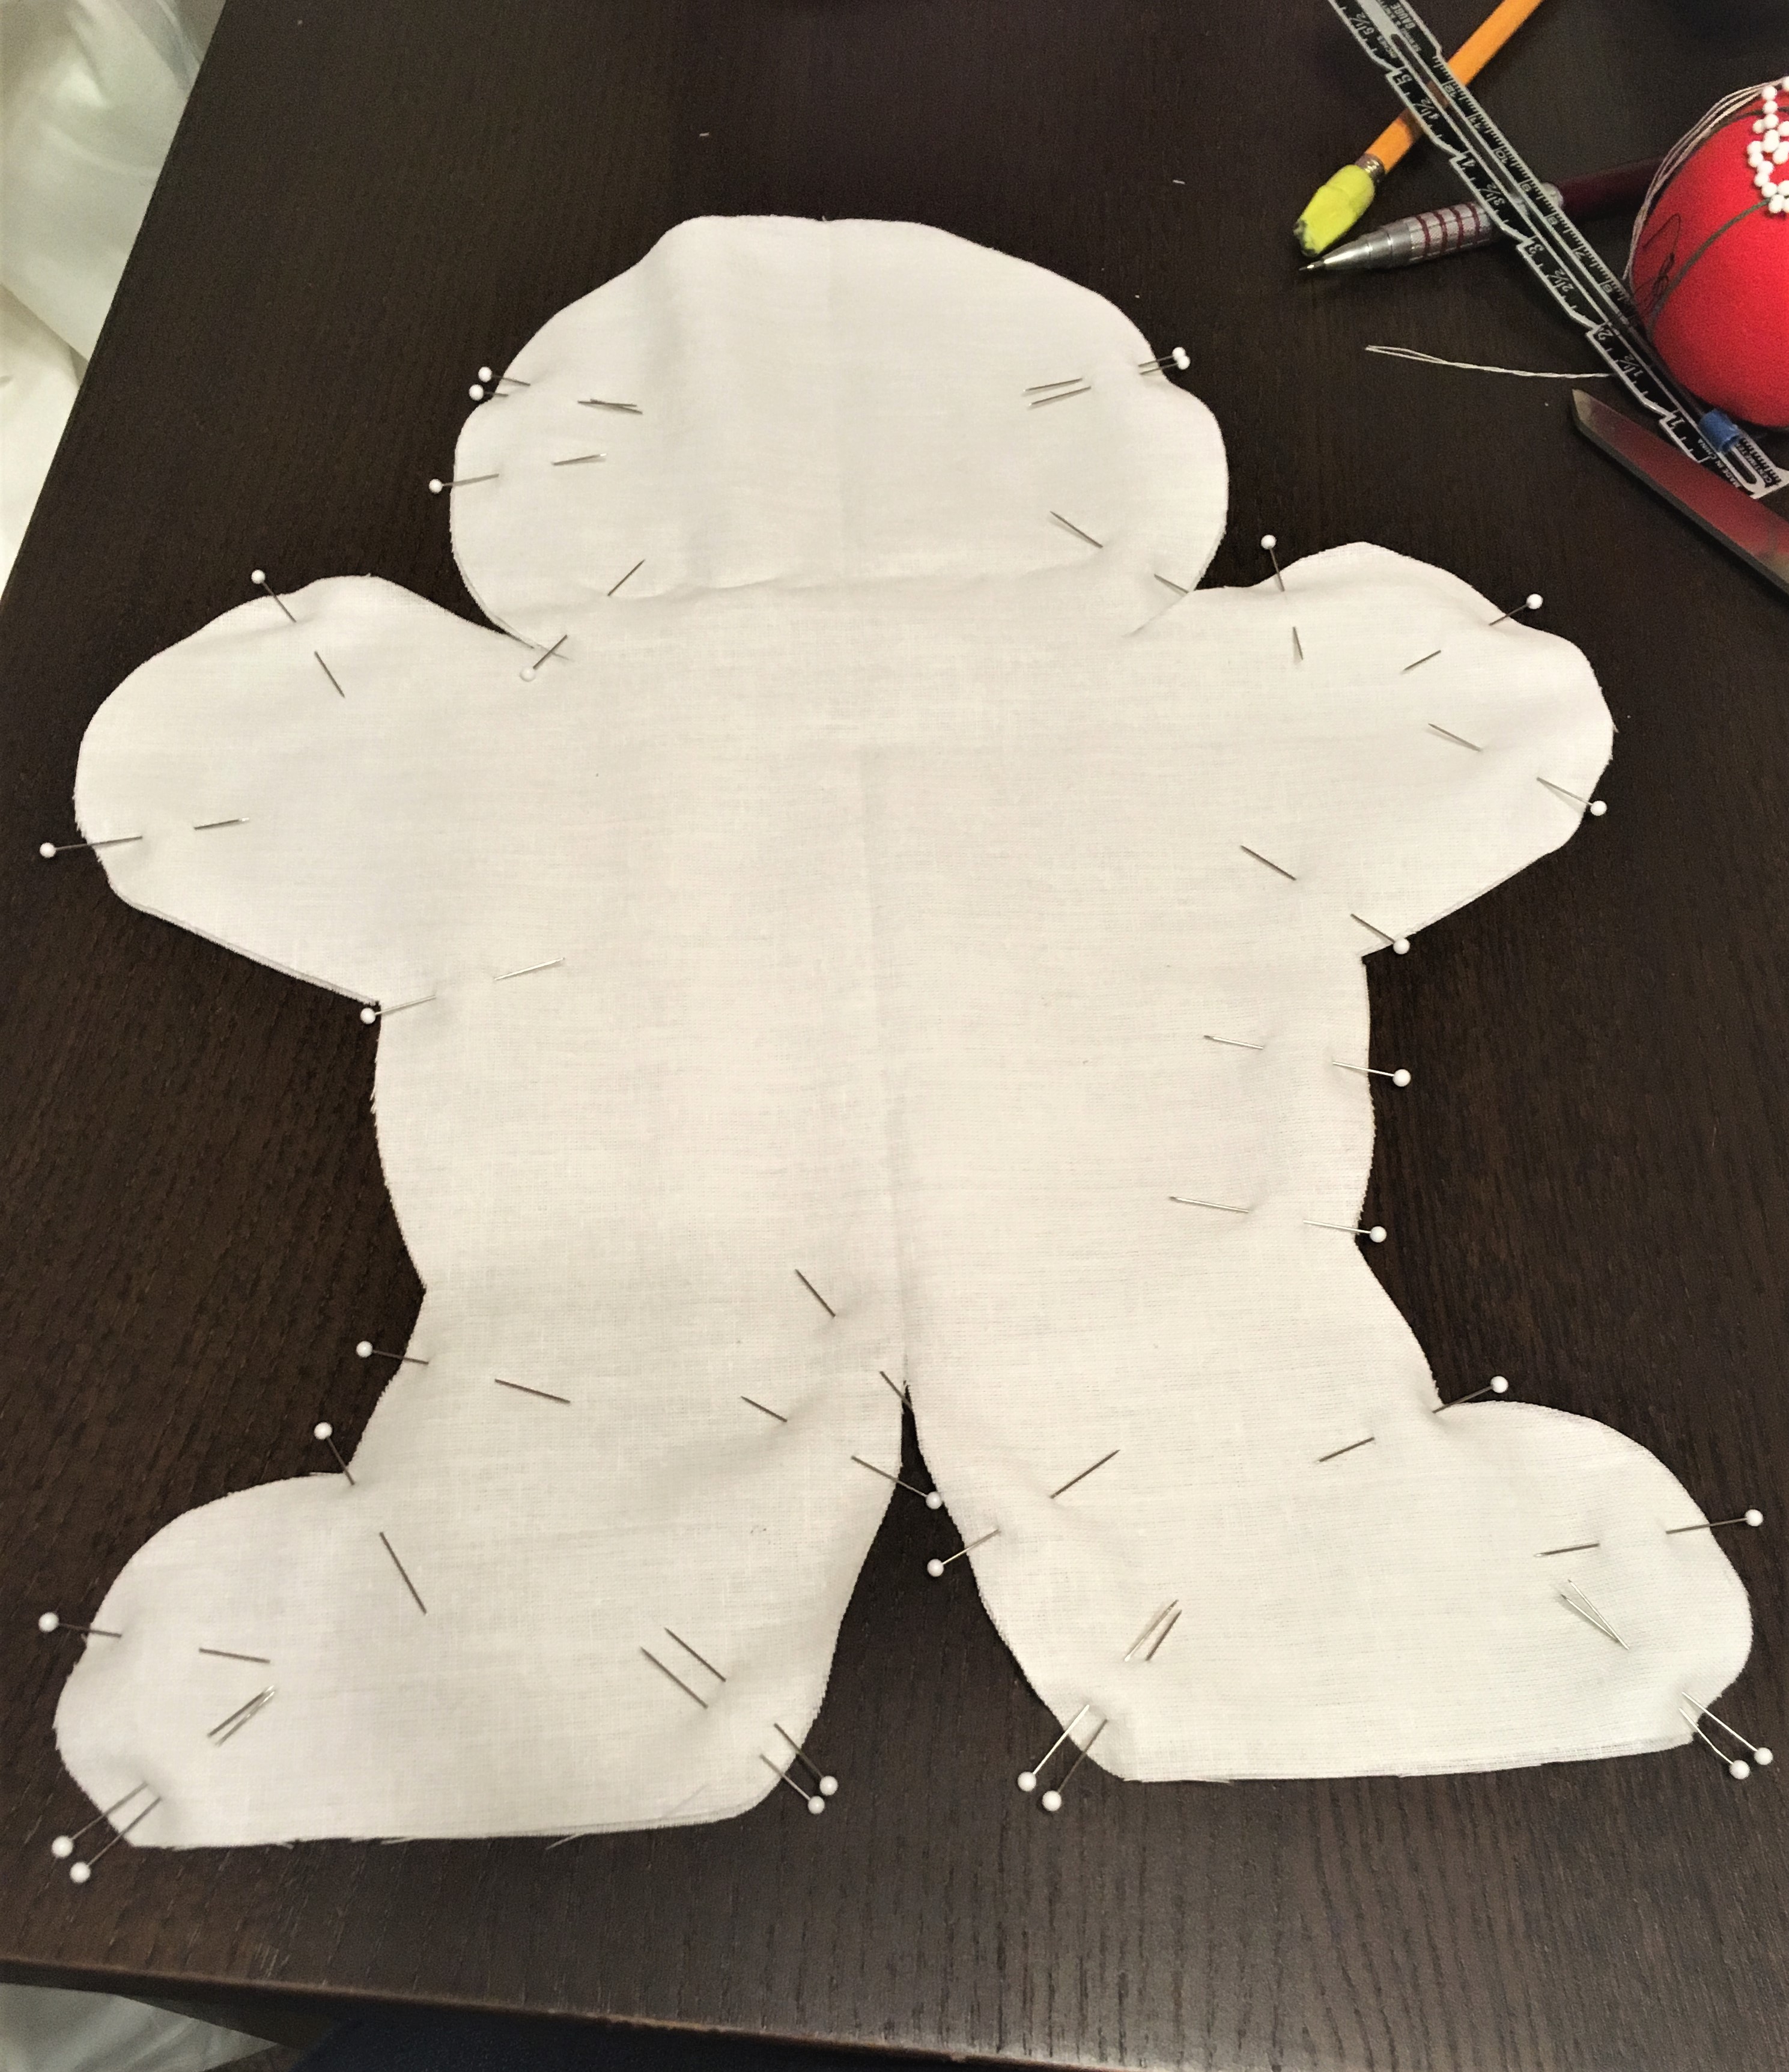
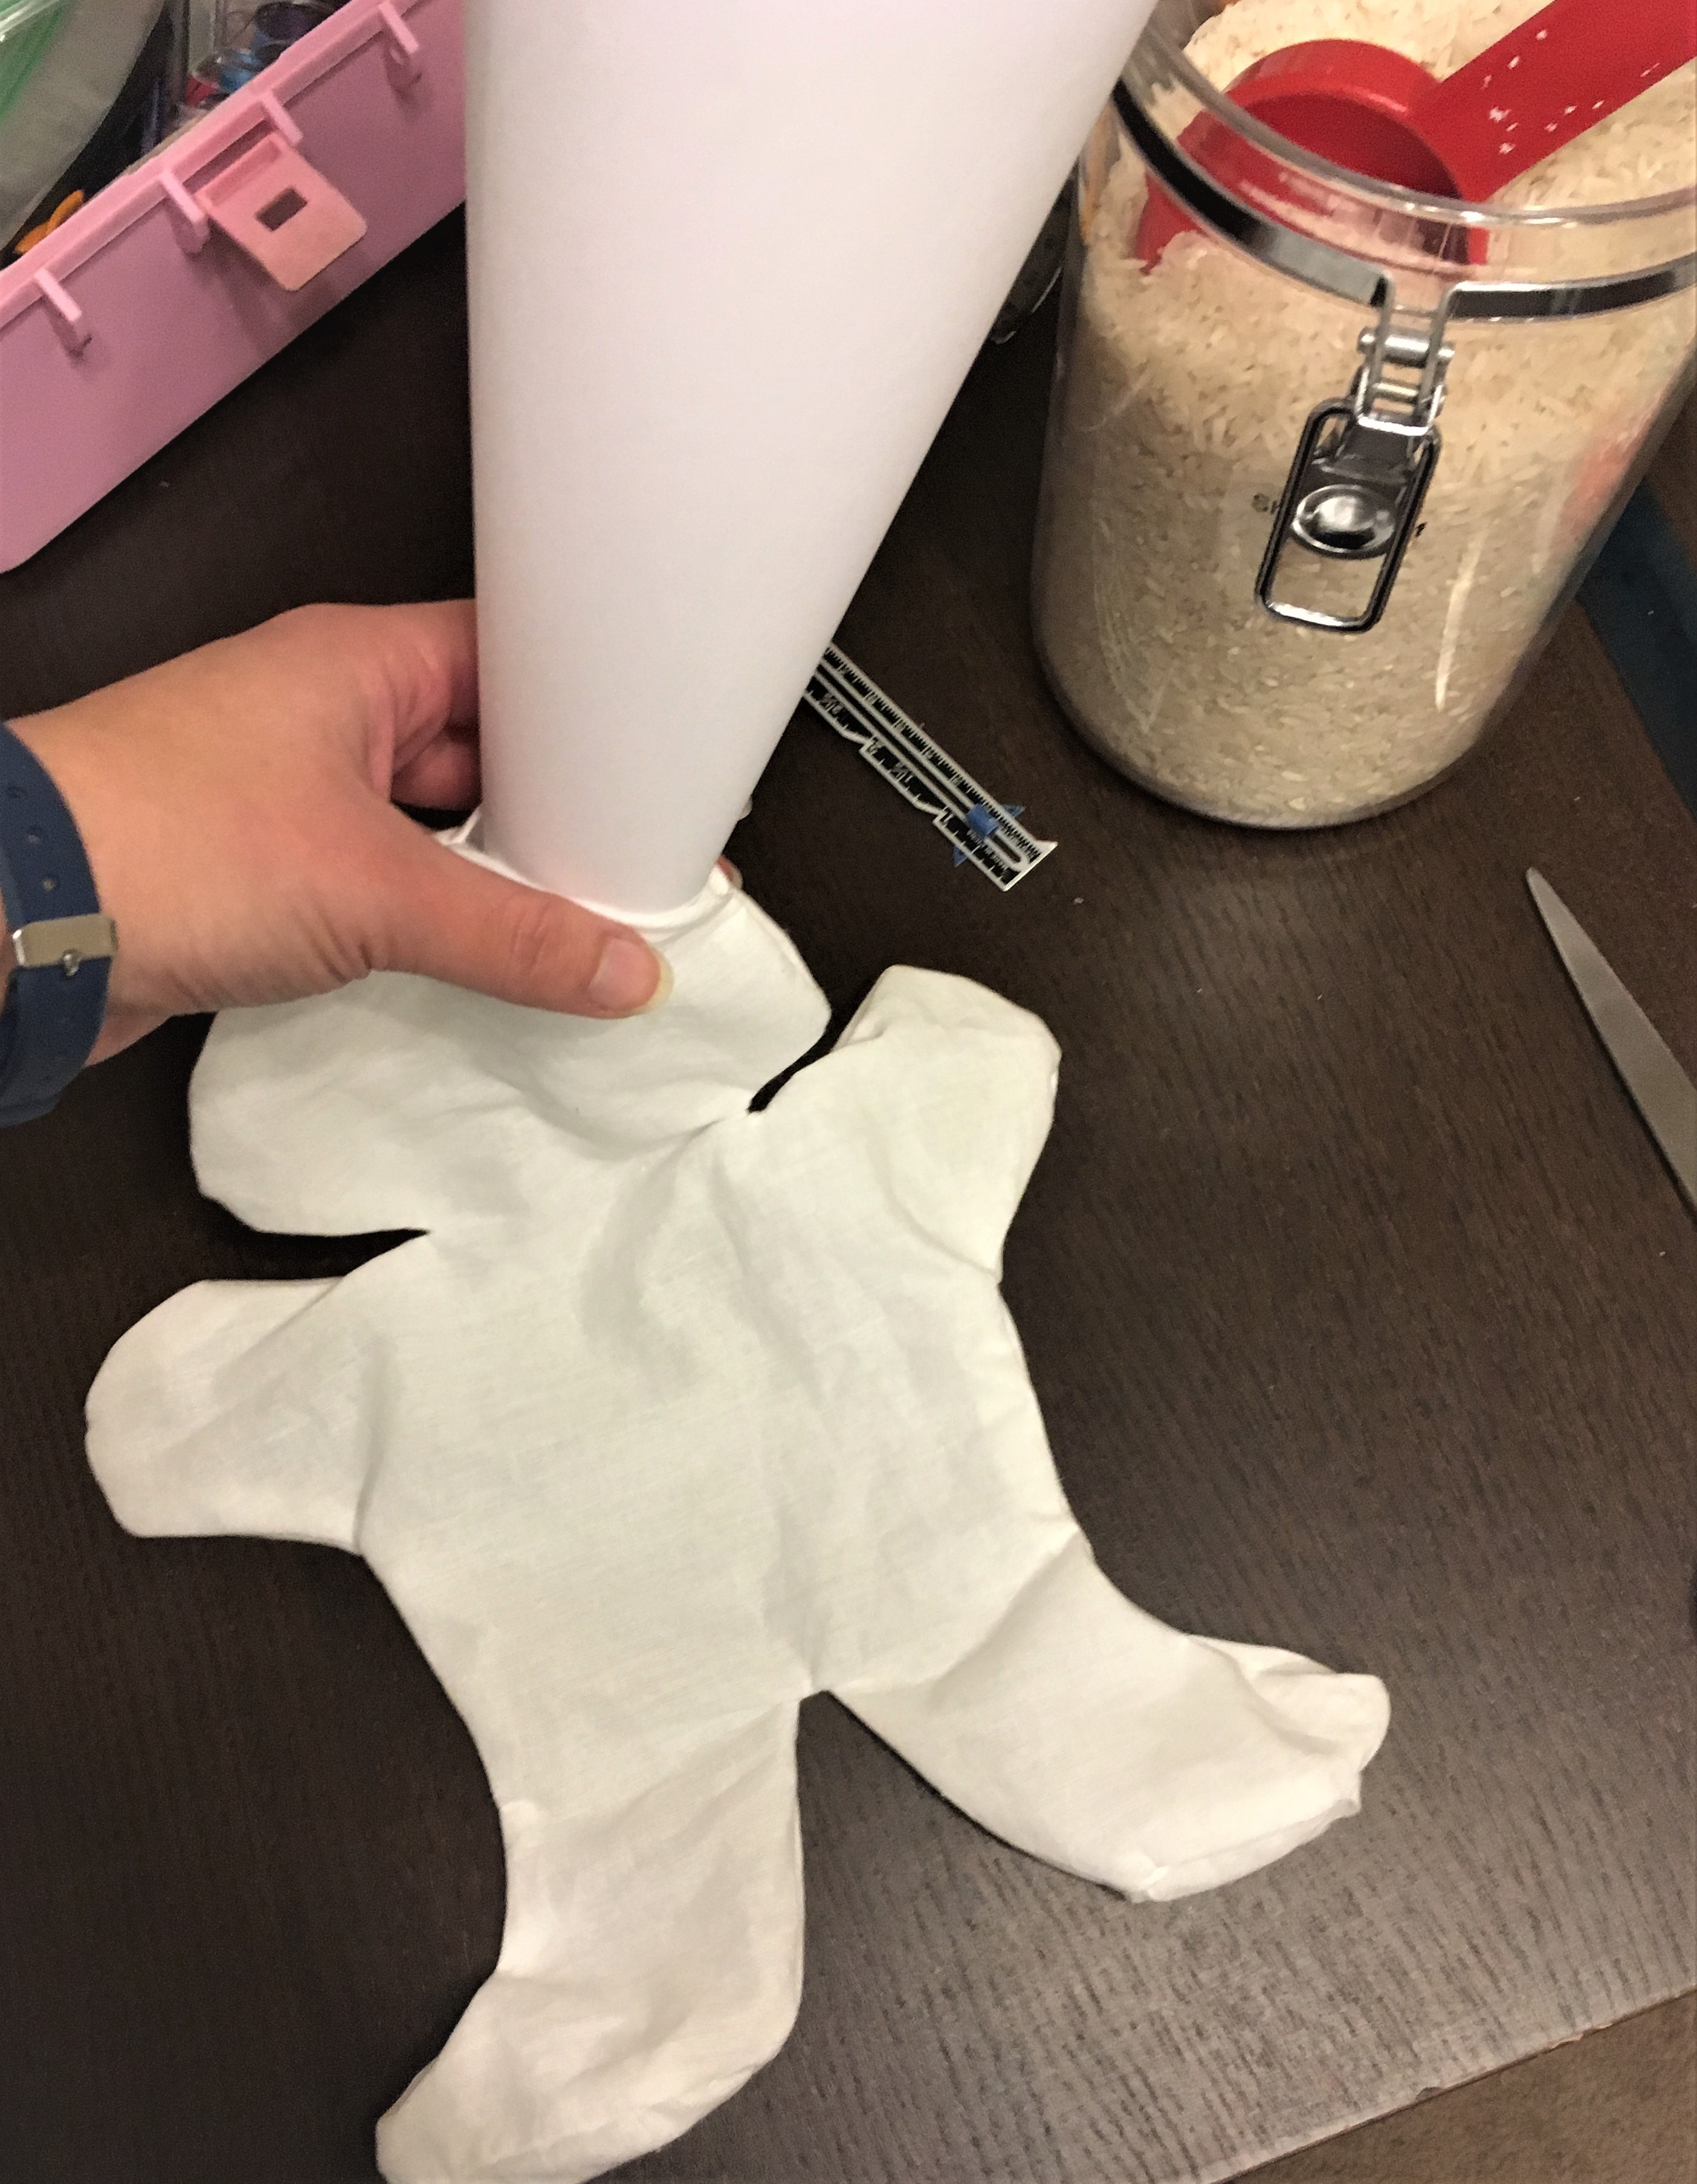
First, I traced and cut out the muslin rice body insert. I stitched all around the body, leaving a small gap with which to turn it inside out and fill it. Then I sewed the feet in, and after clipping the inside corners, turned it right side out. I made a paper cone and put it into the hole I had left unsewn, and poured in the rice. I used about 2-2 1/2 cups of white rice. Then I stitched the hole closed.
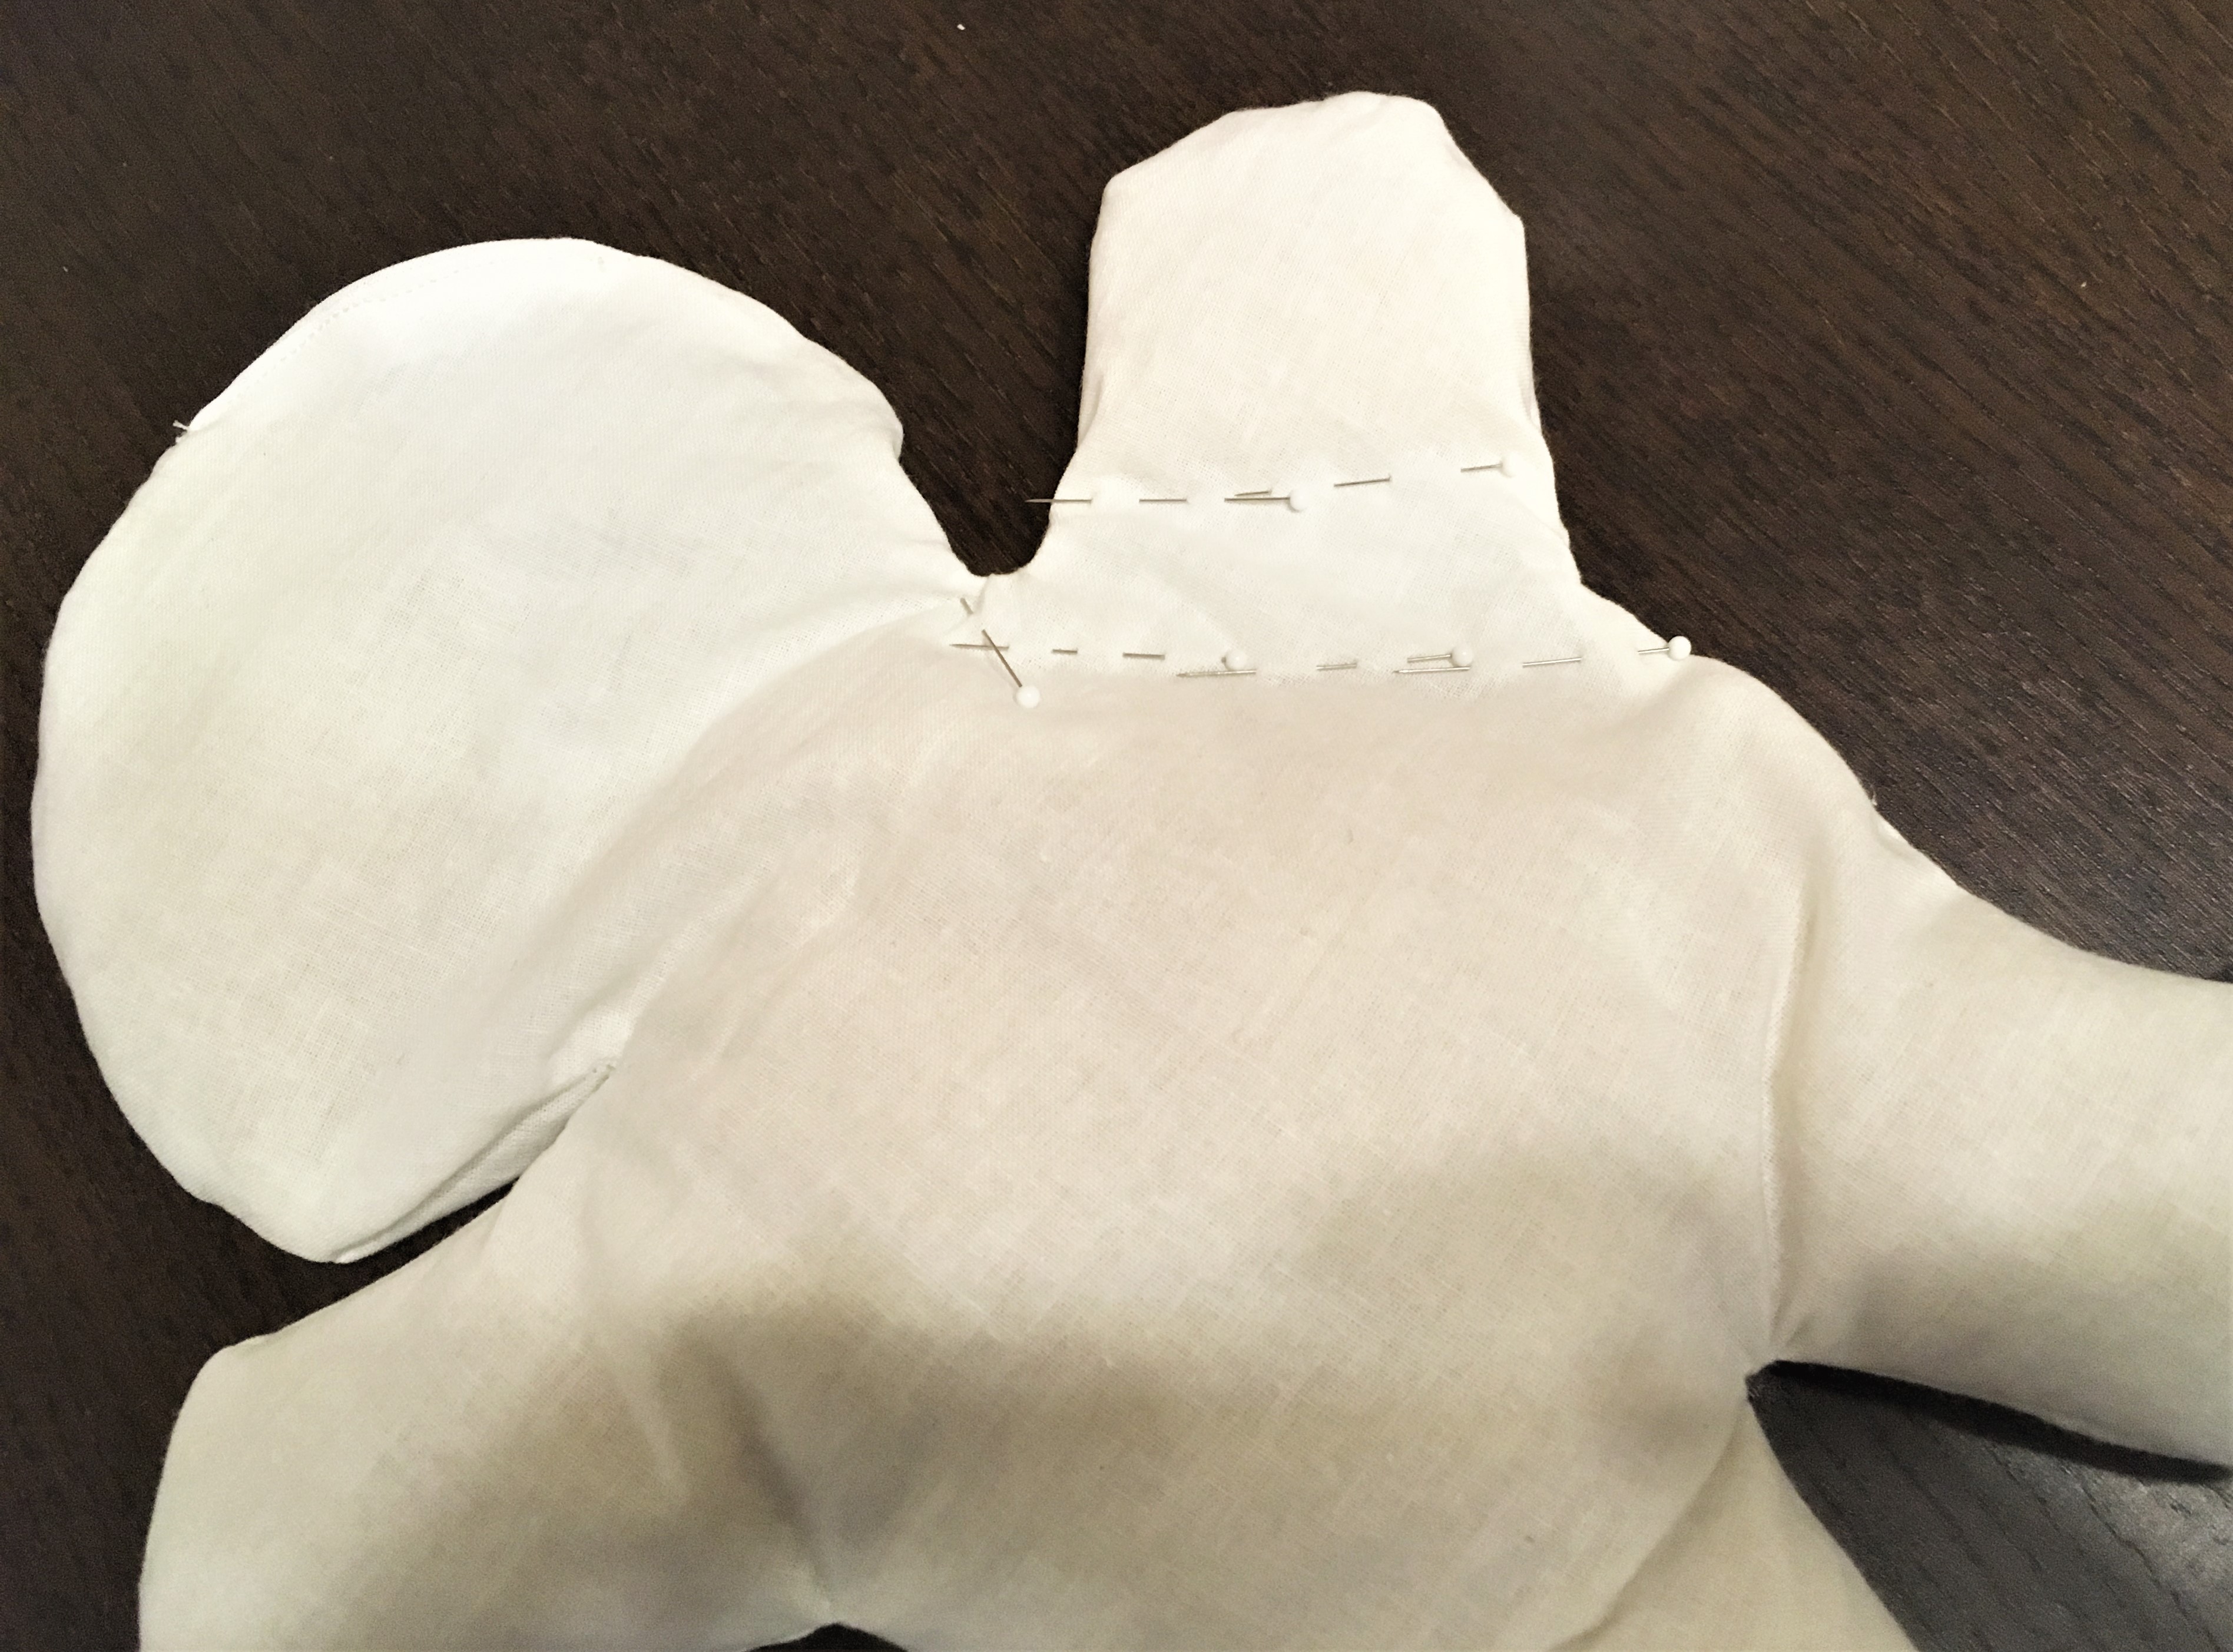
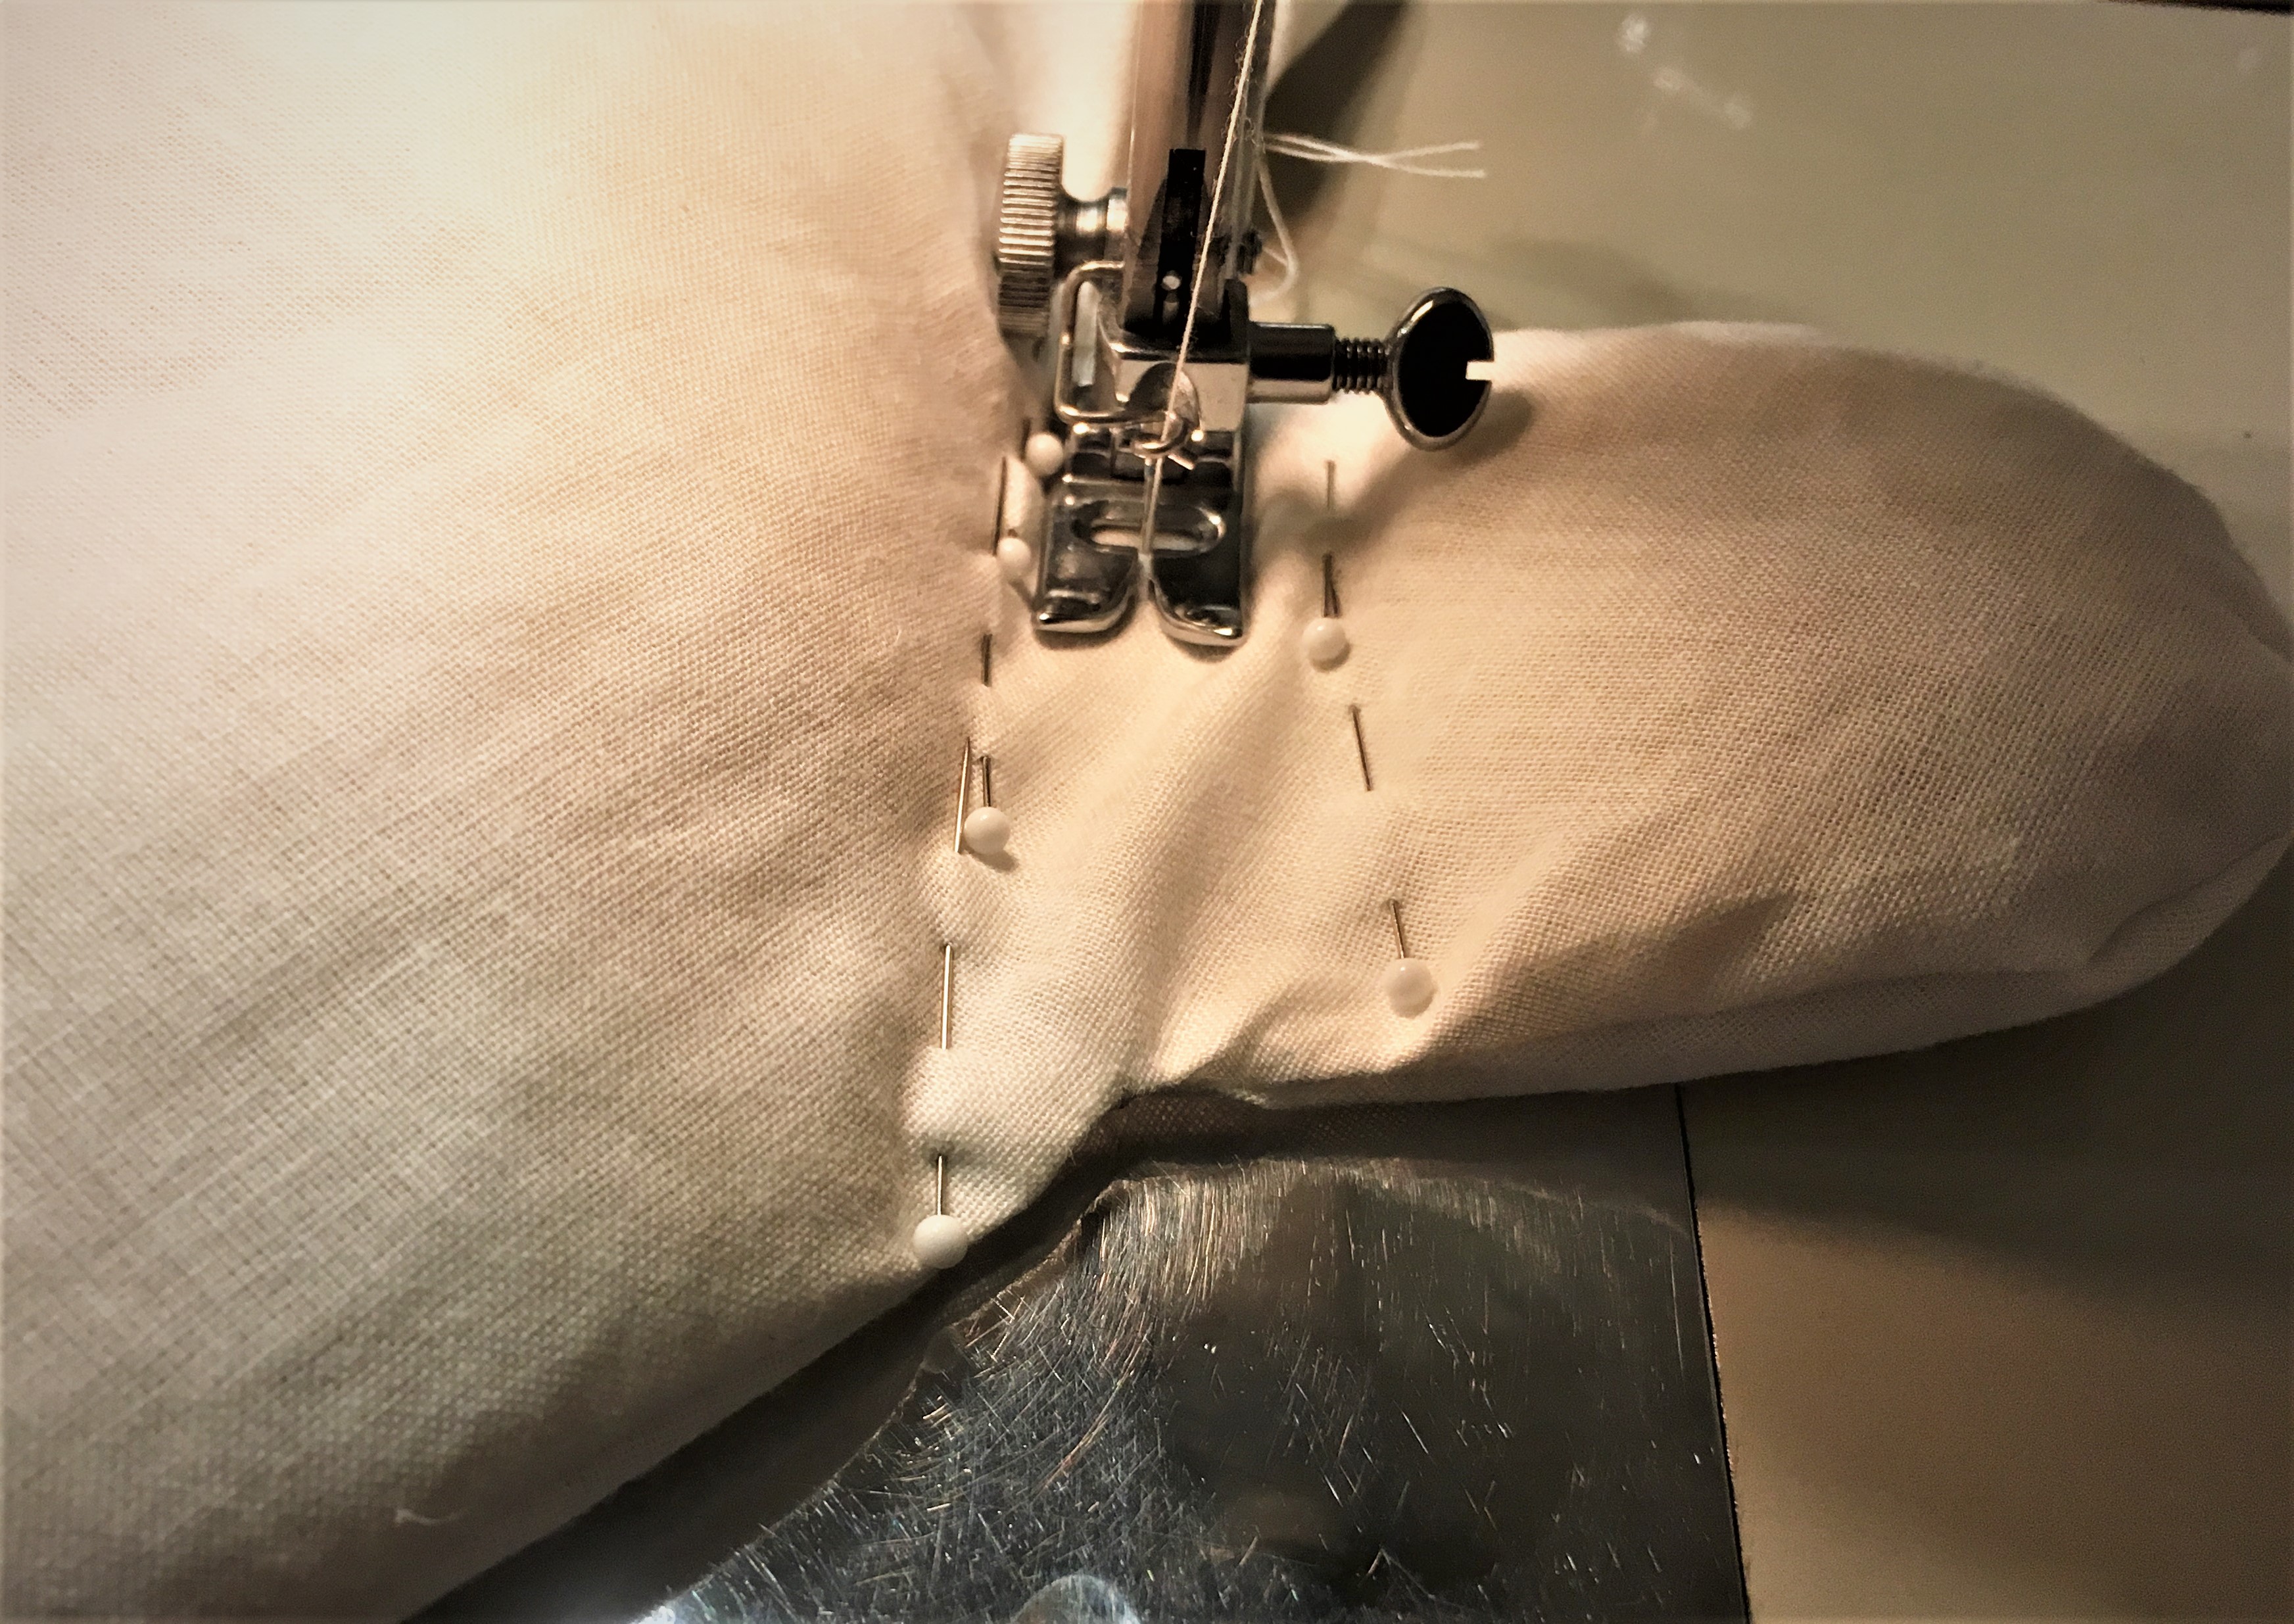
I didn’t want the rice to shift all over the body and get really full in one body part and be really wimpy and lax in another. So, I portioned off rice into the appendages and pinned the rice out of the way of the sewing machine needle so I wouldn’t be sewing over rice. I then stitched little barriers so that the rice wouldn’t shift around. The little rice insert is done!


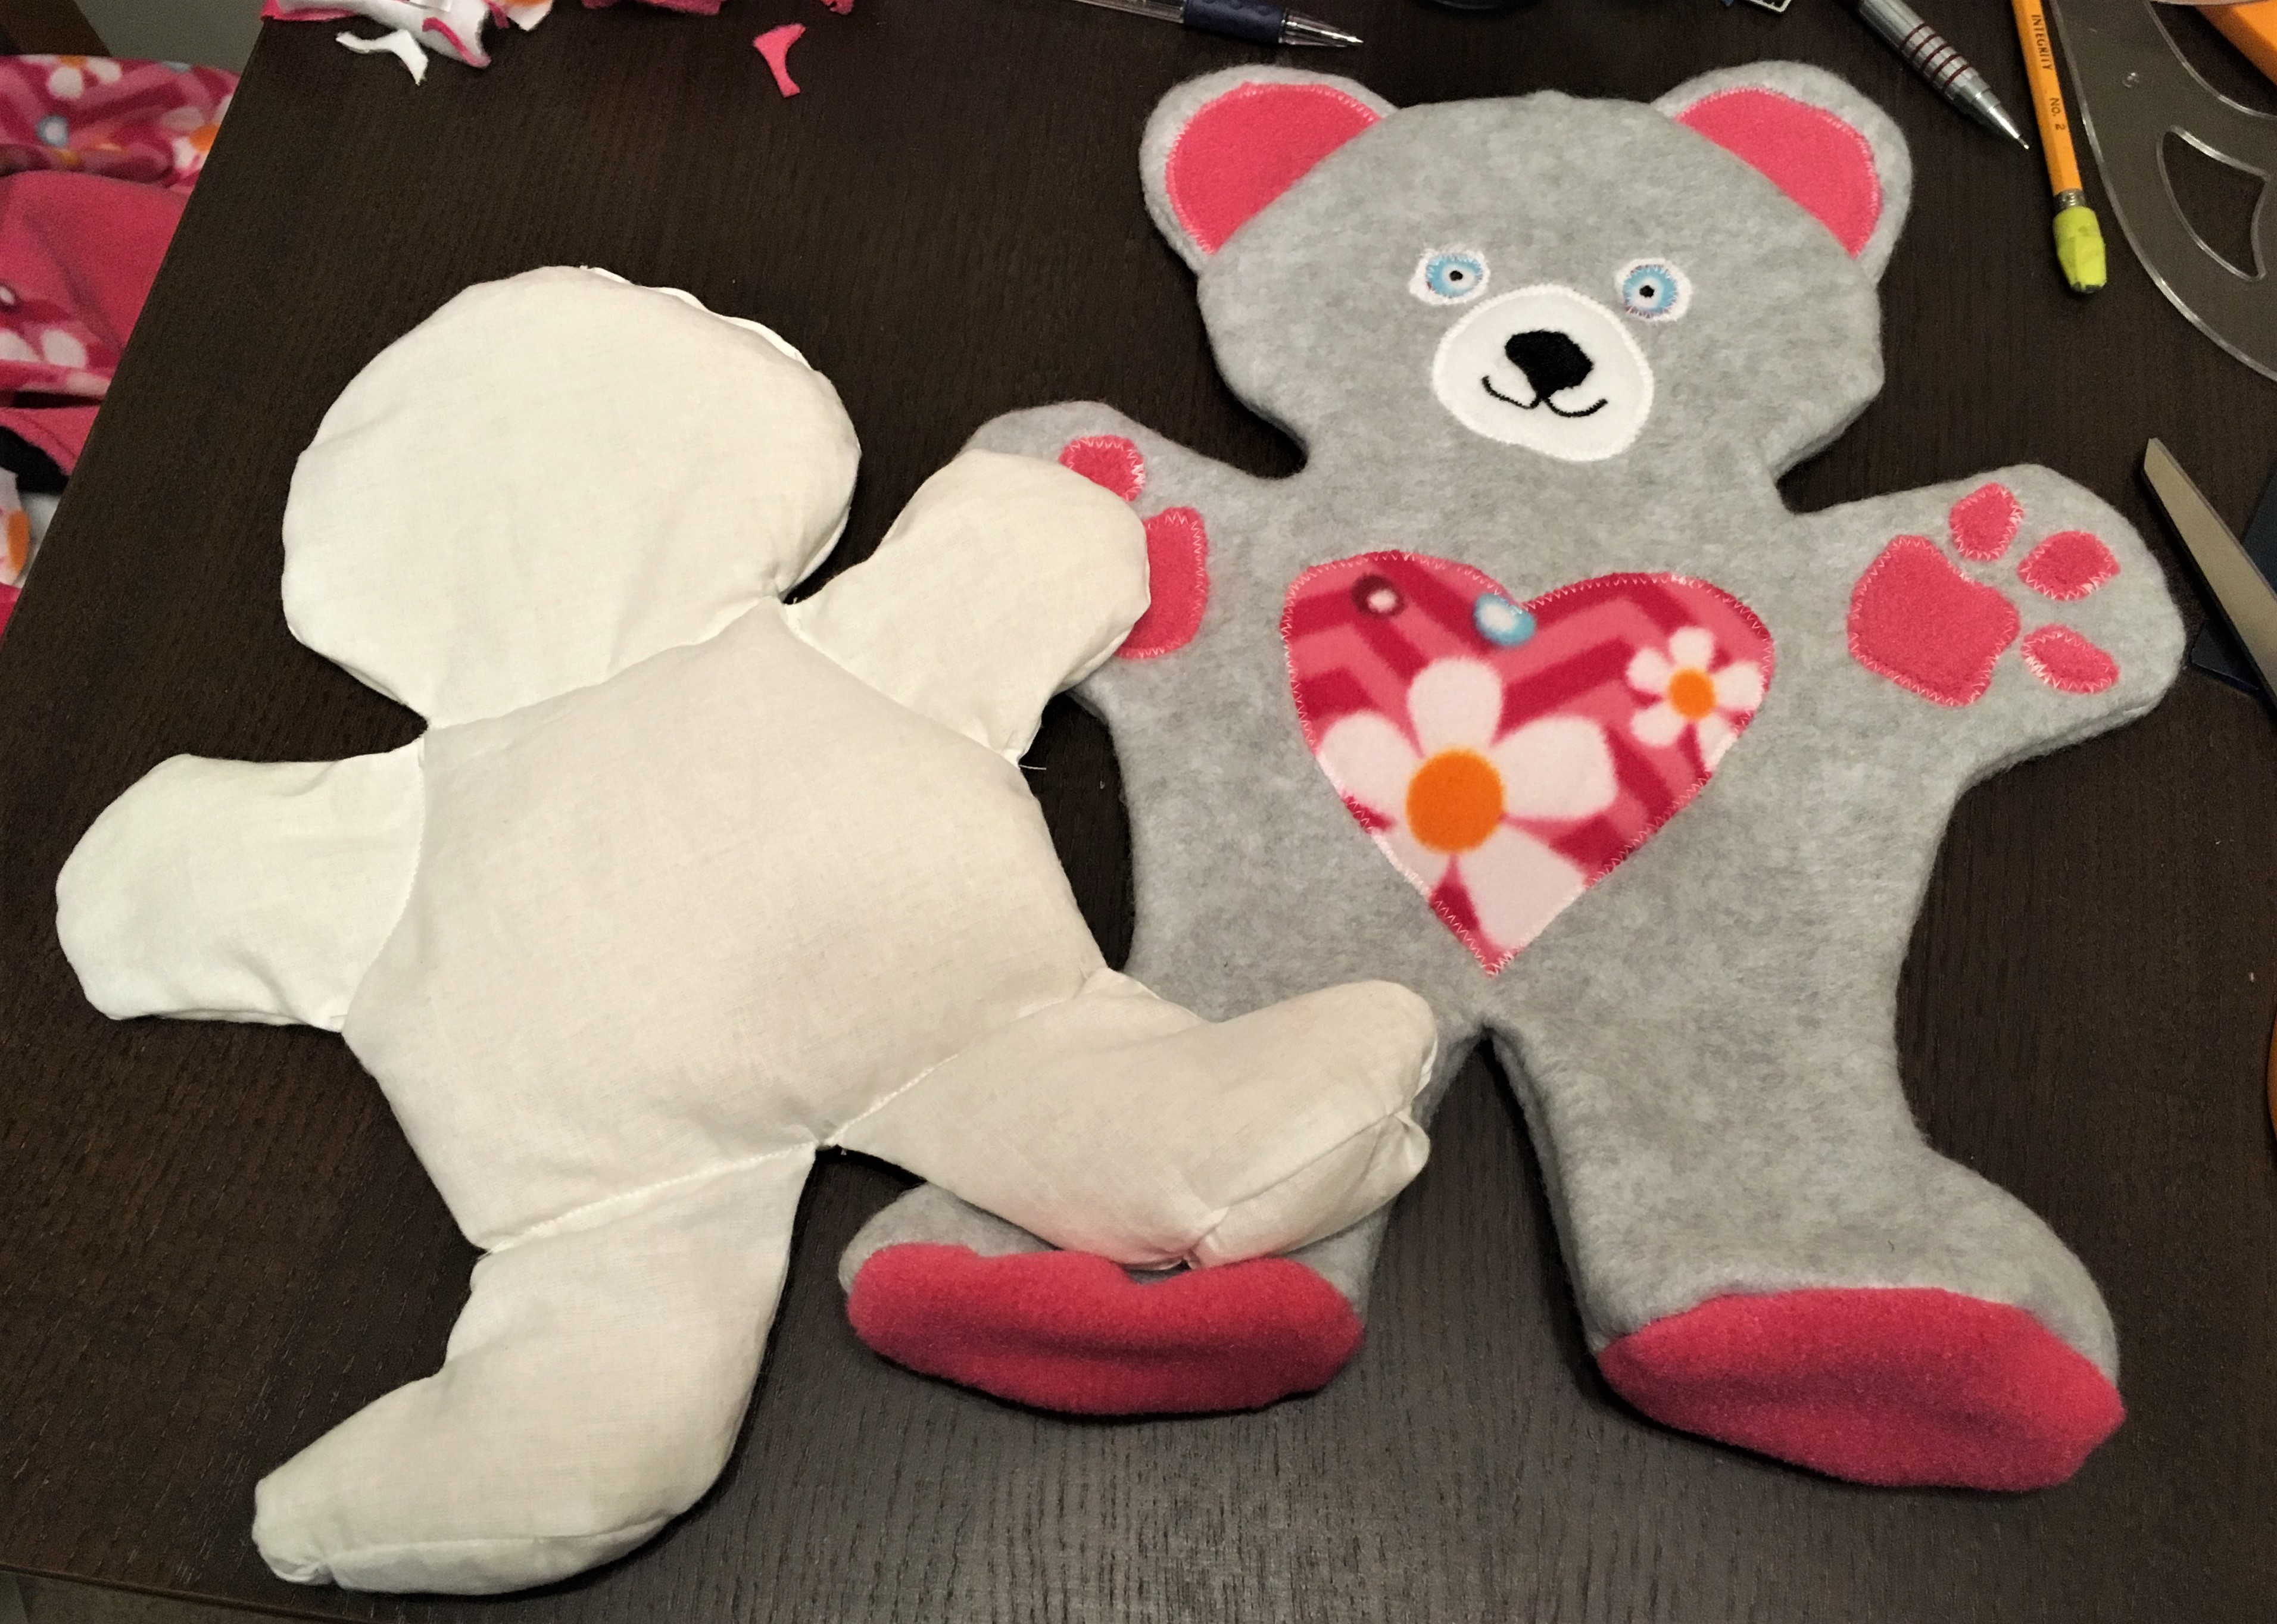
The Snuggle Buddy Cover
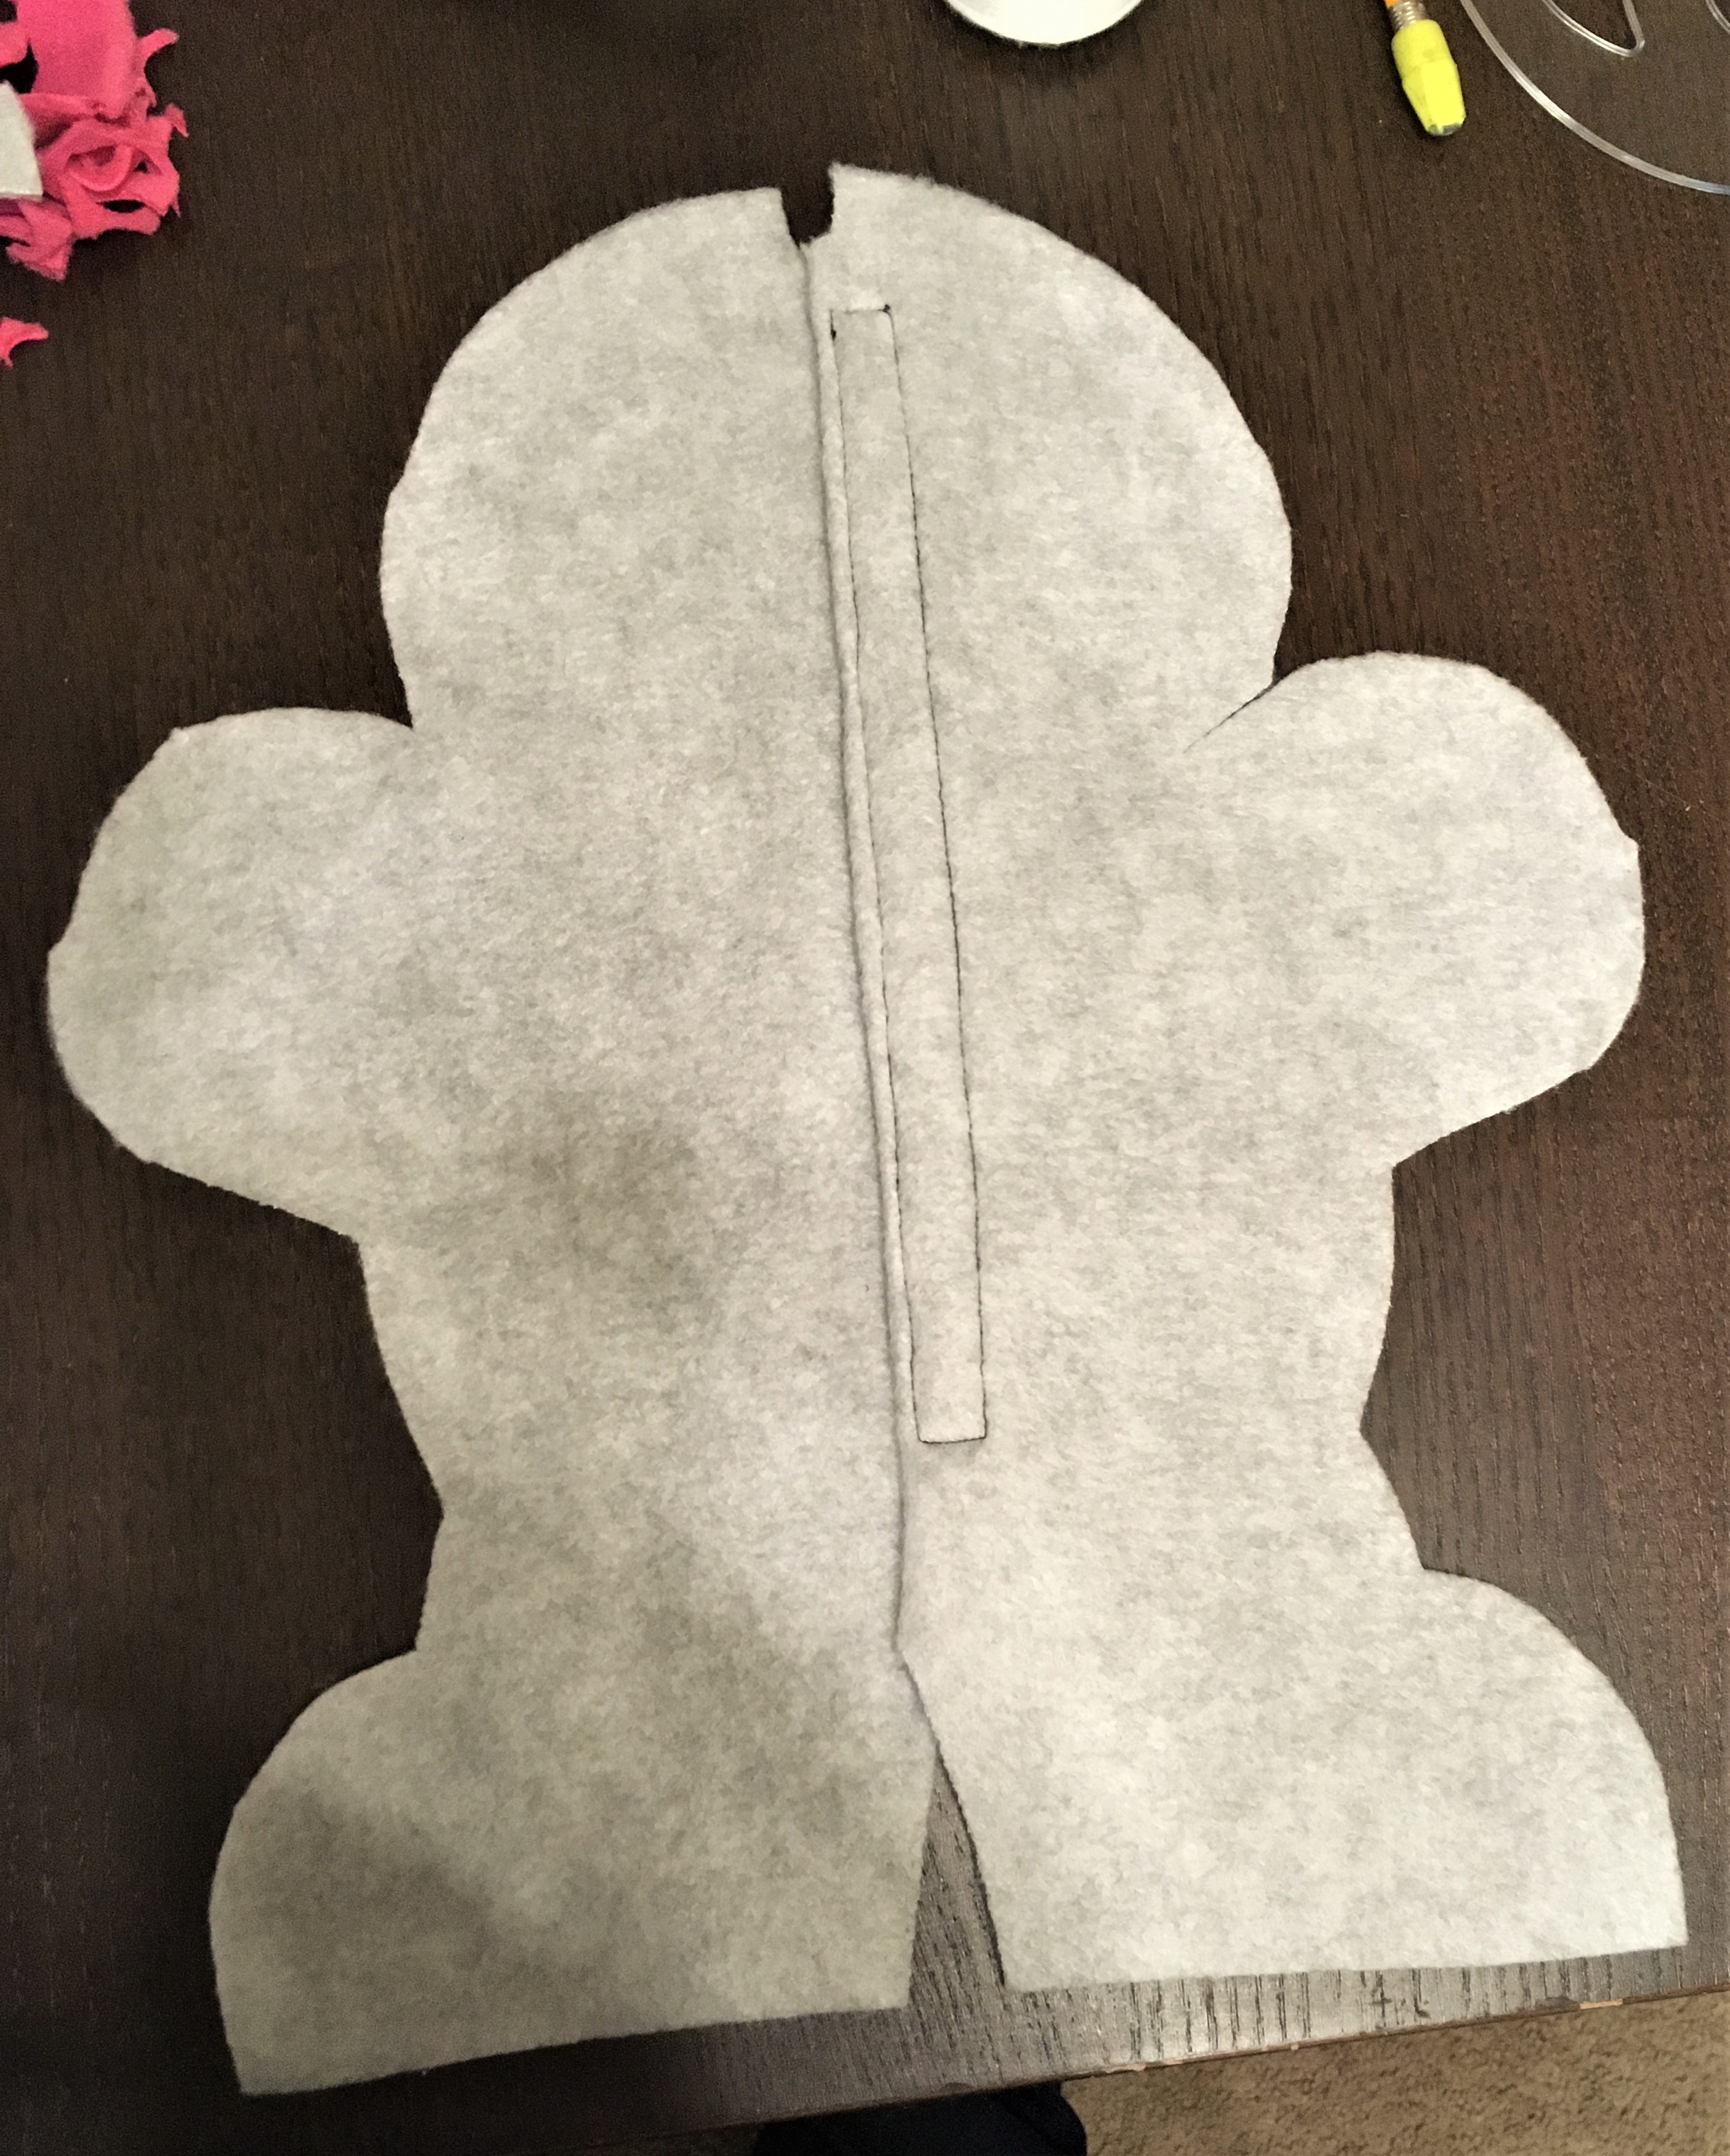
The next part was to make the body cover. I wanted to make a little bear with a heart on its tummy, because Ella is really into hearts right now. I used the same pattern that I had used for my rice insert for the cover also. But, instead of the back piece being just one piece, I folded the pattern in half and laid it on the fold, giving an extra inch so I would have extra material to make a back velcro closure. I then cut up the fold in order to have two back pieces.
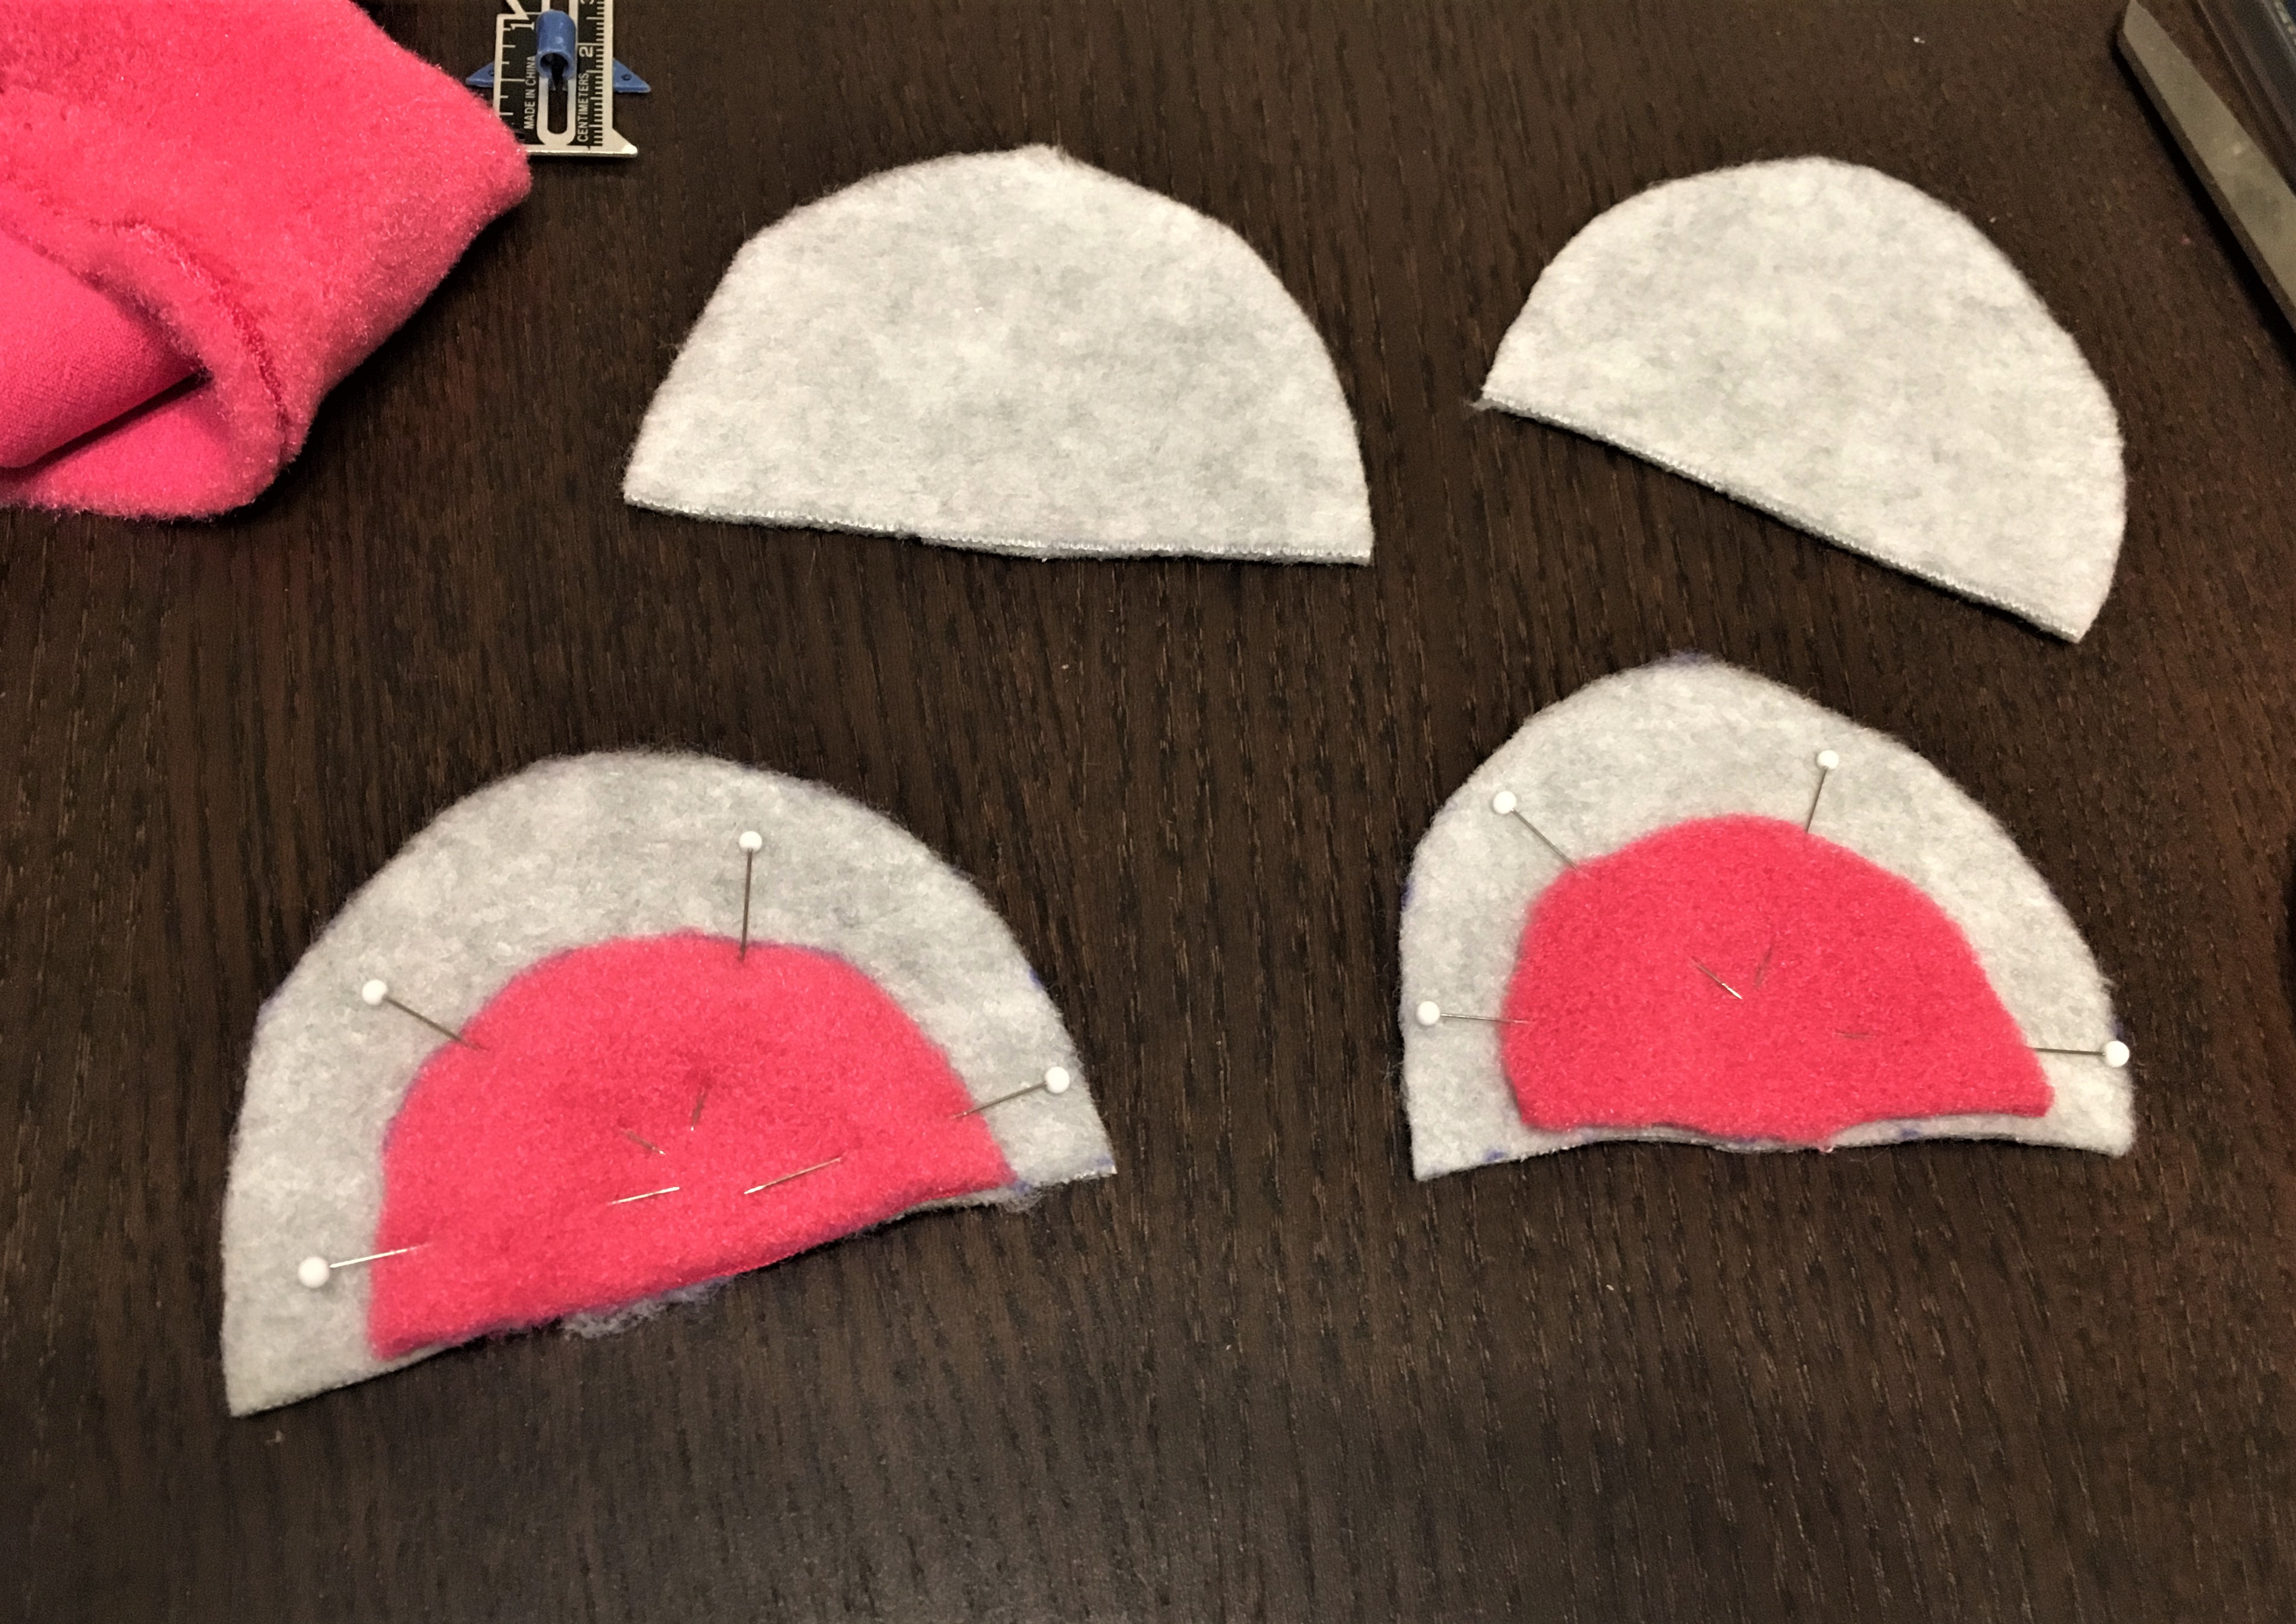
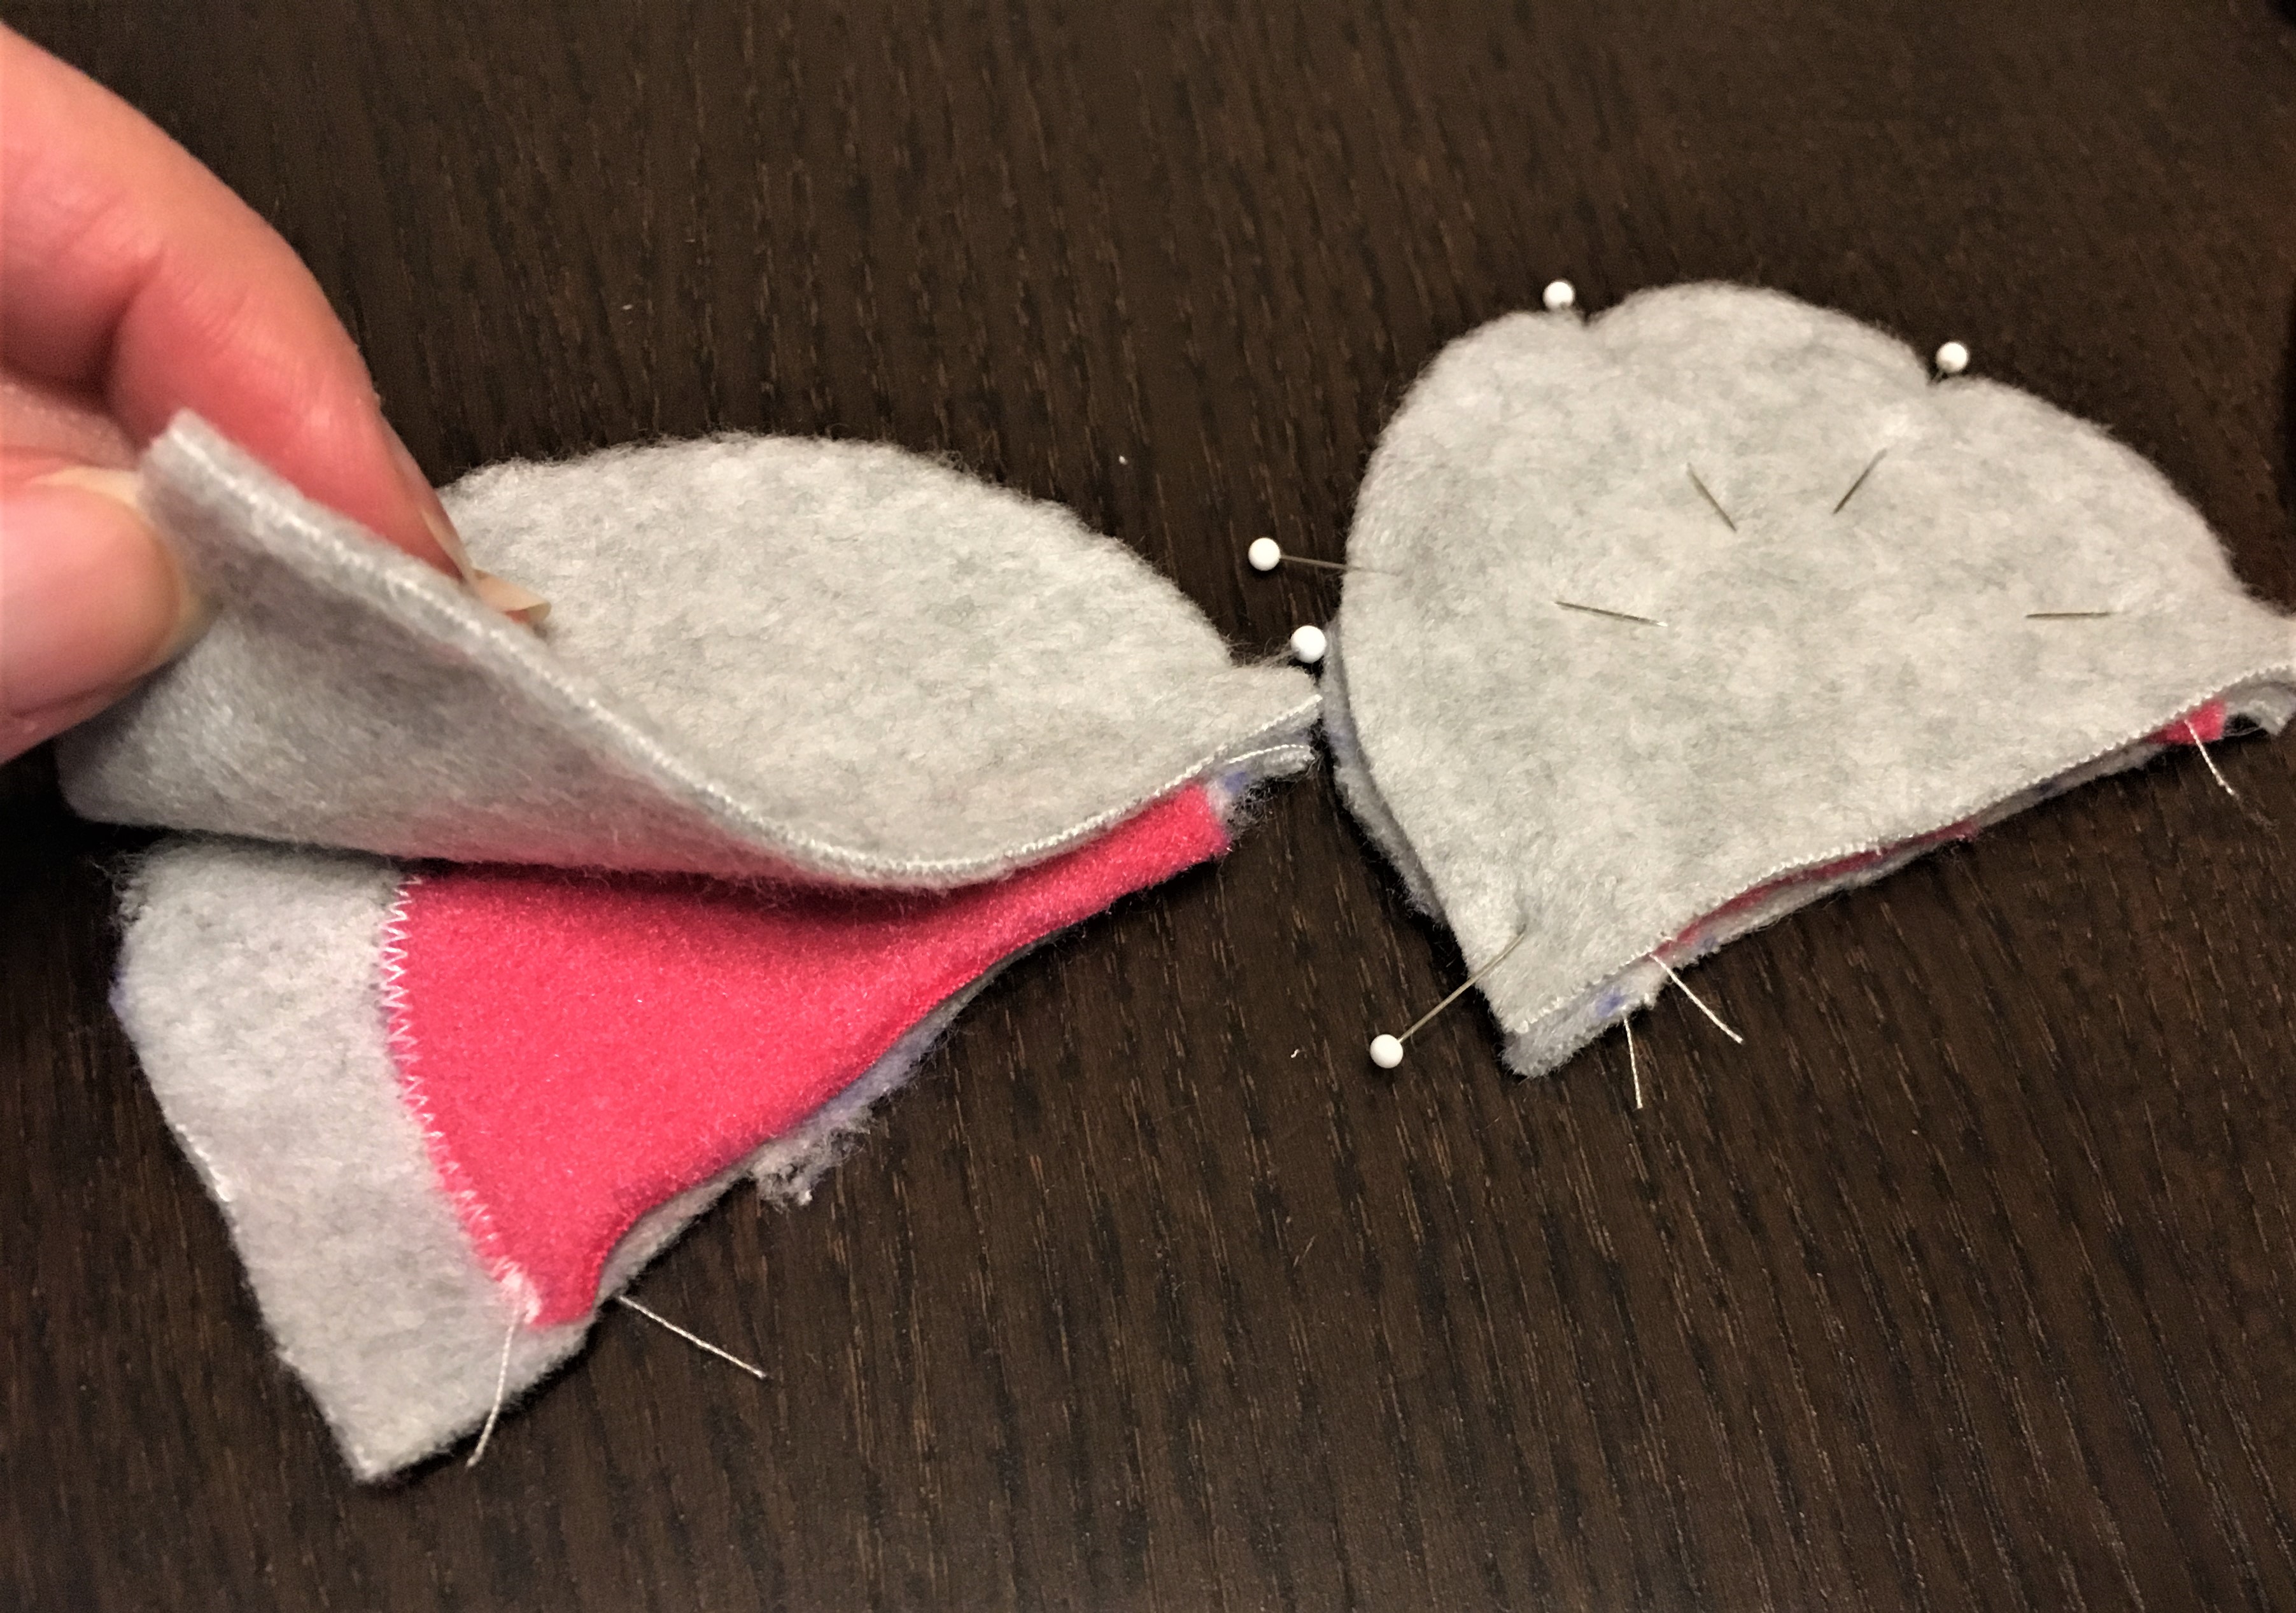
Ears
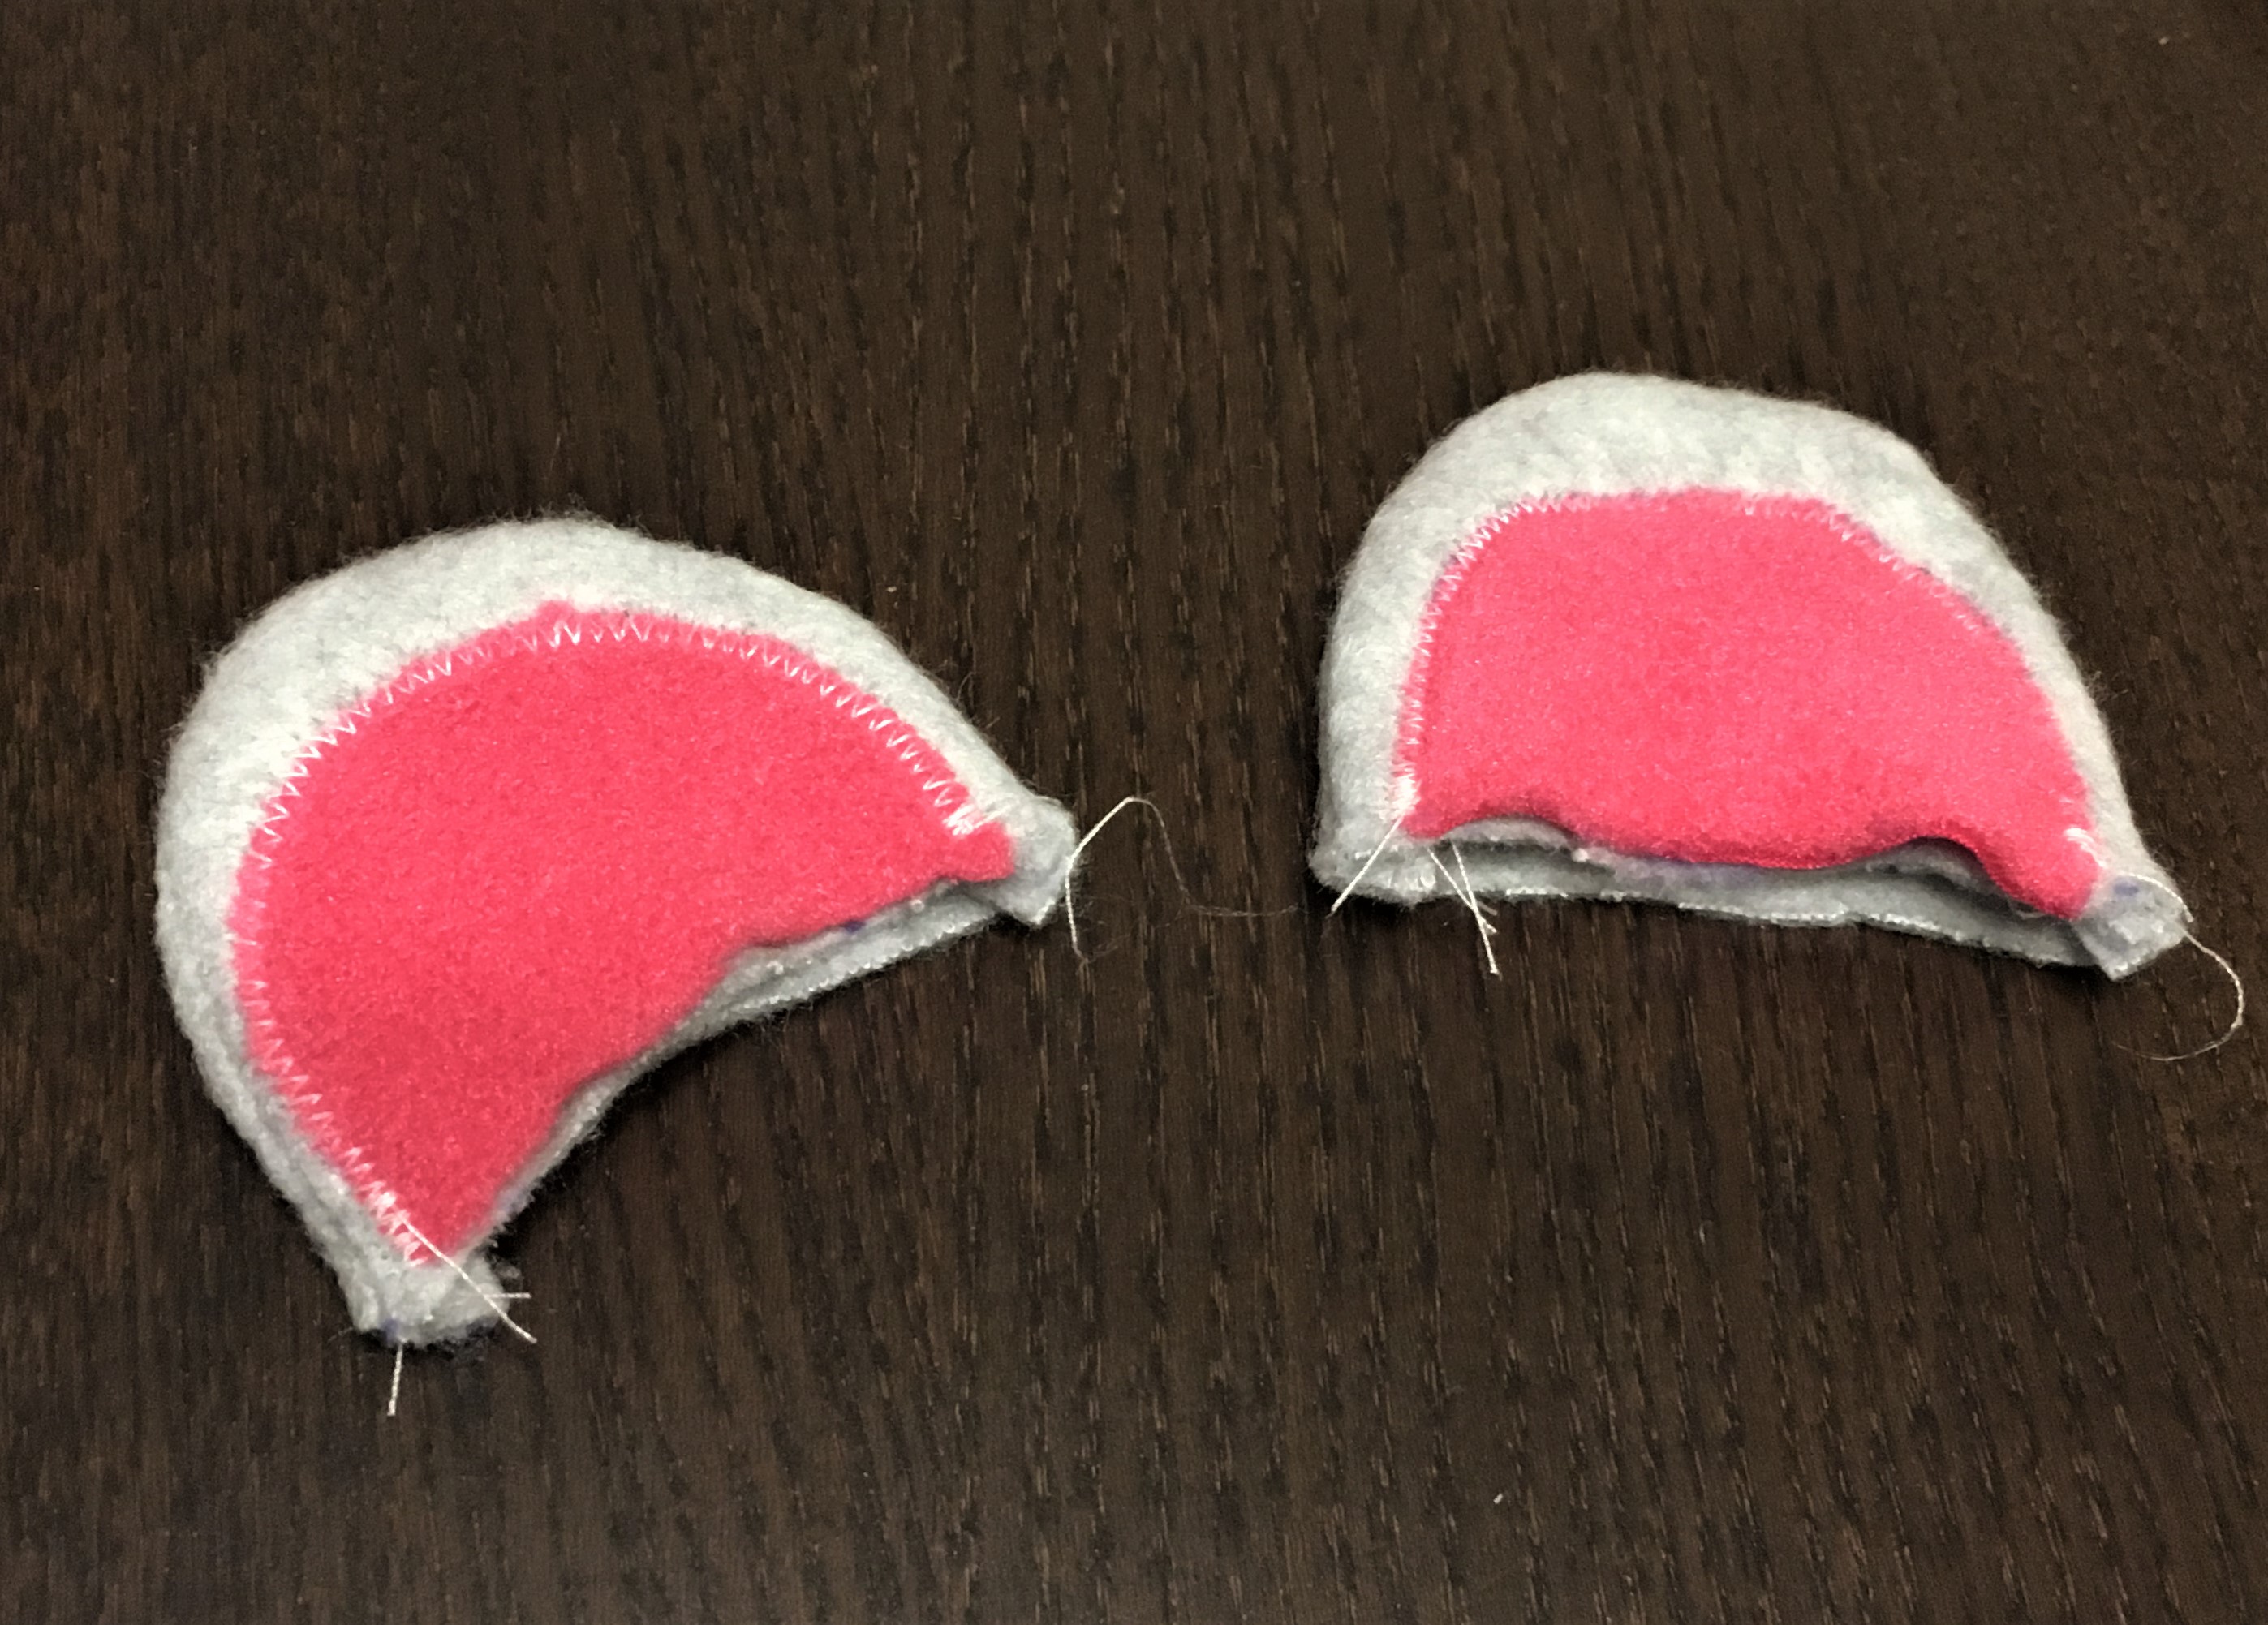
The first thing I started with was the little ears. I wanted them to have a pink center, so I cut out two smaller pink ears and top-stitched them onto the right sides of two of the gray ear pieces–using a zig-zag stitch all around the edge. Then I pinned the ear pieces right sides together and stitched around the curve, using a 1/4 inch seam allowance. After turning them right side out they were ready to attach!


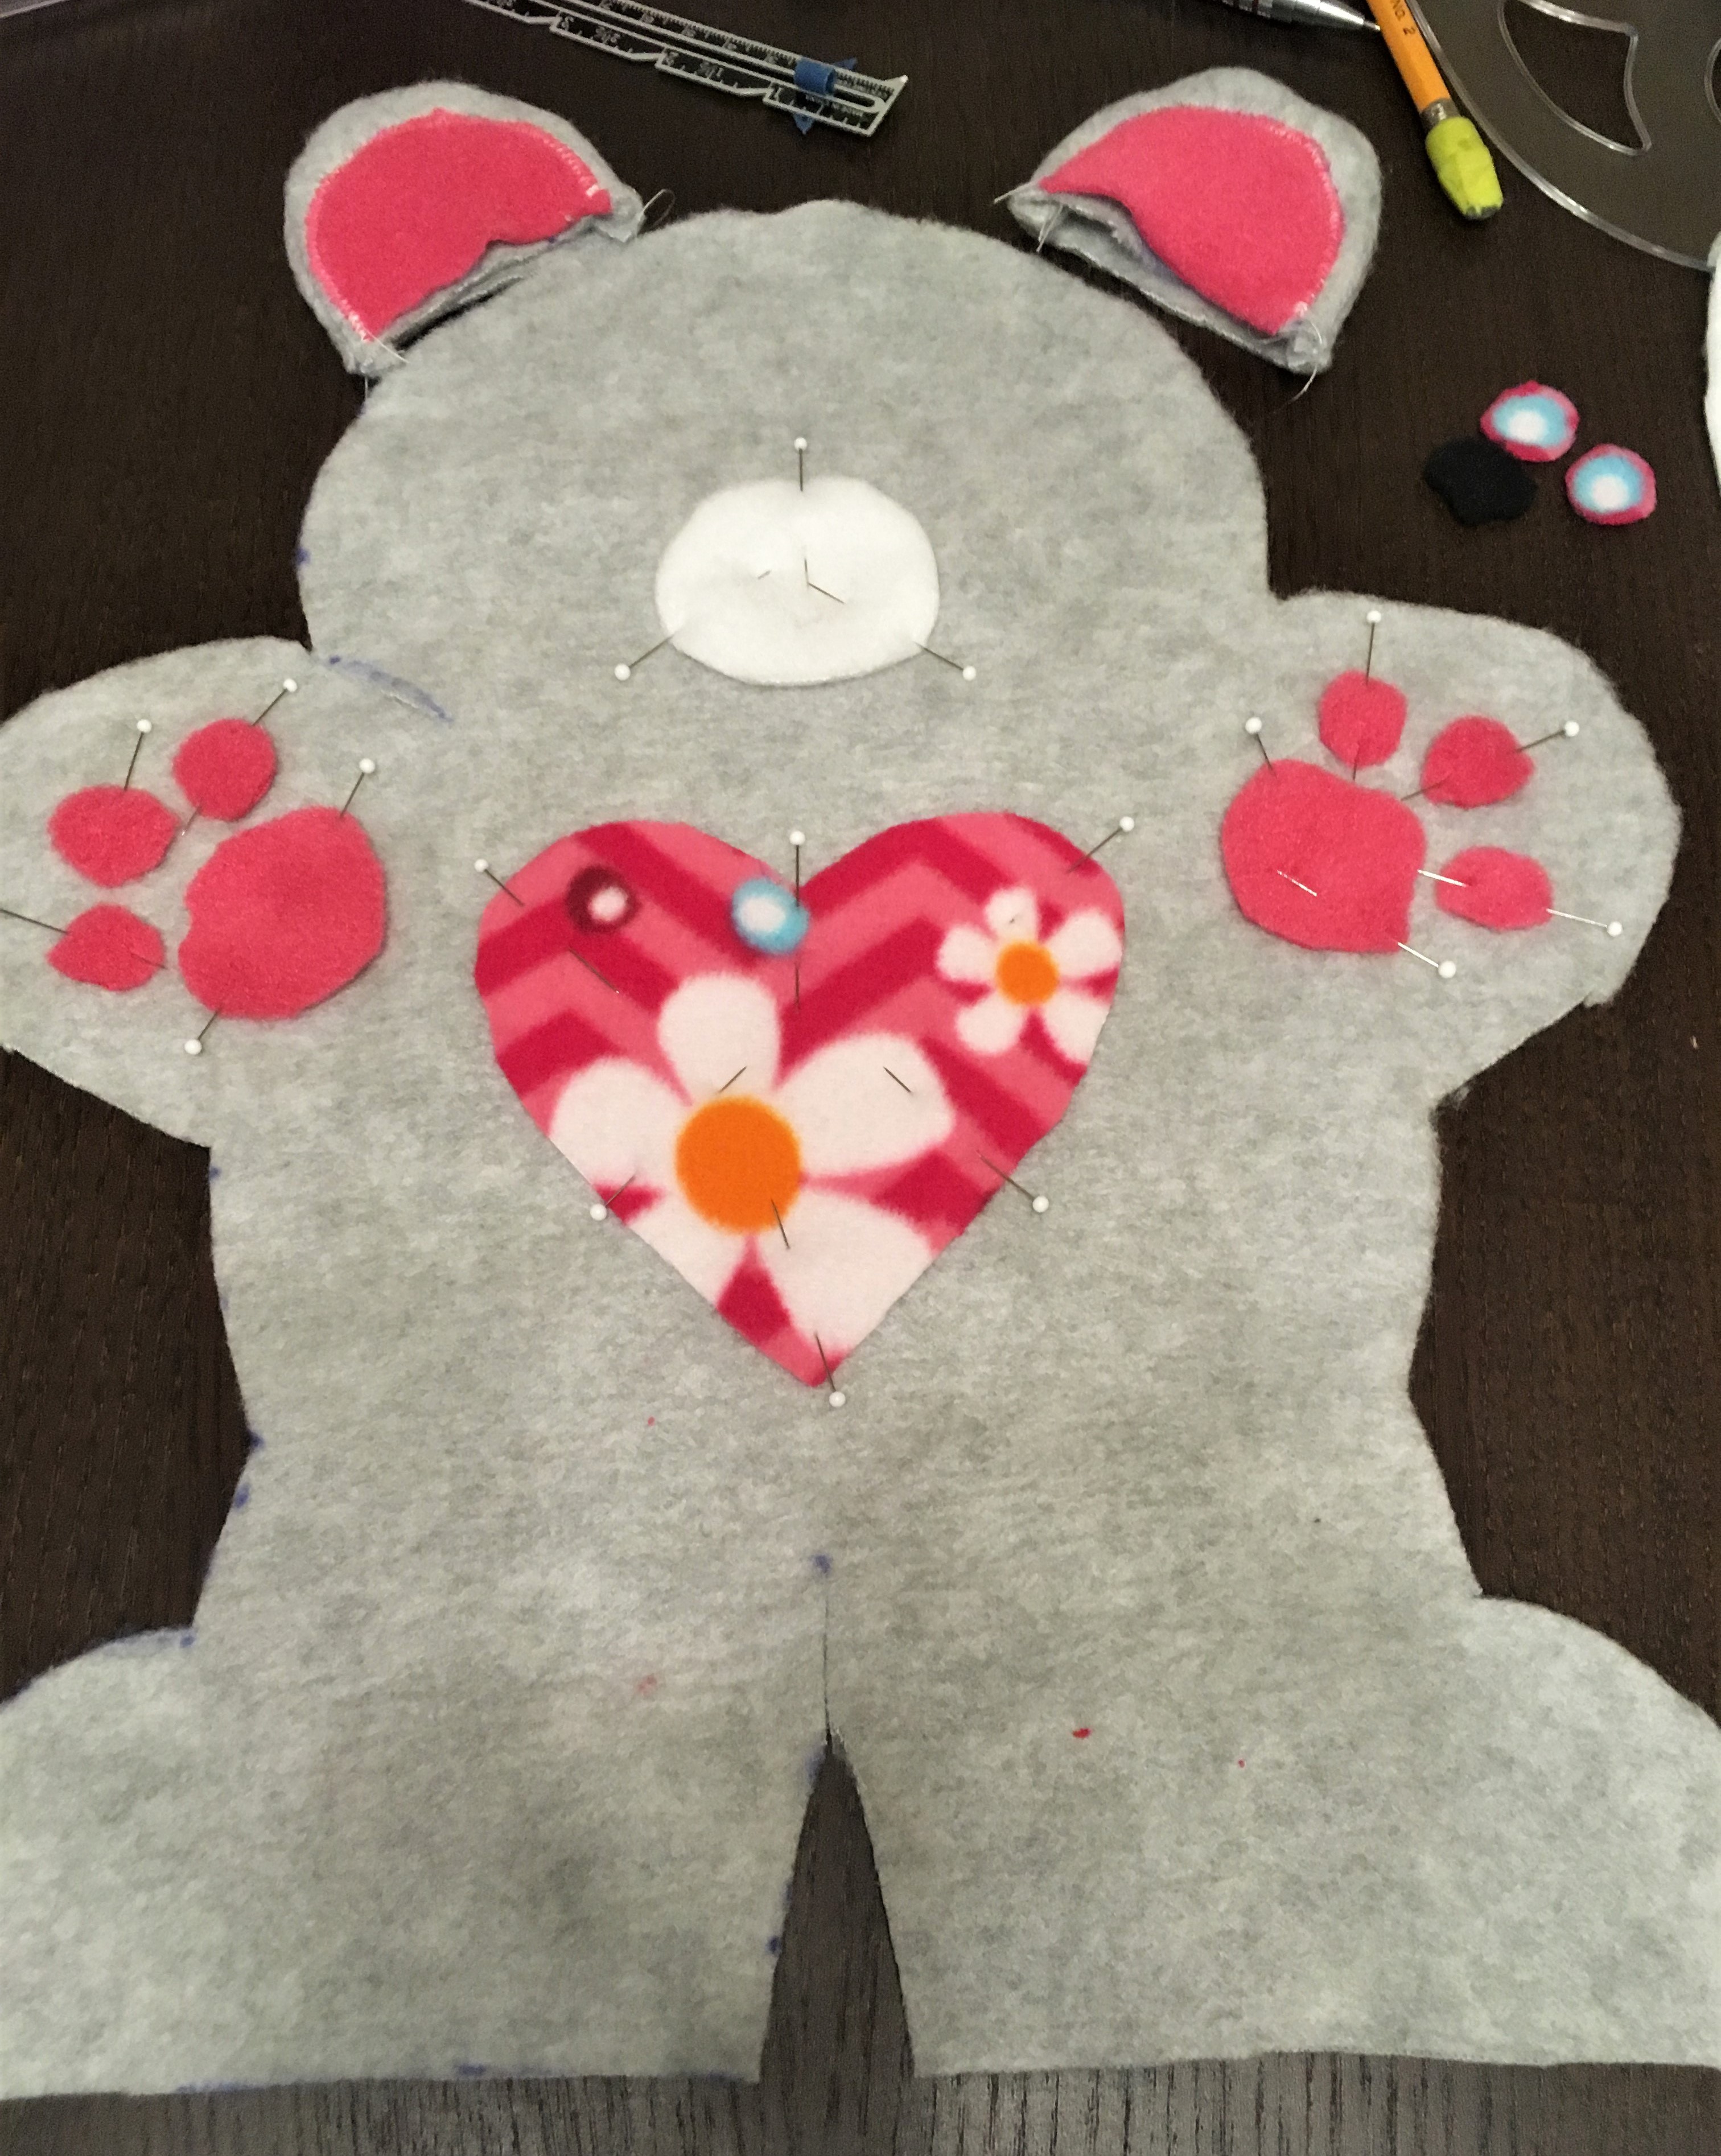
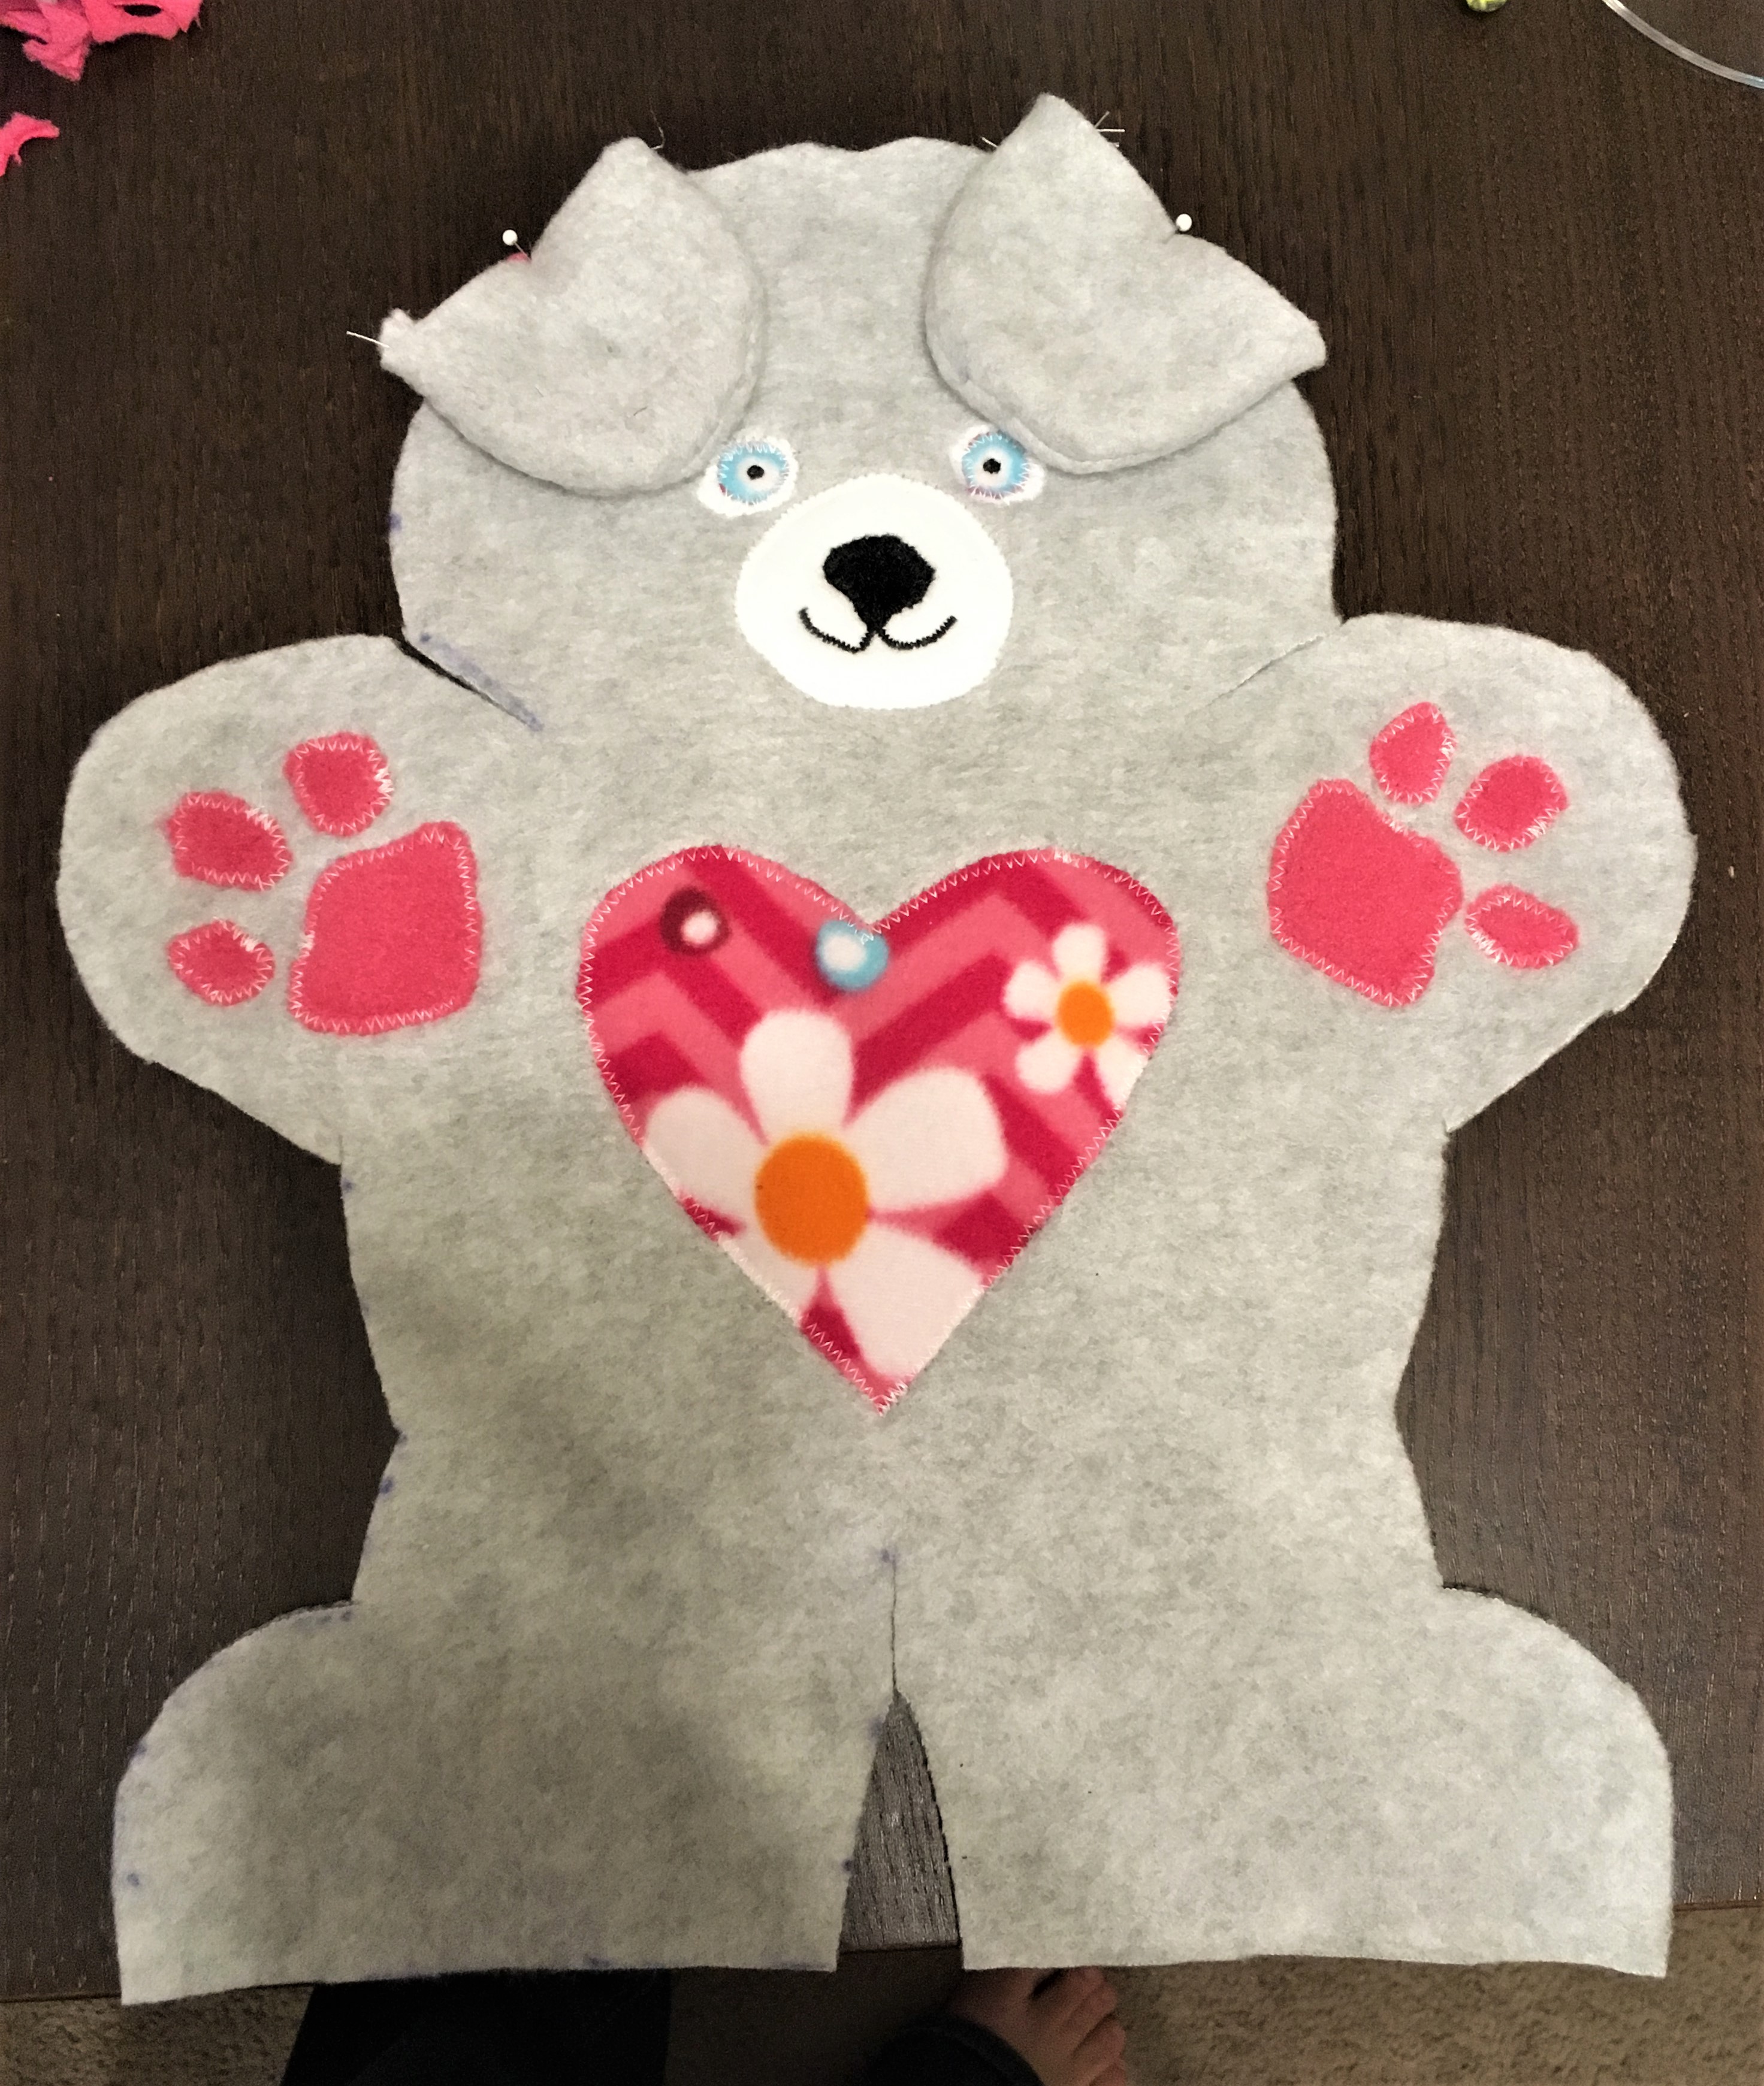
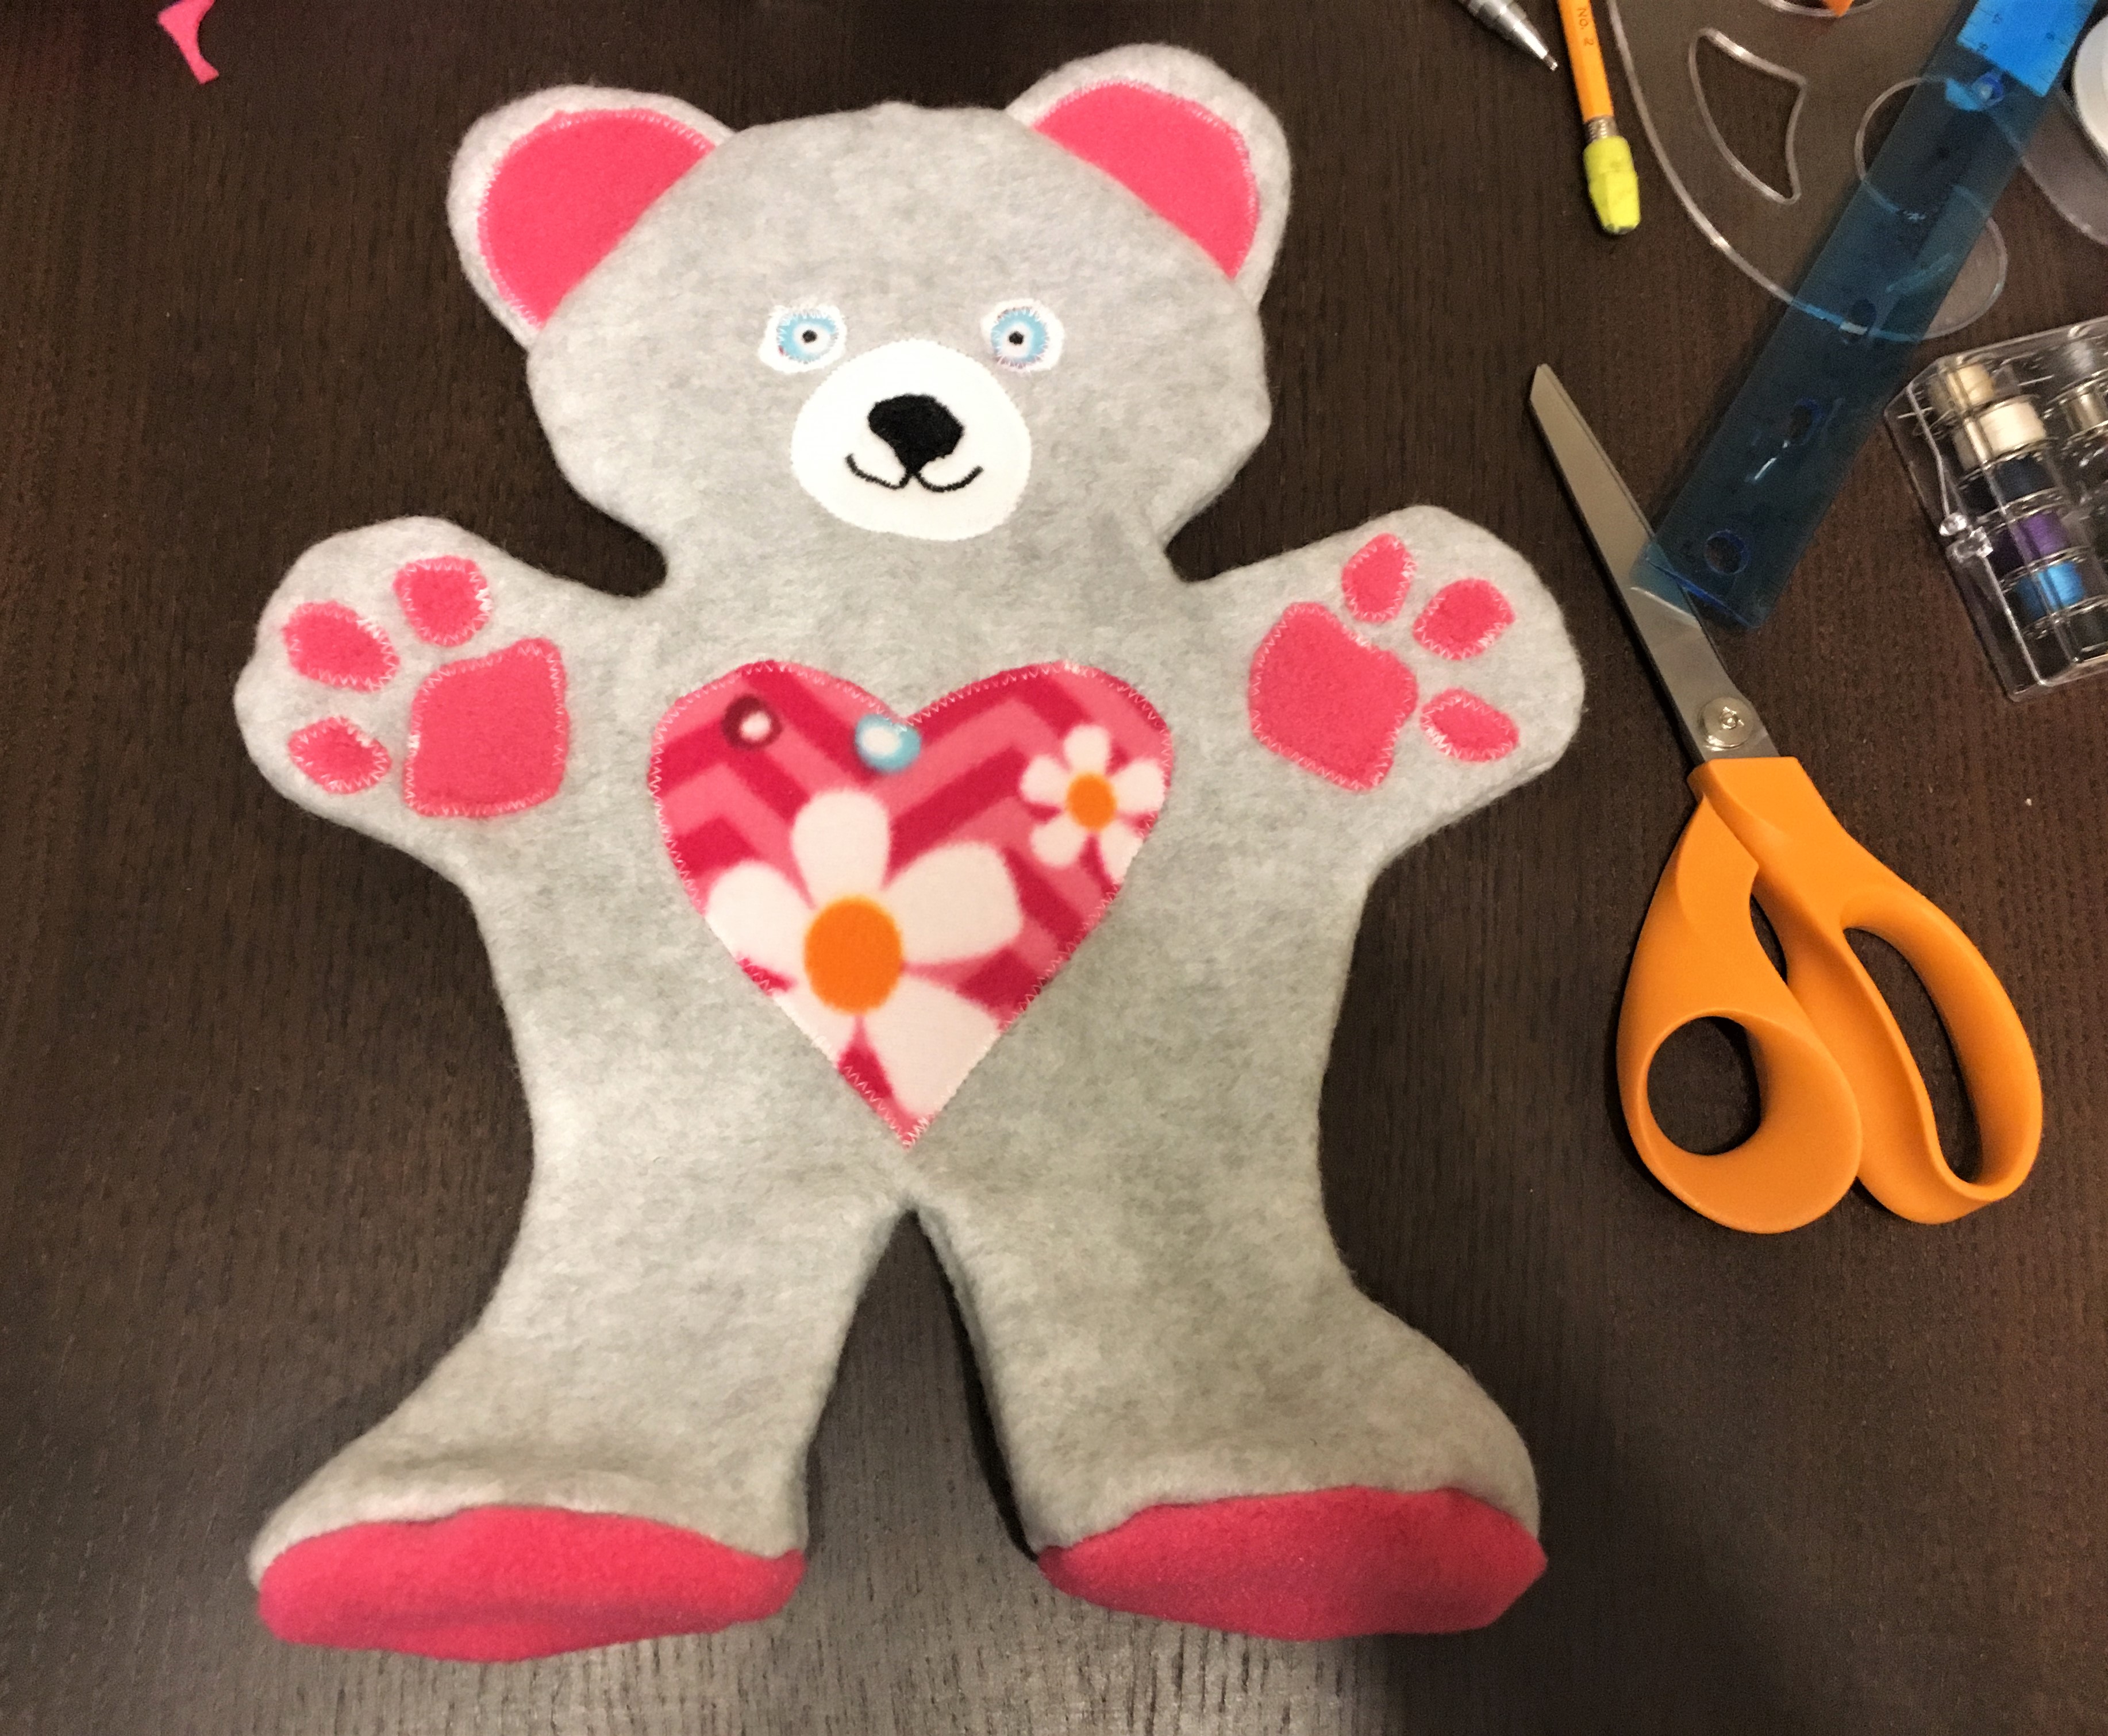
Decorative Features
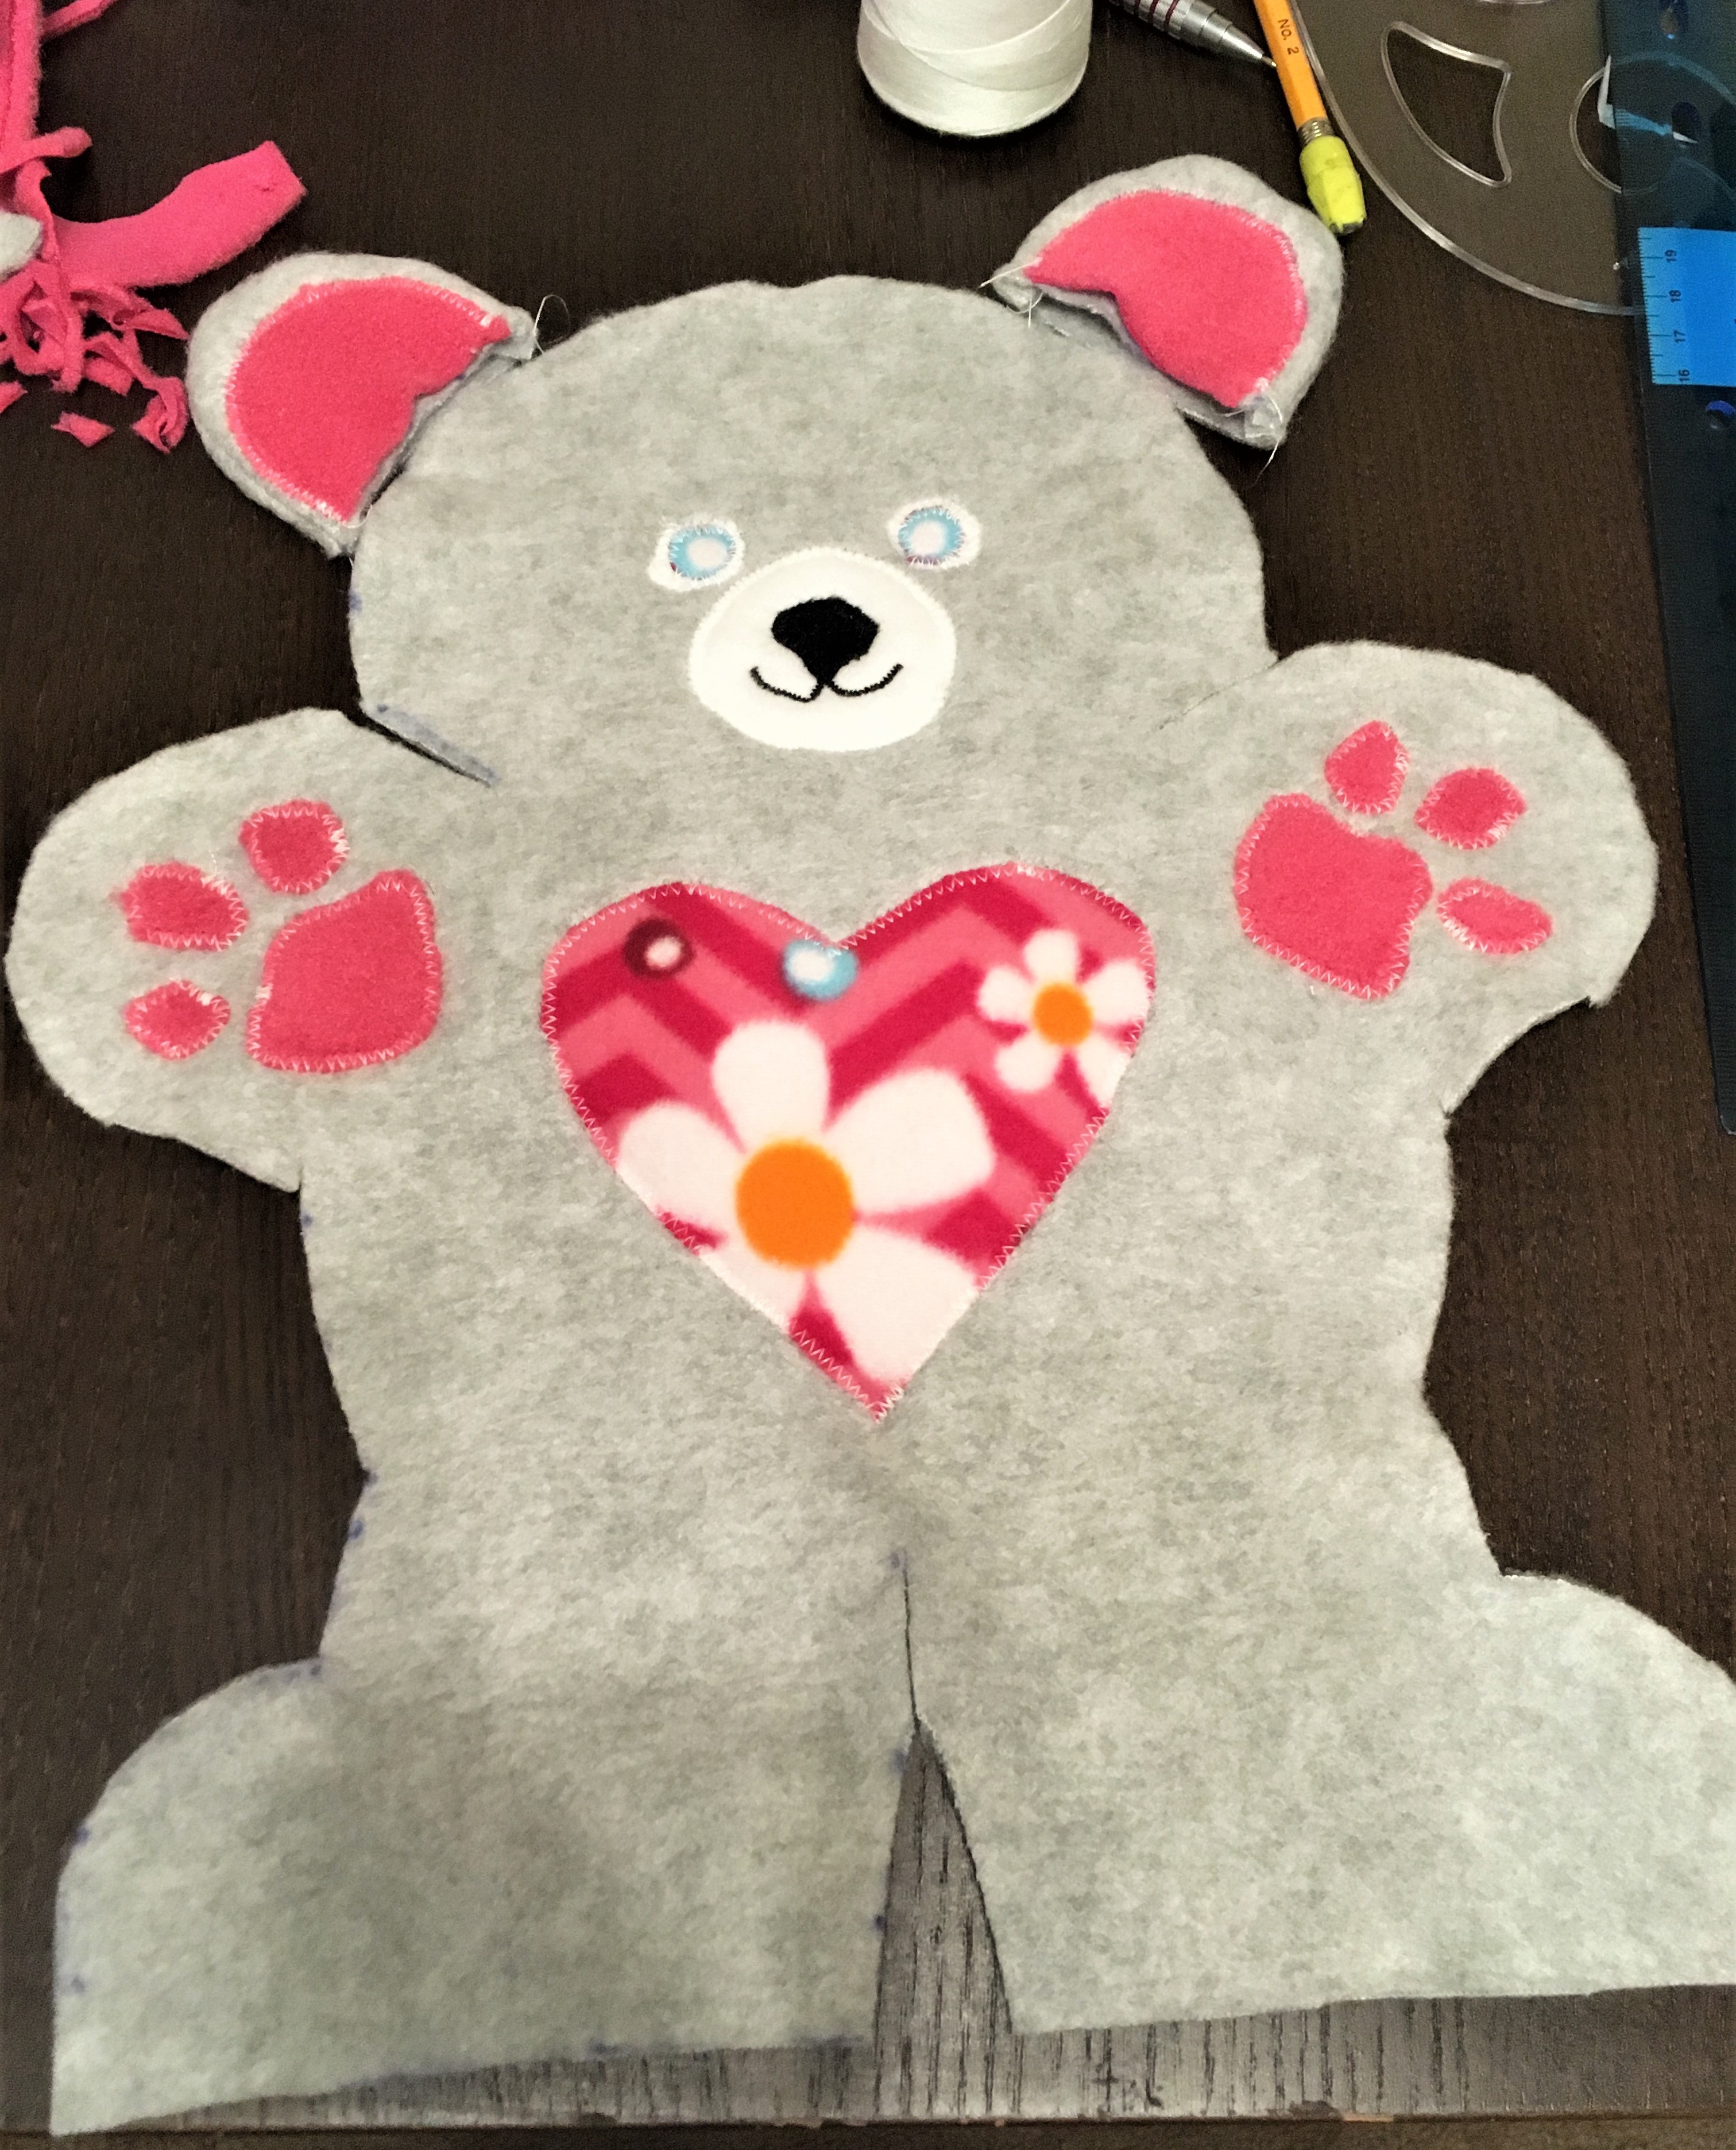
Before attaching the ears and sewing it all together, I wanted to give the bear his paws and face (and heart of course). I cut contrasting fleece into little paws and a nose and eyes and pinned them onto the right side of the front piece, making sure to leave enough space around the edges for the seam. Then, I top-stitched the little features onto the body using a zig-zag stitch all around the edges. I did the same for the heart.
For the nose, I switched thread colors and used black thread to go around the little black nose, and then used a small, short zig-zag stitch to machine embroider a little smile. Then I hand-embroidered the black centers of the eyes.


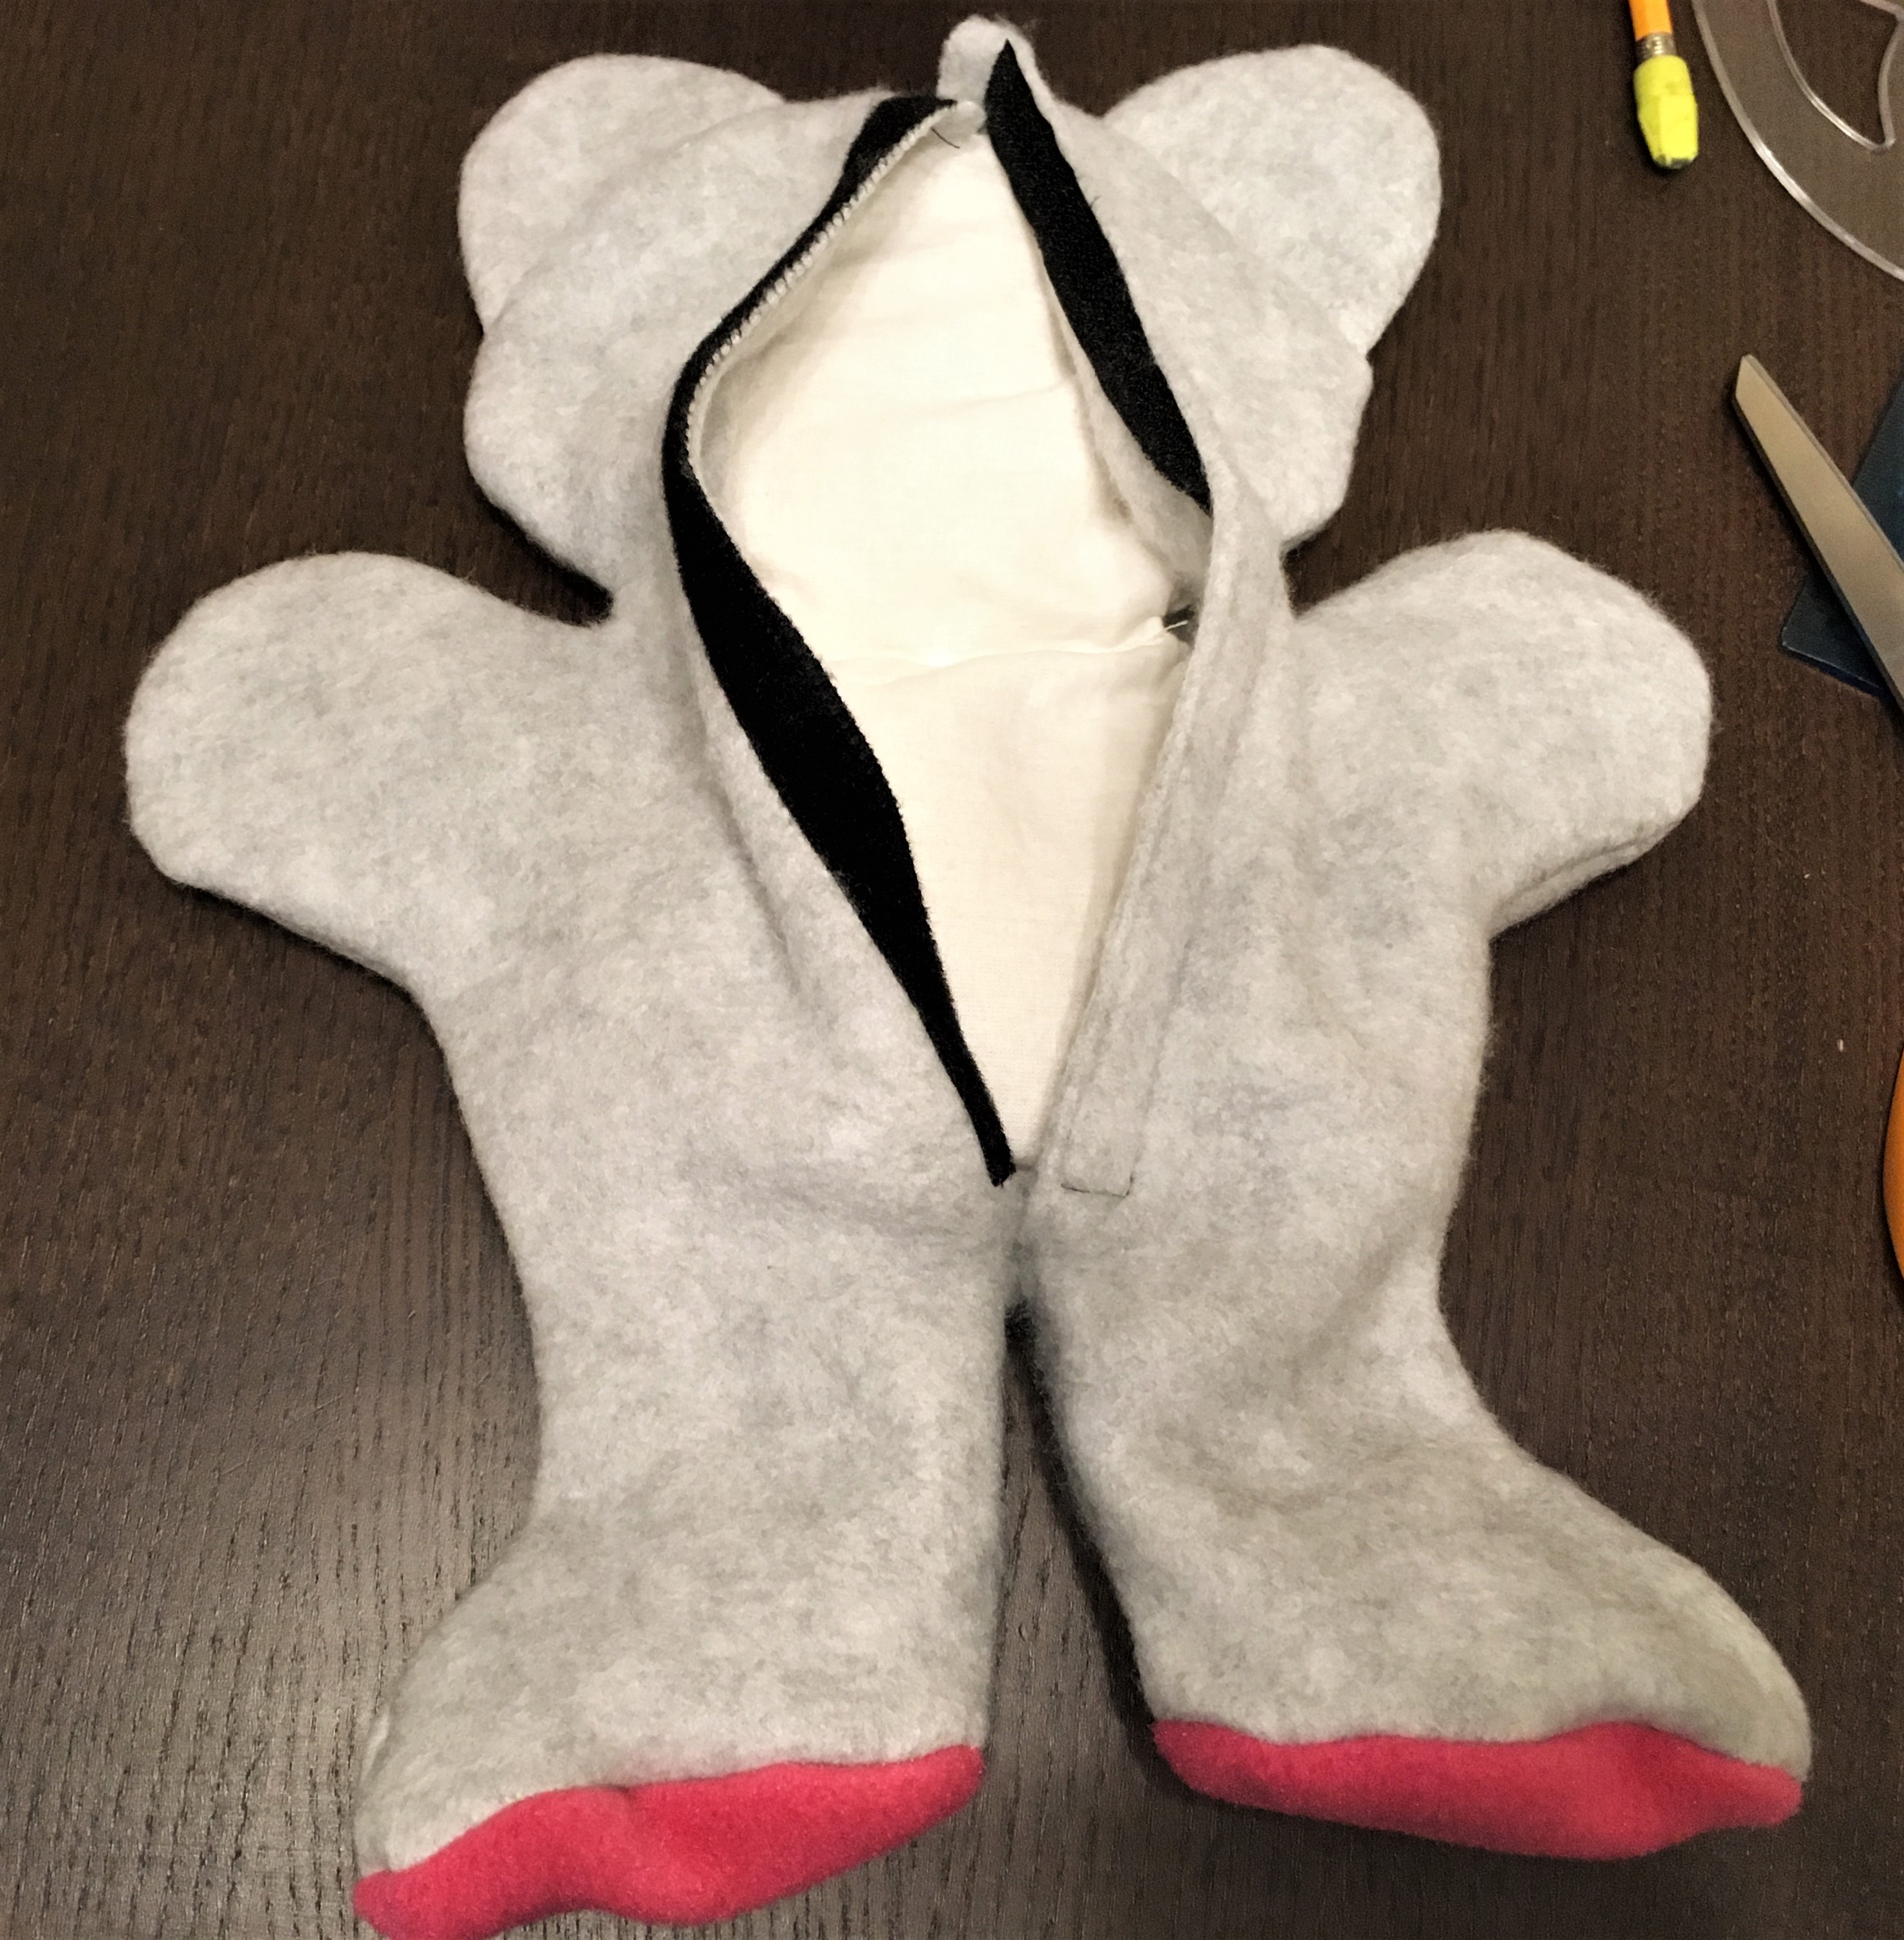
Making the Velcro Closure
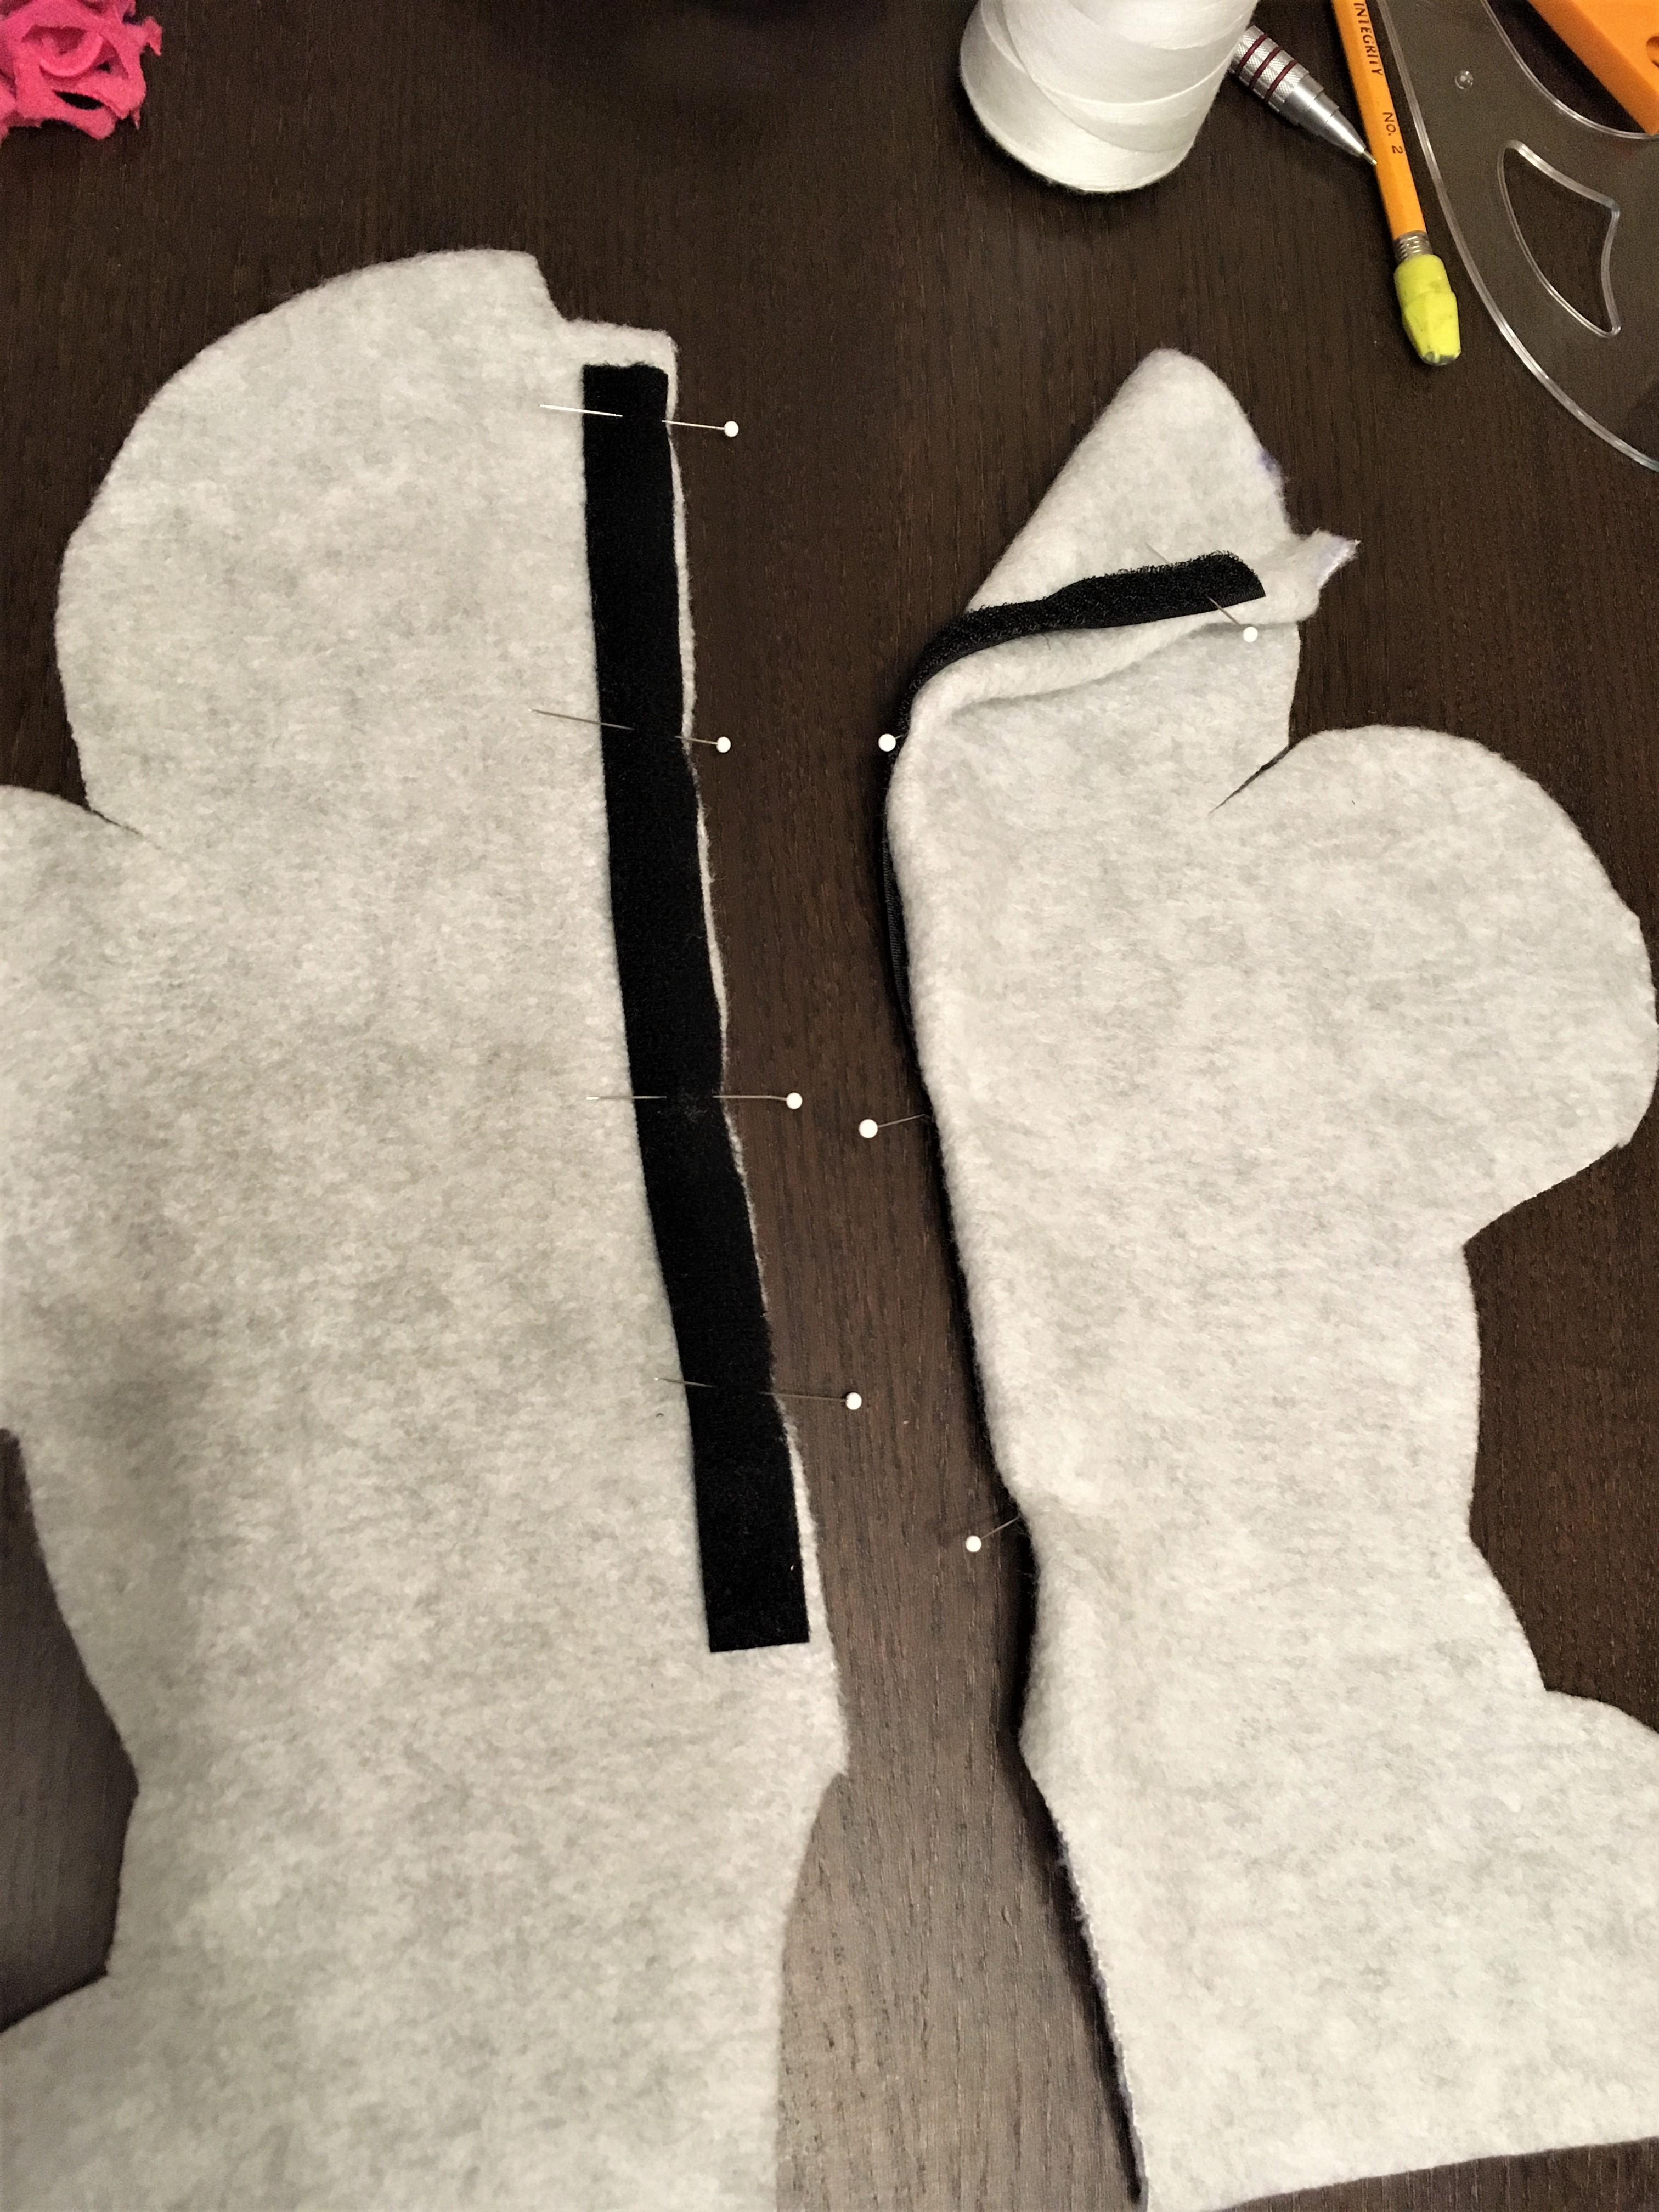
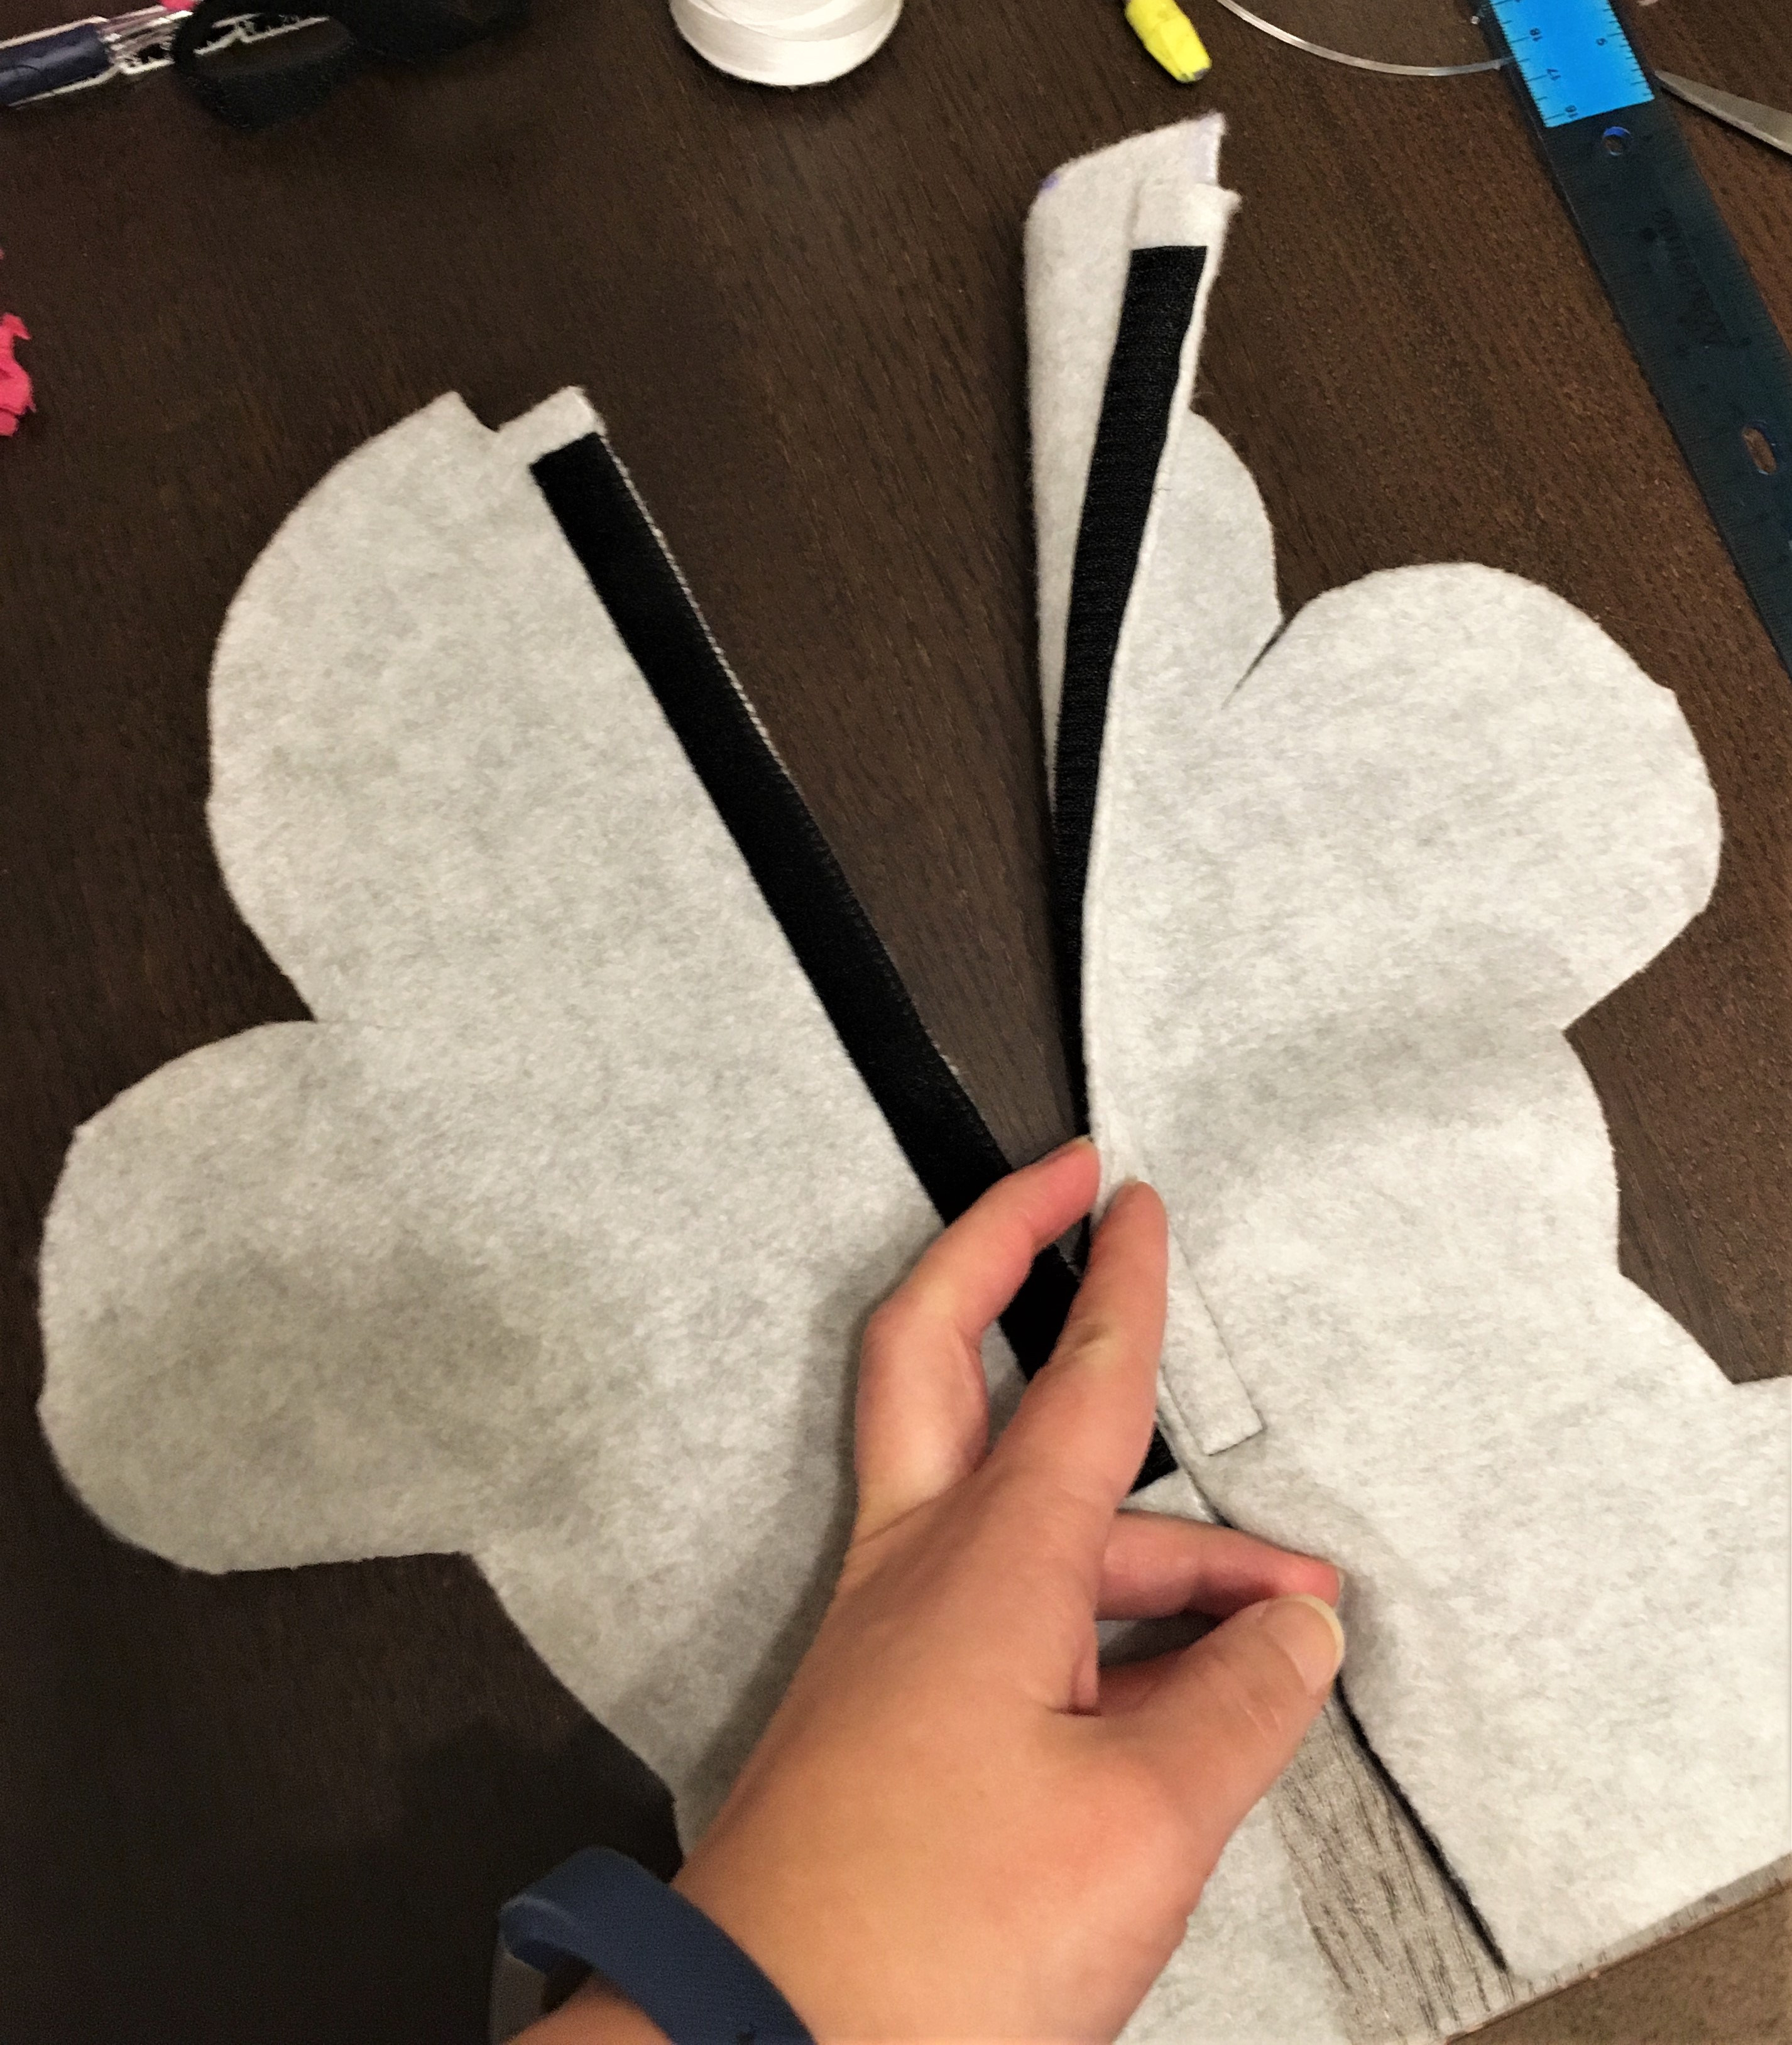
Next, I moved on to the back pieces. The fuzzy side of the velcro I pinned to the right side of the left back piece. For the grabby side of the velcro, I folded the extra tab on the right back piece under and pinned the velcro to it. After stitching the velcro onto the back tabs I put them together and closed up the back to make it into one piece for assembly with the front.


Putting it All Together
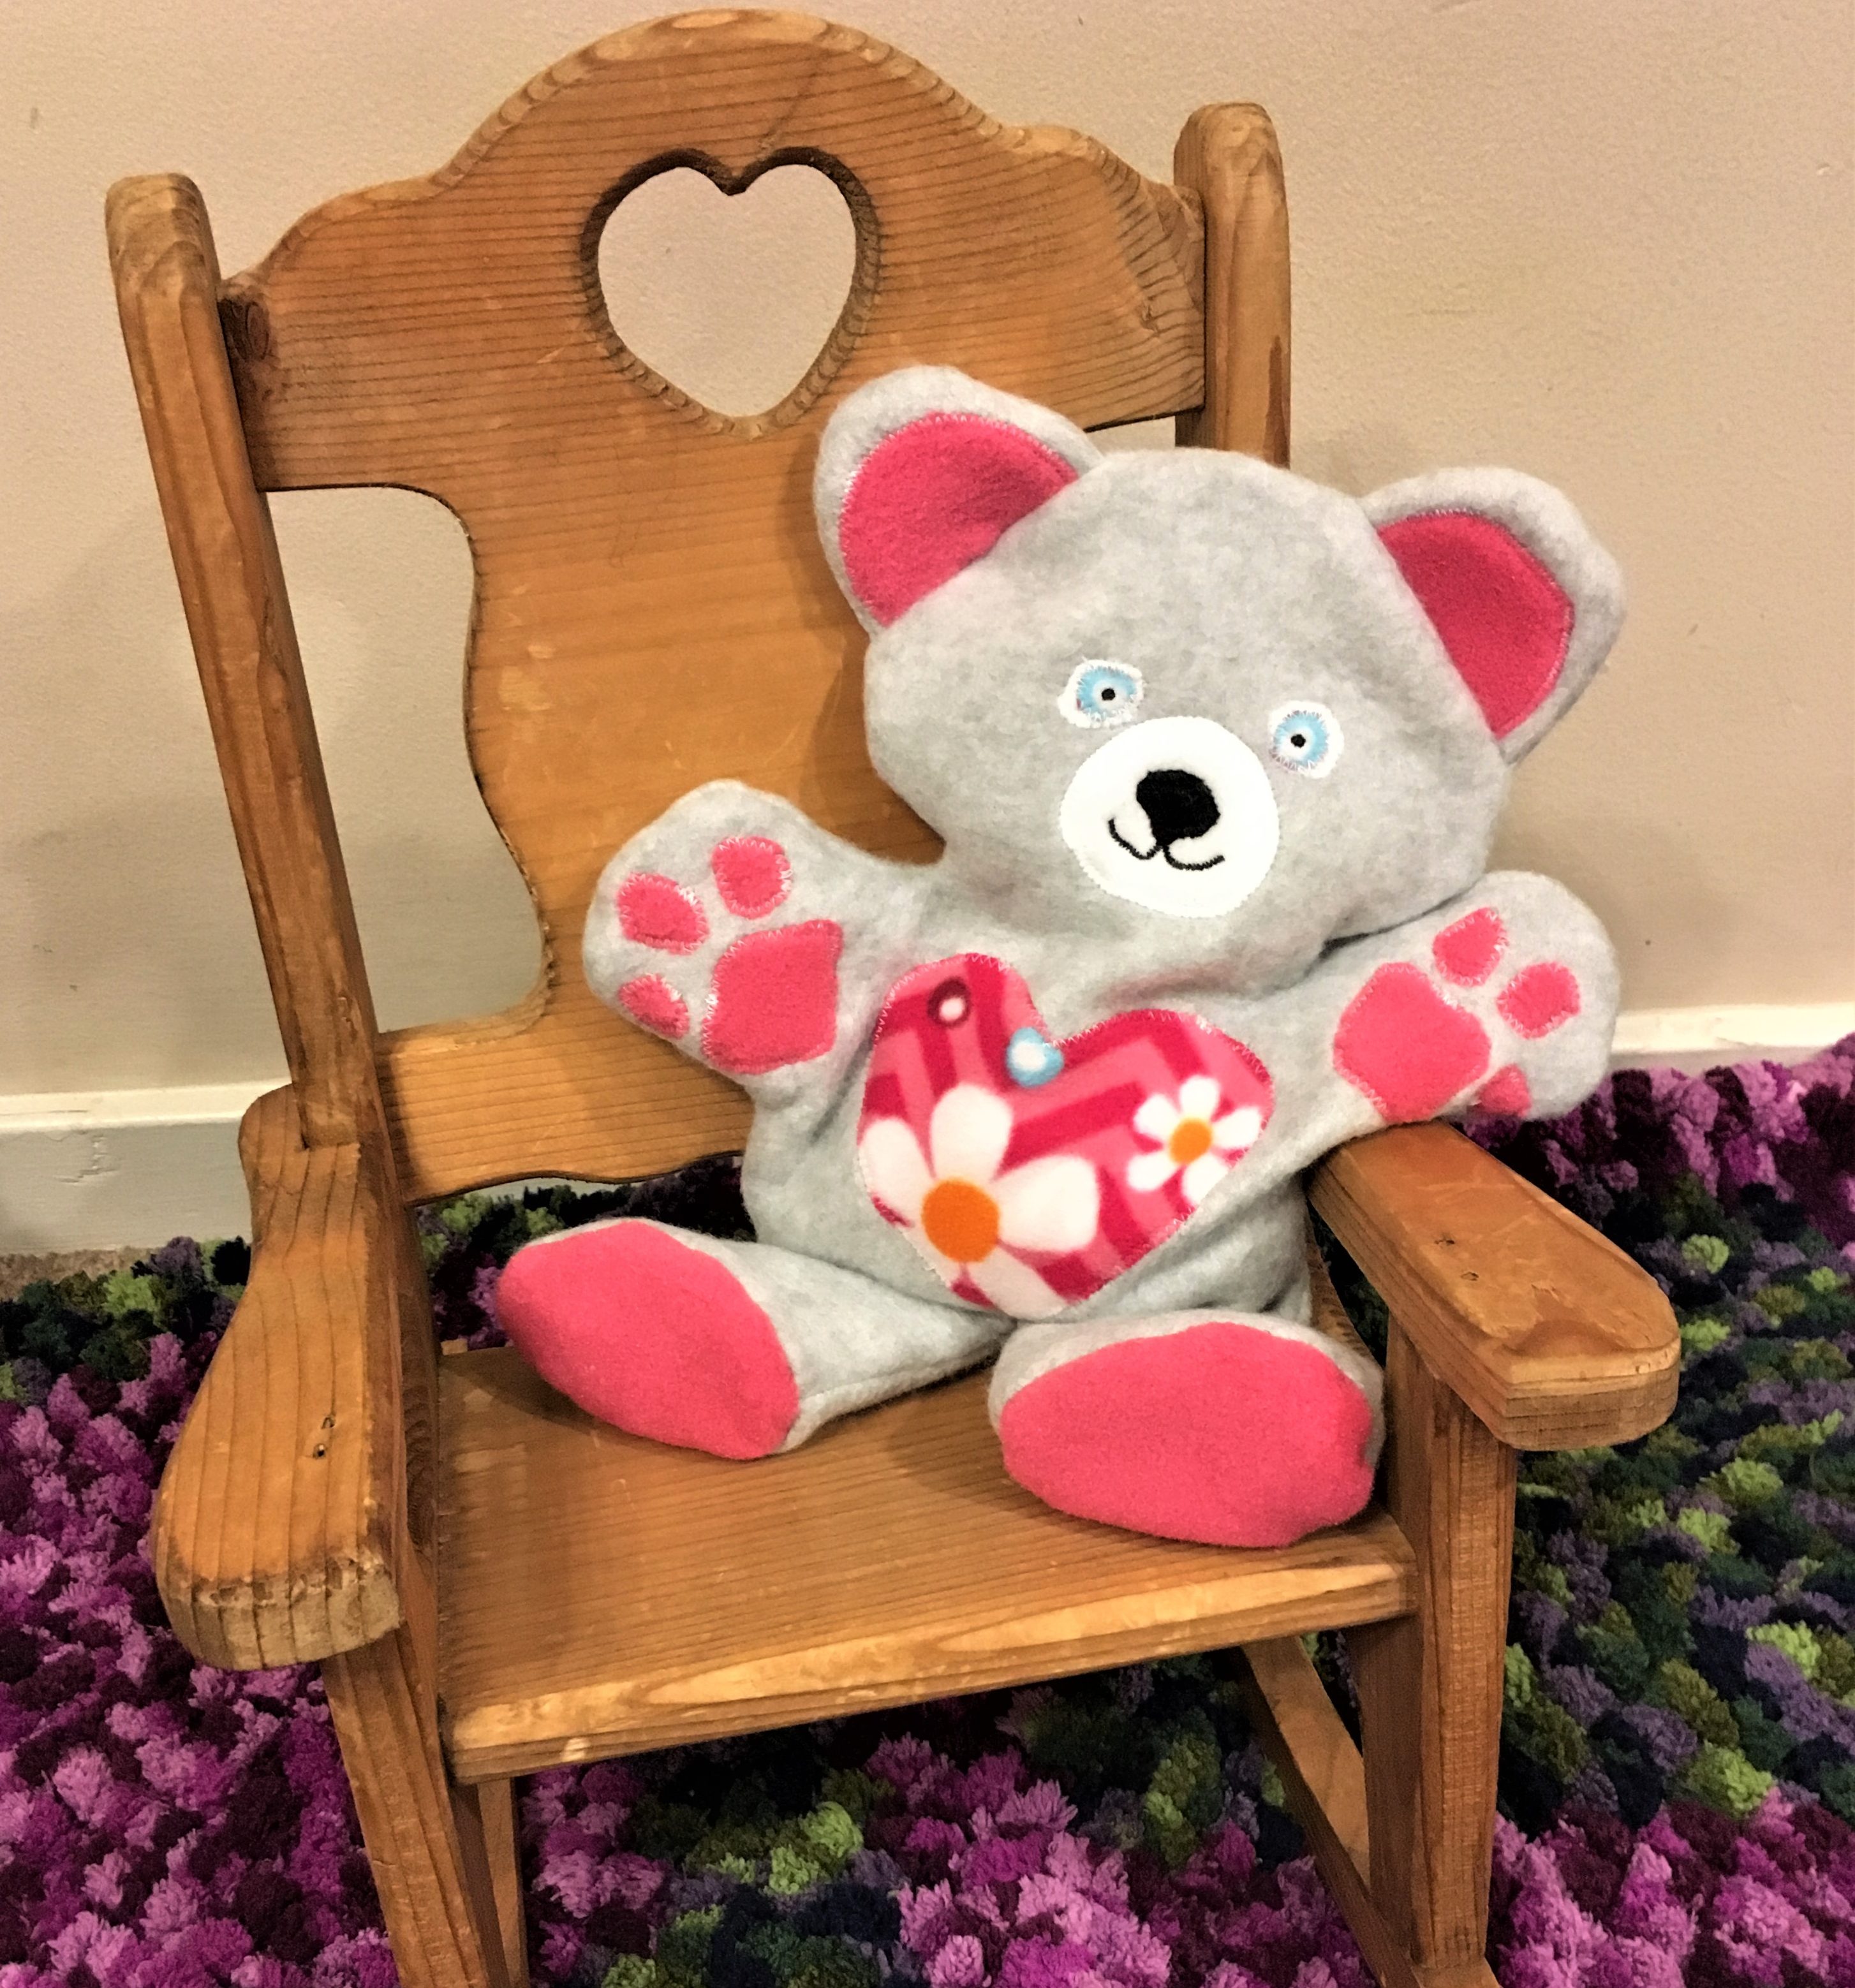
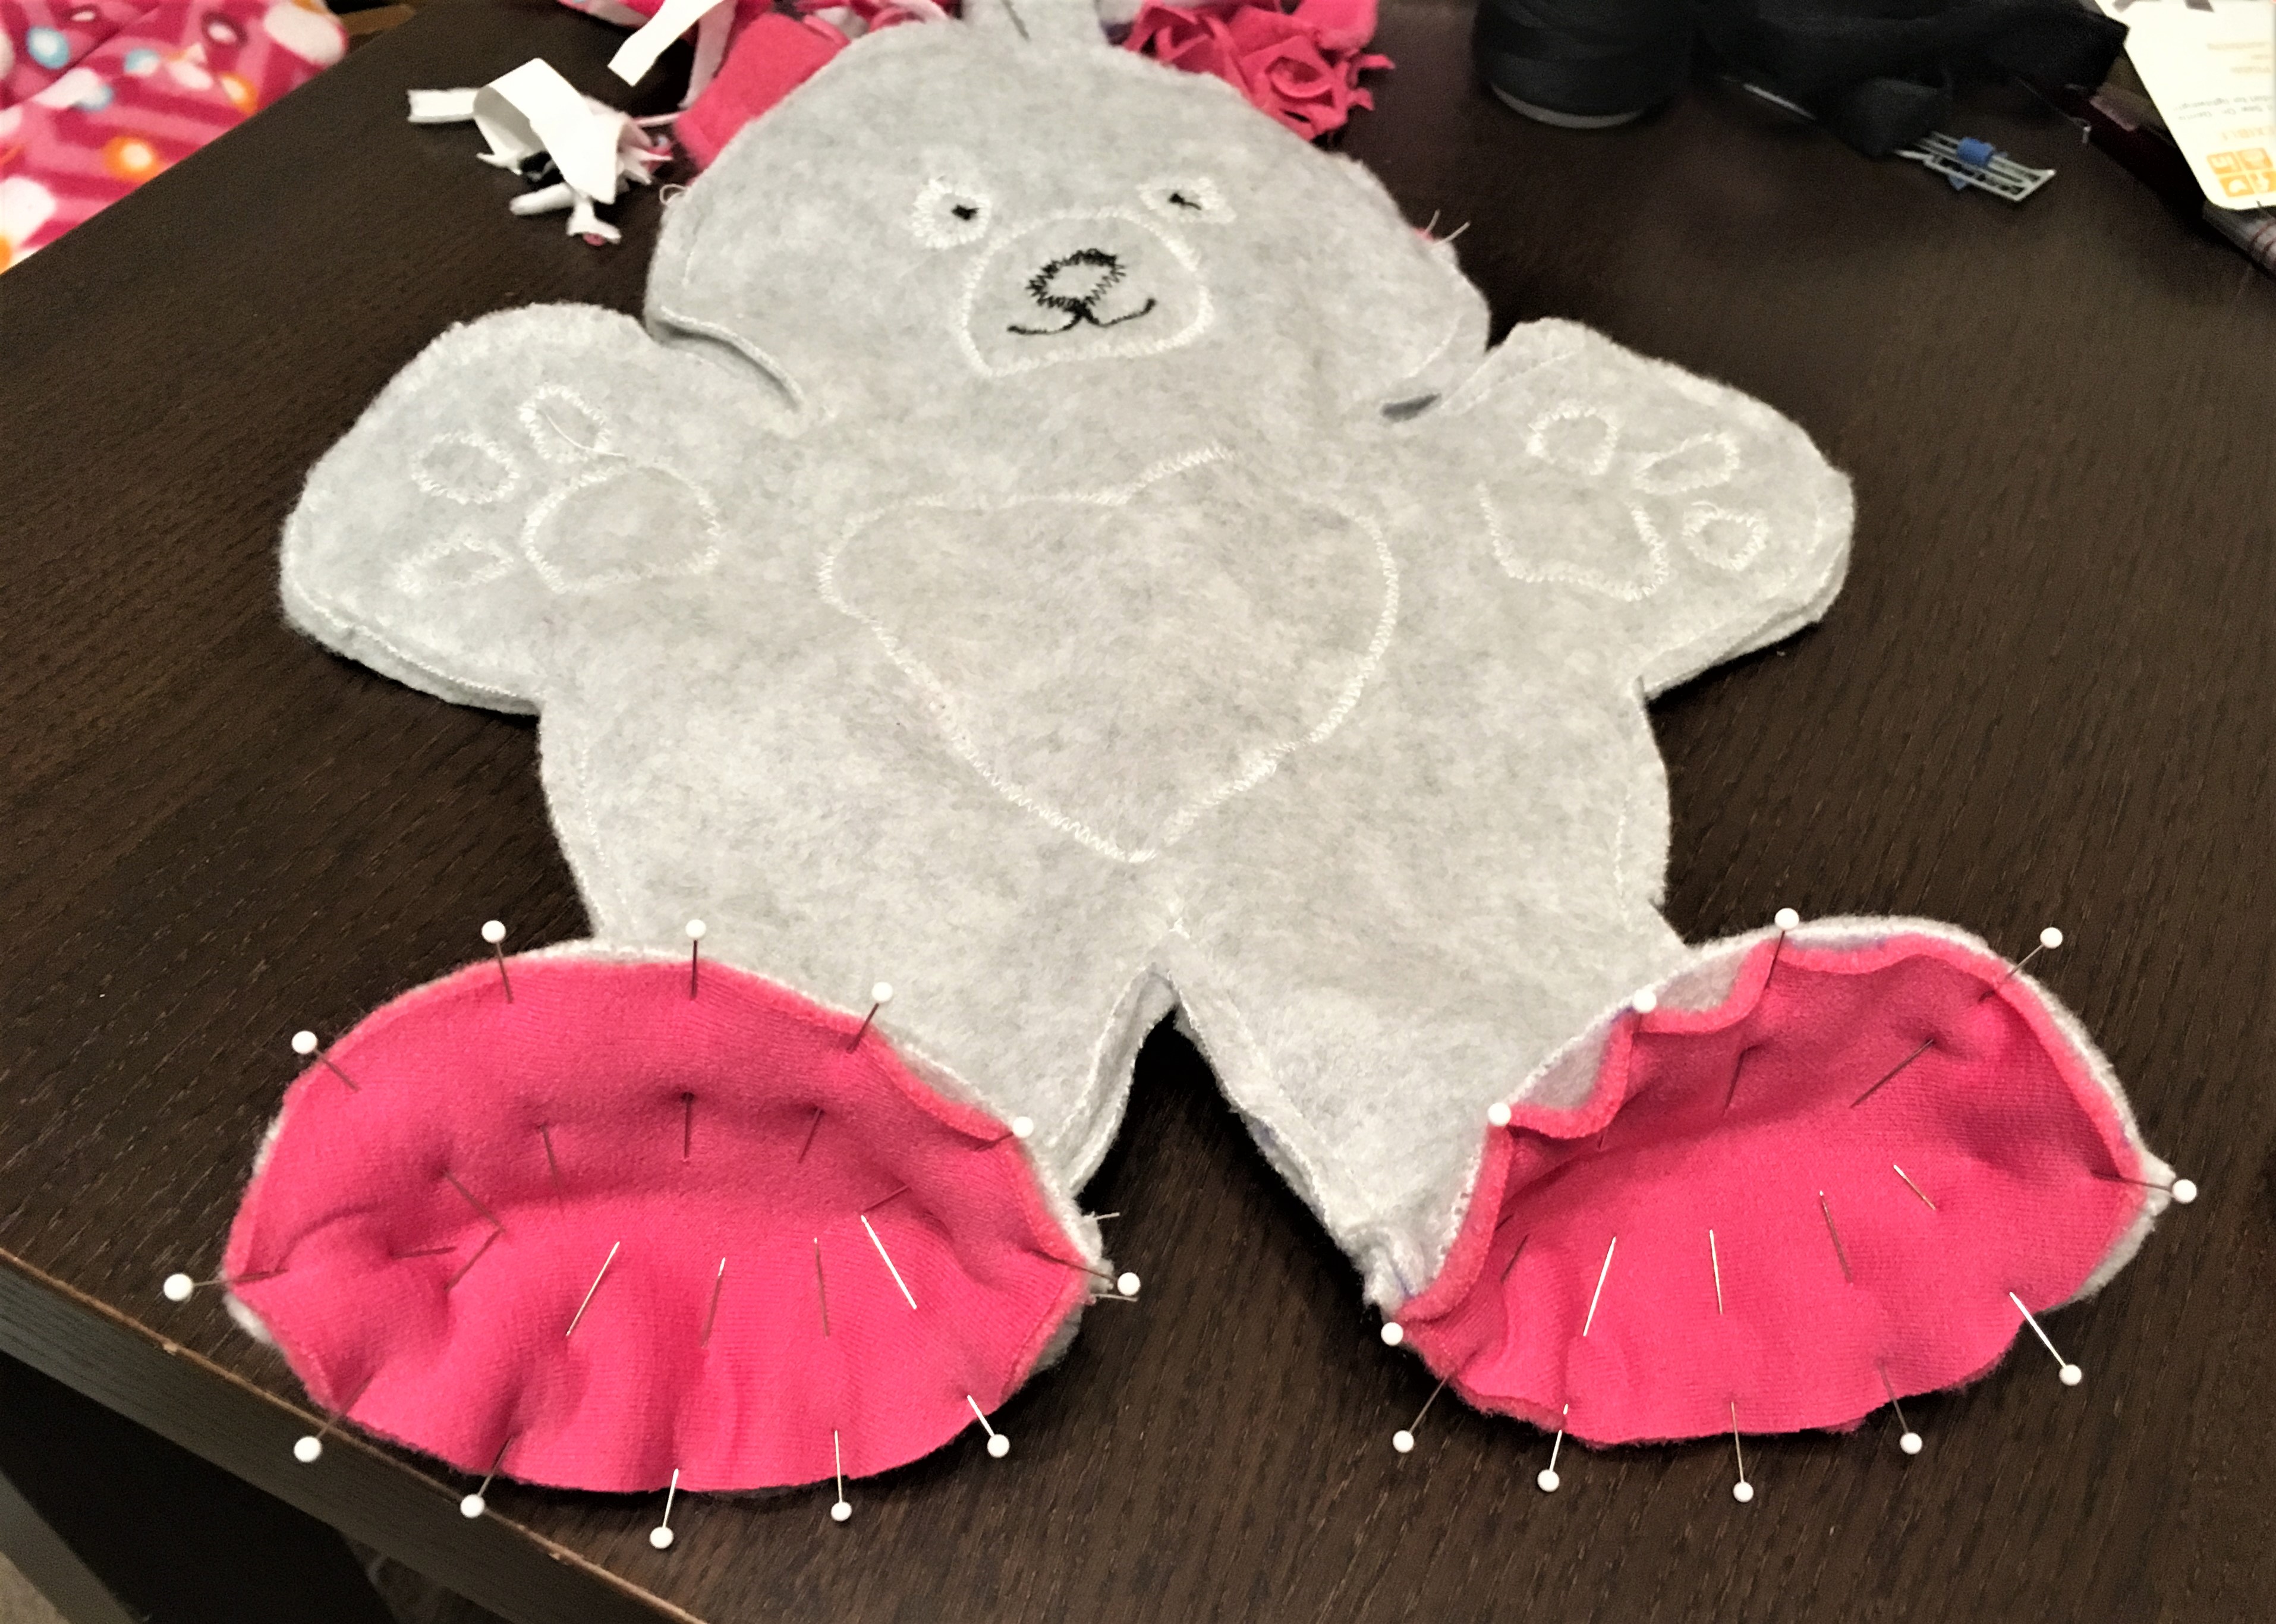
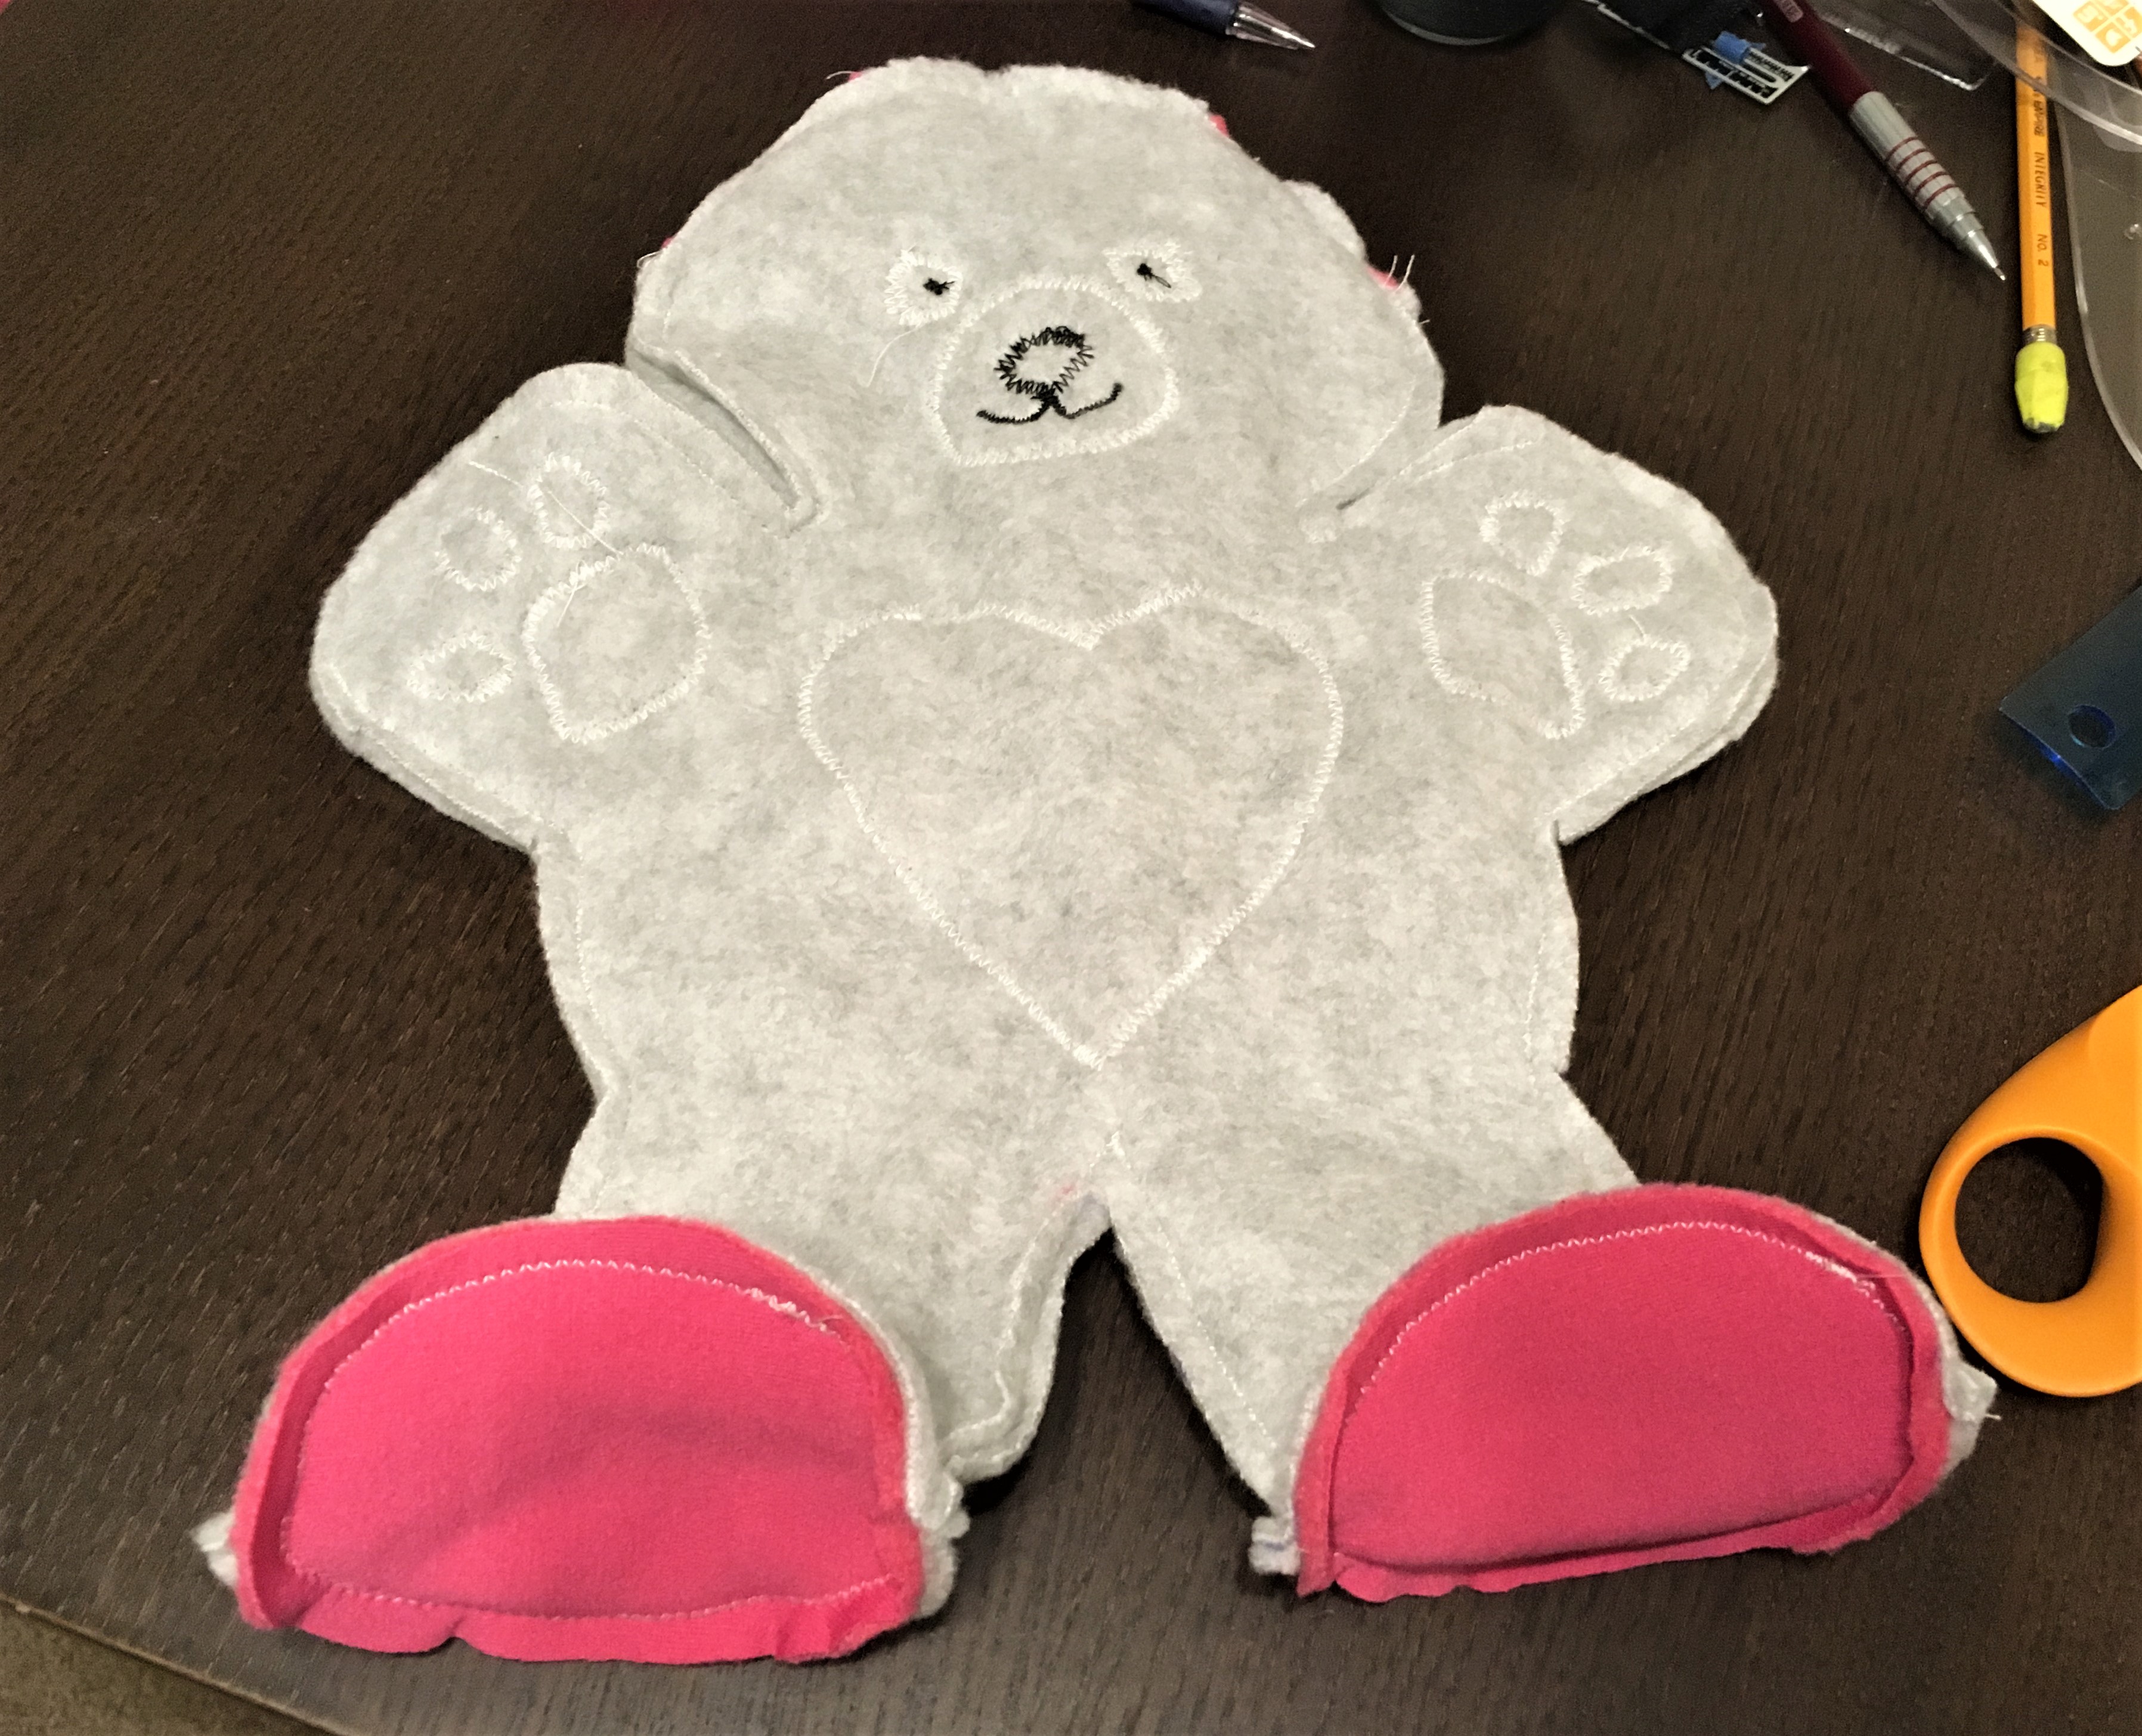
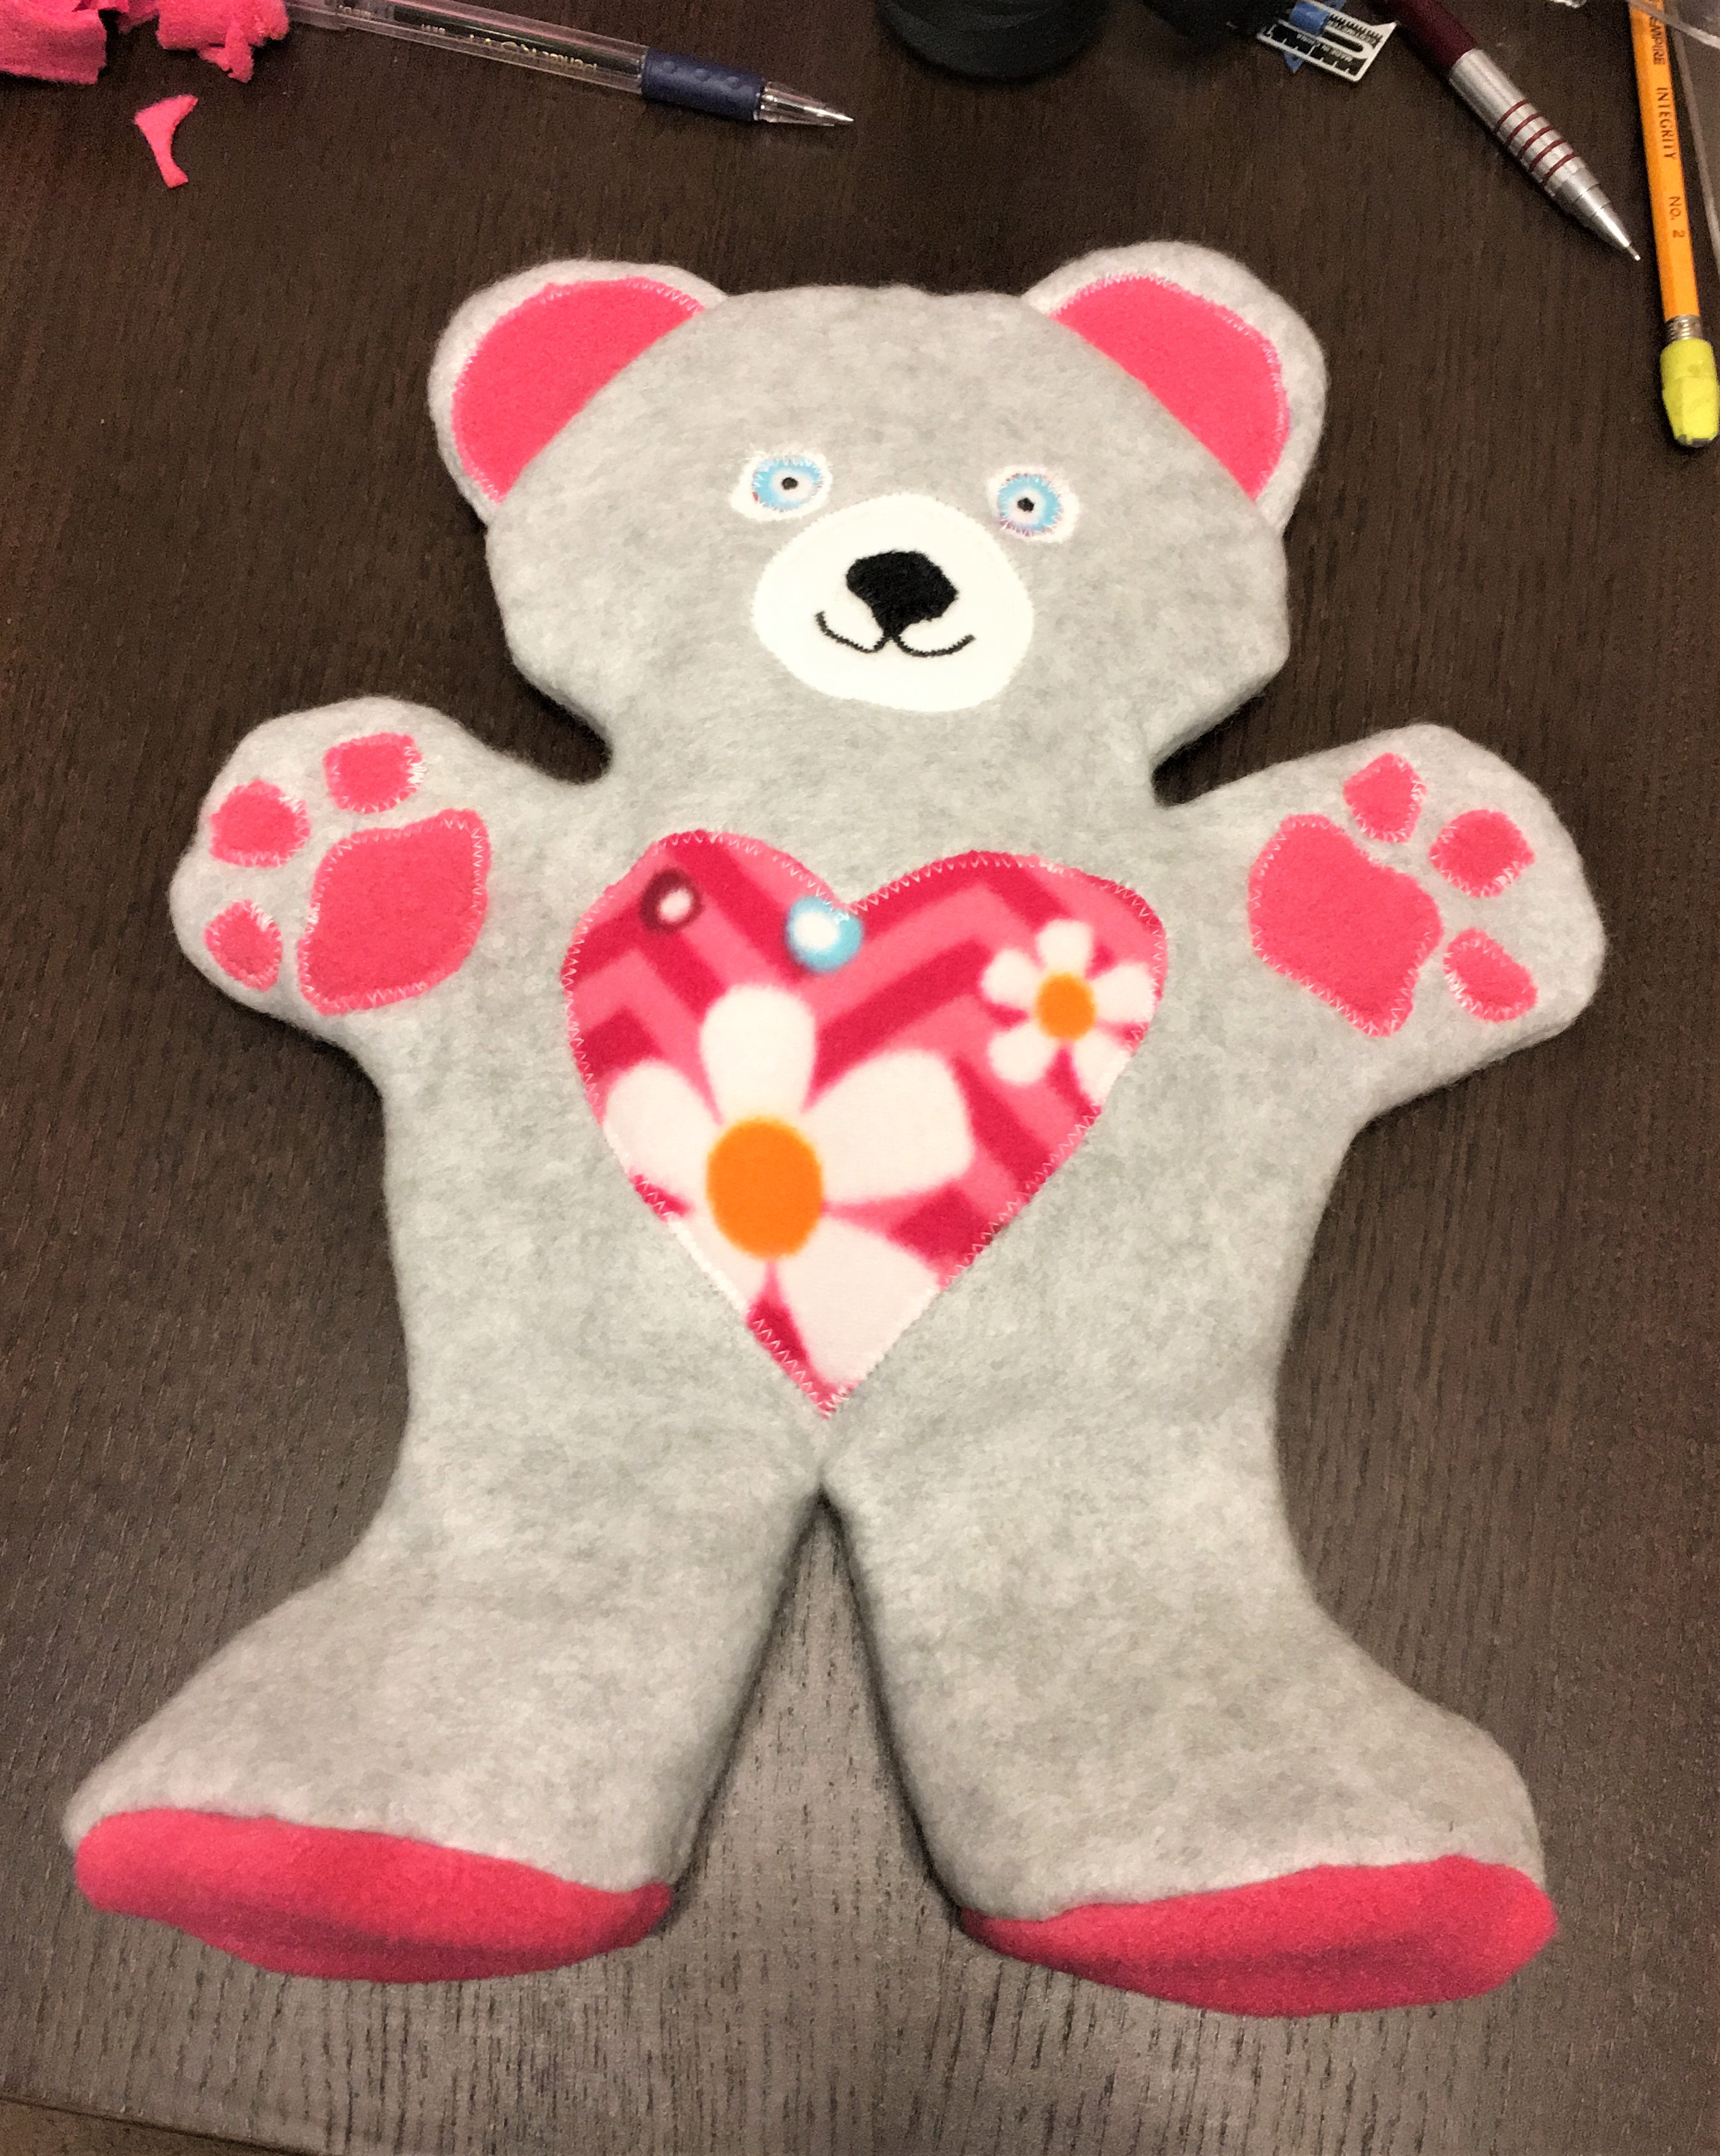
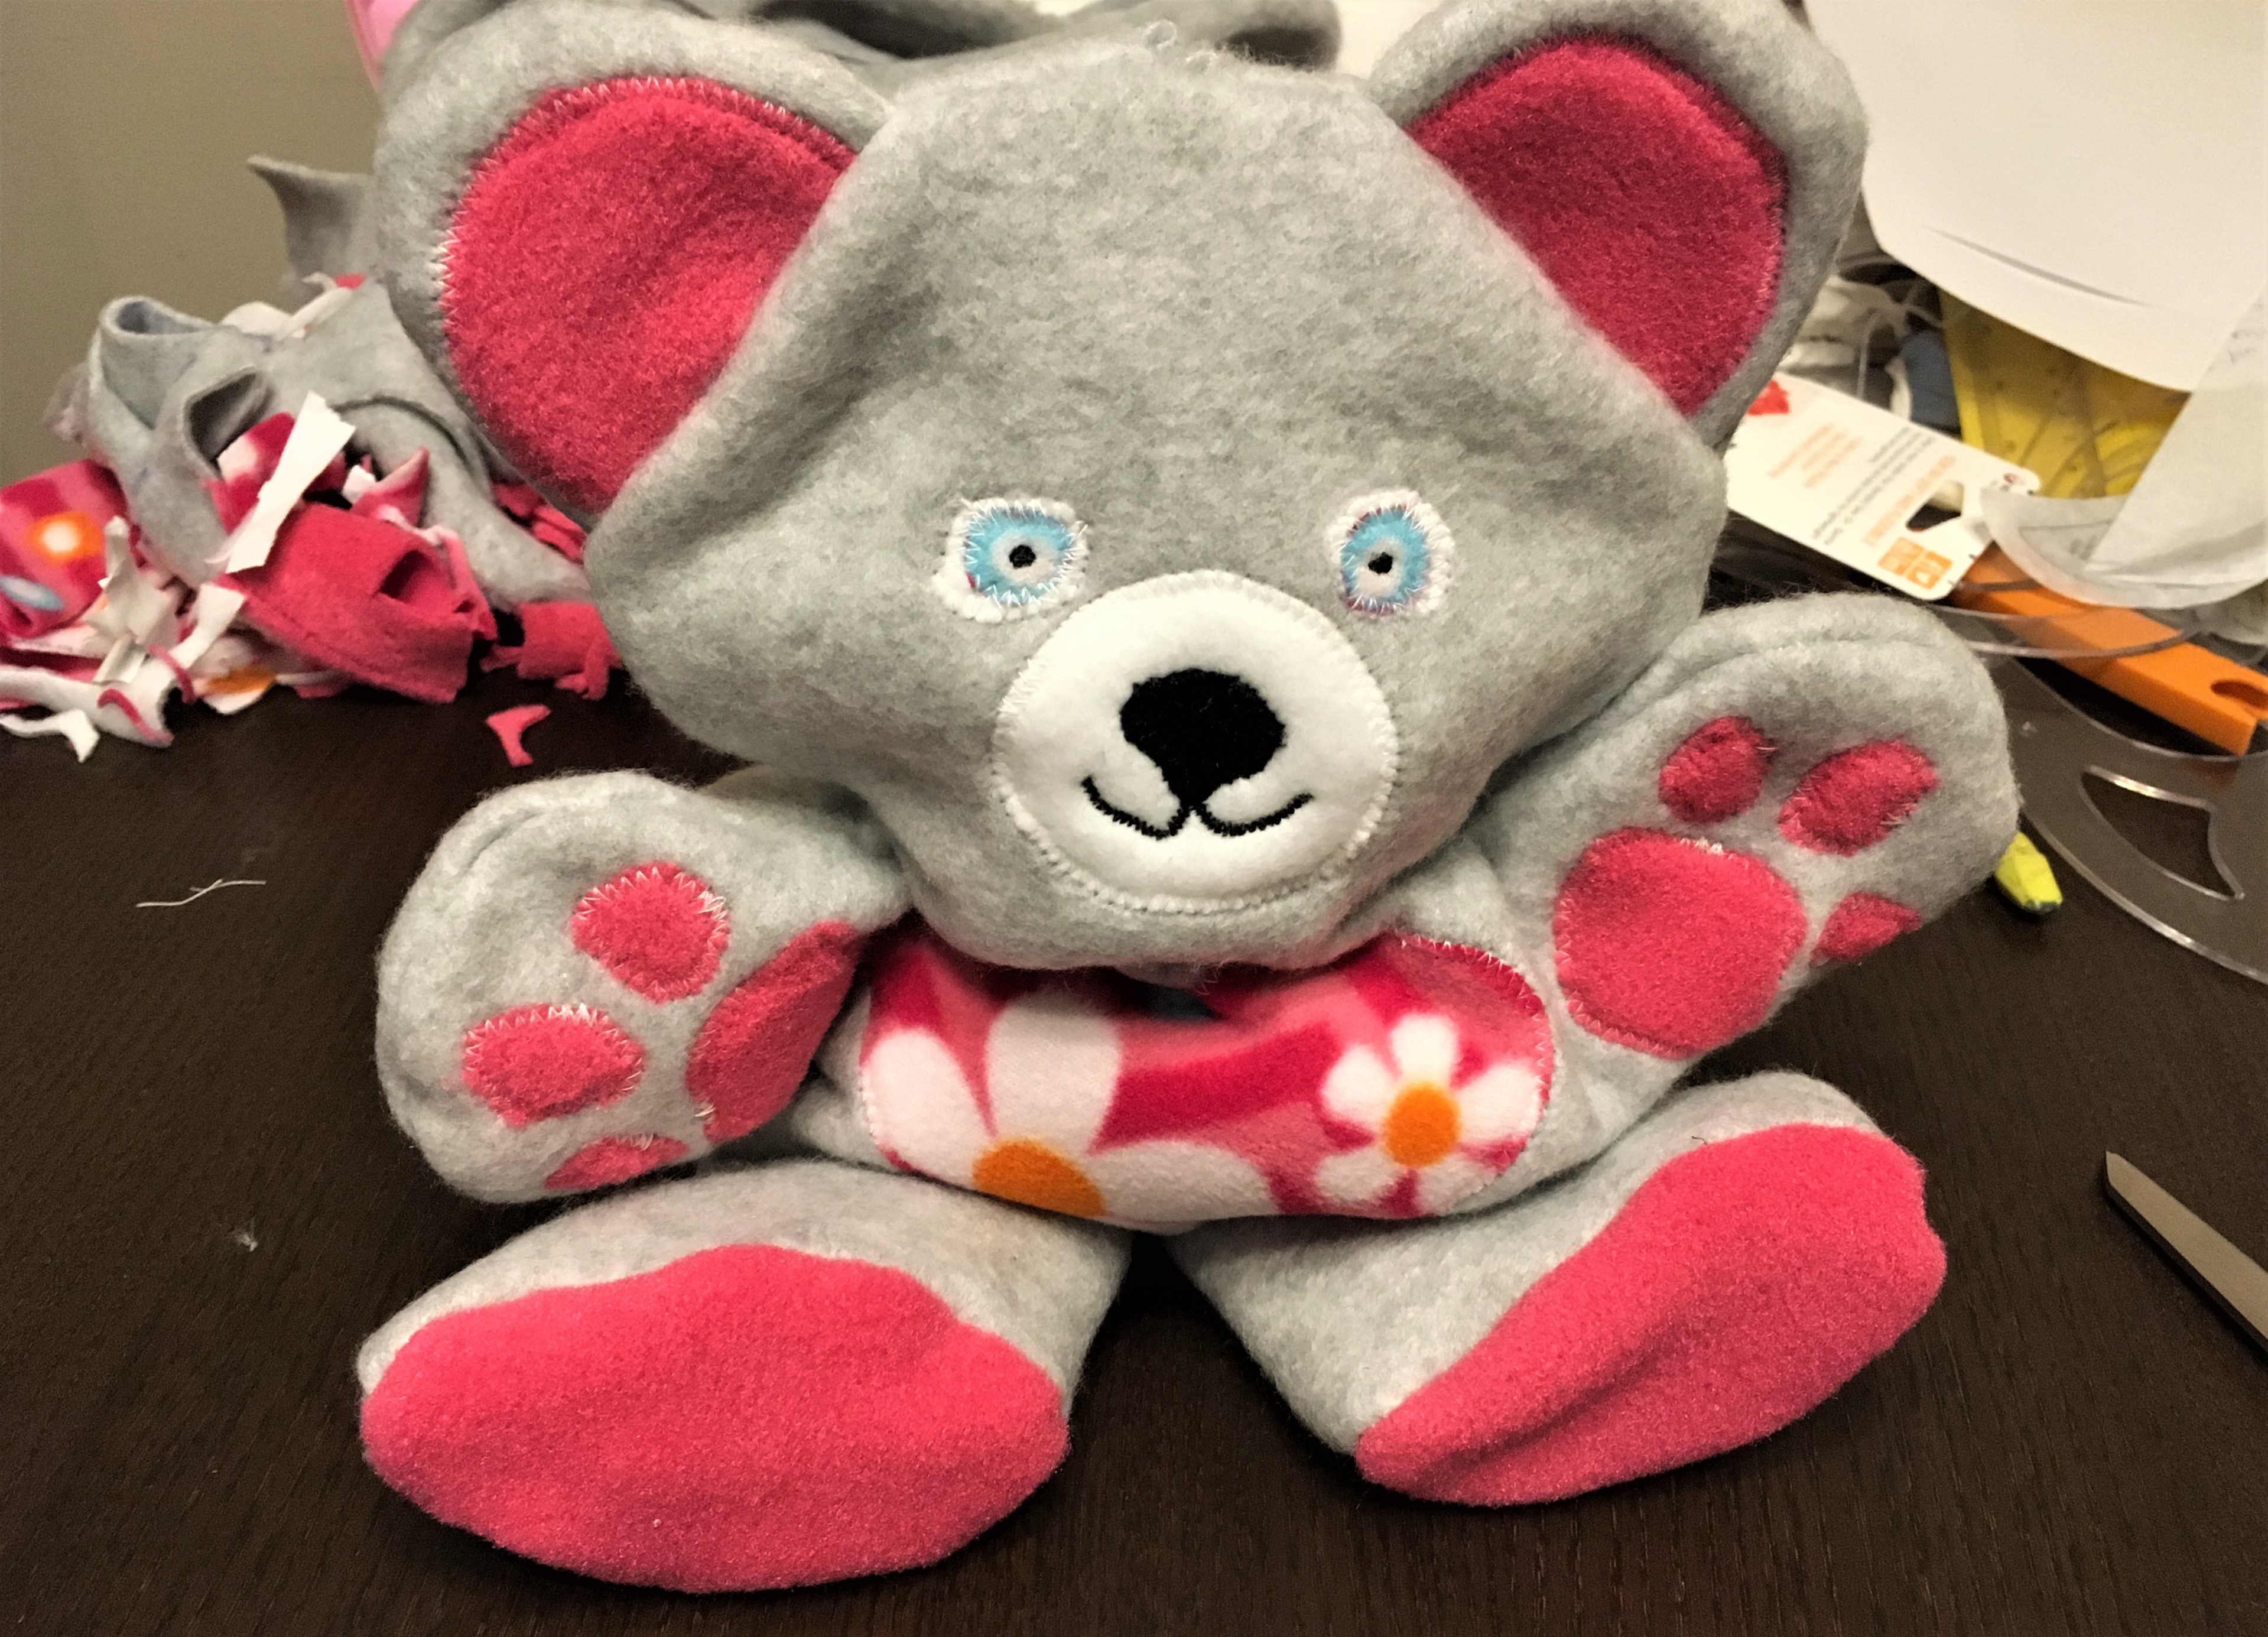
With right sides together and ears sandwiched to the inside of the seam, I pinned the bear all around and stitched around the whole thing–leaving the bottoms of the feet unstitched. Then I pinned and stitched the feet bottoms onto the feet. After clipping at the shoulders and between the legs, I turned it right side out. There was my little snuggle buddy cover!


The rice body insert fit perfectly inside the cover and it is just so snuggly!!


So Excited!
As it was 2:30 am I was not about to wake up Ella and show her my favorite new creation, but you can guess it was one of the first things I did this morning when she woke up. She loves her new snuggle rice buddy and has already requested that I heat it up several times this morning. The only problem is that now Esther wants to play with it too. I guess I’ll need to make another! I might make one for my back too. They are the best shape because, unlike a rice sock, they are flat and not lumpy, and when you use them it’s like they are giving you a warm hug!

I’ll let you know when I get my pattern scanned and uploaded so you can make one too! Happy creating!
P.S. And in case you were wondering about how the rice sock fared, all I have to say is that the inspiration for the snuggle buddy came just in time! When I went in to get Ella up this morning there was rice aaaaaaalllllll over her bed!! And under her bed. And down the sides in the cracks. I even found some in her diaper when I took it off!!! Bye rice sock! (I did salvage the rice though for a new snuggle buddy) 🙂


2 thoughts on “Snuggle Rice Buddy”
Really cute! I’m sure the snuggle factor adds an additional comfort to the warmth of the bag. Warm leg and warm heart. So nice to have a mom who thinks of both!
Yay! Great idea and great job, Audrey! It looks like Ella really loves it! I have used rice socks in the past, but I’ve never thought of or seen one so creative!