

I love the beach!!
I didn’t know that I loved the beach until just this year. Growing up we did go swimming but not in the ocean. My beach experiences were with the fresh water of Lake Ontario that often didn’t really warm up until August! I still love the fresh water, and I love not having to worry about some of the critters that you find in the ocean, ugh! But, living in Pennsylvania–and only one and a half hours from the Jersey shore–I have discovered a love for the ocean. I love to walk along the beach and find fun shells, and I really love to watch my little girls having the time of their lives jumping the shallow waves and digging in the sand.
Why I wanted a sun hat
Now, as wonderful as the beach is, spending a day at the beach and on the Ocean City boardwalk is a recipe for sunburn! I know that many of you would say “Well there’s a solution for that, it’s called sunscreen”. And though I agree with you, I will also say that with the new findings on how bad sunscreens can actually be for you, I prefer to avoid them—at least most commercially sold sunscreens. (If you’d like to read more on why most sunscreens are not good for you follow the link to the Environmental Working Group’s sunscreen webpage.) I opted to use a personally concocted mixture that uses old-school non-nano zinc oxide as a protectant from the sun’s rays, but since it has heavy butters and bees-wax in it I didn’t really want it on my face. So, cue a sun hat.
My plan
I had planned to pick up a cheap, but cute, big floppy hat before our trip to the beach. But, time got away from me, and I didn’t make it to the store. “But not to worry,” I thought, “I can just buy one on the board walk. Sure, they would probably be more expensive, but at least they would probably also have more variety to choose from and I could get a really cute one, right?”
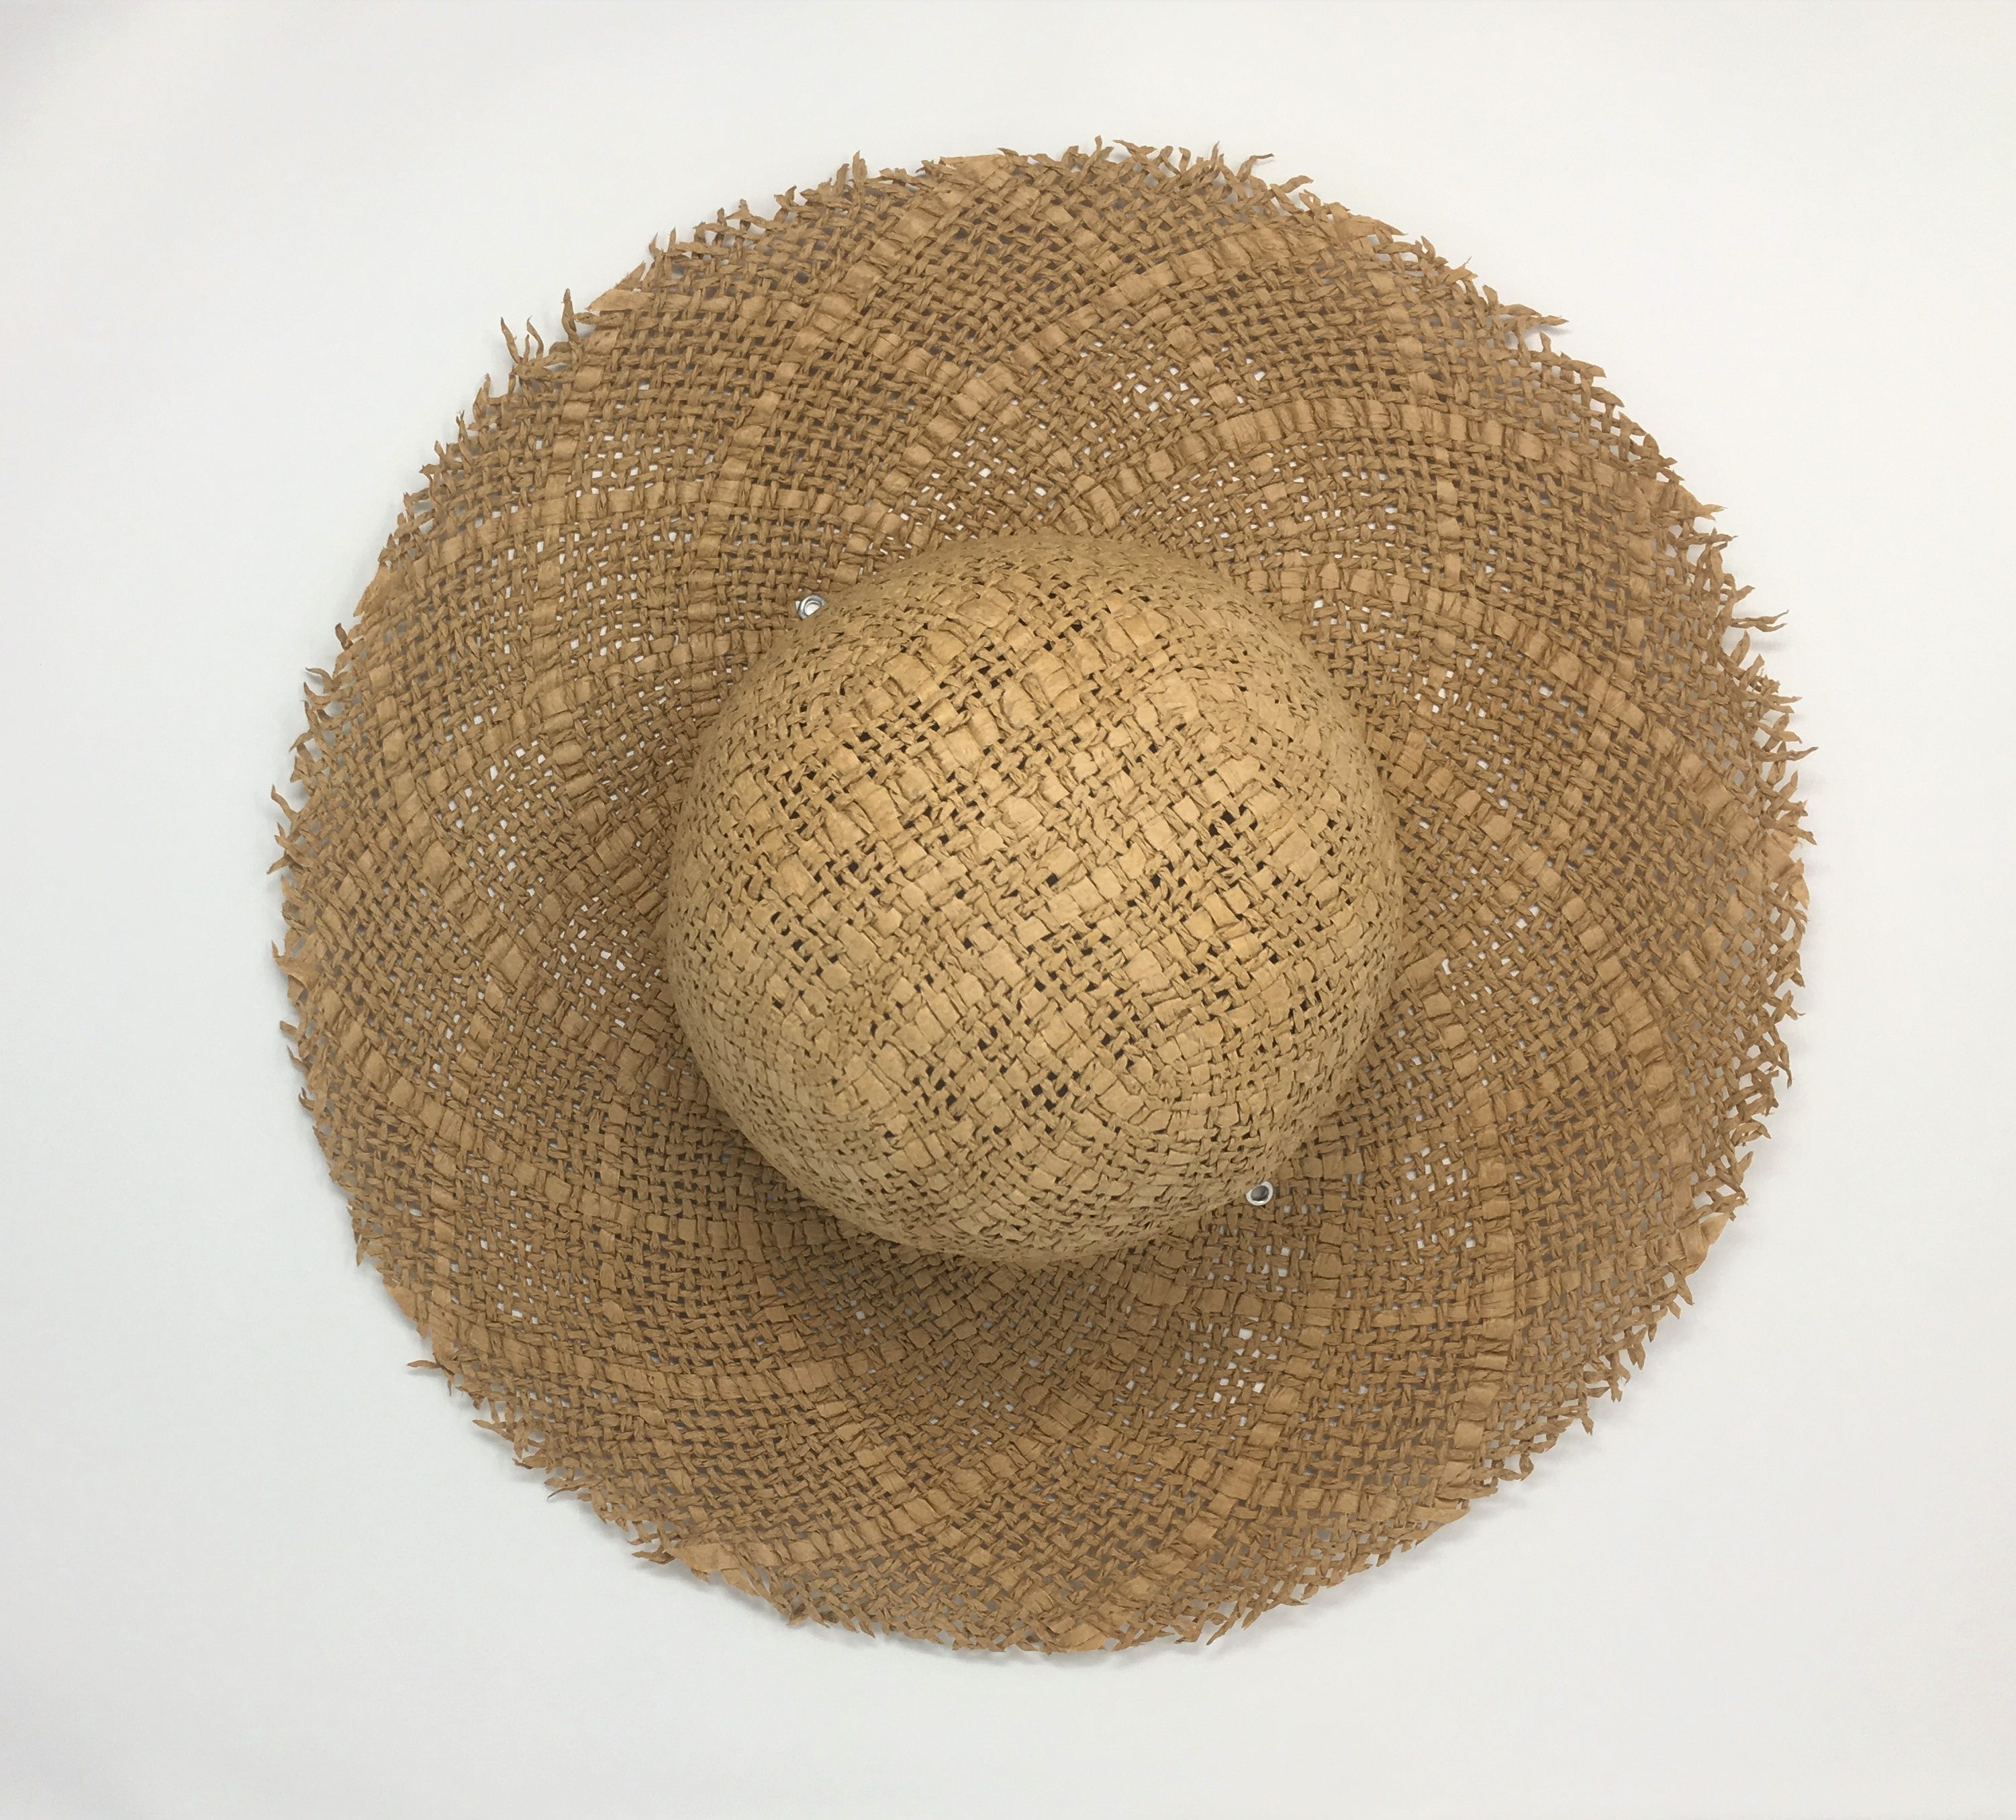
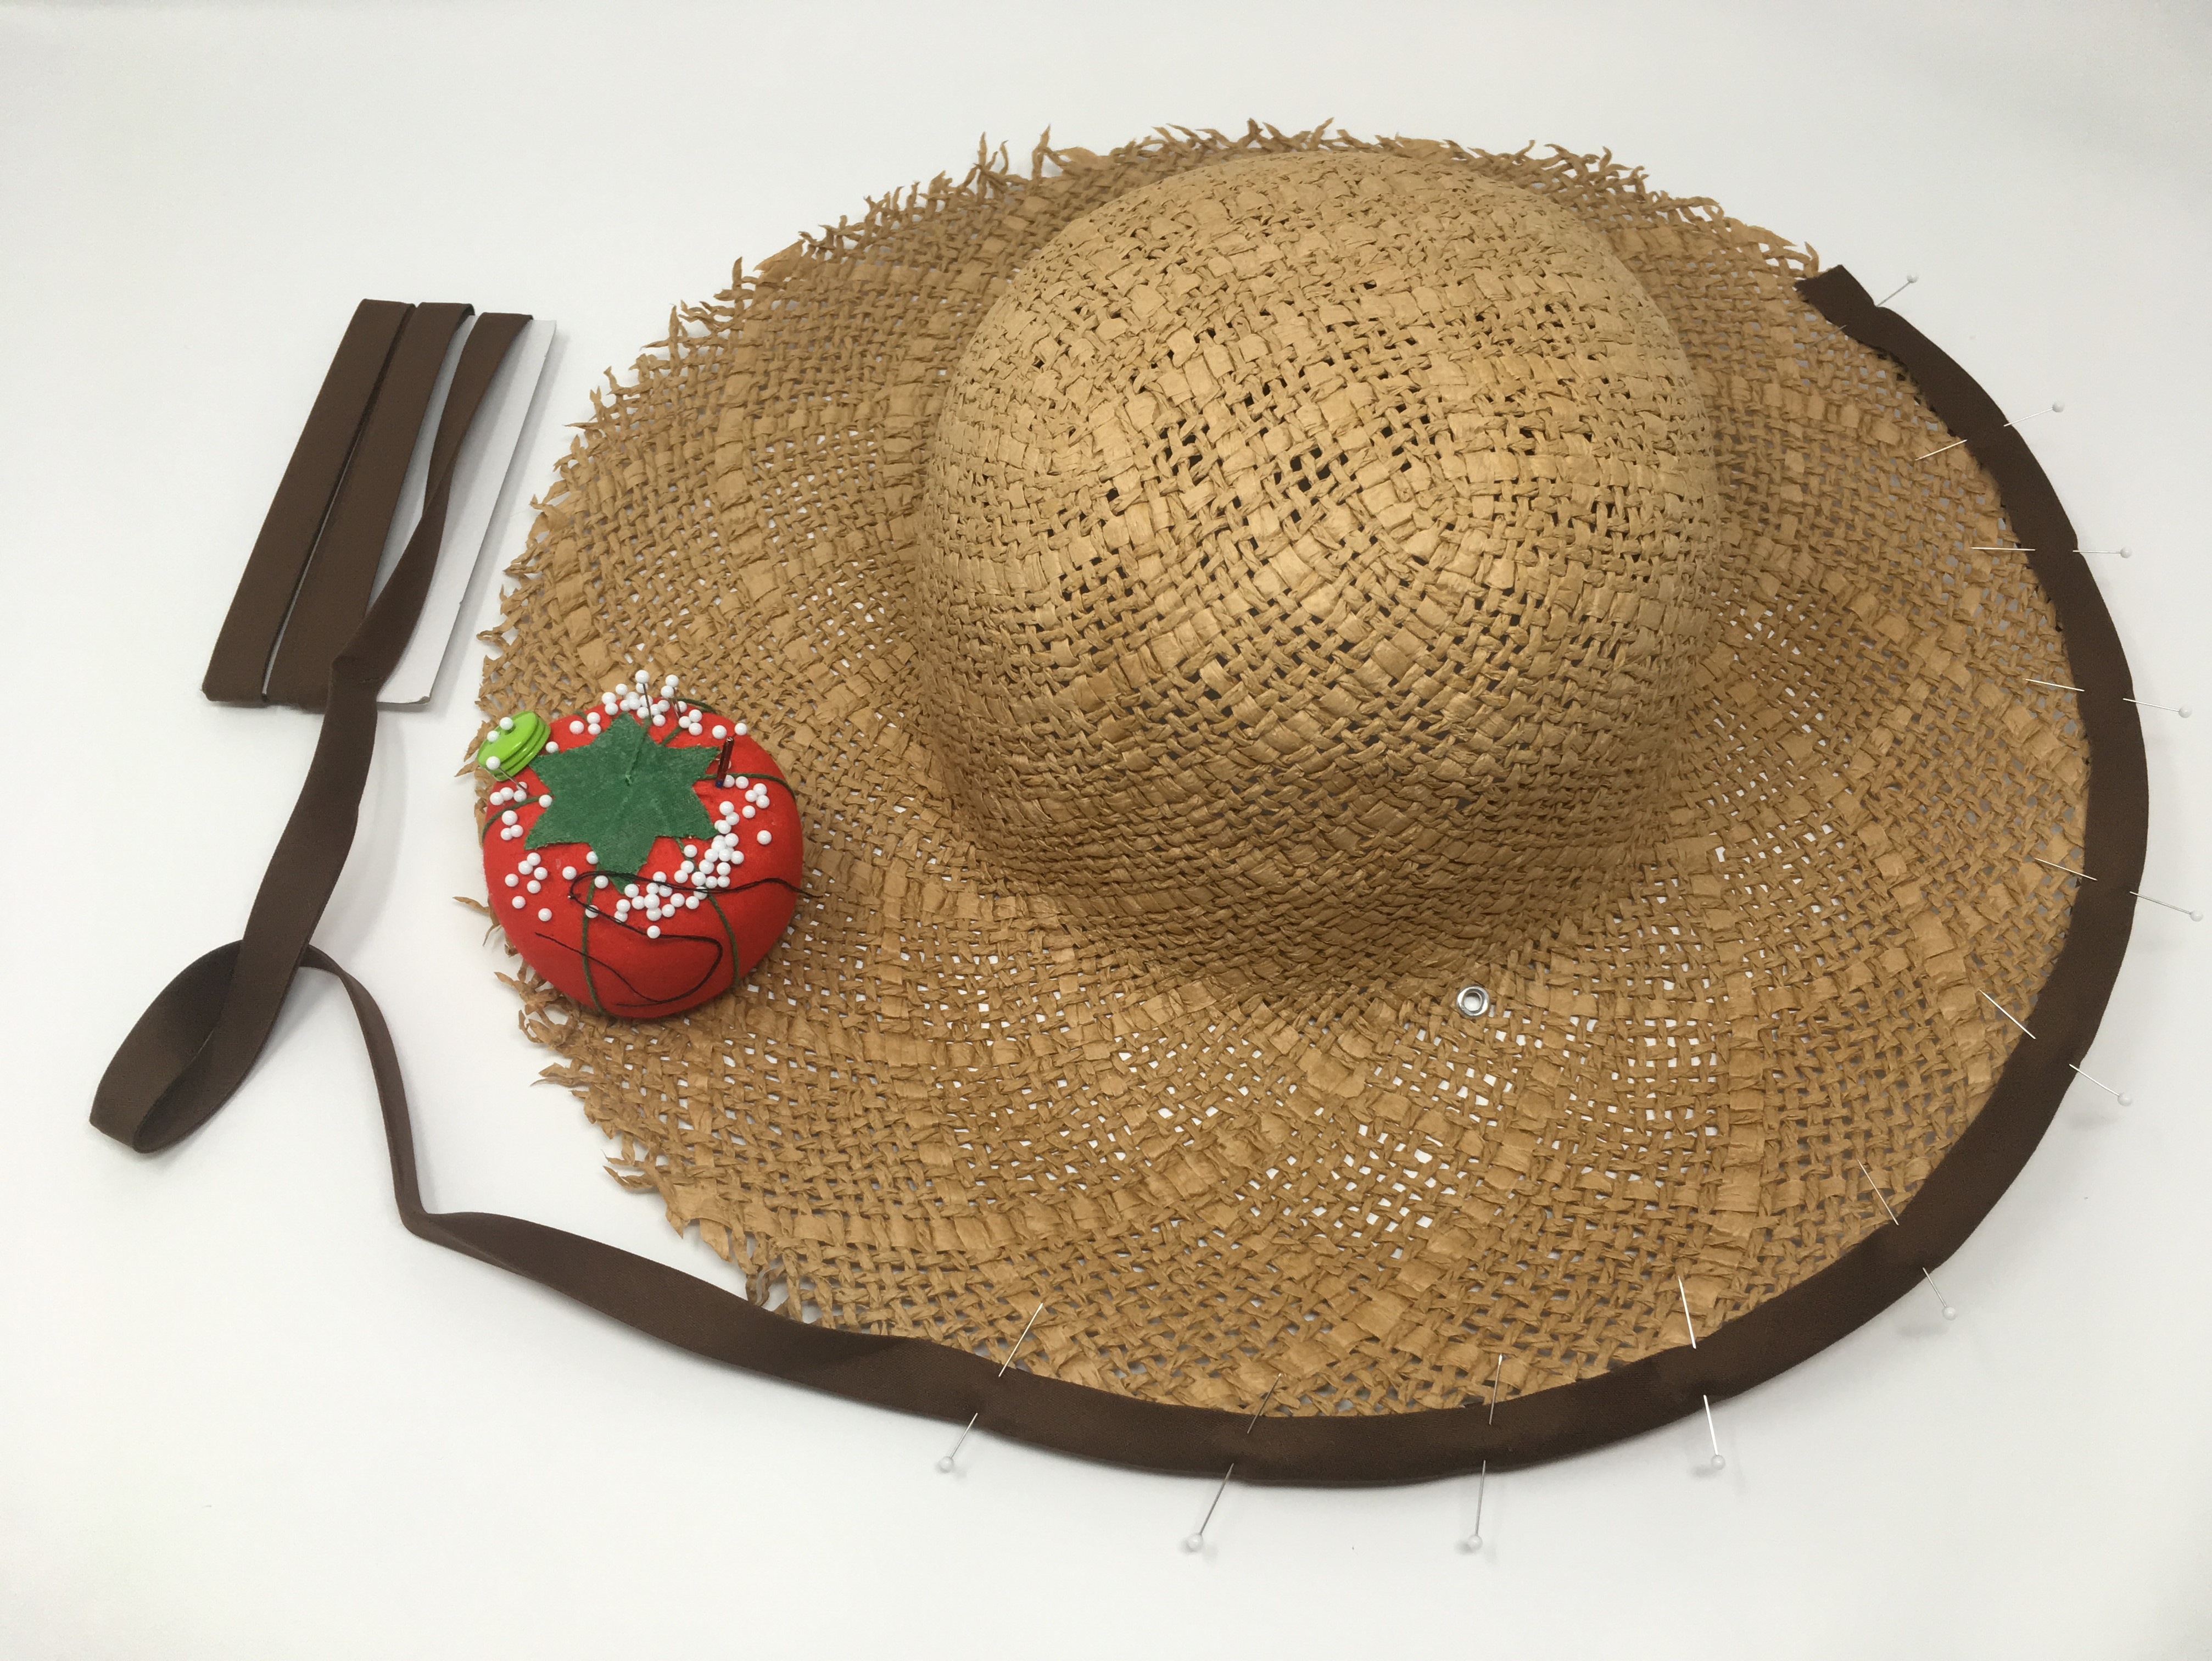
Well, was I disappointed! Apparently cute sun hats are not in style right now, and I’m embarrassed to say how much I paid for this ridiculously simple and (in my opinion) somewhat ugly hat. It was the only one that I could find that wasn’t extremely unbecoming to me. Now, I know it might suit some styles very nicely, but I just wasn’t a fan of the frayed brim look, nor the tall bowl without any decorations or accents.
Also, the beach is one of the places where the wind is basically non-stop. It might switch up directions, but it’s pretty much always there. I needed a hat that would stay on my head and not get blown off constantly. I could just seem myself running down the beach after a hat and I wasn’t too keen on that image. So, I put a makeshift shoelace tie in it so that it would stay on my head, and was pretty sure I was the dumbest looking hat wearer on the boardwalk. I knew that when I got home this hat would be in for a make-over!
How to make a boring hat fit YOUR style

So here it is, the plain boring hat. Now depending on your personal style, you may have a favorite color combo that shouts “fun” and looks great on you so you like to wear it whenever possible. Or maybe you prefer a monochromatic style, or a more classy look. Whatever your style is, you can personalize a plain hat to be just what you want it to be and have the feel–whether simple, elegant, relaxed, exciting, fun or just gorgeously pretty—that you like best.
For my hat I chose more earthy tones to coordinate with the hat and my own hair and skin color. I was wanting something simple but with a touch of sophistication. So, I went to the store to pick out some trimmings for my hat that I thought might fit that style.
What you need
You will want to find or buy trim and accents that will fit your hat and your style. Most likely you will want to use:
- Brim binding
- A decorative band or other accent
- A chin strap or hat pin to keep the hat on your head
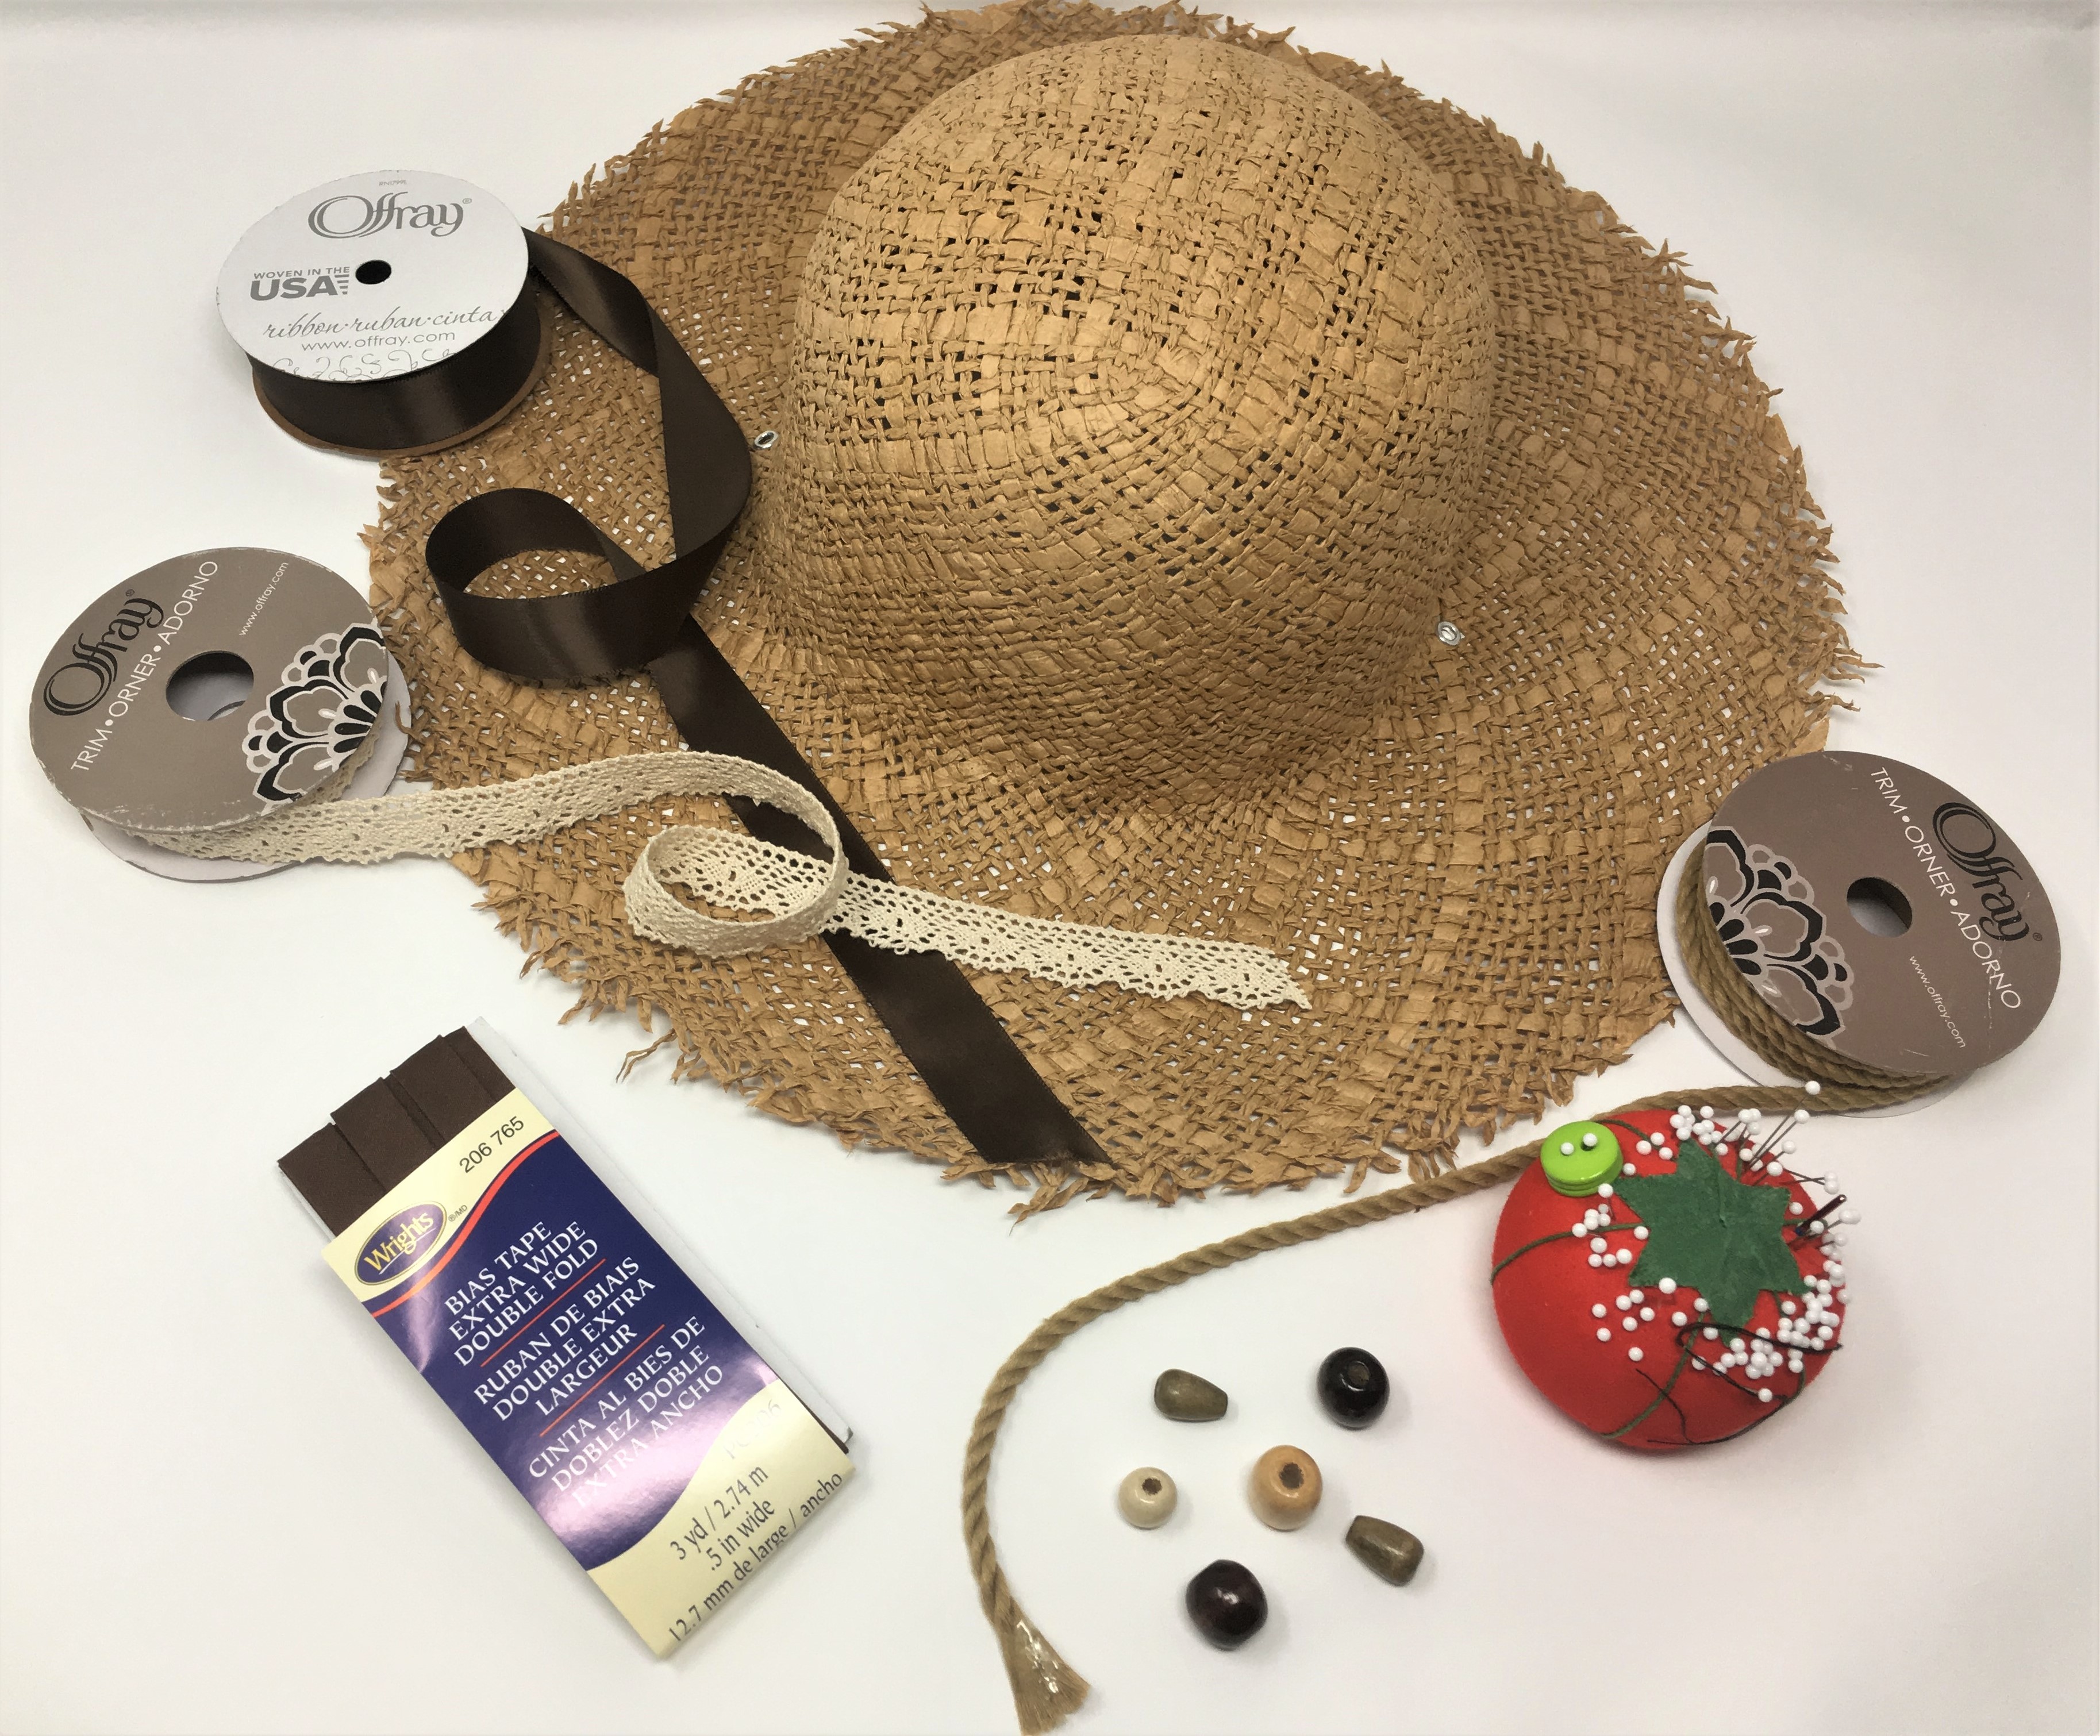
I bought:
- Brown ½ inch double fold bias tape to go around the hat brim and hide the frayed looking edge
- Brown ribbon in a matching color to go around the base of the hat bowl
- A creamy lace to overlay the brown ribbon and add a lighter touch to the hat
- Coordinating cording to use as an under-chin drawstring
- And wooden beads–one to slide up and down the drawstring to keep the hat on my head in the energetic beach breezes

Choose your binding method
When I got home I pulled out my sewing kit and machine. I like to sew and I like the finished look that it gave to my hat, but if you are not interested in sewing, or don’t have access to a sewing machine you could definitely use hot glue or fabric glue or another glue of choice. You may just need to use some binder clips or clothes pins, or something similar, to hold your trimmings in place while it dries if you use a glue that doesn’t set up and bind quickly. Also, you may want to consider the melting point of the hot glue if that is what you choose, because as it is summer the hat may be in some very hot situations and you wouldn’t want it to melt in the sun and make a mess.
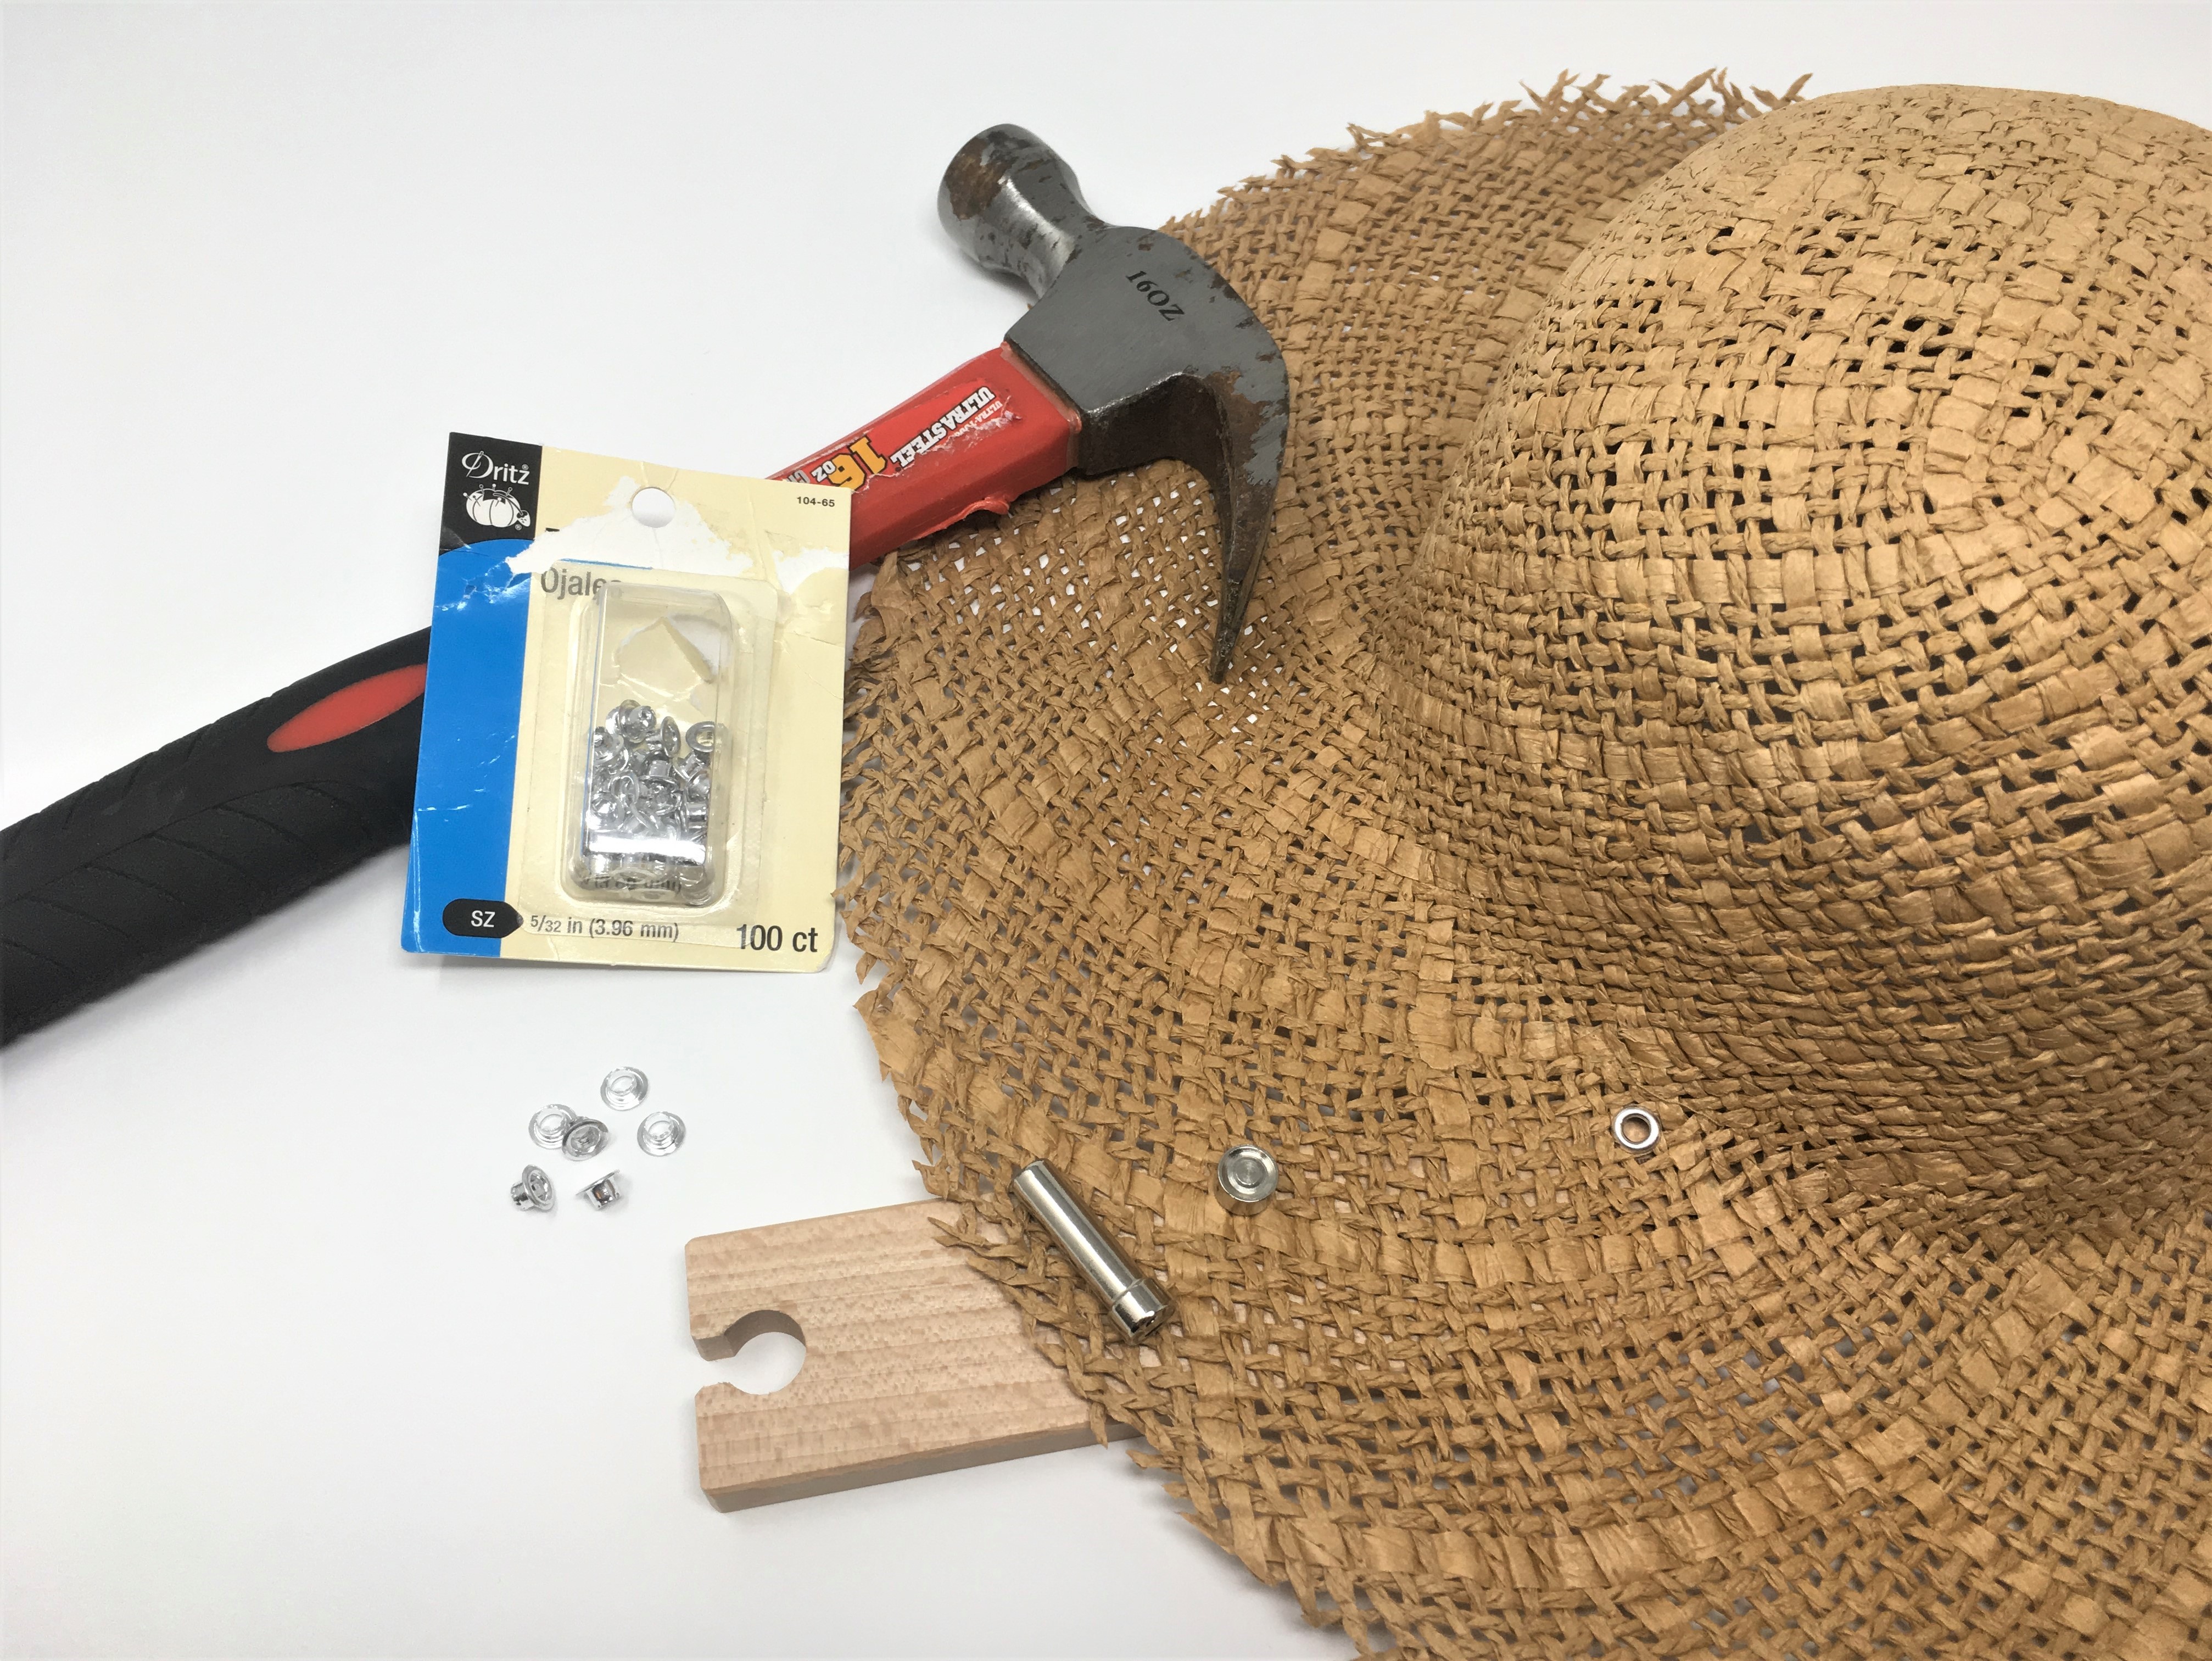
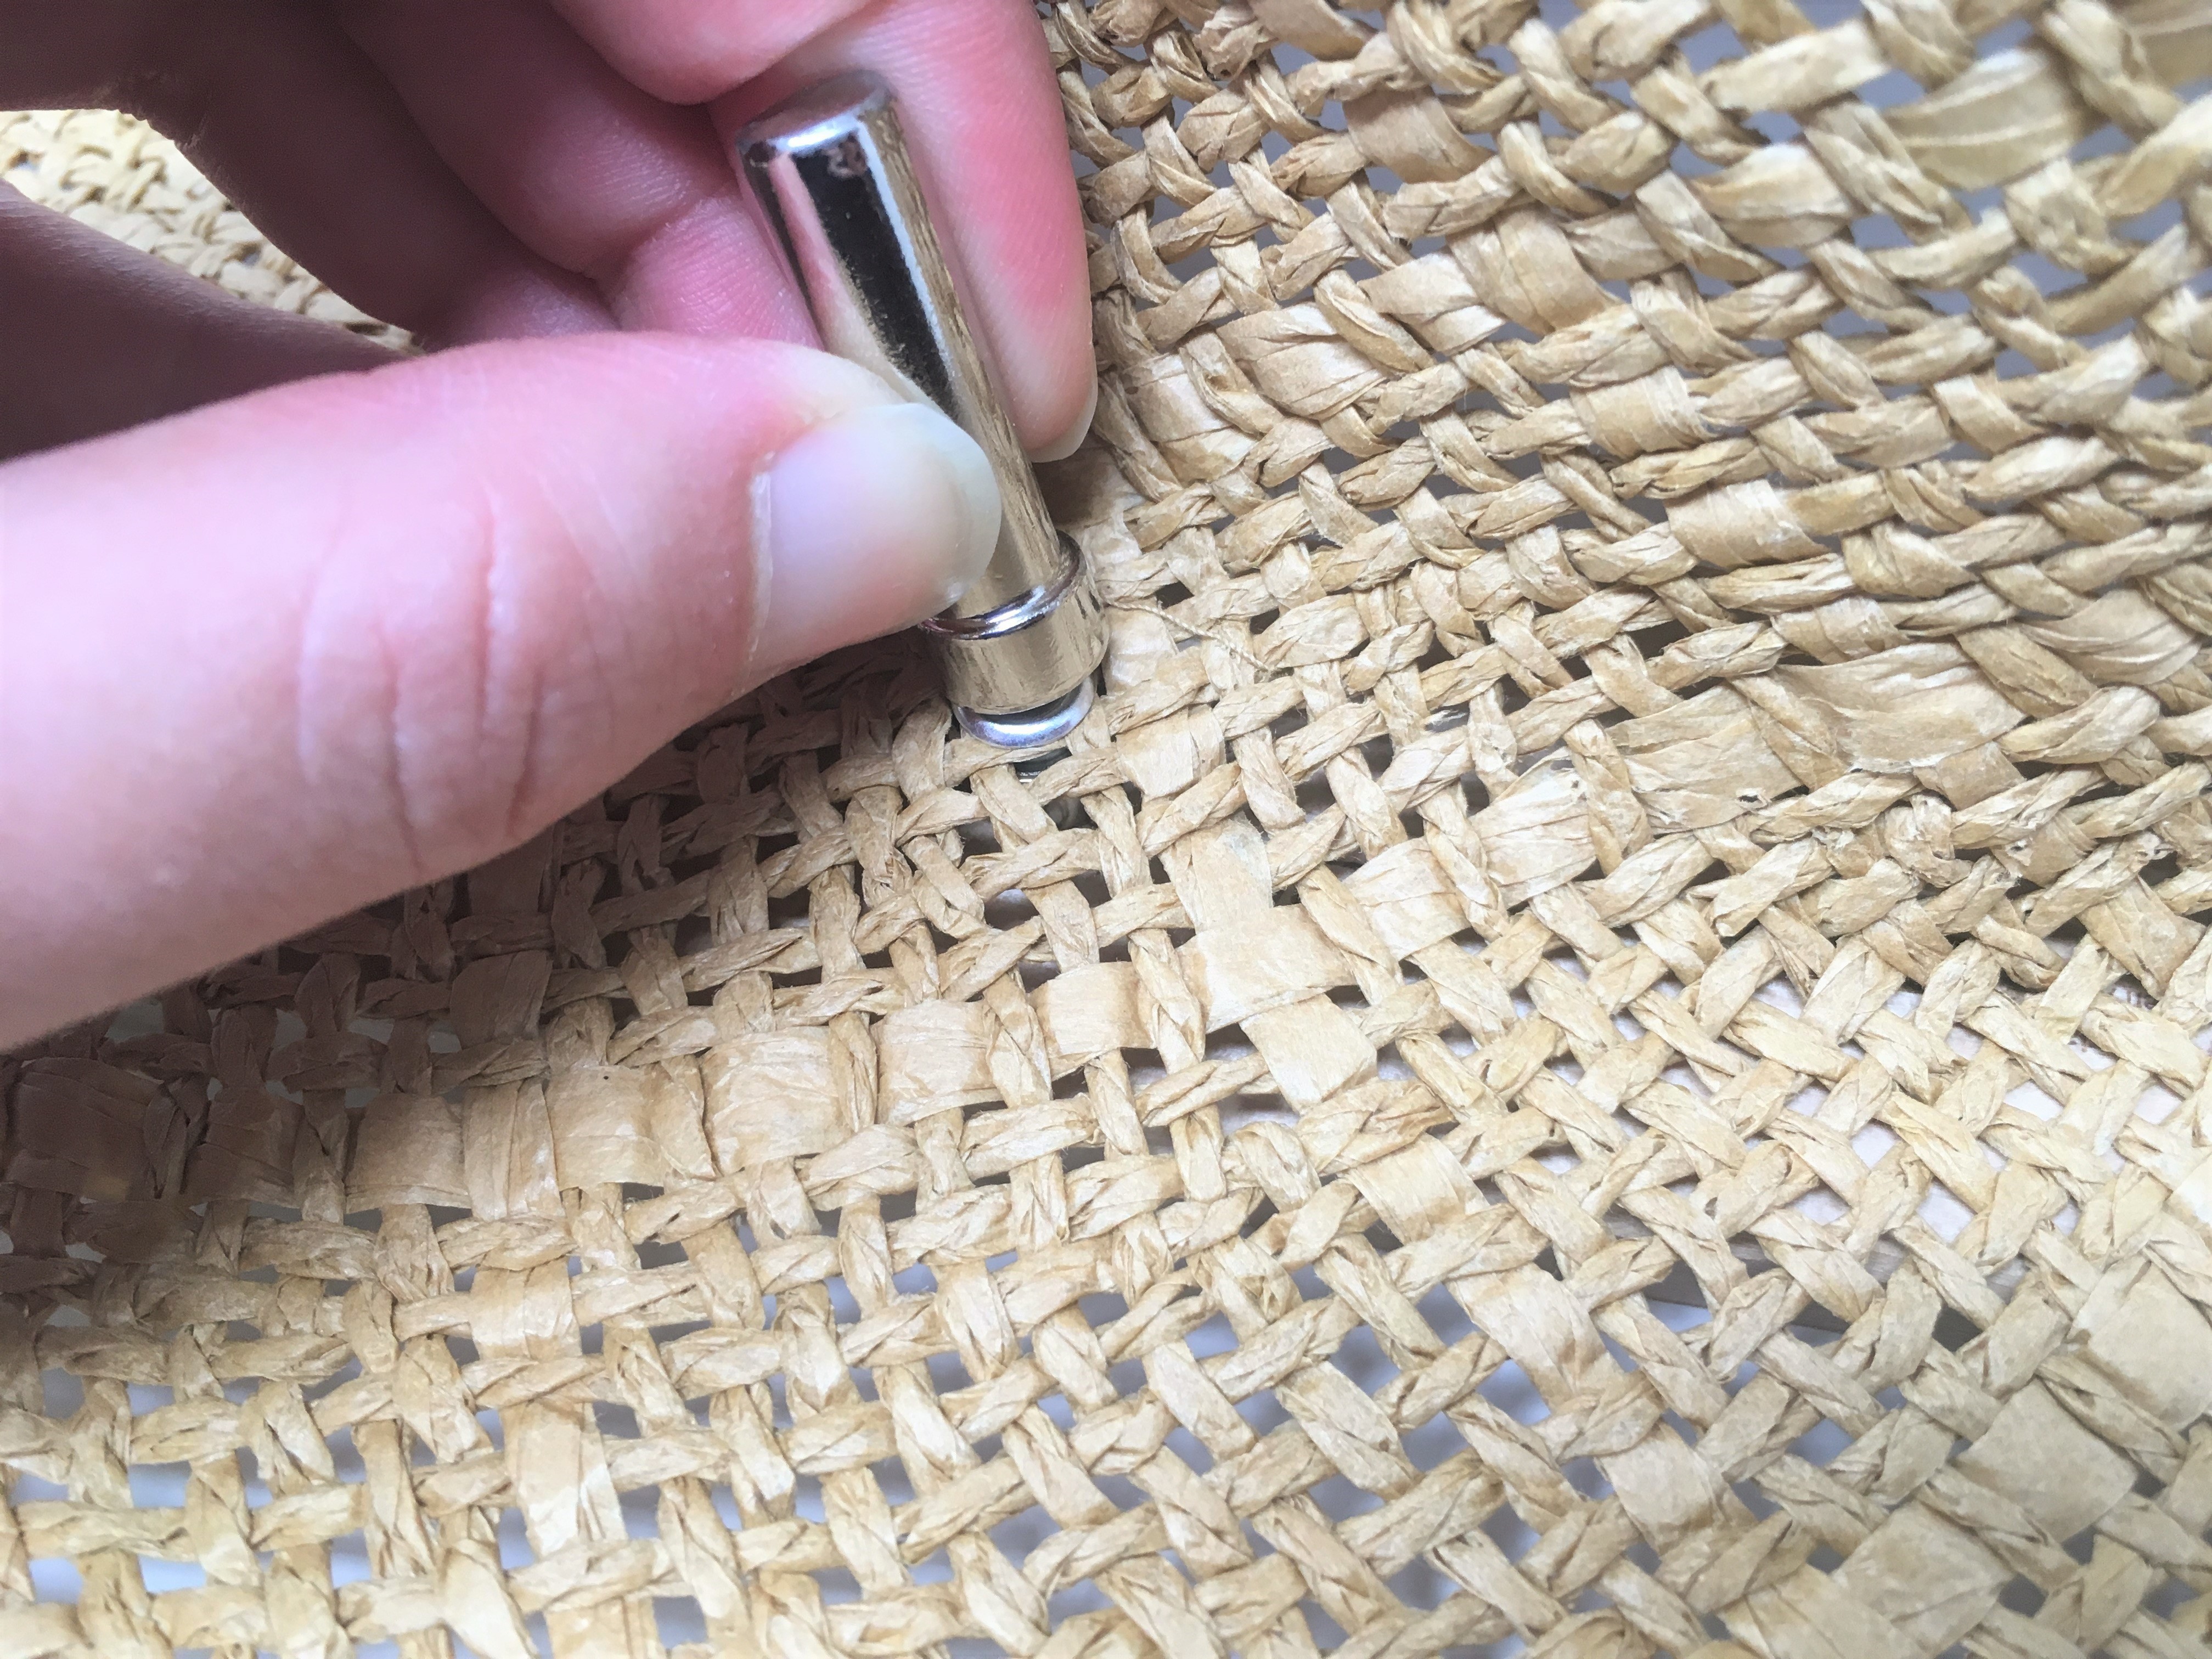
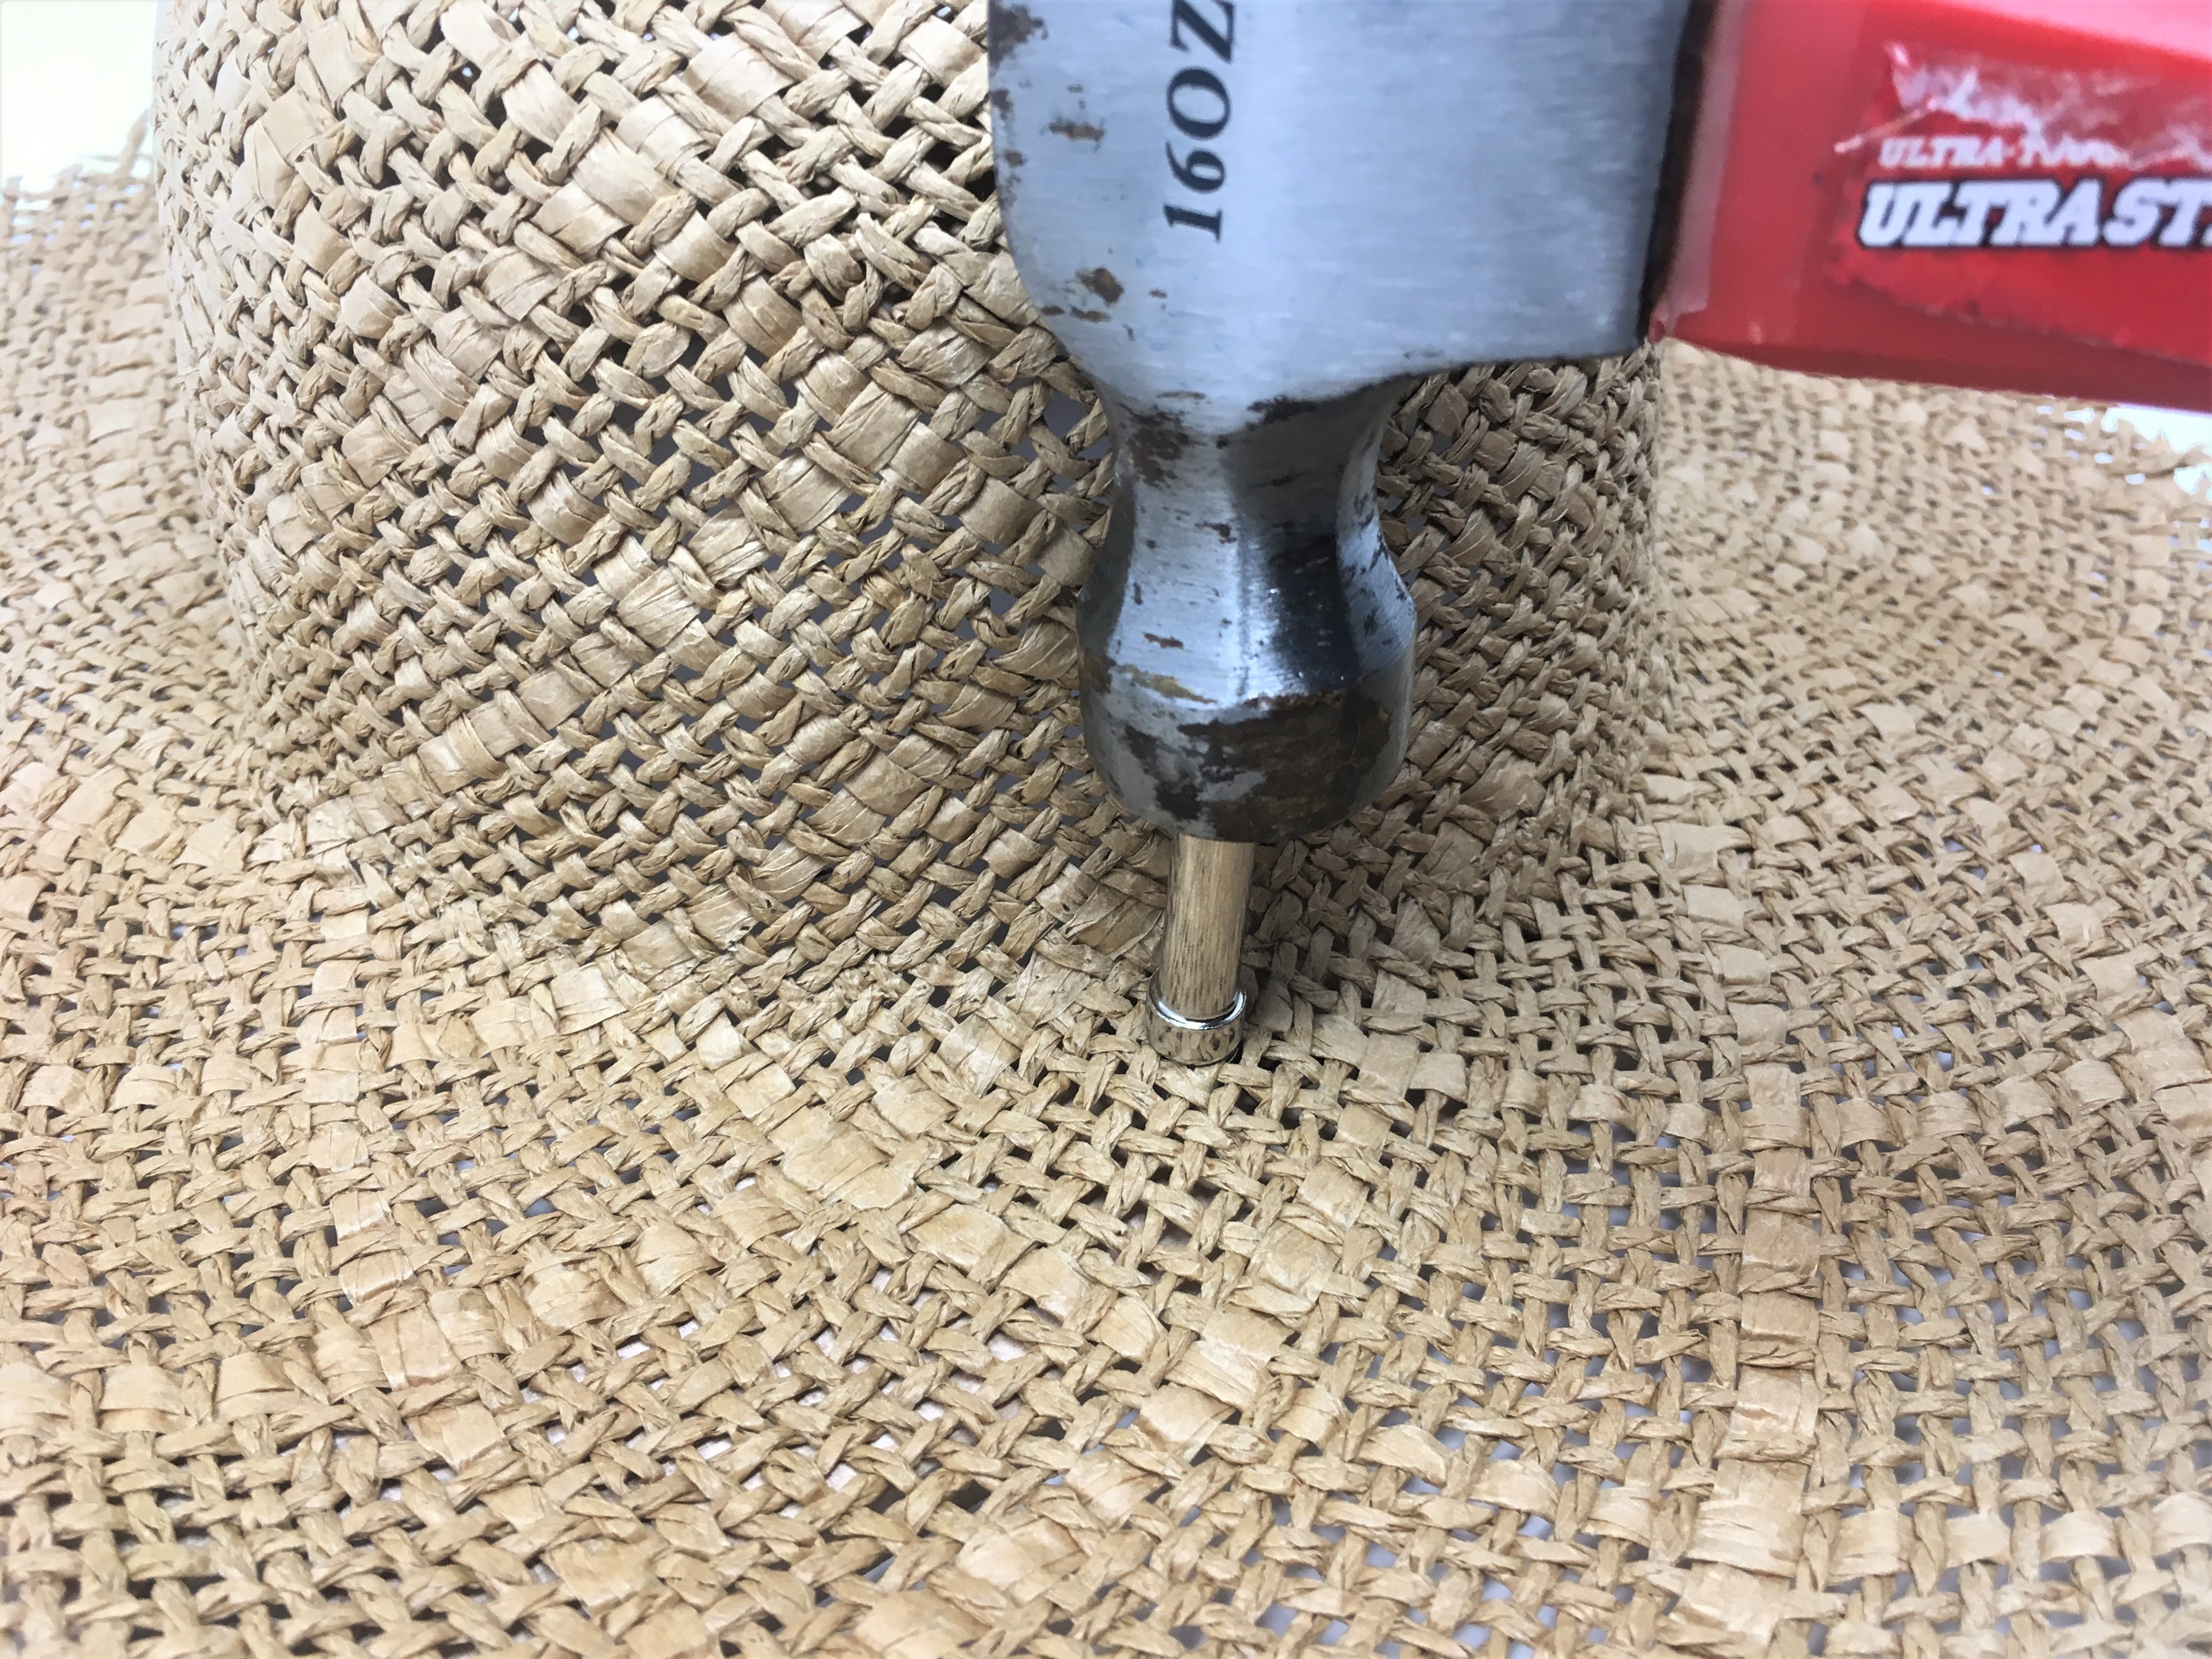
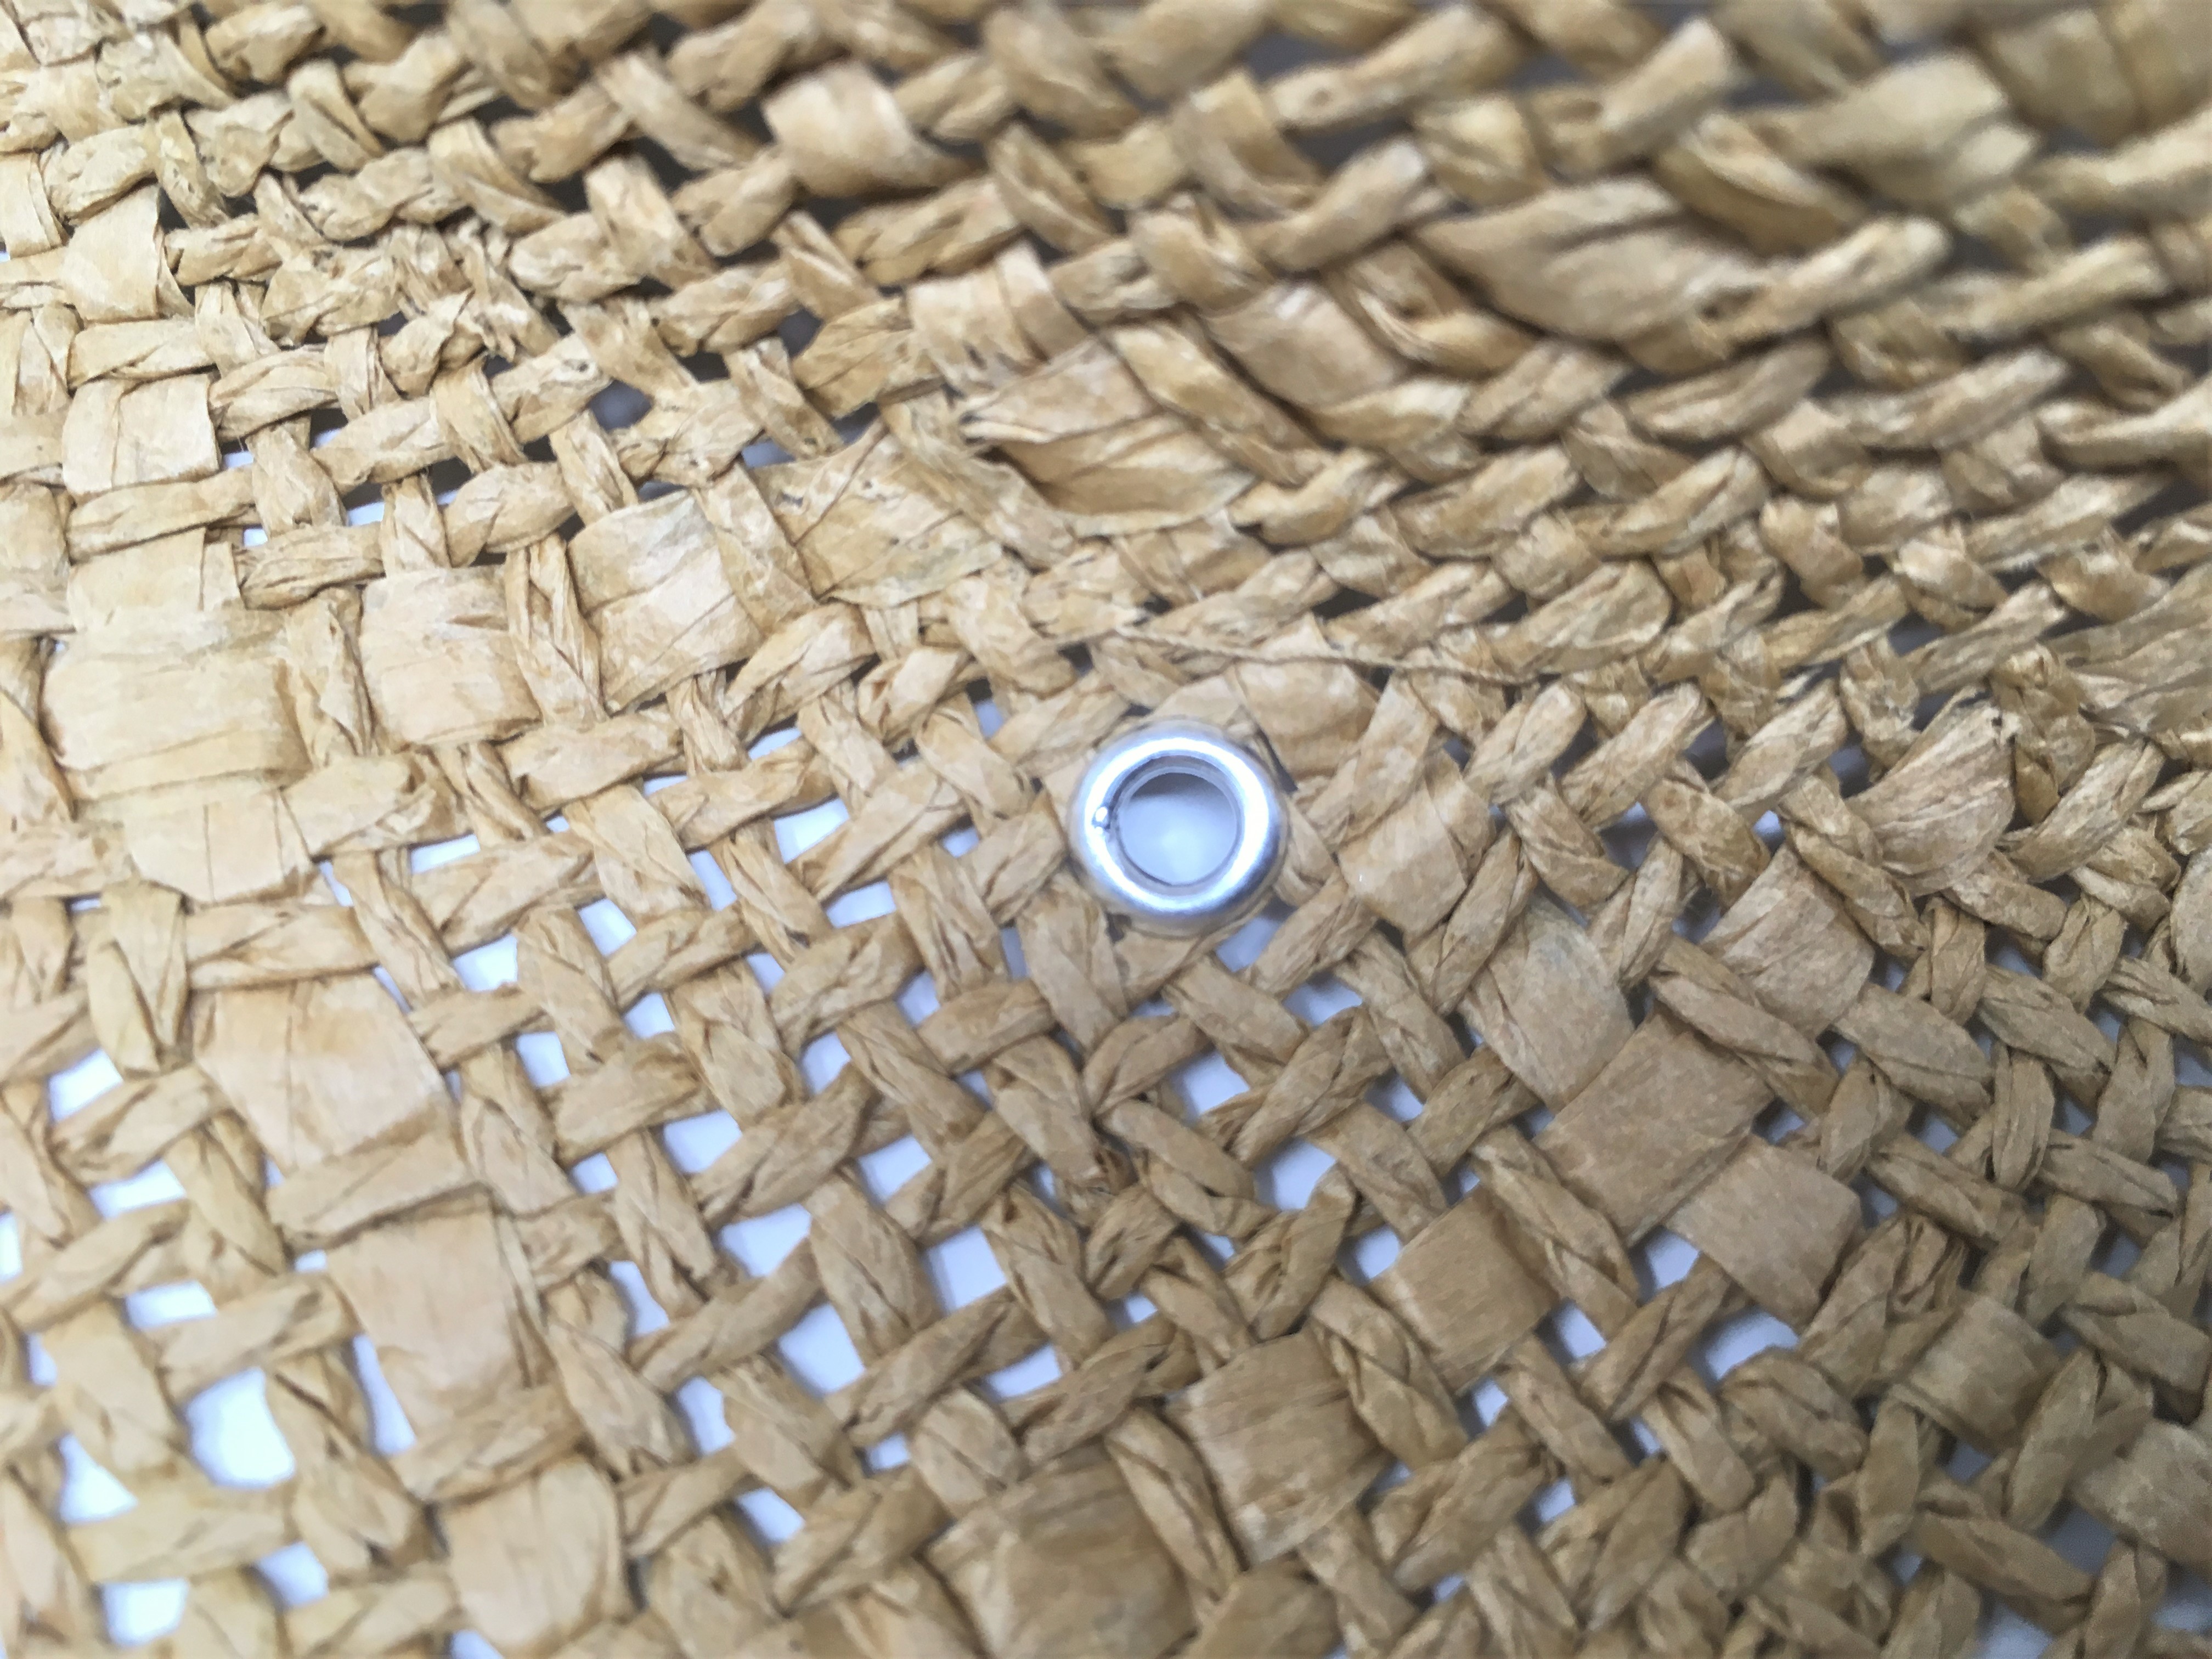
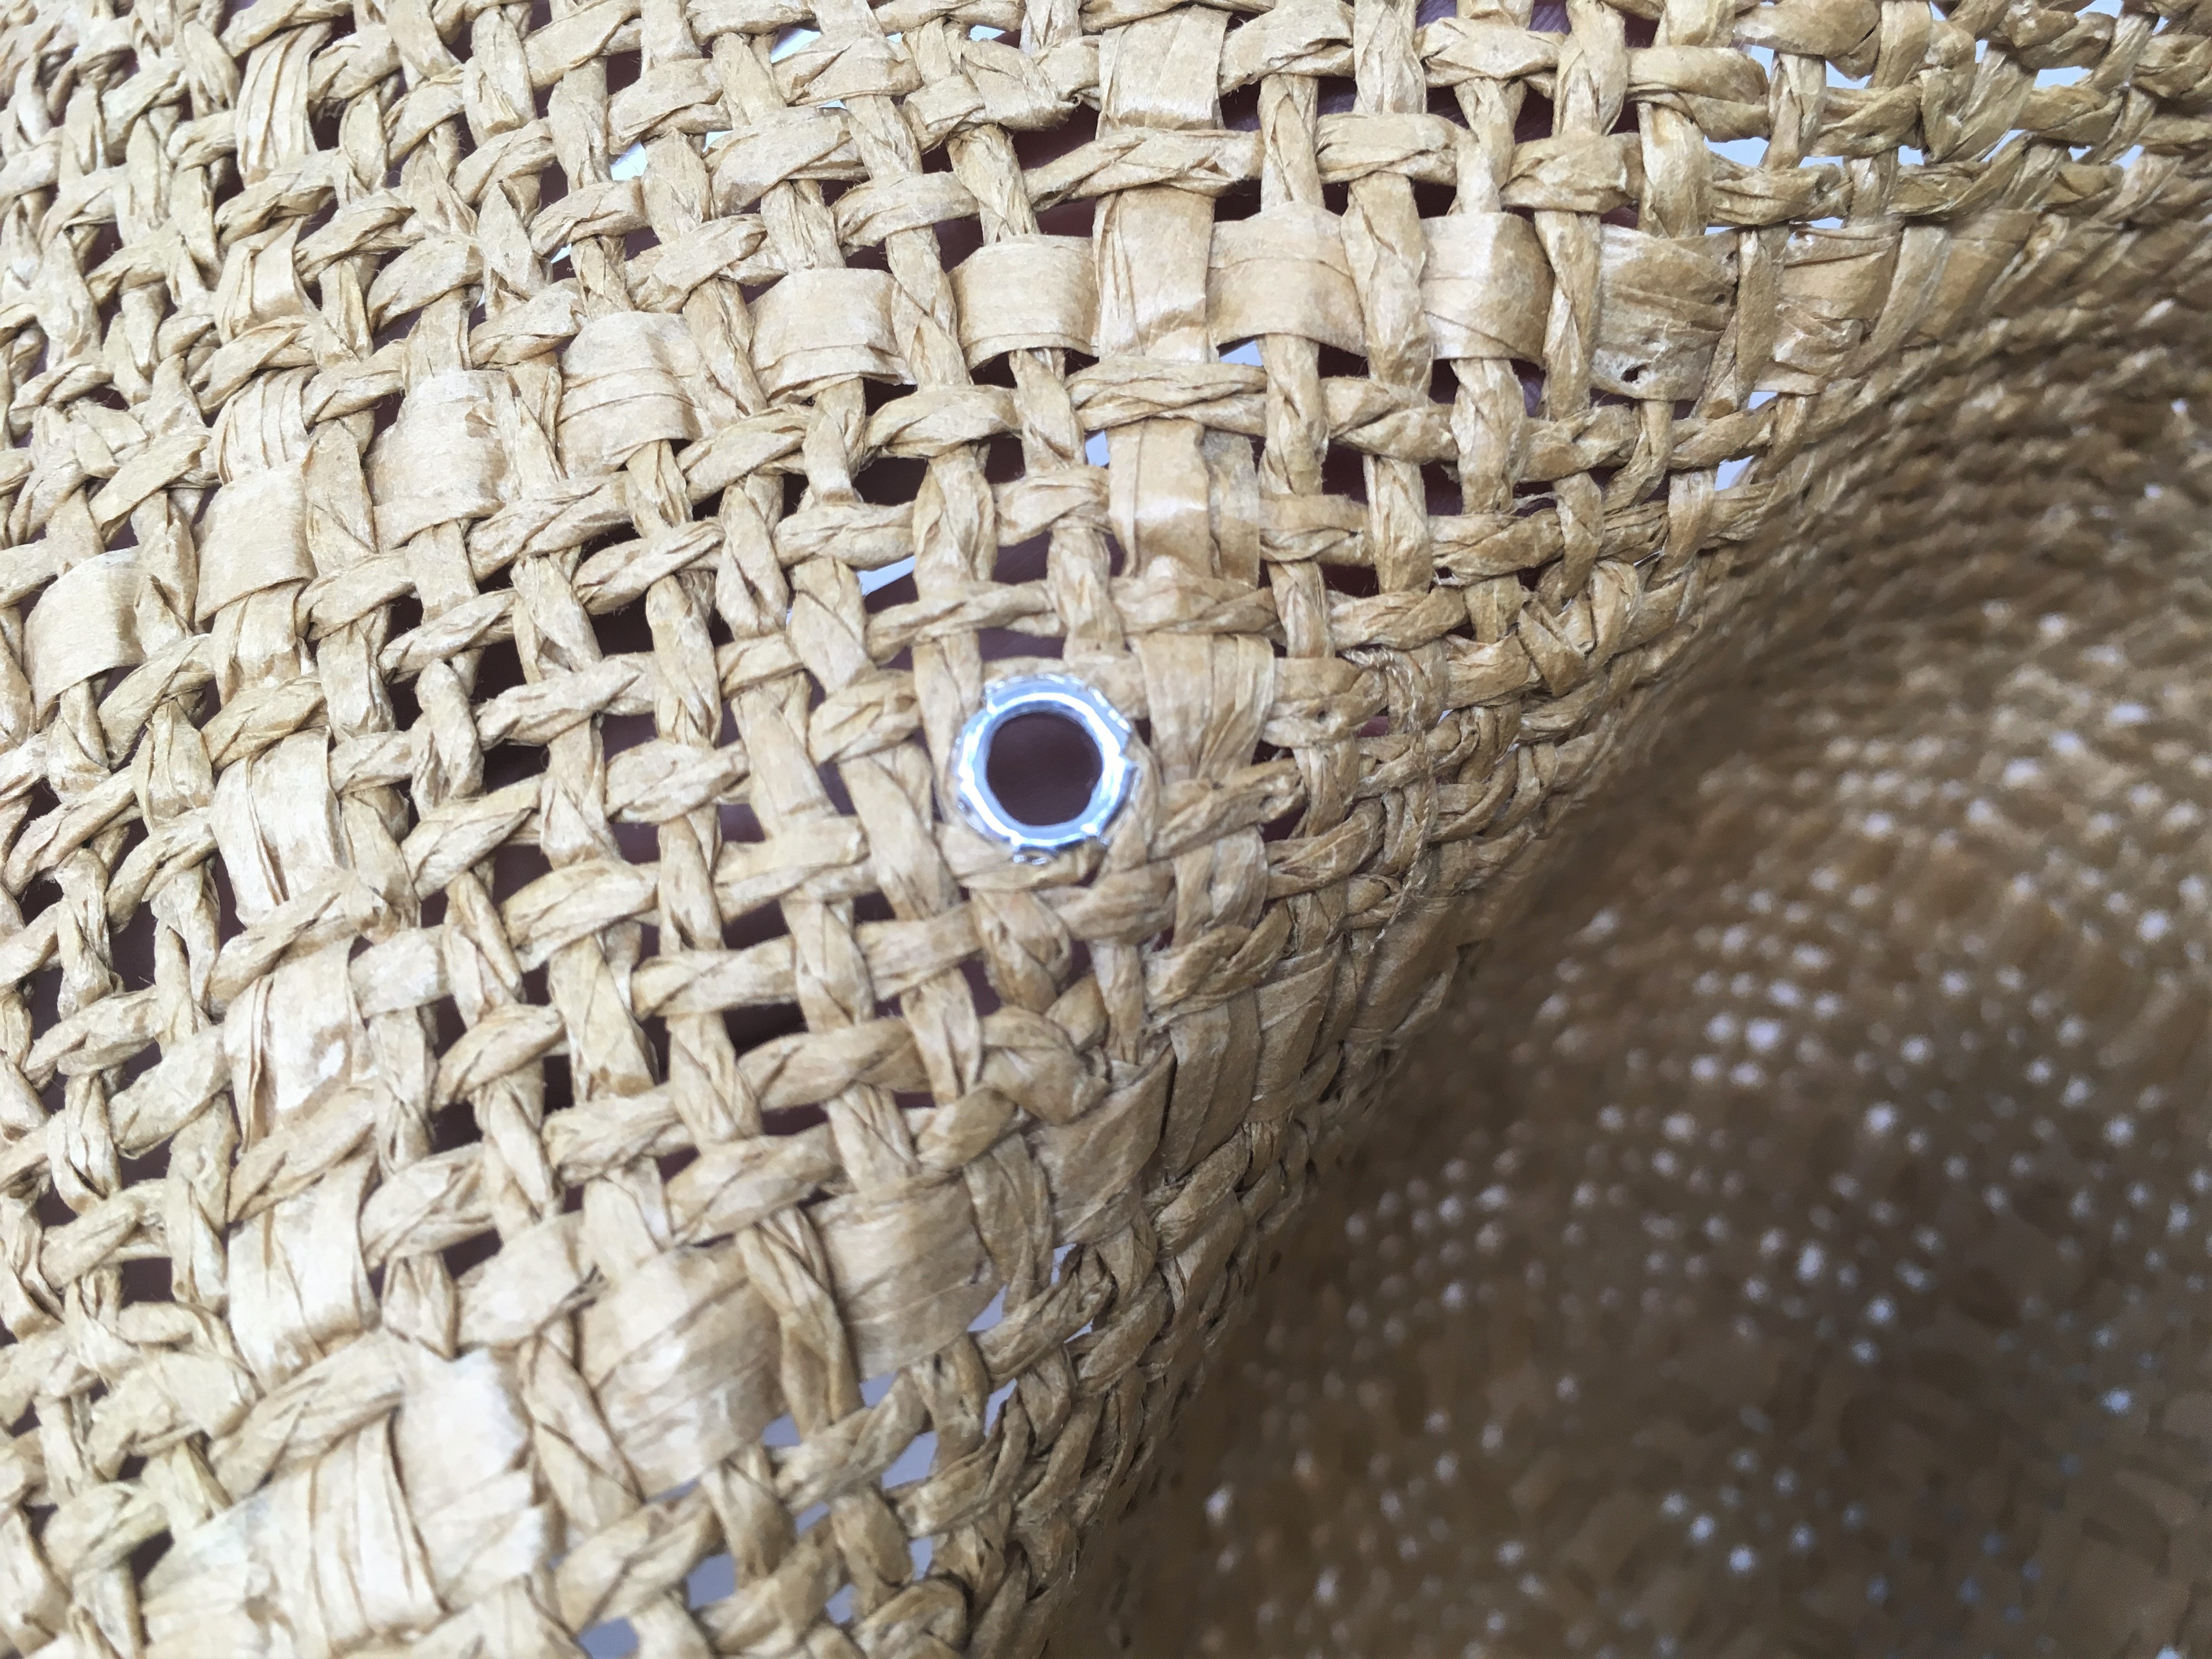
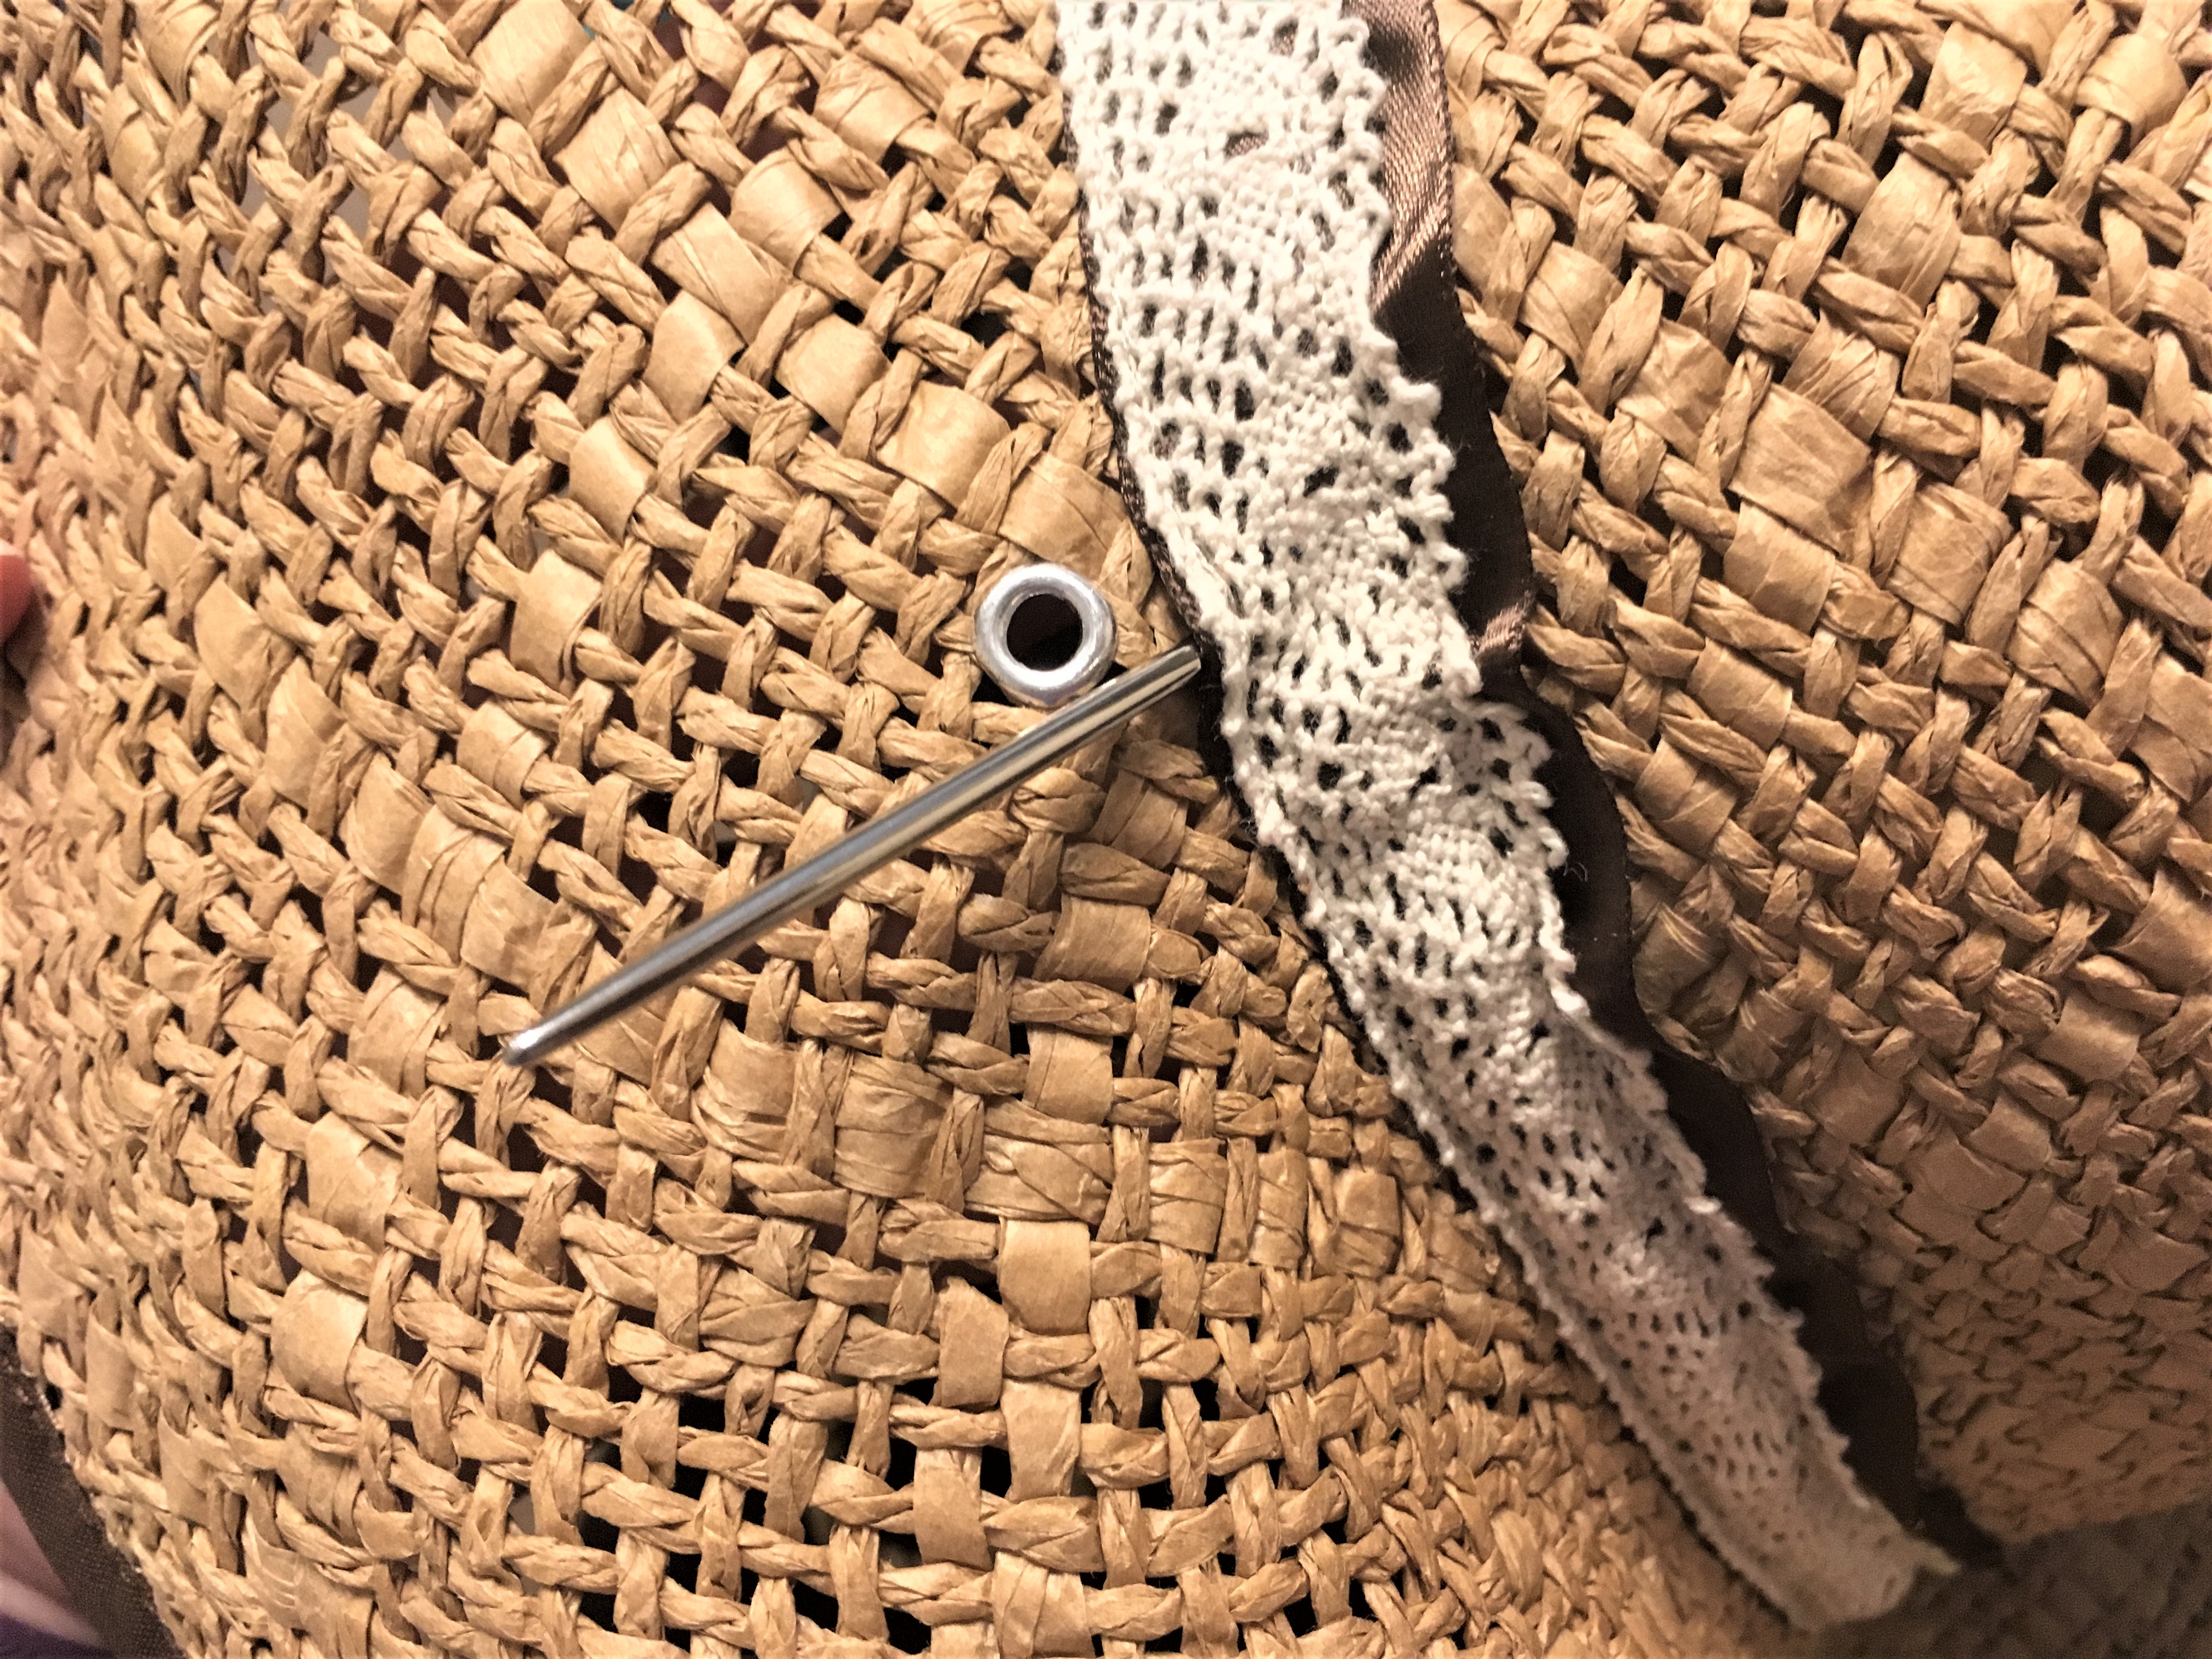
Insert eyelets (optional)
The first thing that I did was to put in eyelets on either side of the hat bowl so that my cording could go through them and not pull and stretch the actual hat material.


After I did that I removed the inner ribbon liner that held the hat bowl shape—I actually wanted to stretch it out a little and relax the tall hat bowl a bit.
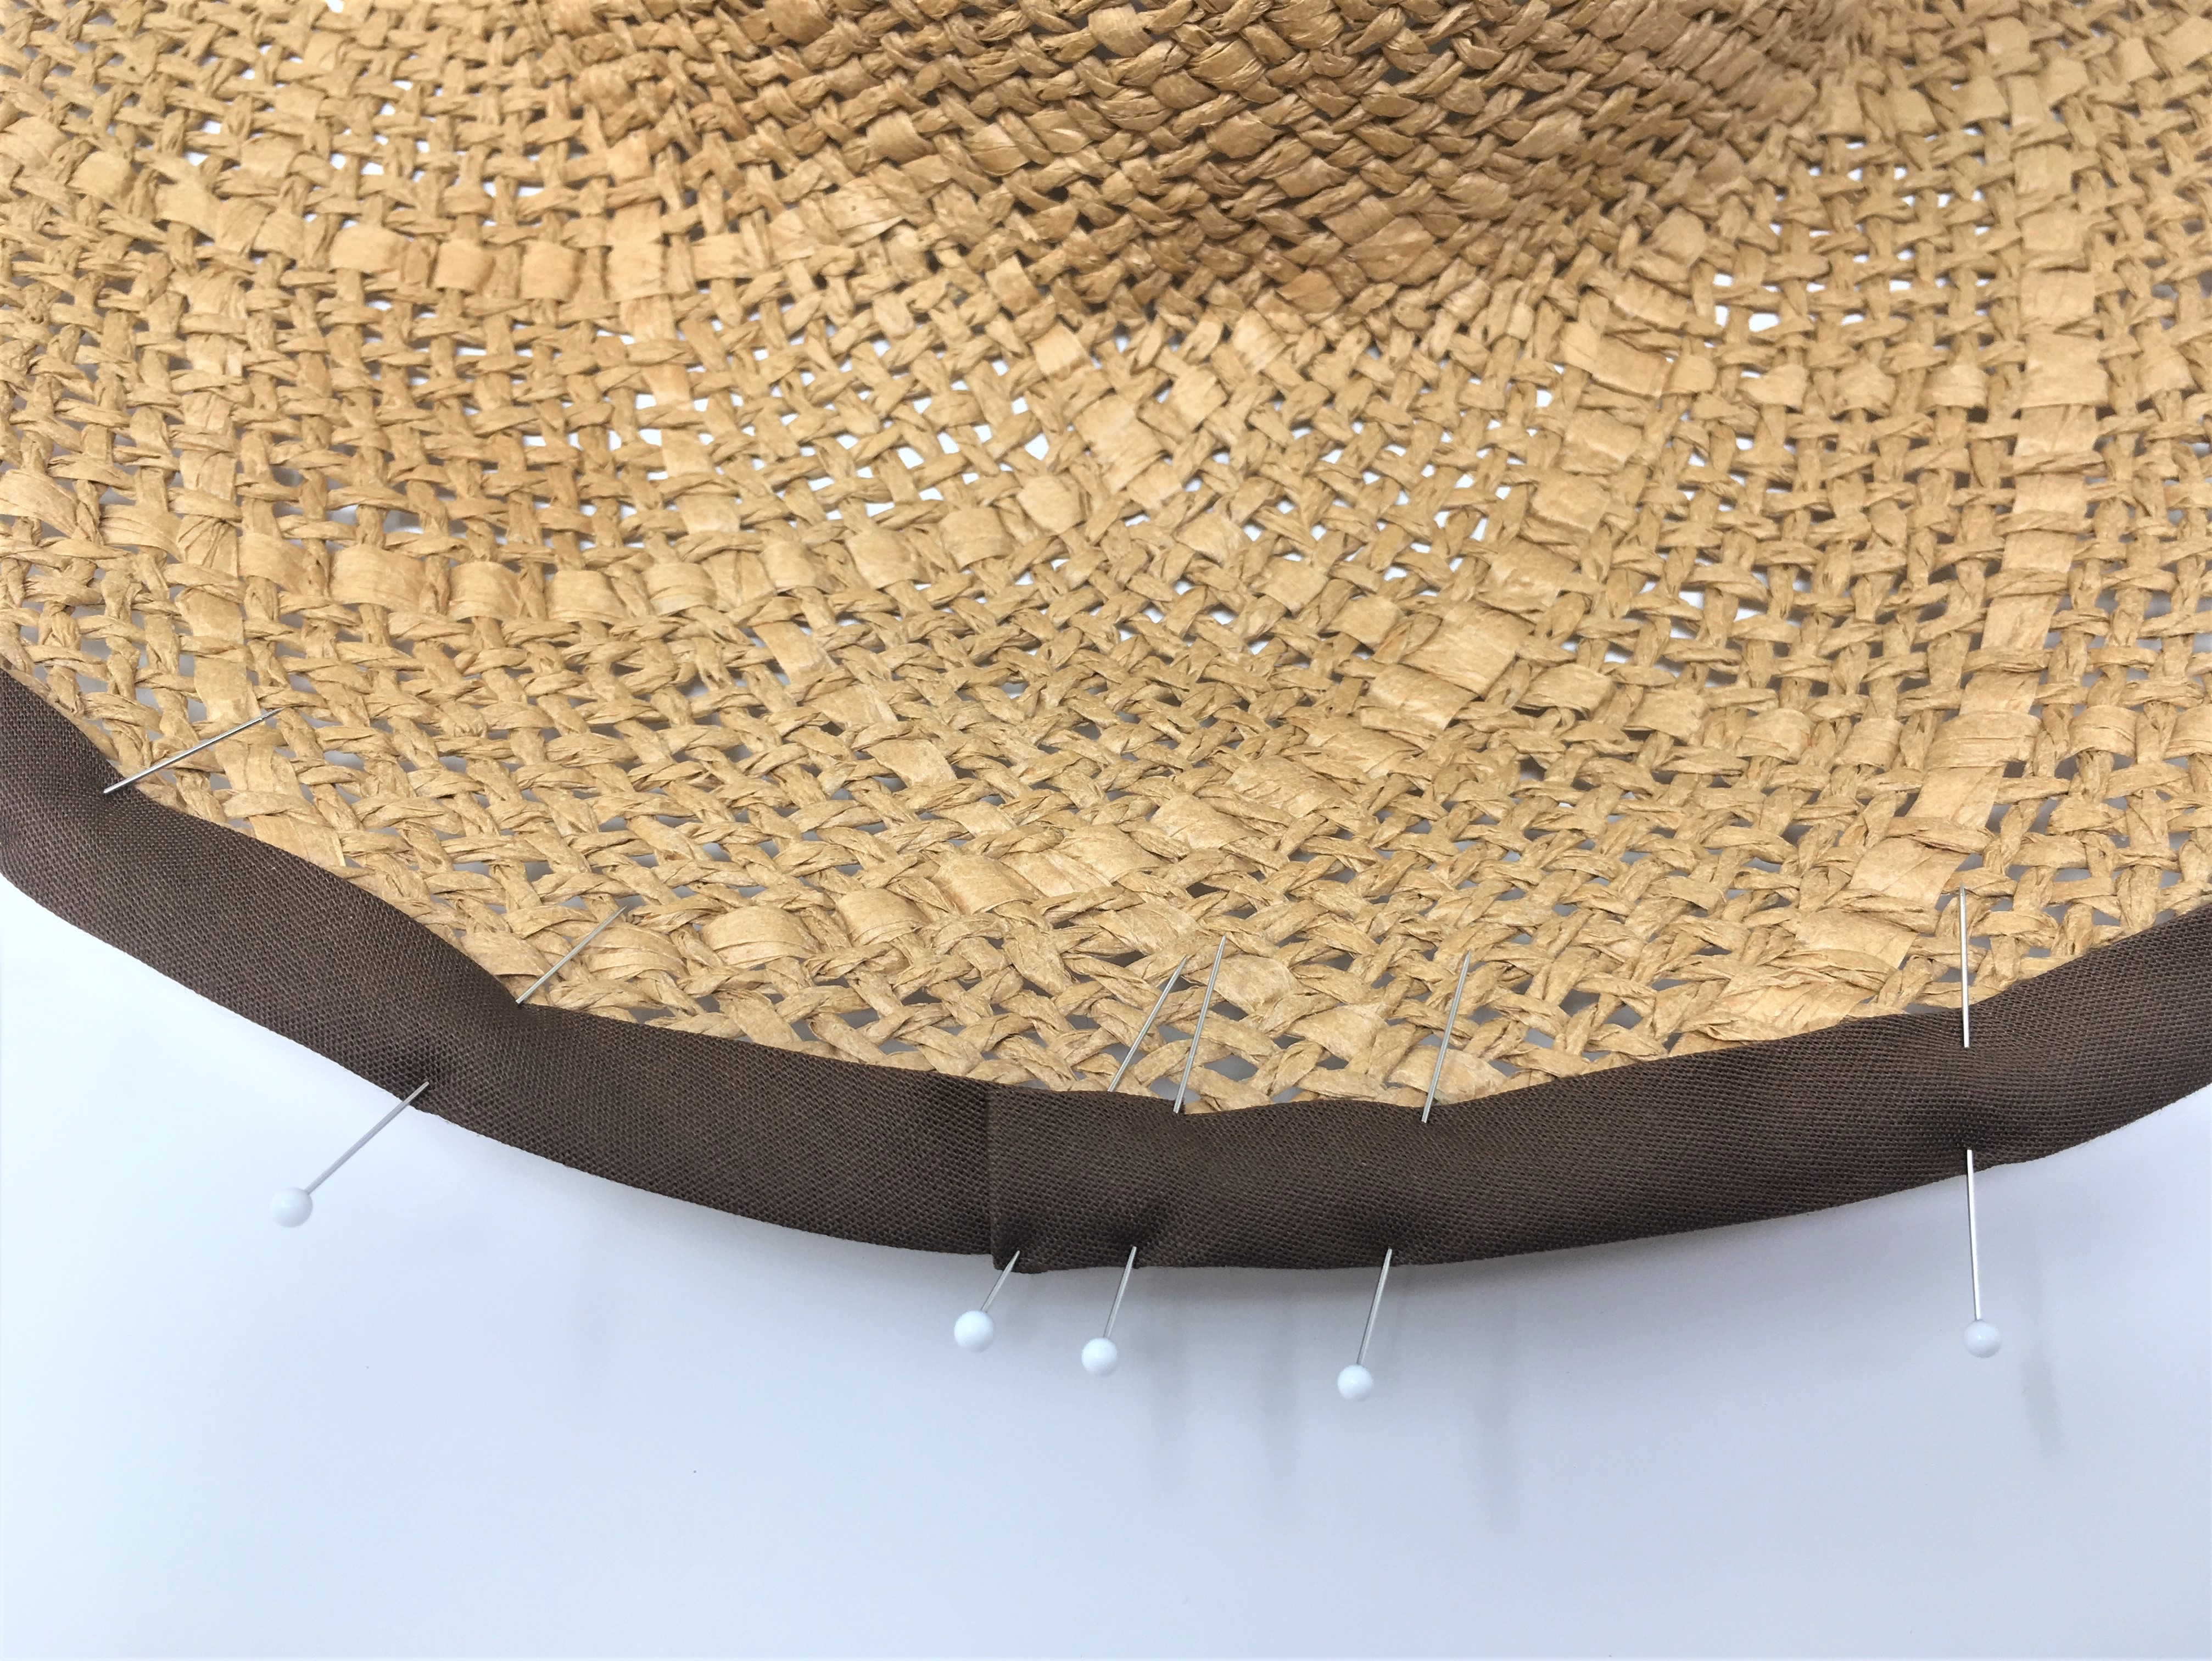
Add brim binding
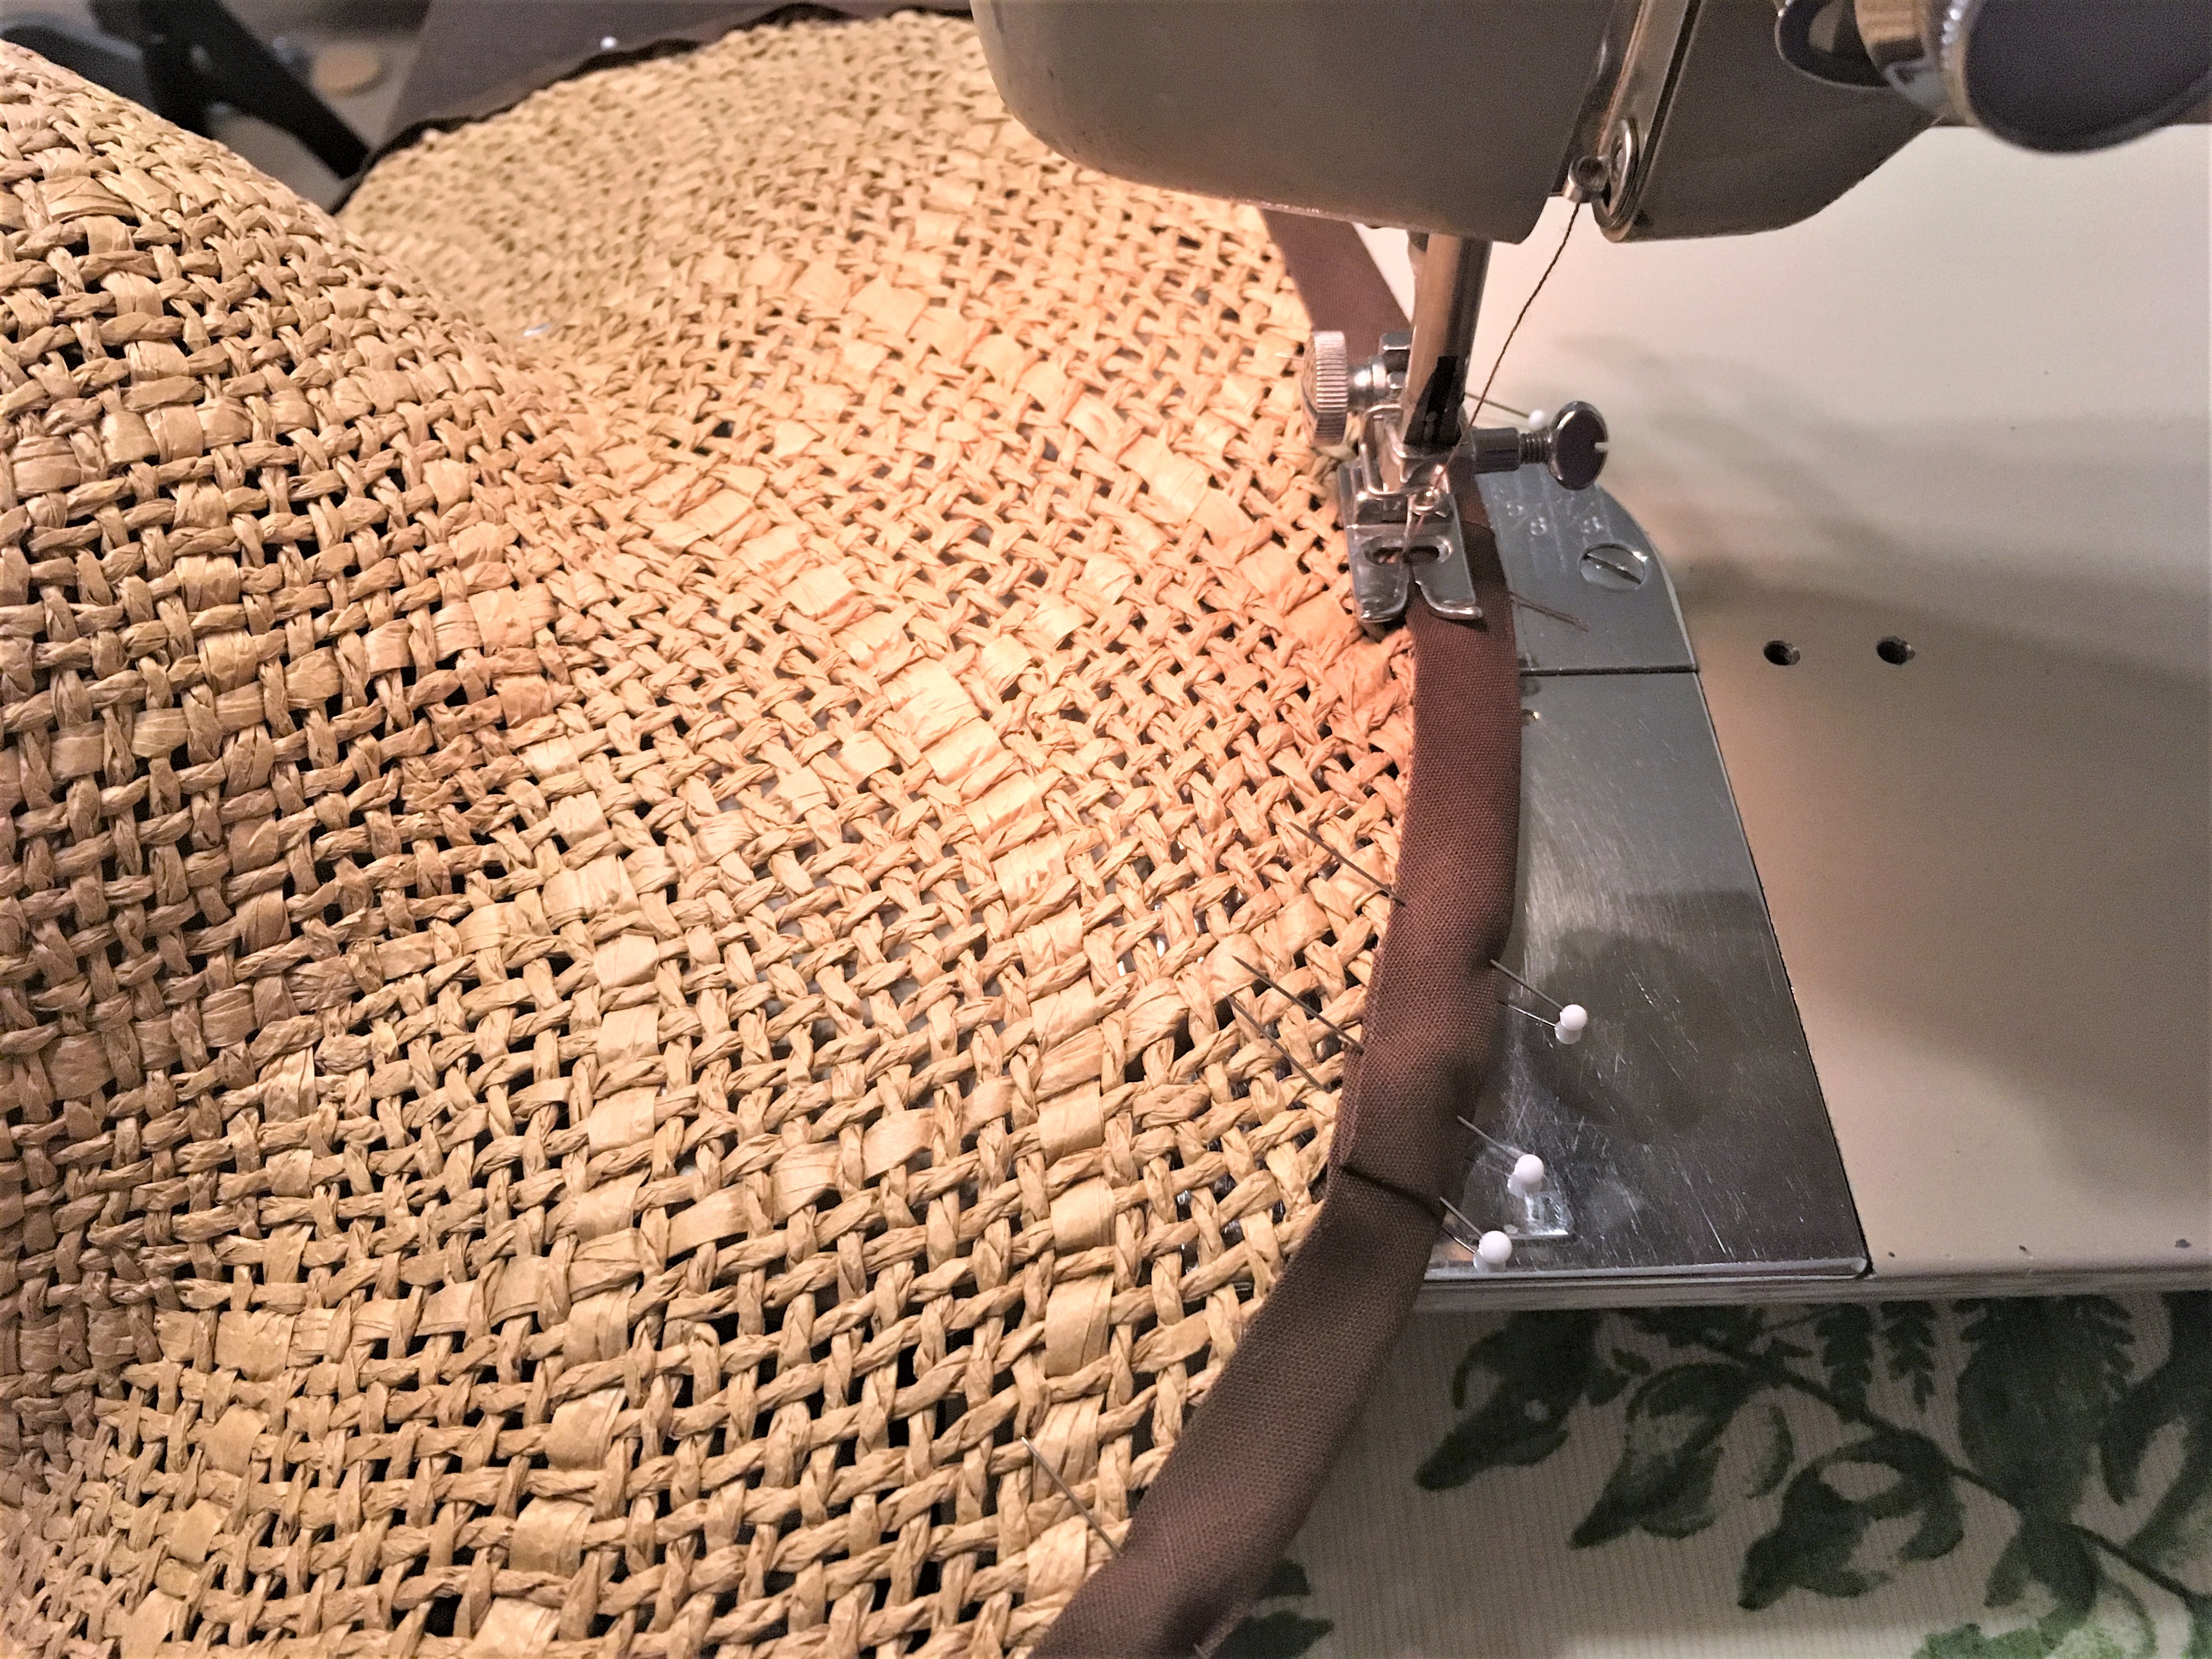
Next, I took my brown bias tape and pinned it all along the hat brim with the slightly wider side of the tape on the underside so that I would be sure to catch it when I stitched along the top. When I got all around the hat I cut the bias tape with about one inch extra to fold under and overlap the starting point. I made sure that my overlap was on the back side of the hat. Then I took it to my sewing machine and top-stitched with a matching brown cotton thread all around the brim.


The ribbon band
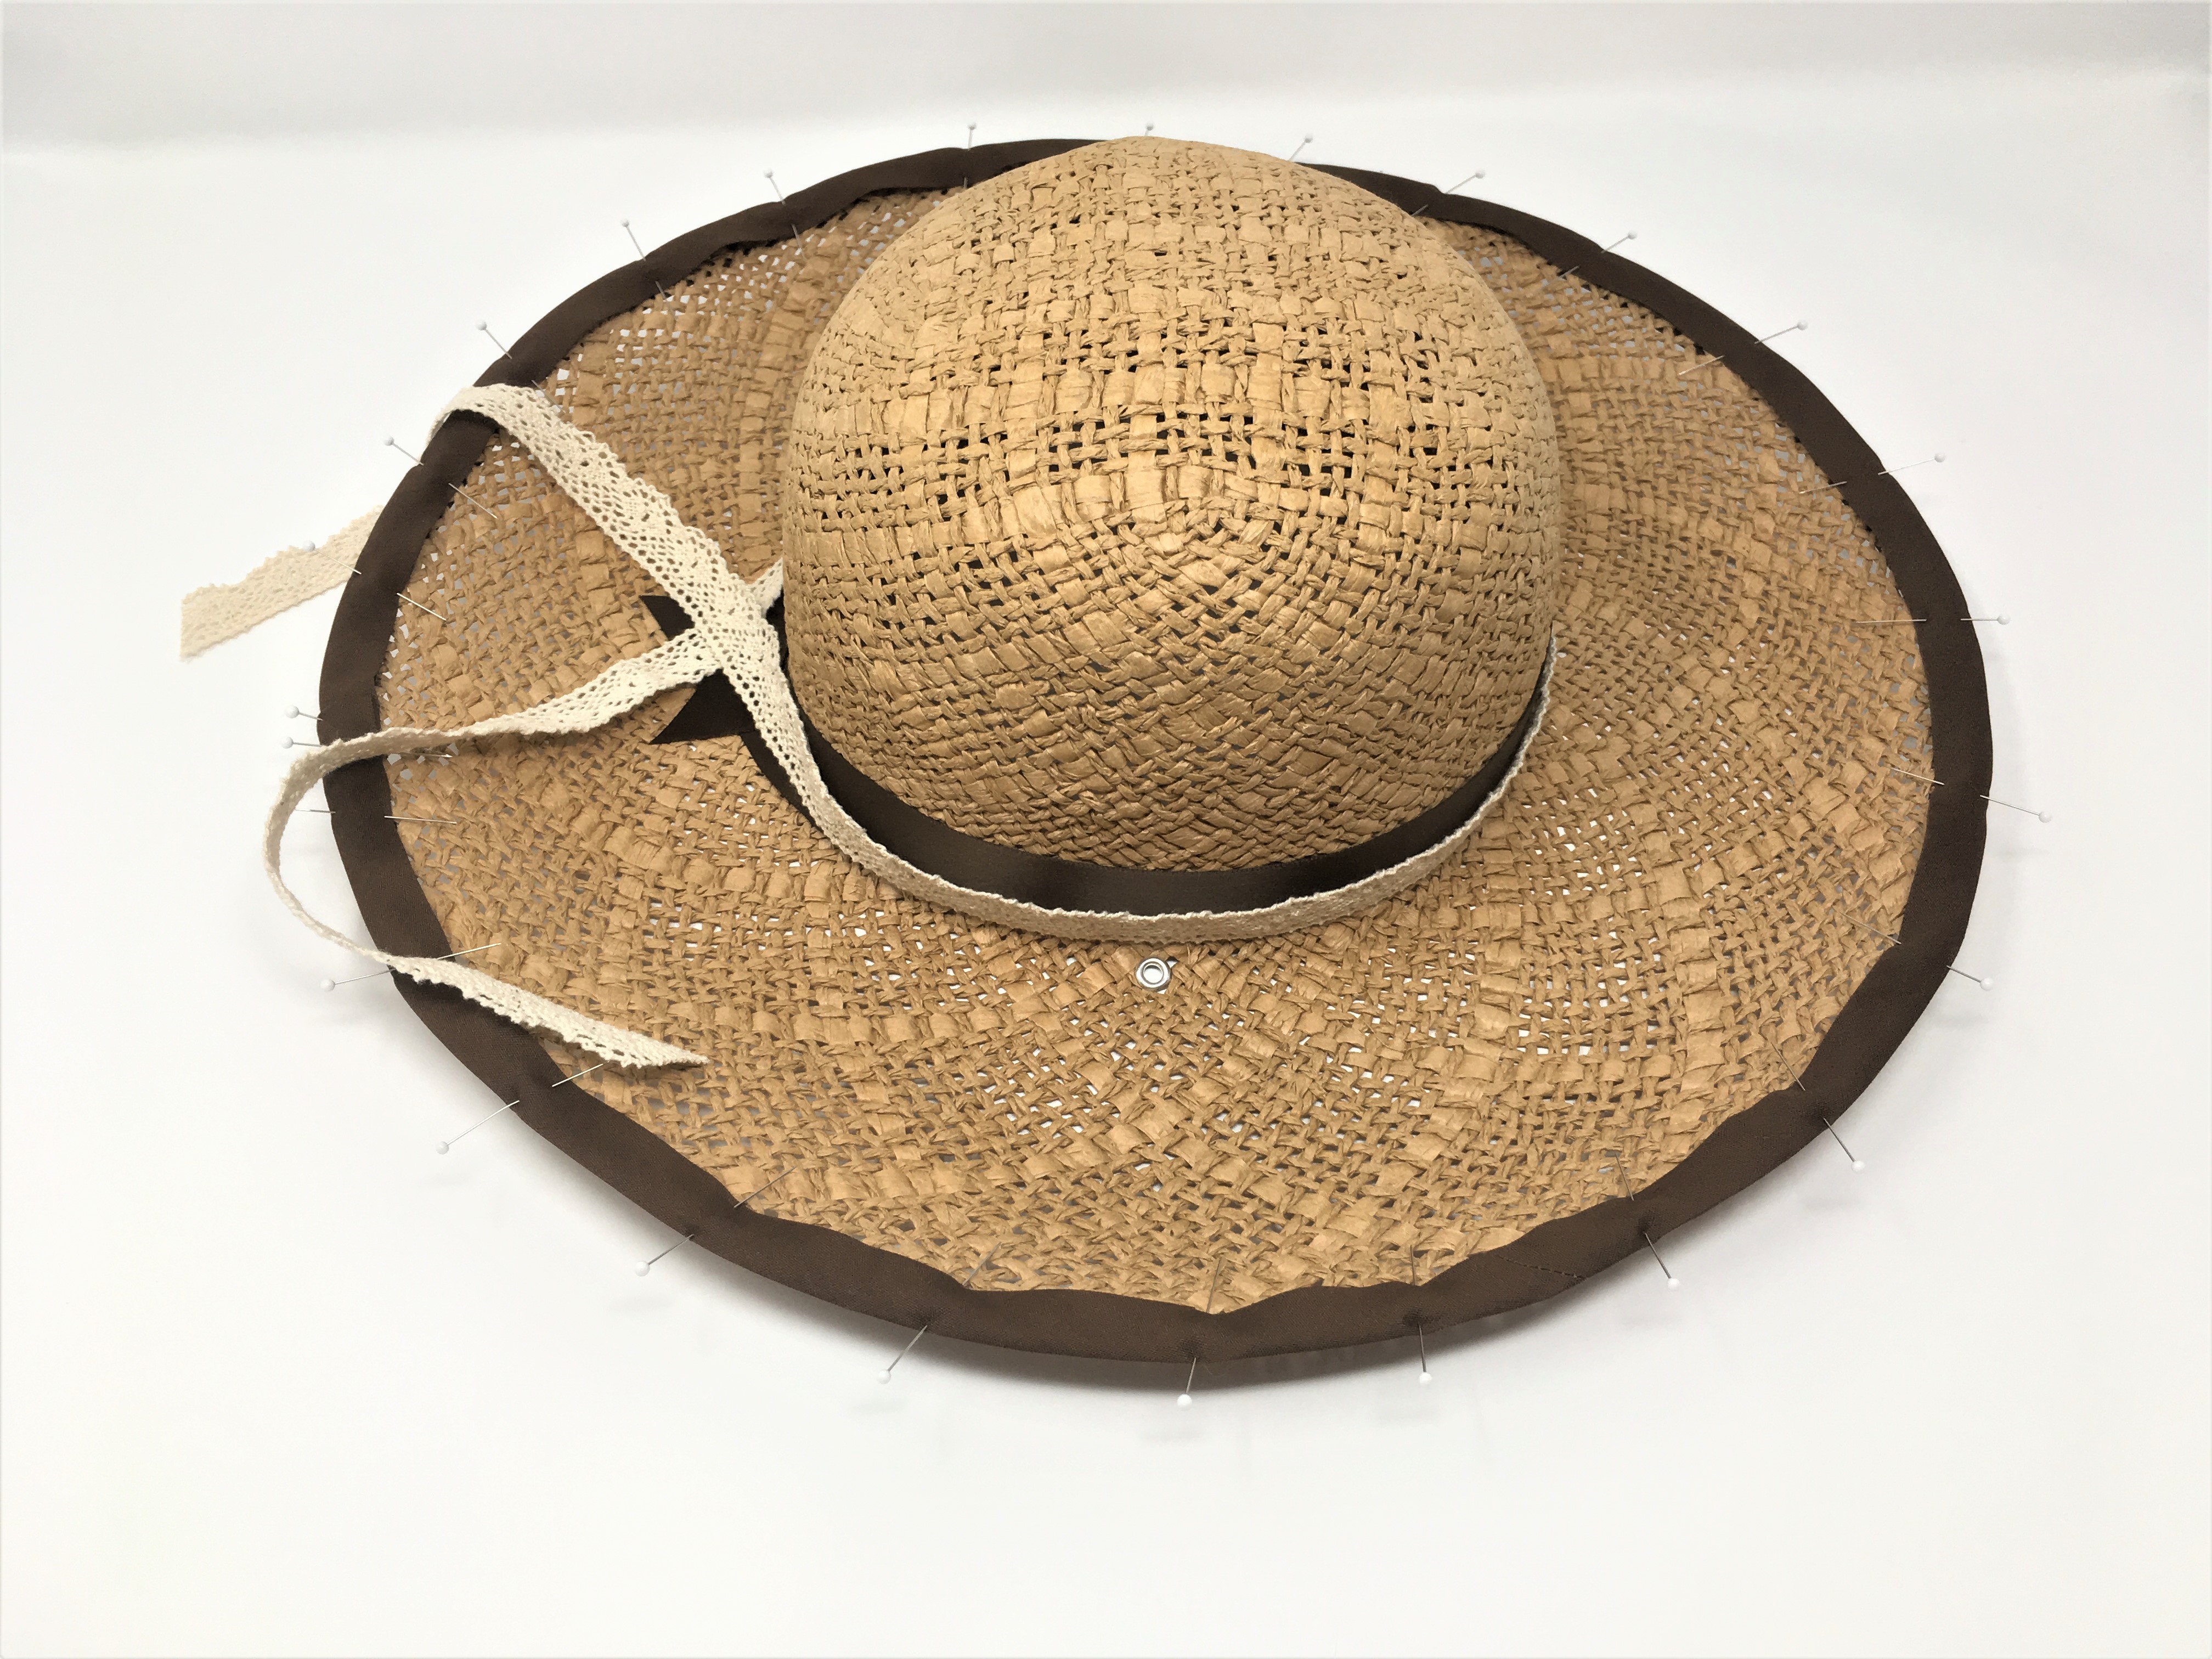
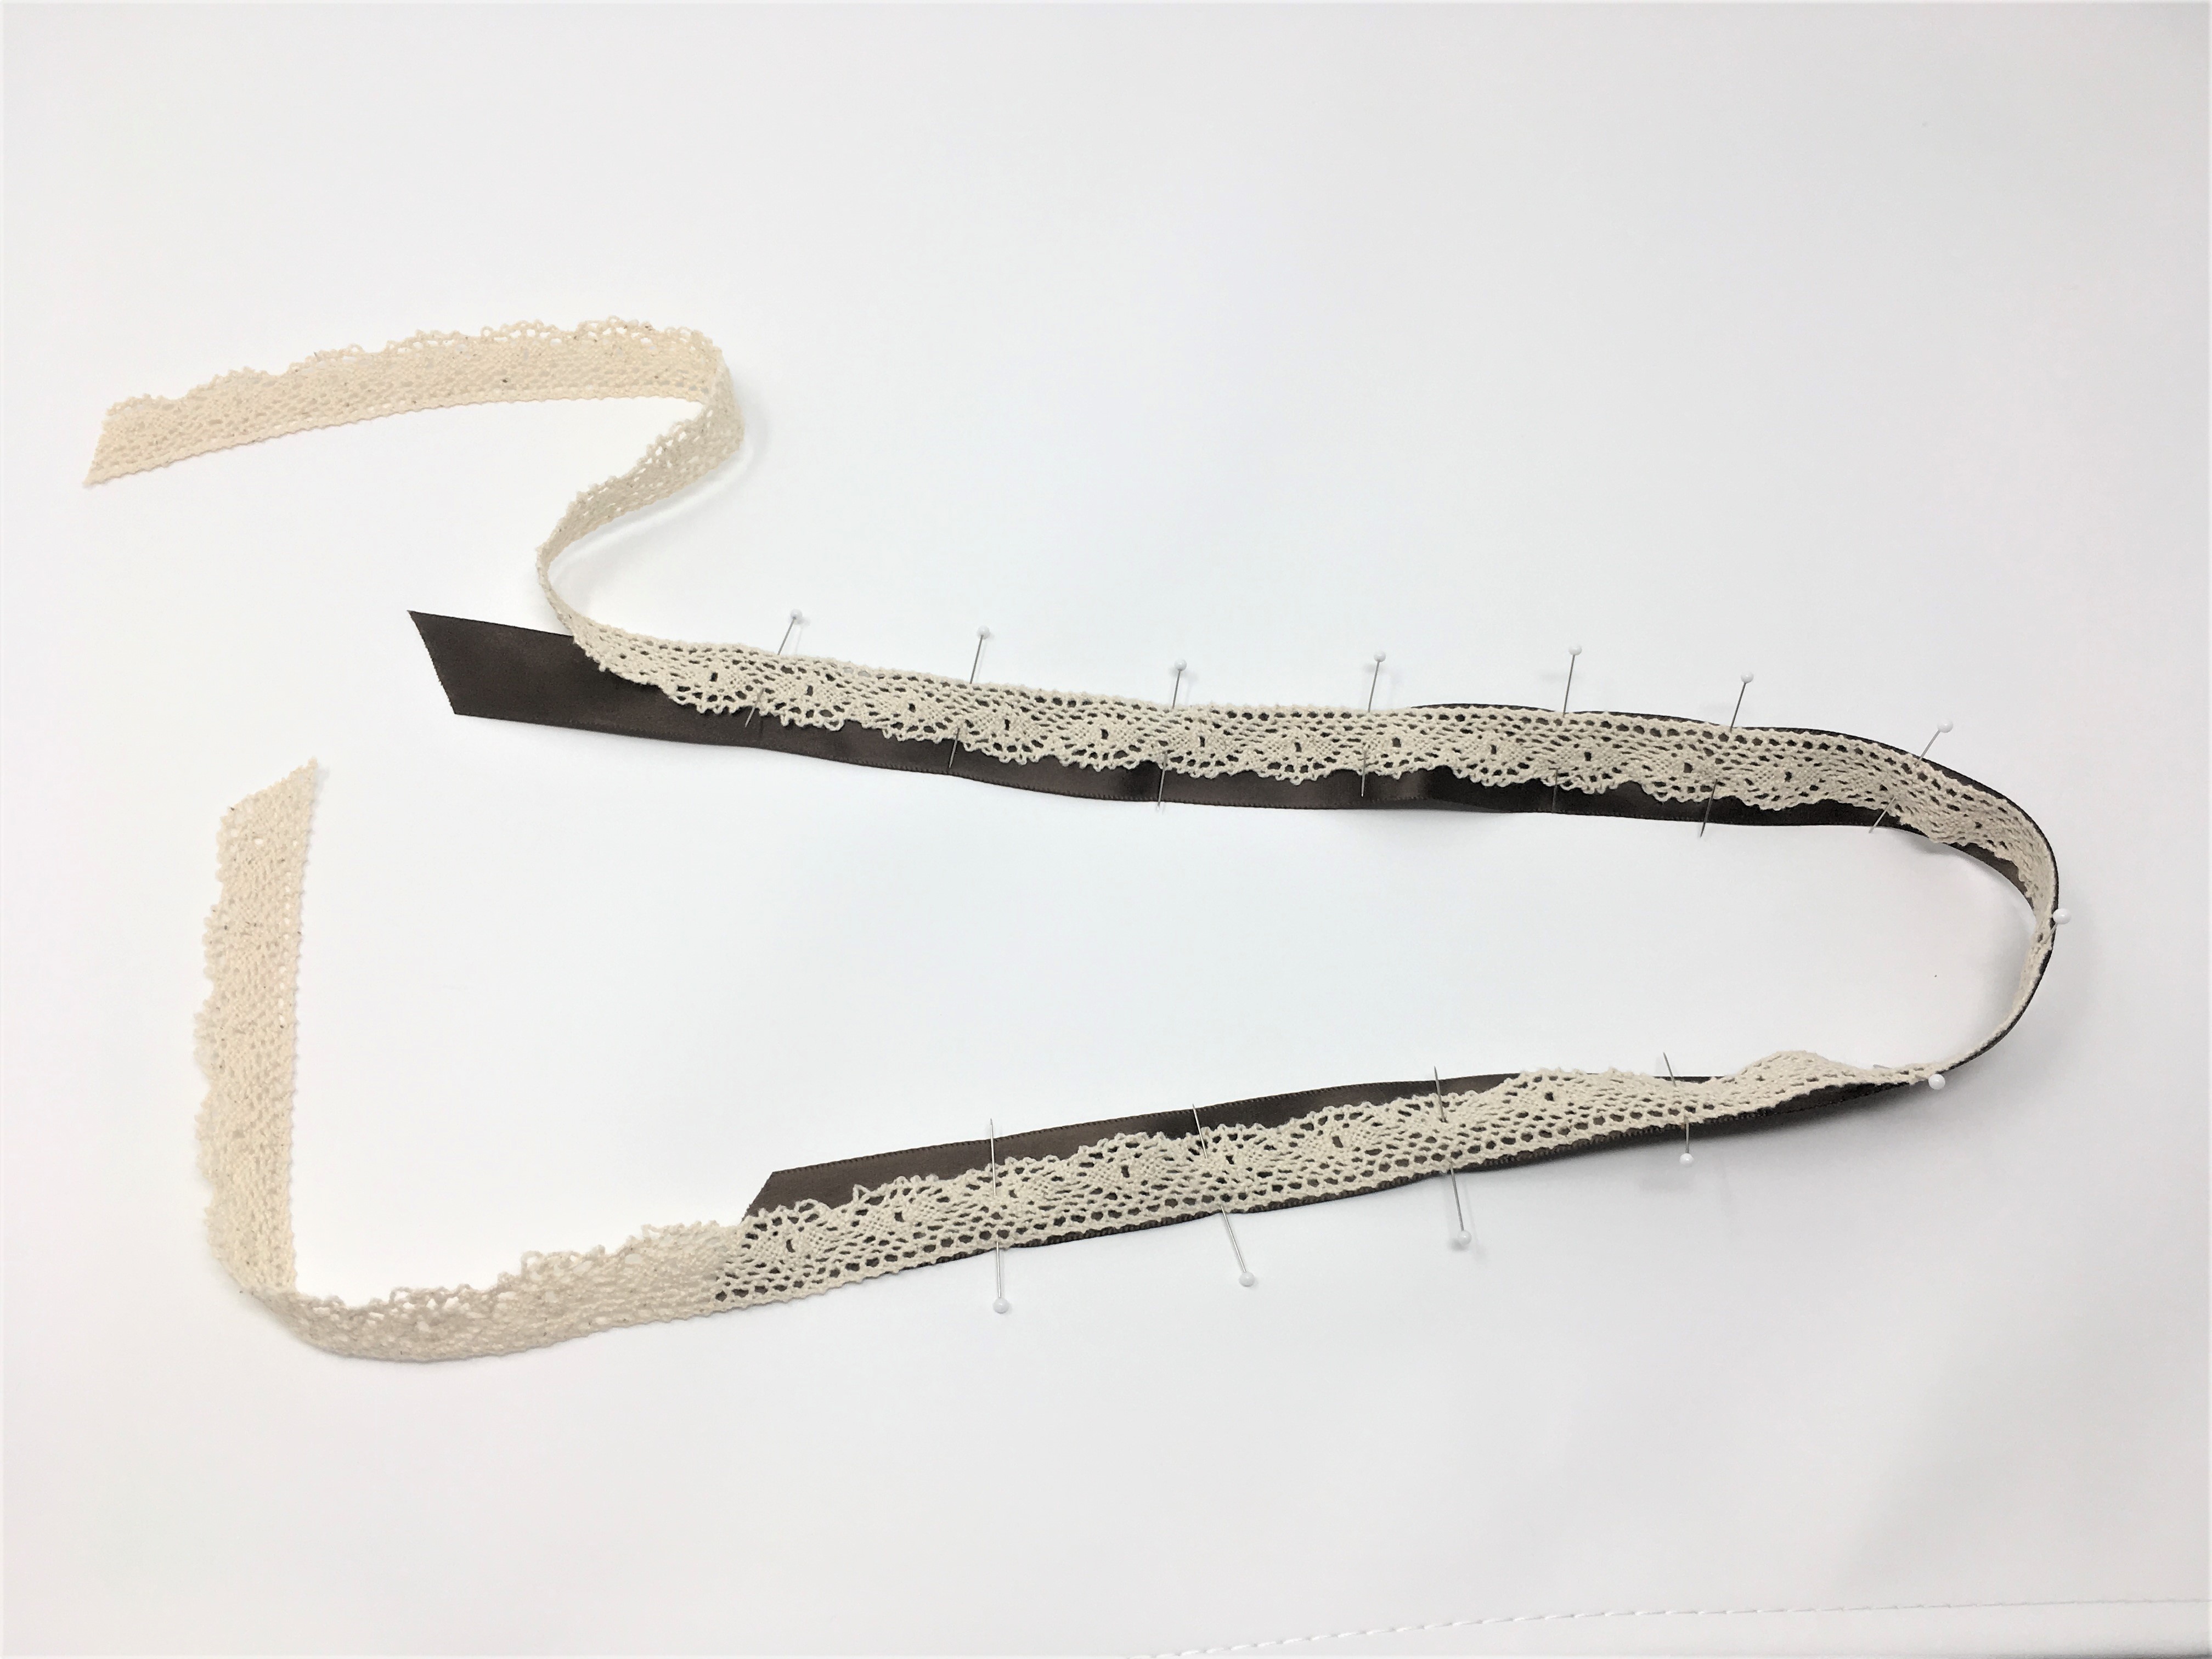
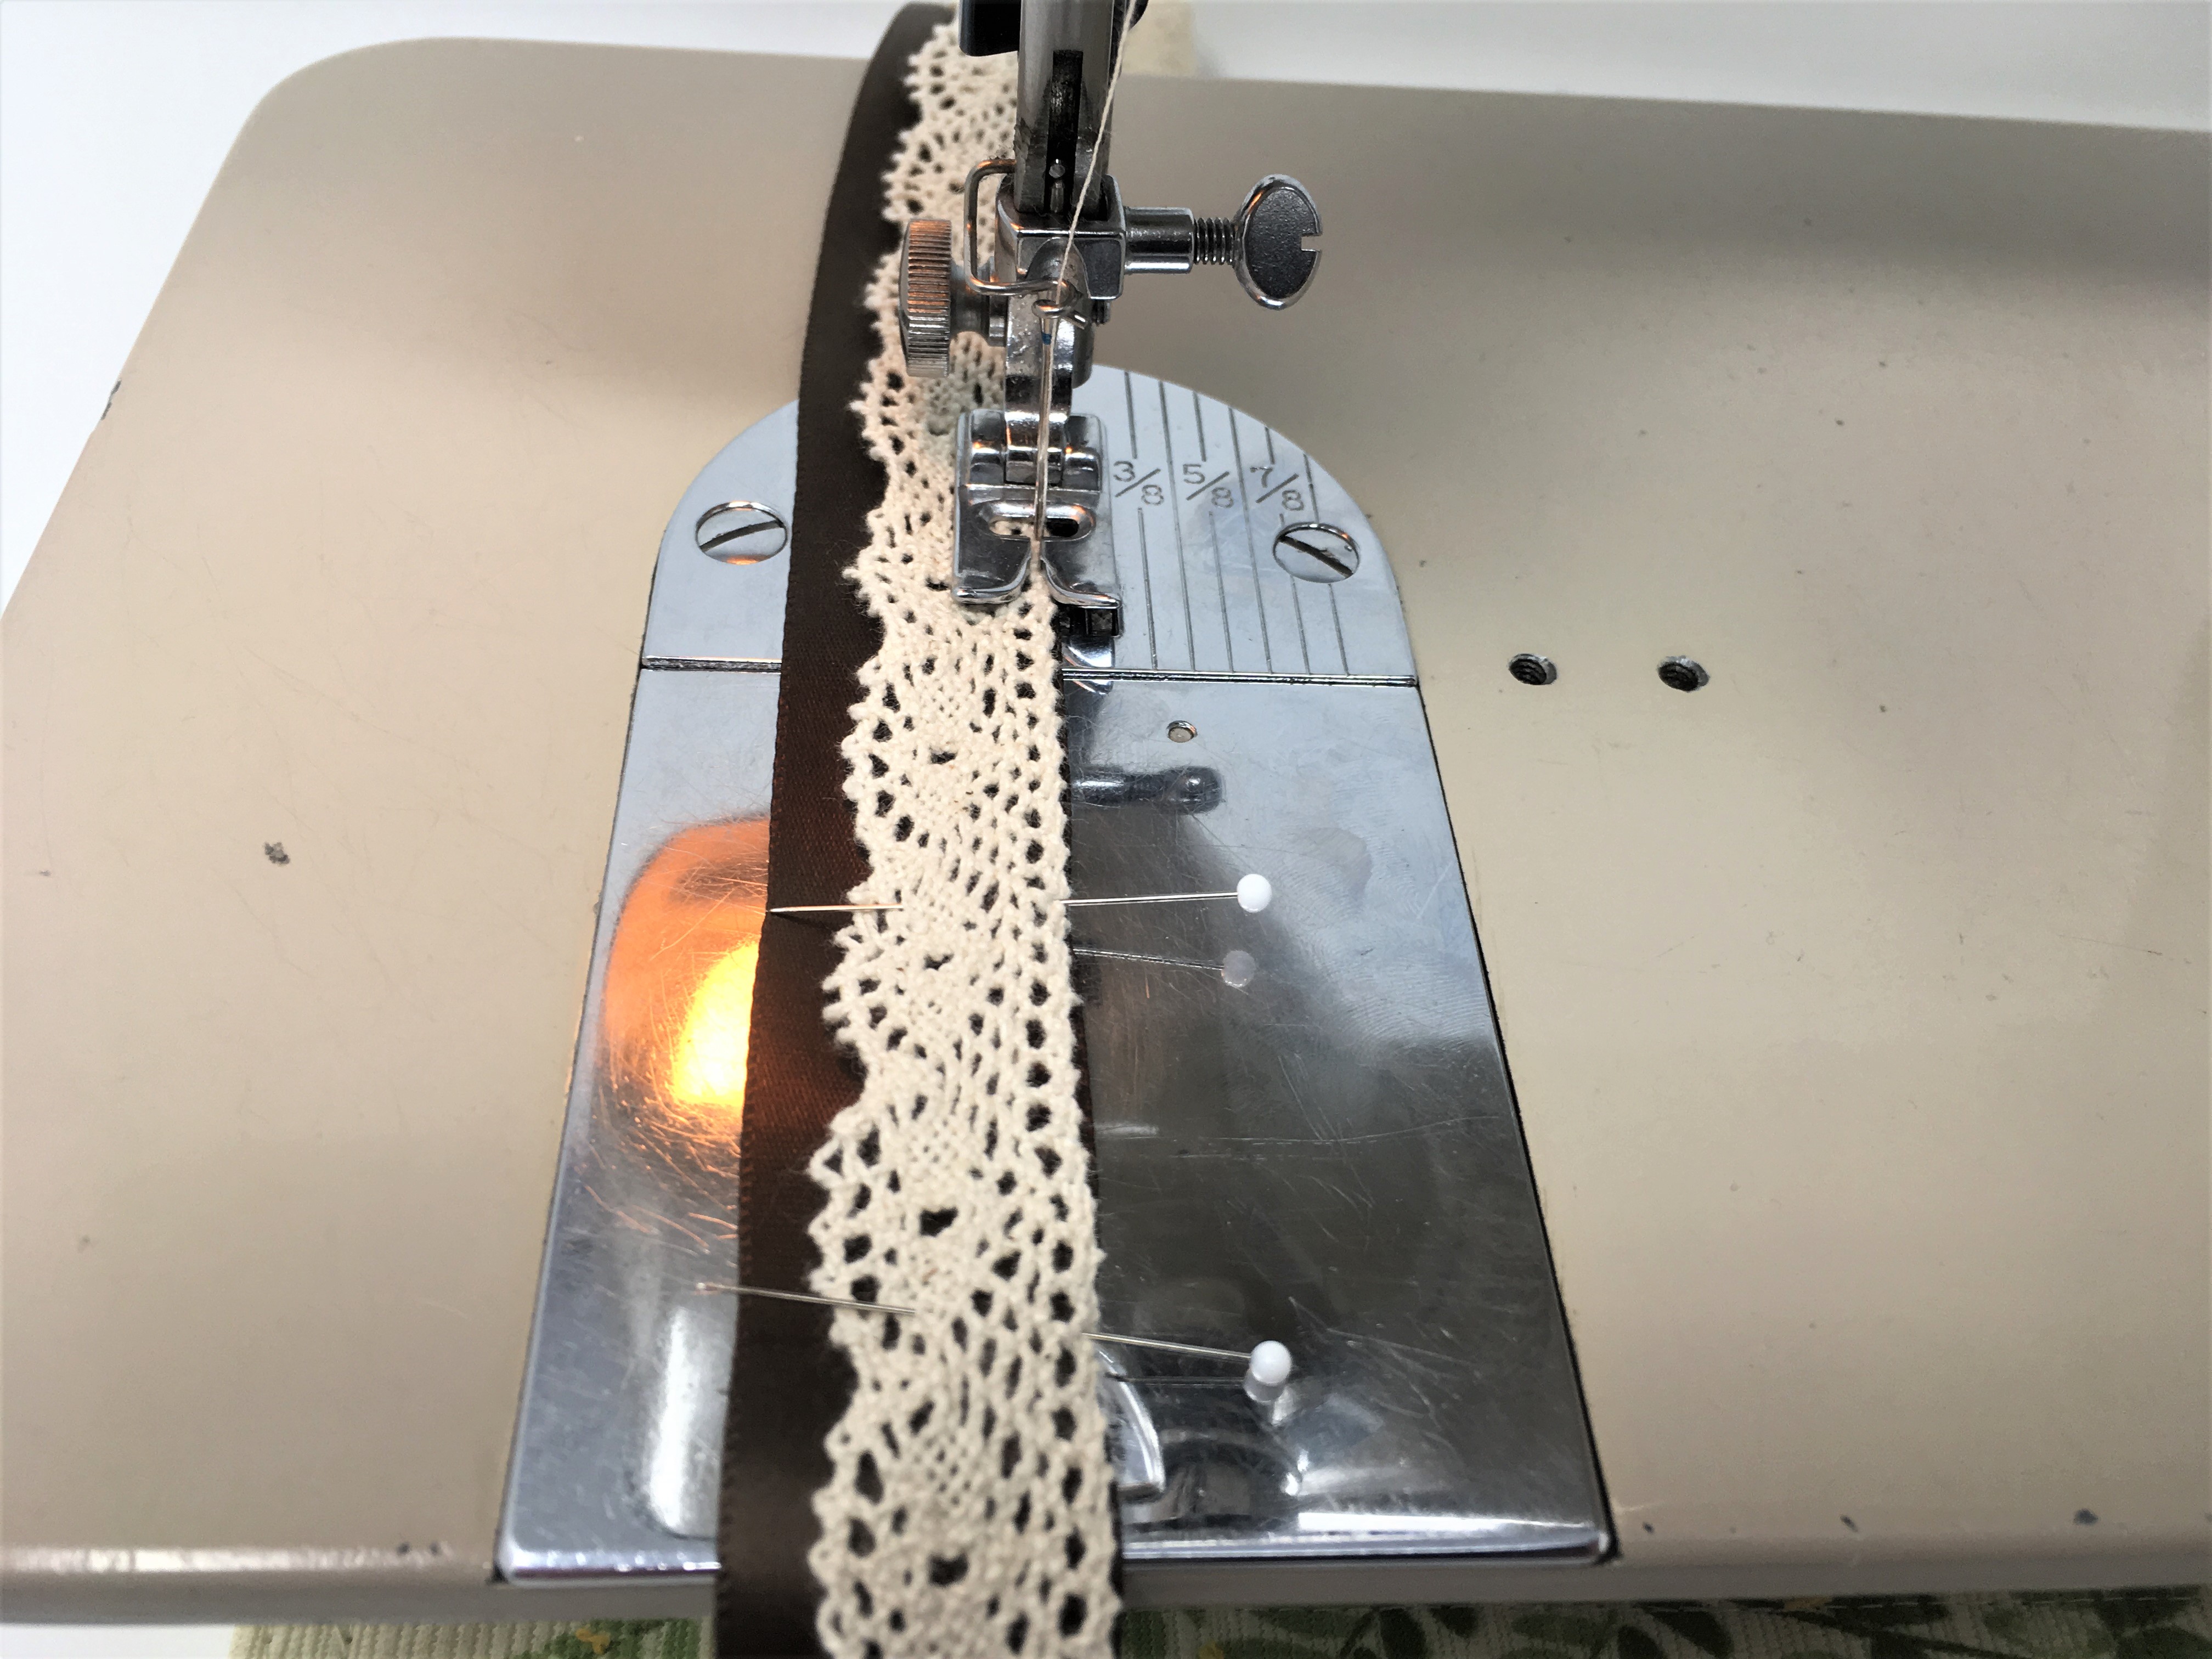
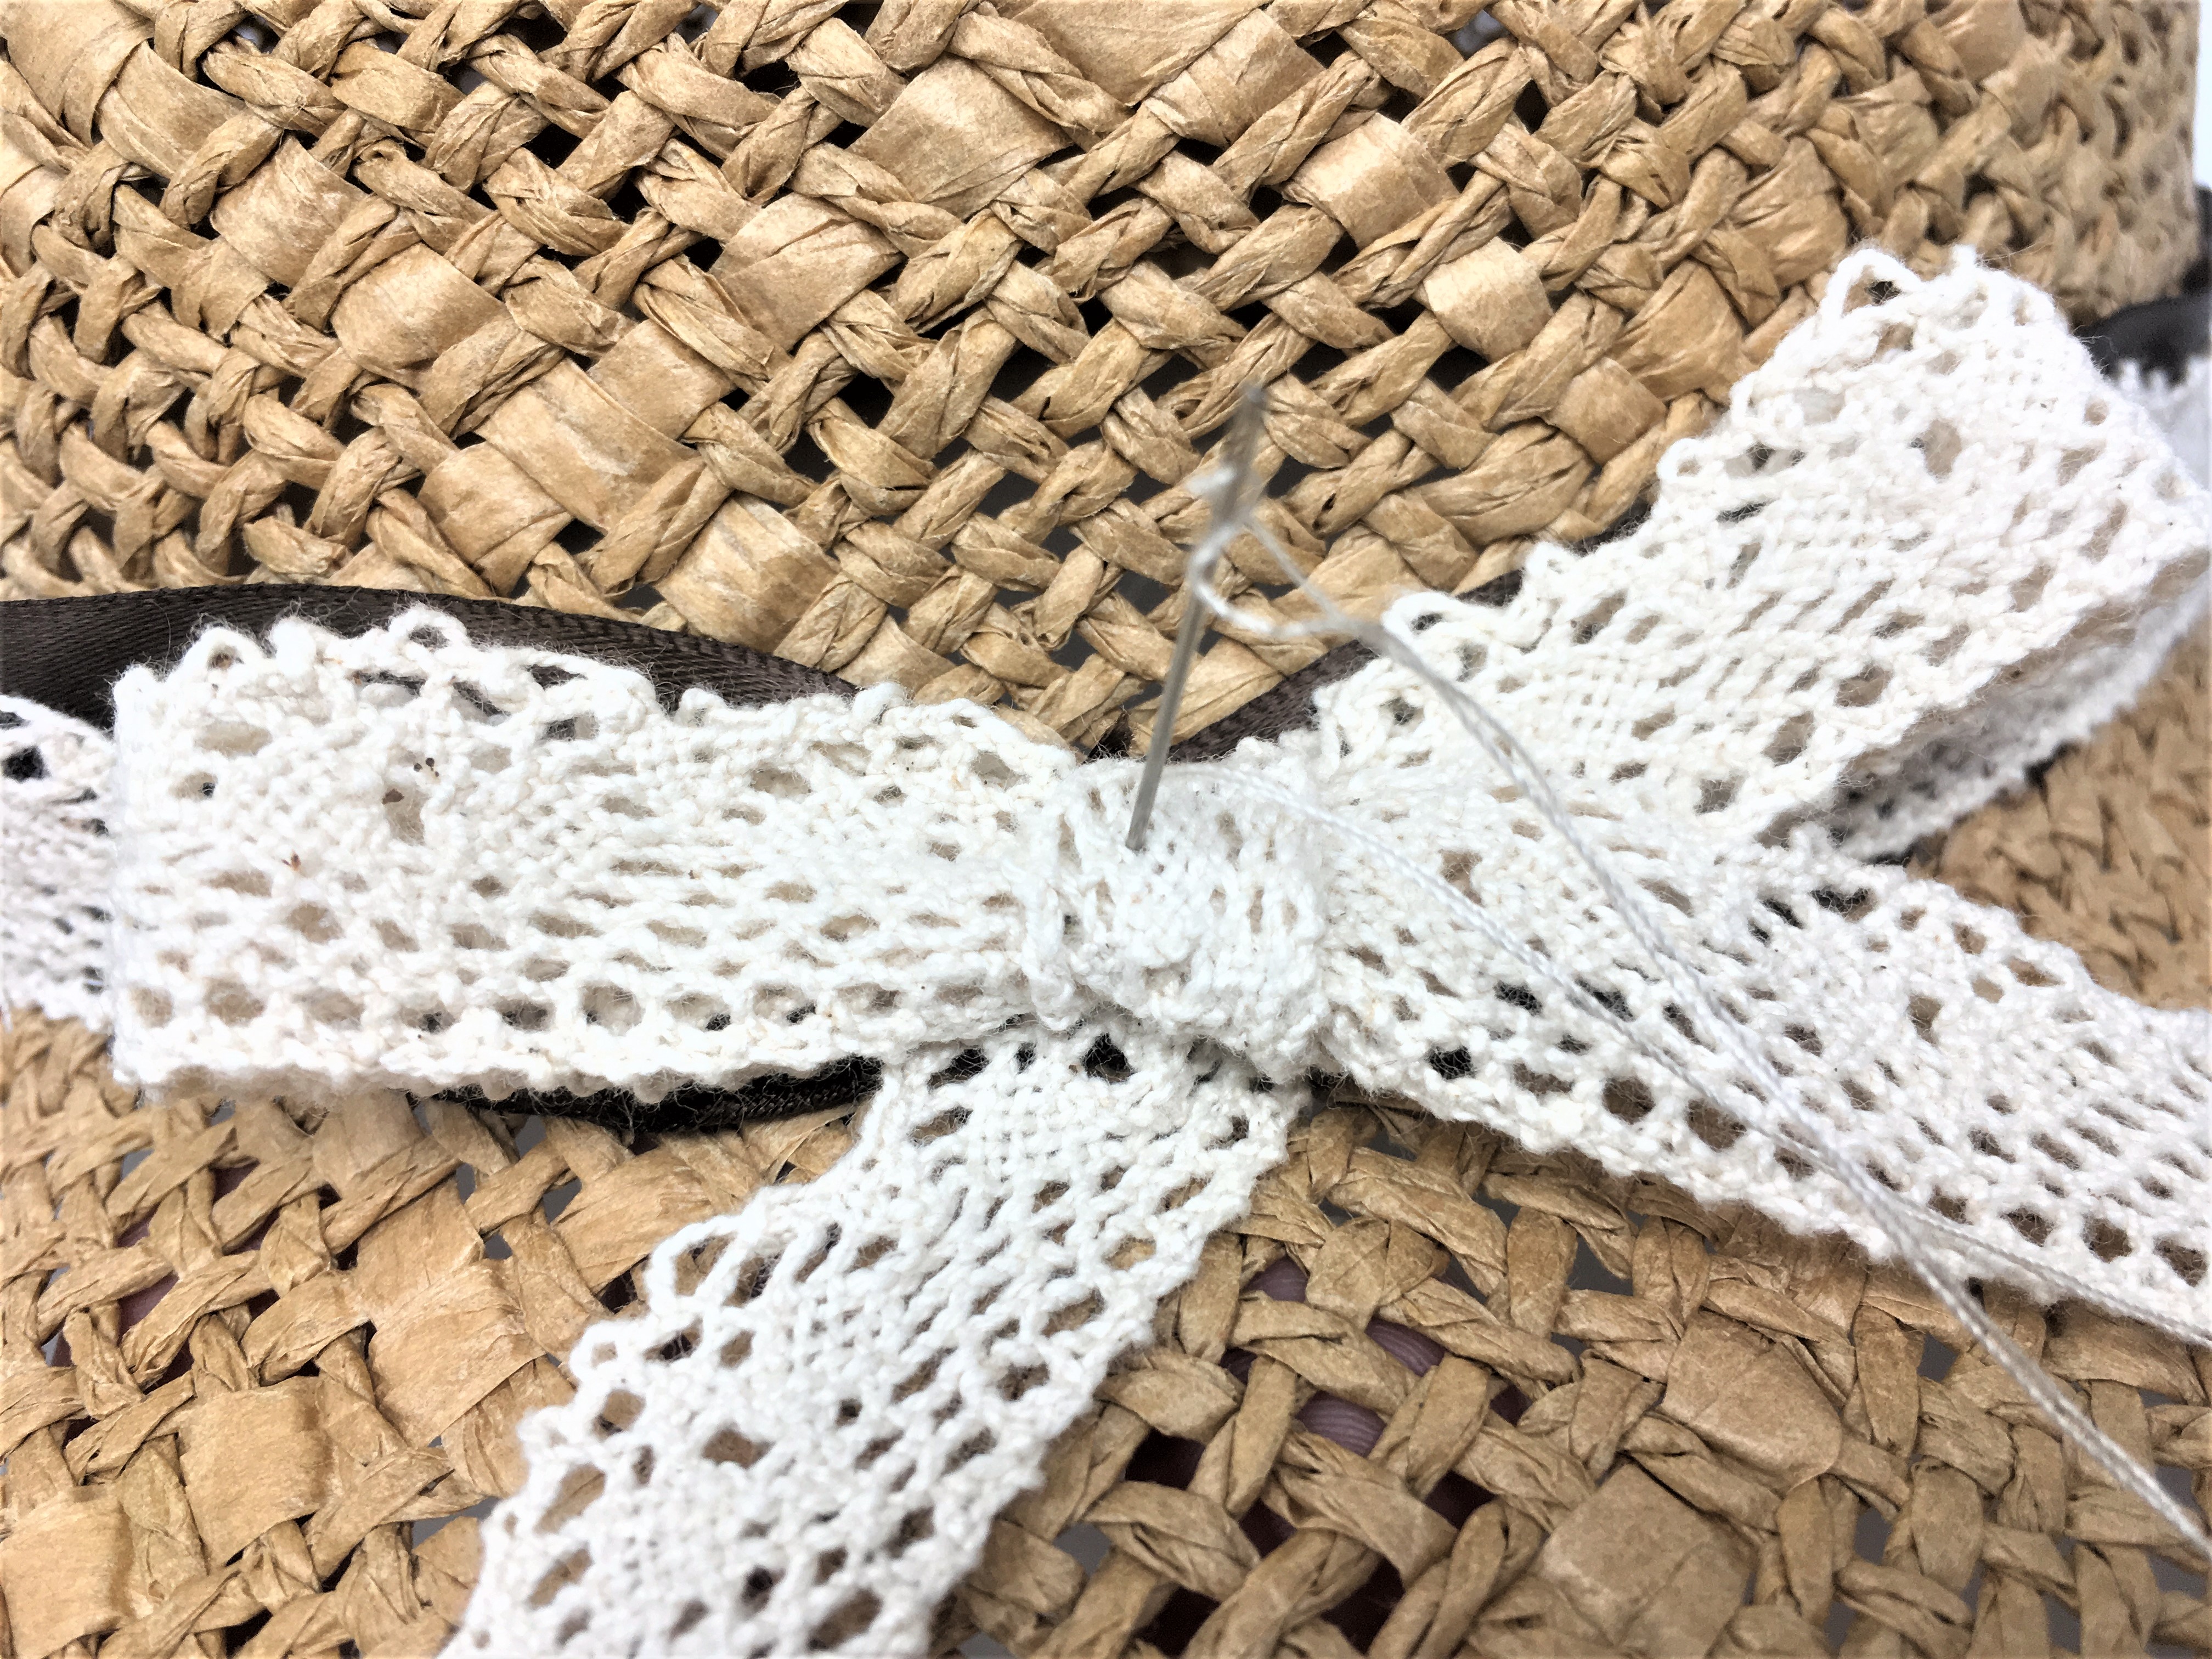
Next, I pinned my brown ribbon and creamy lace around the hat bowl to see what it would look like, and to determine how much I would need. I decided that I wanted the lace to be tied in a bow, so I made sure I cut it long enough to tie one. It would be easiest to attach the lace to the ribbon before trying to stitch it to a funny shaped hat bowl, so I found the center of the lace and lined it up with the center of the ribbon. Then I pinned the lace to the ribbon and stitched it all along the length of the ribbon–leaving about an inch on both ends unstitched so i would have room to tie my bow. I stitched it down on the other edge of the lace too in order to avoid gapping.


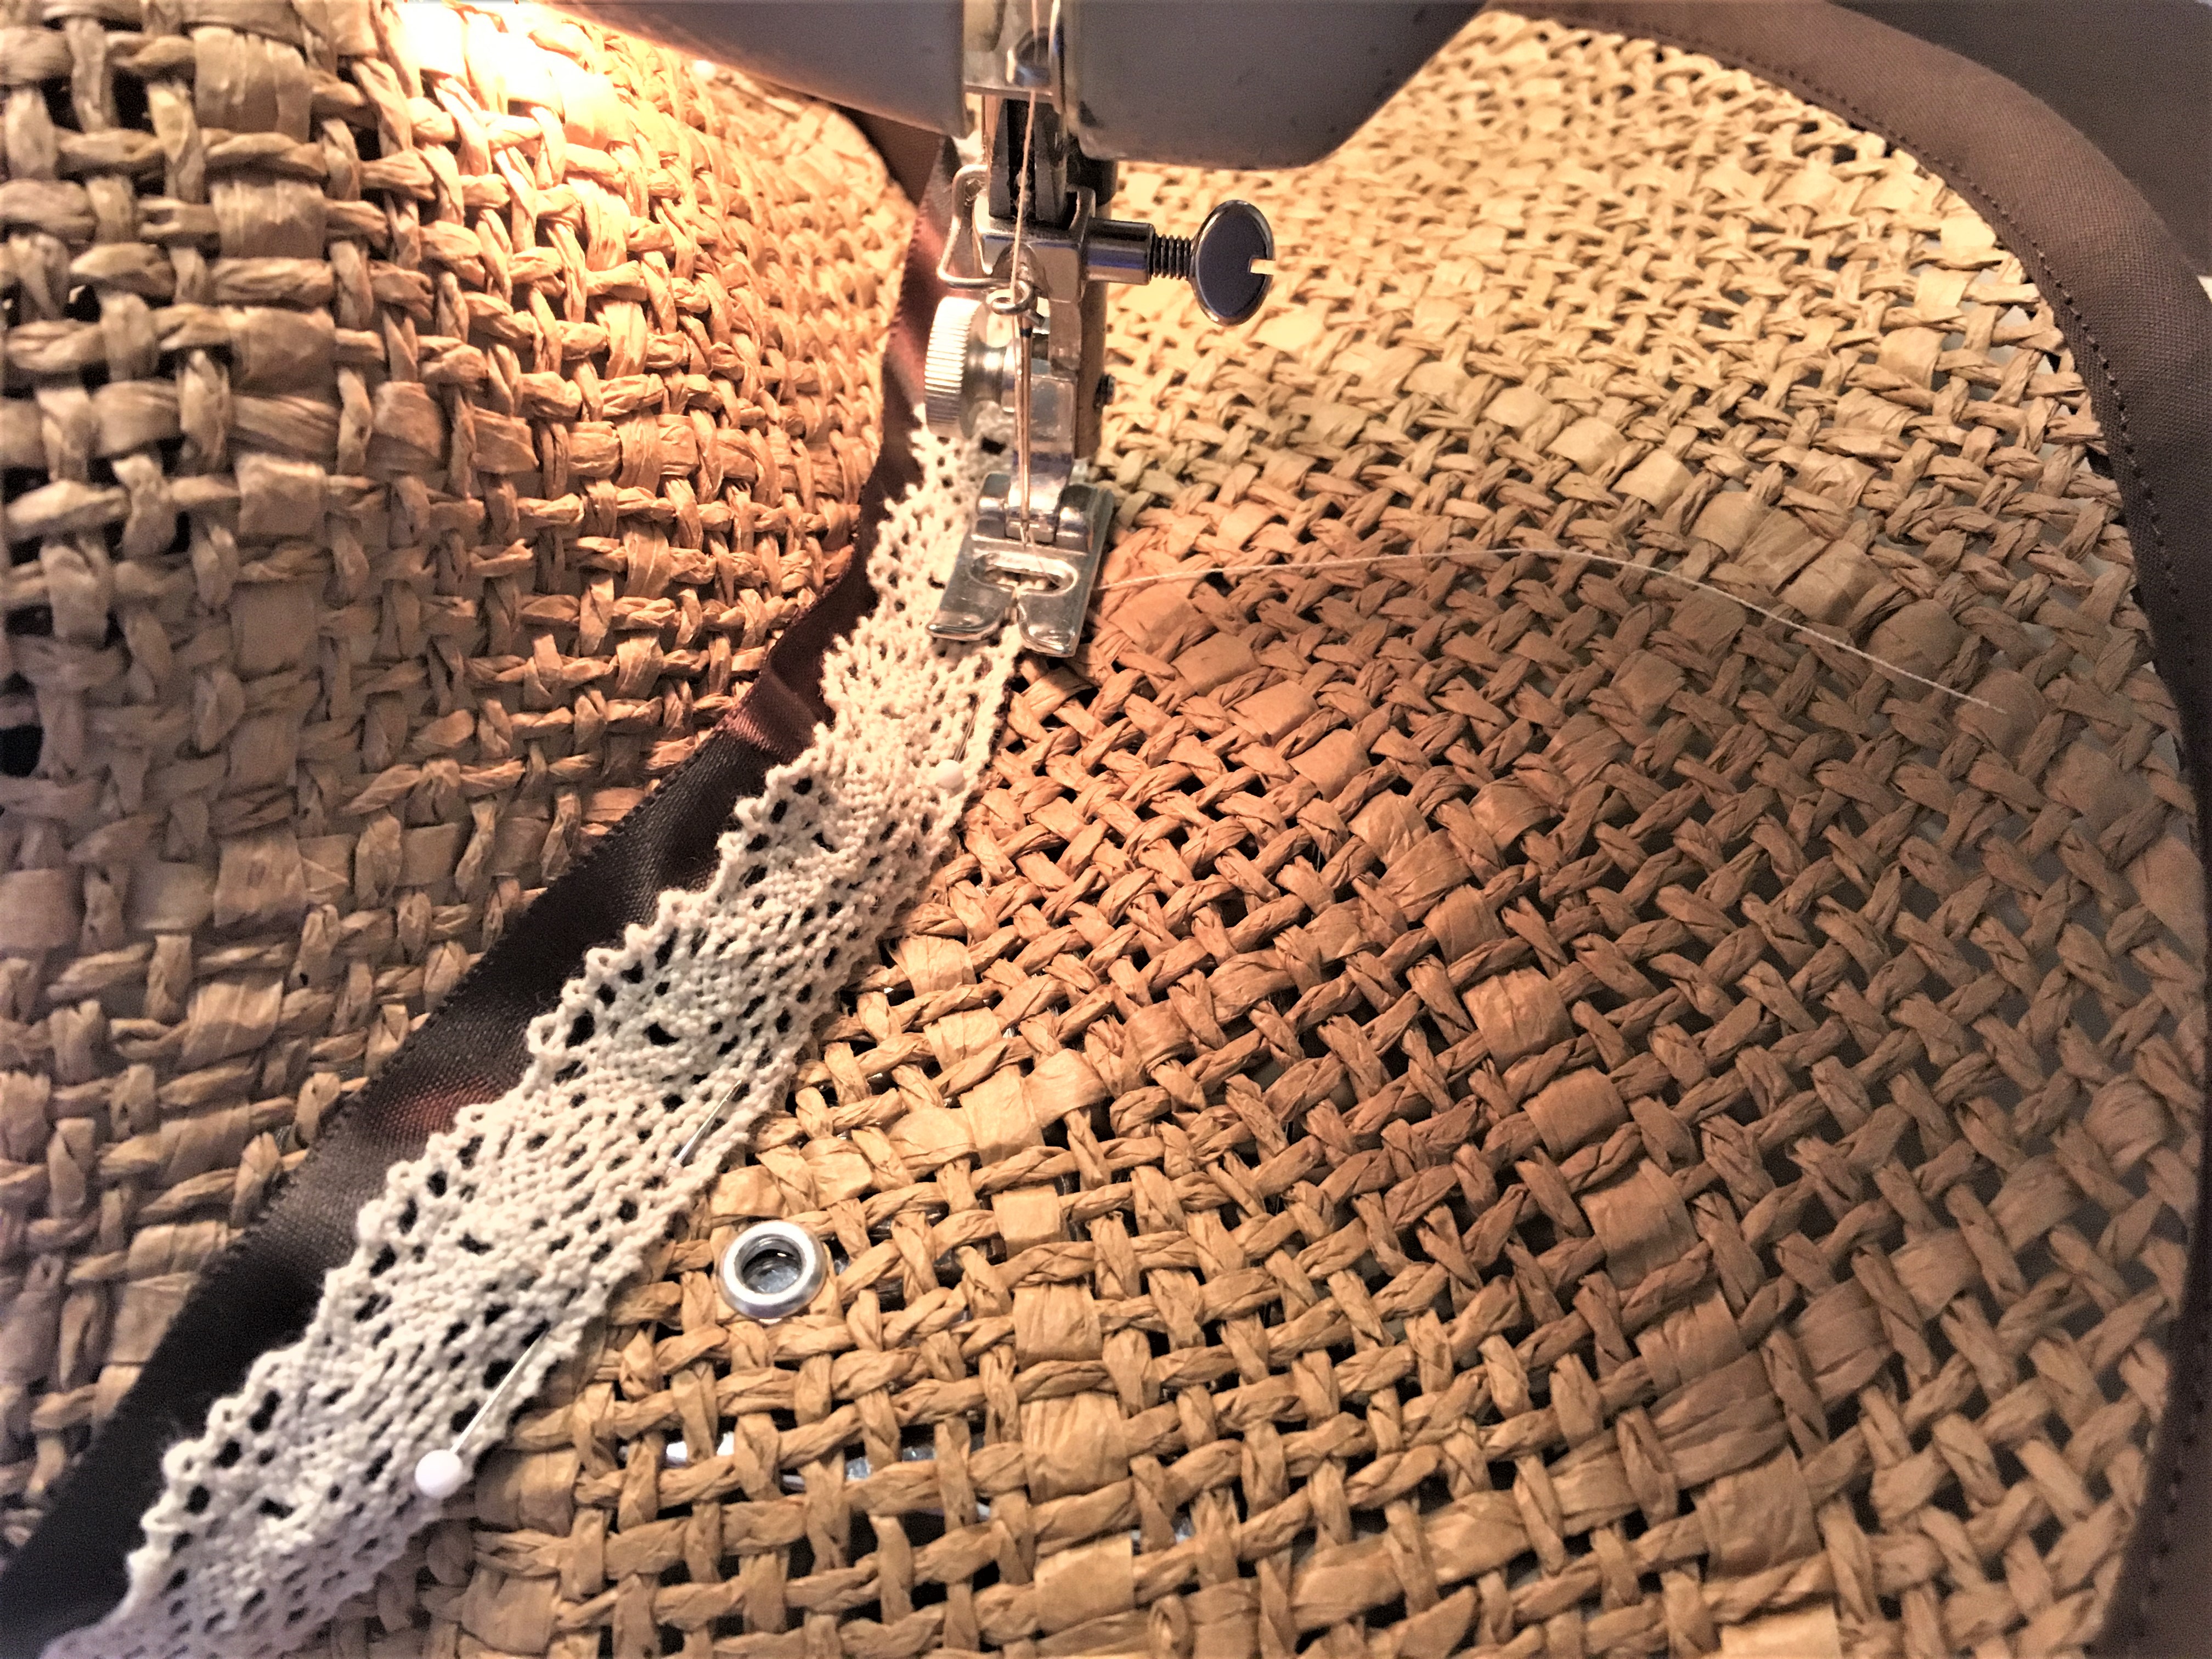
Once that was done I centered and pinned the ribbon/lace band to the hat bowl, with the ends in the back, and stitched it all around the base. I had to manipulate the hat bowl a little bit as I went around in order to keep sewing straight, and my pins were very useful in the whole process. The silk ribbon that I chose warped a little bit on the sewing machine when I was attaching the lace, and so it gapped a little and had a bit of a wavy ripple going around. (Also, the way the hat bowl curves makes it more difficult for a wider band to be even all the way around—here is where glue may have an advantage). So I stitched it down a second time, a little bit further up, to help with the gapping. This actually created a useful tunnel that I used later to thread the cording.


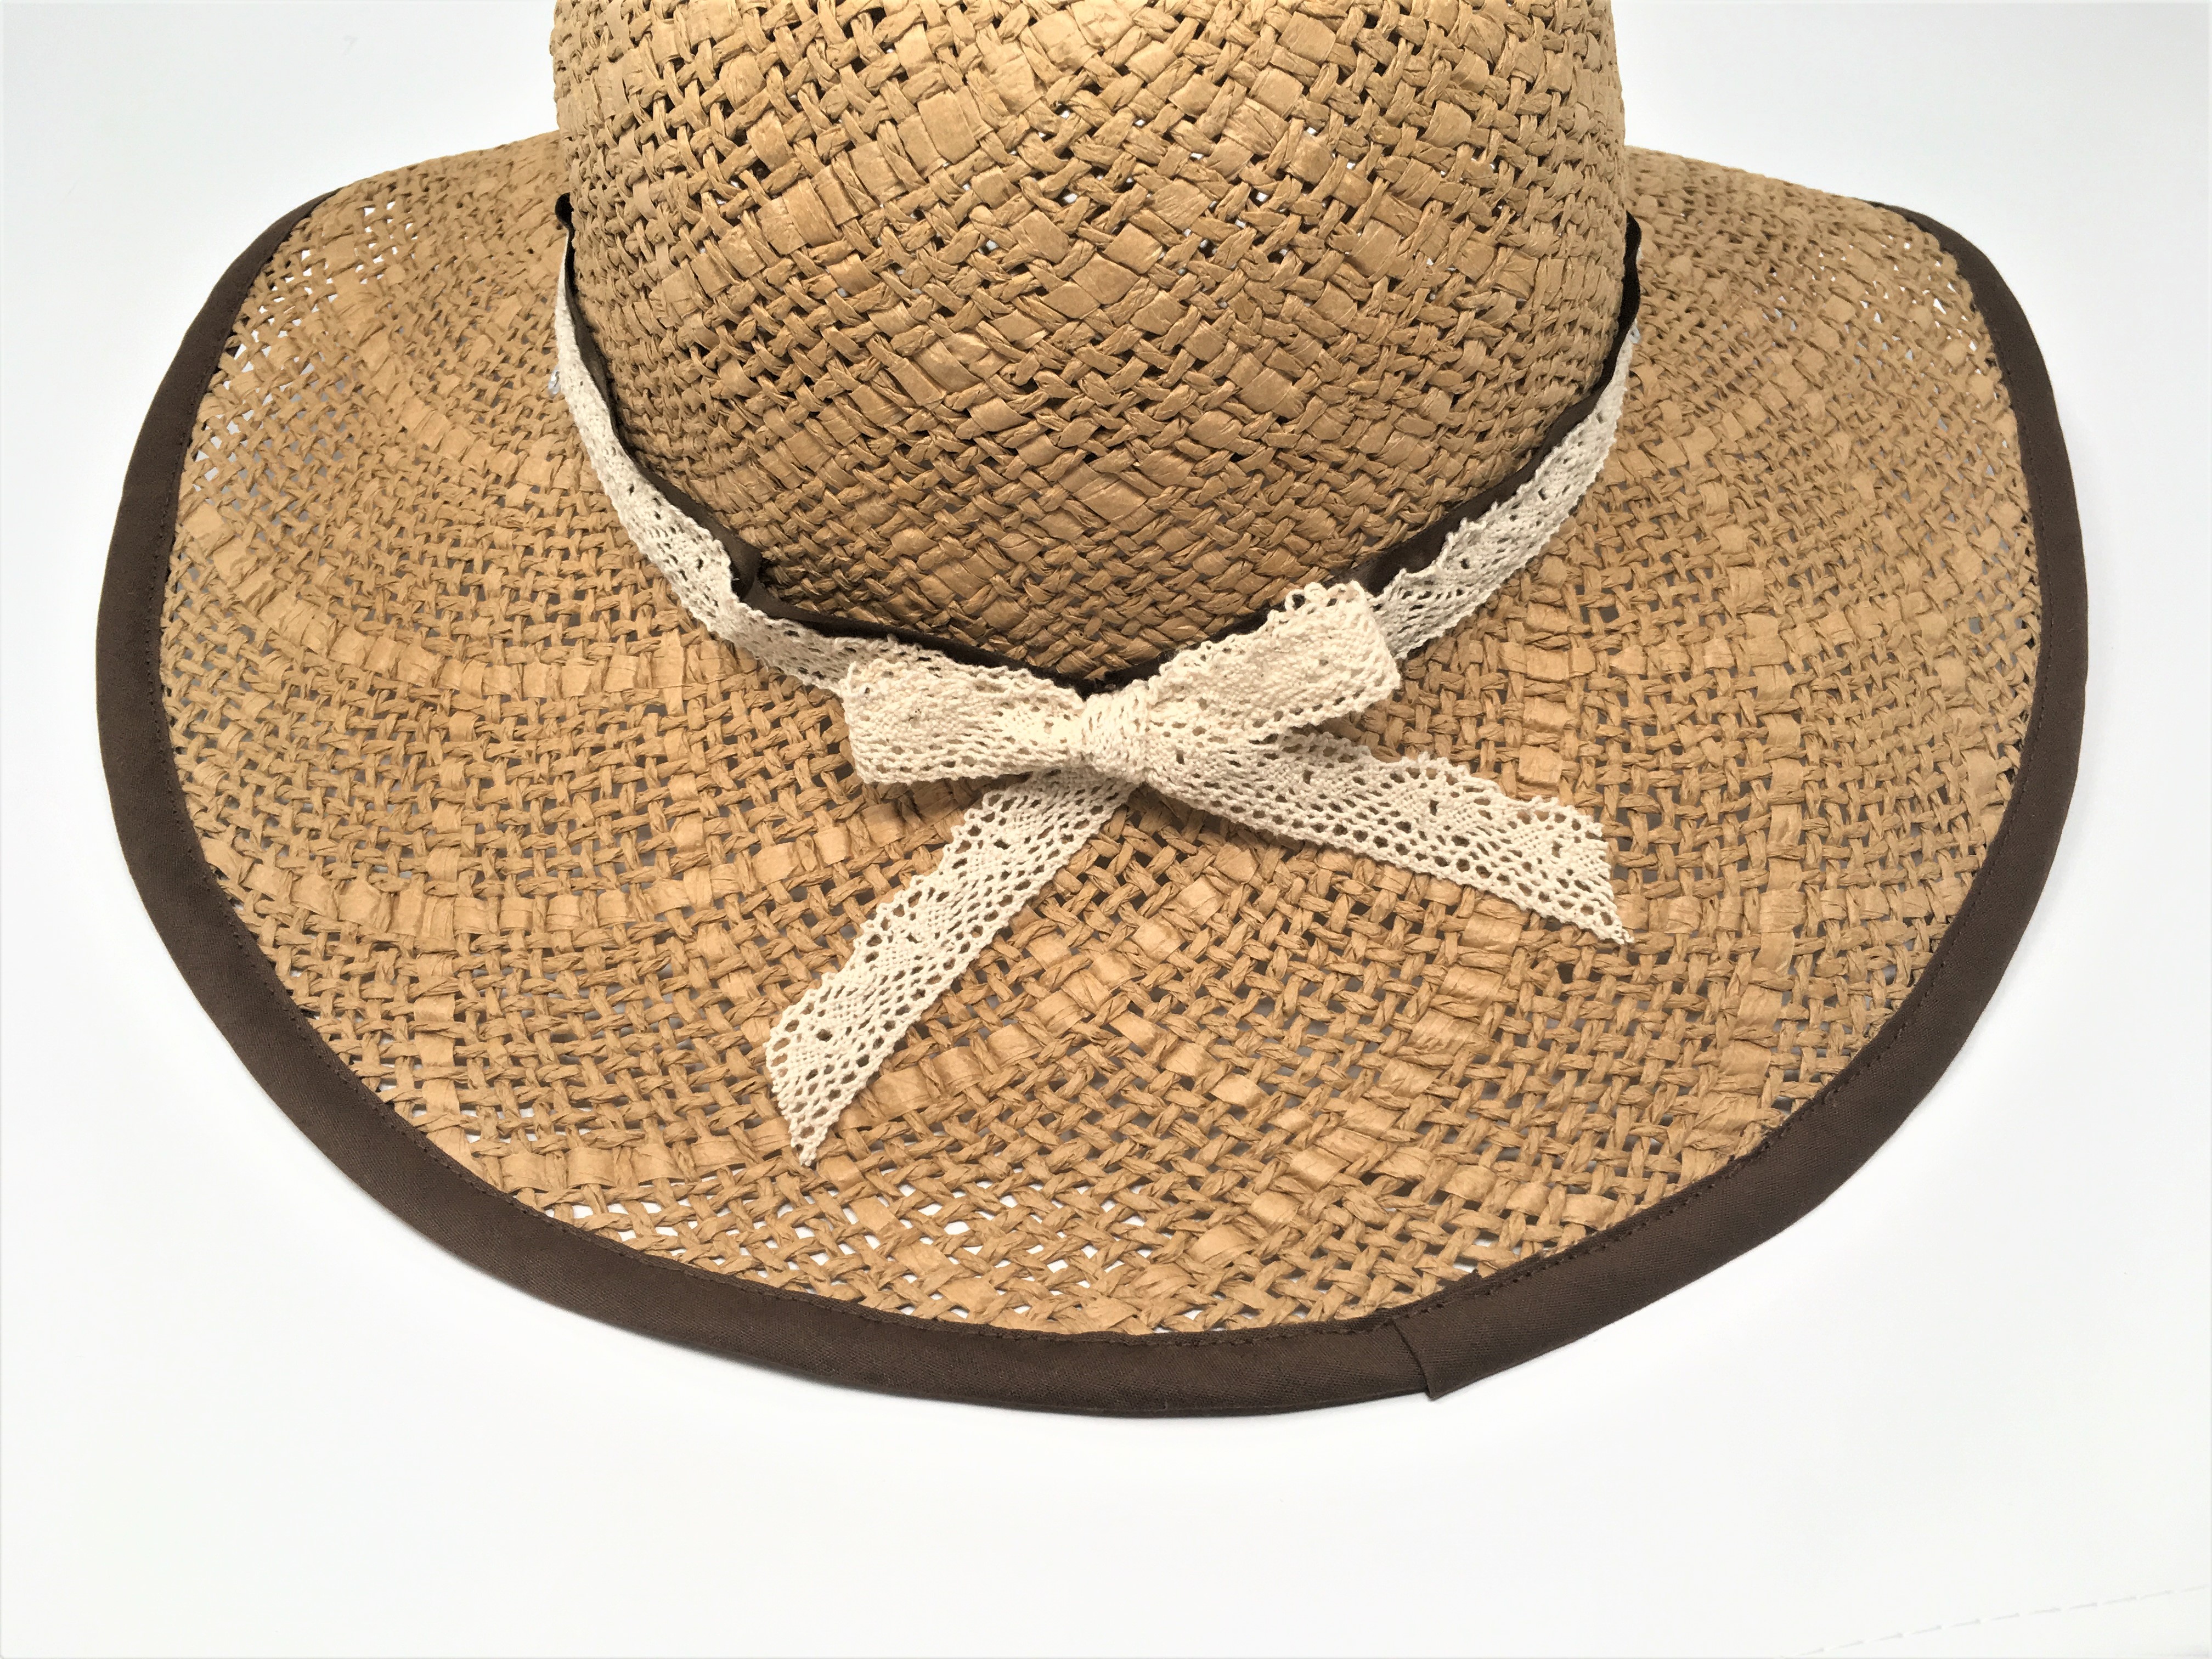
After I had sewn on my ribbon band I finally got to tie my little lace bow! I used some cream-colored thread to stitch it in place and to make sure that it would not come untied and shift around.


Now for the cord chin strap!
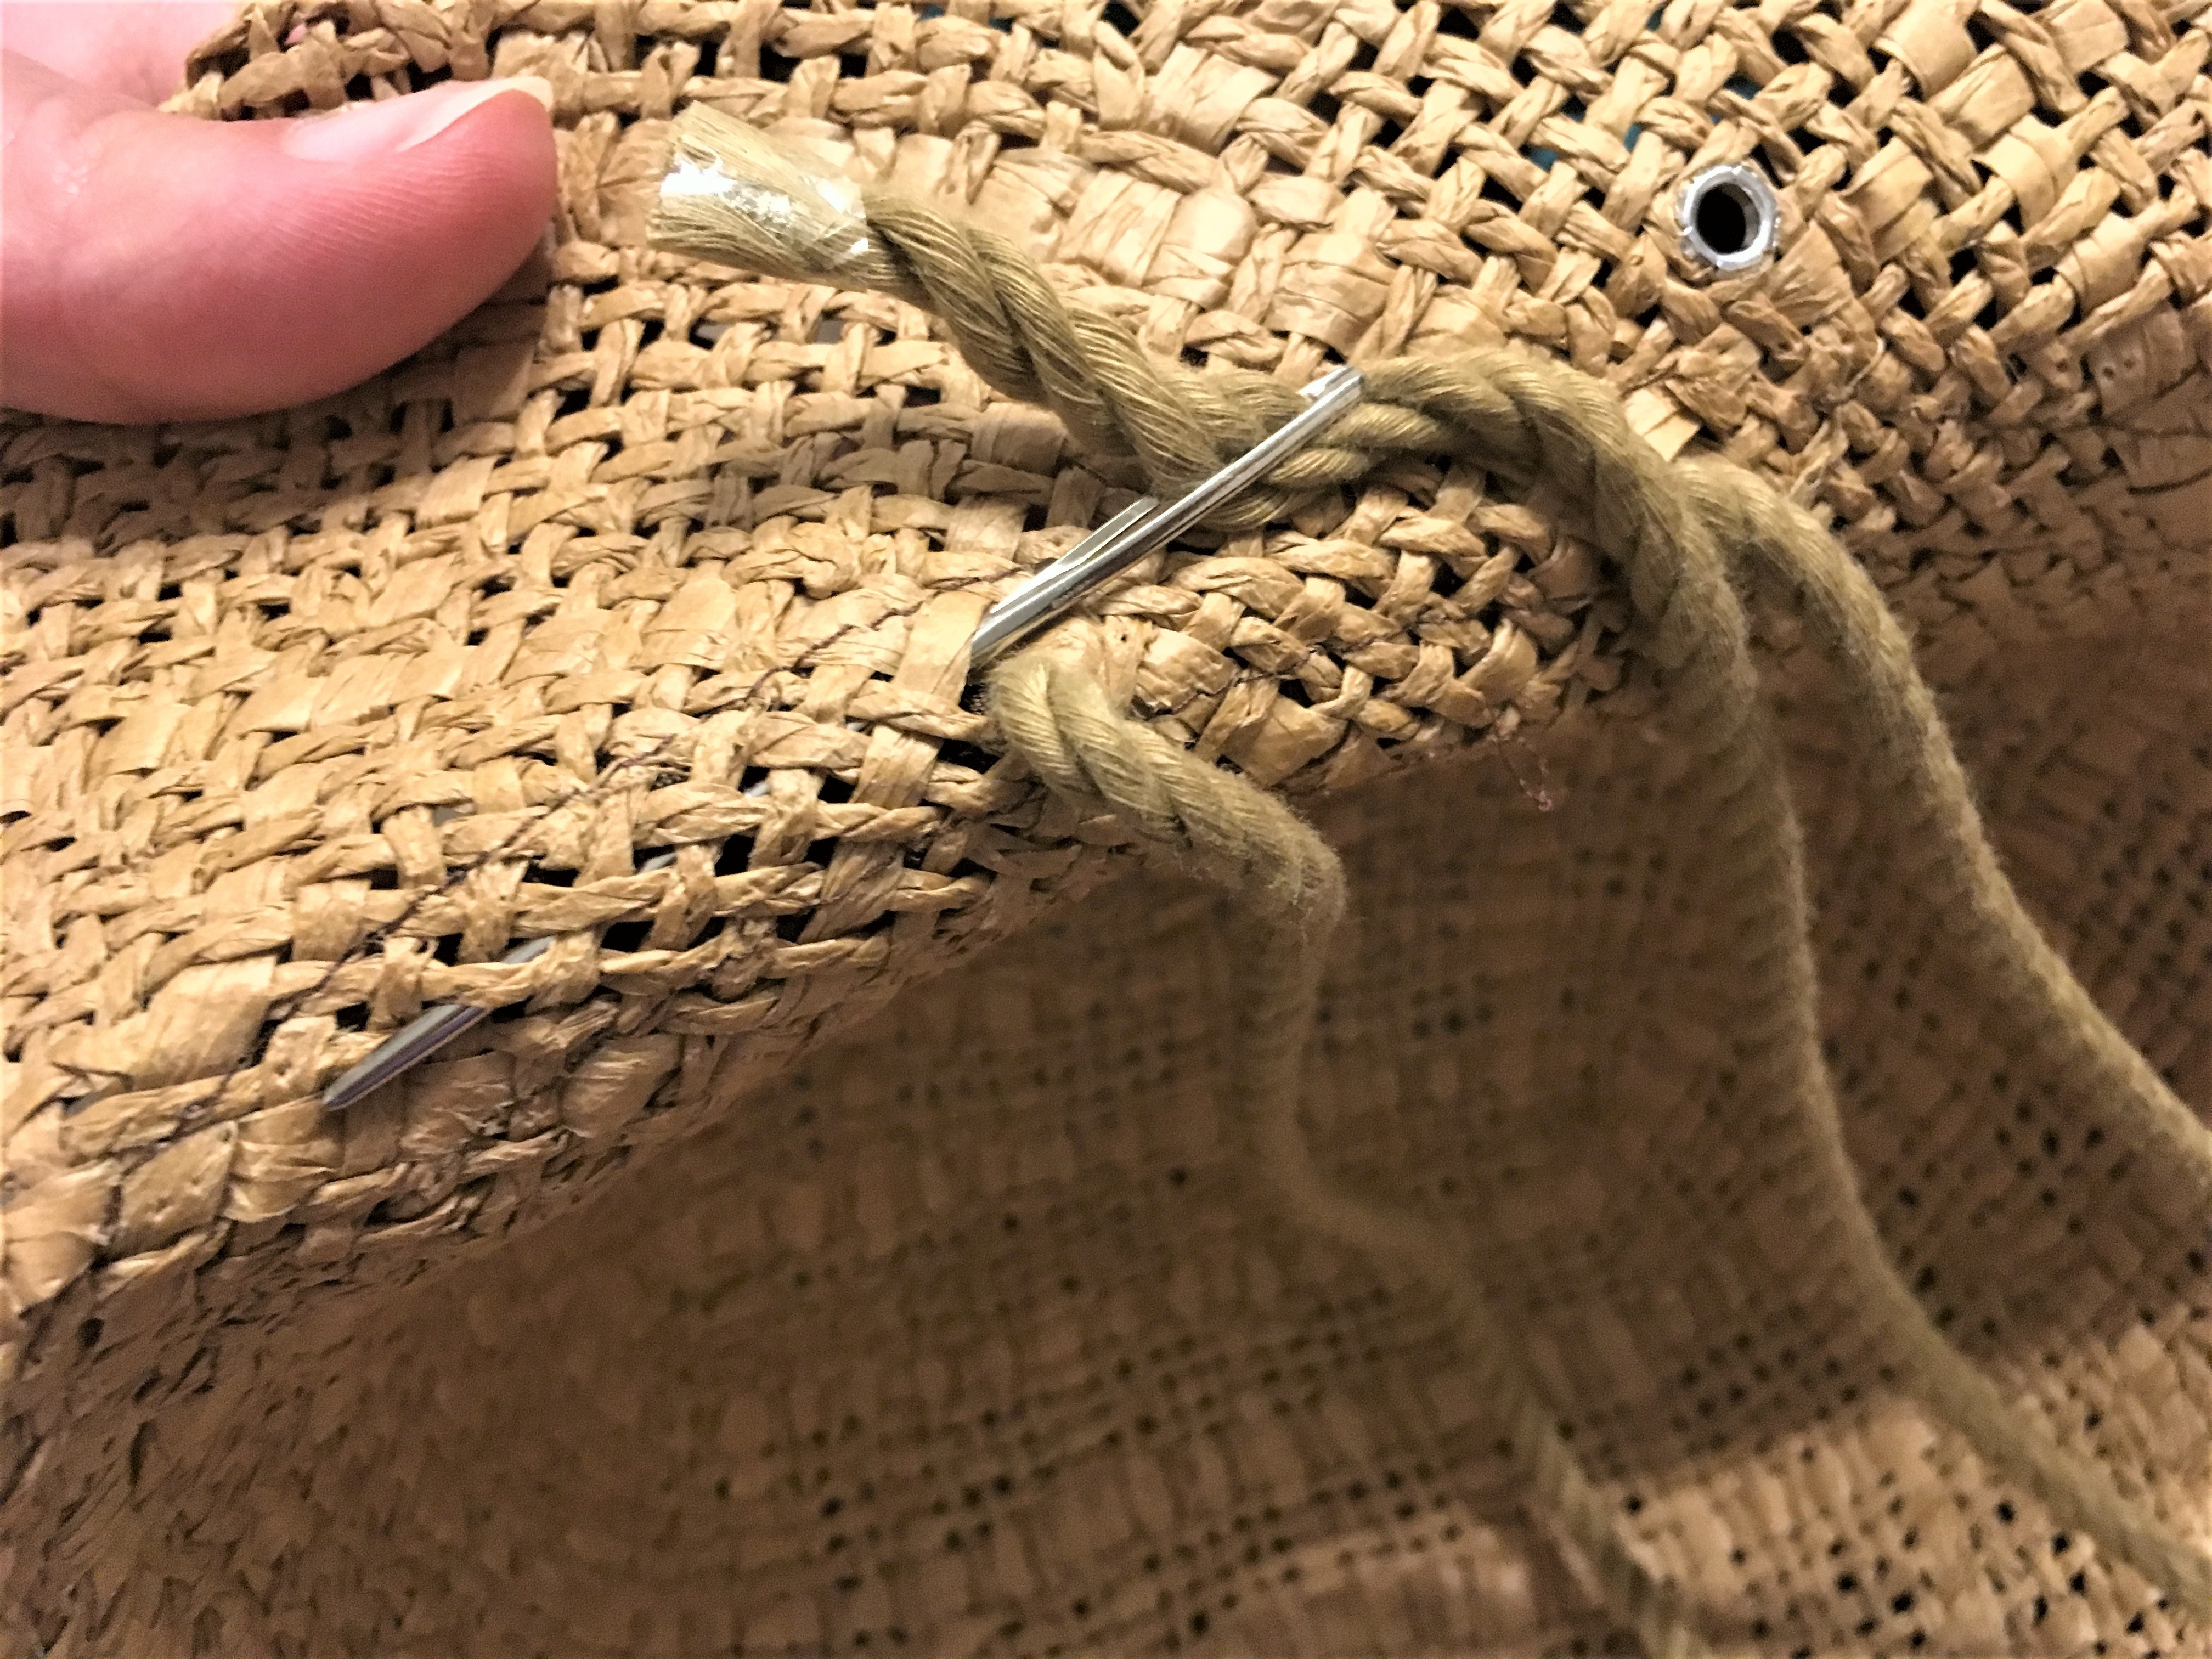
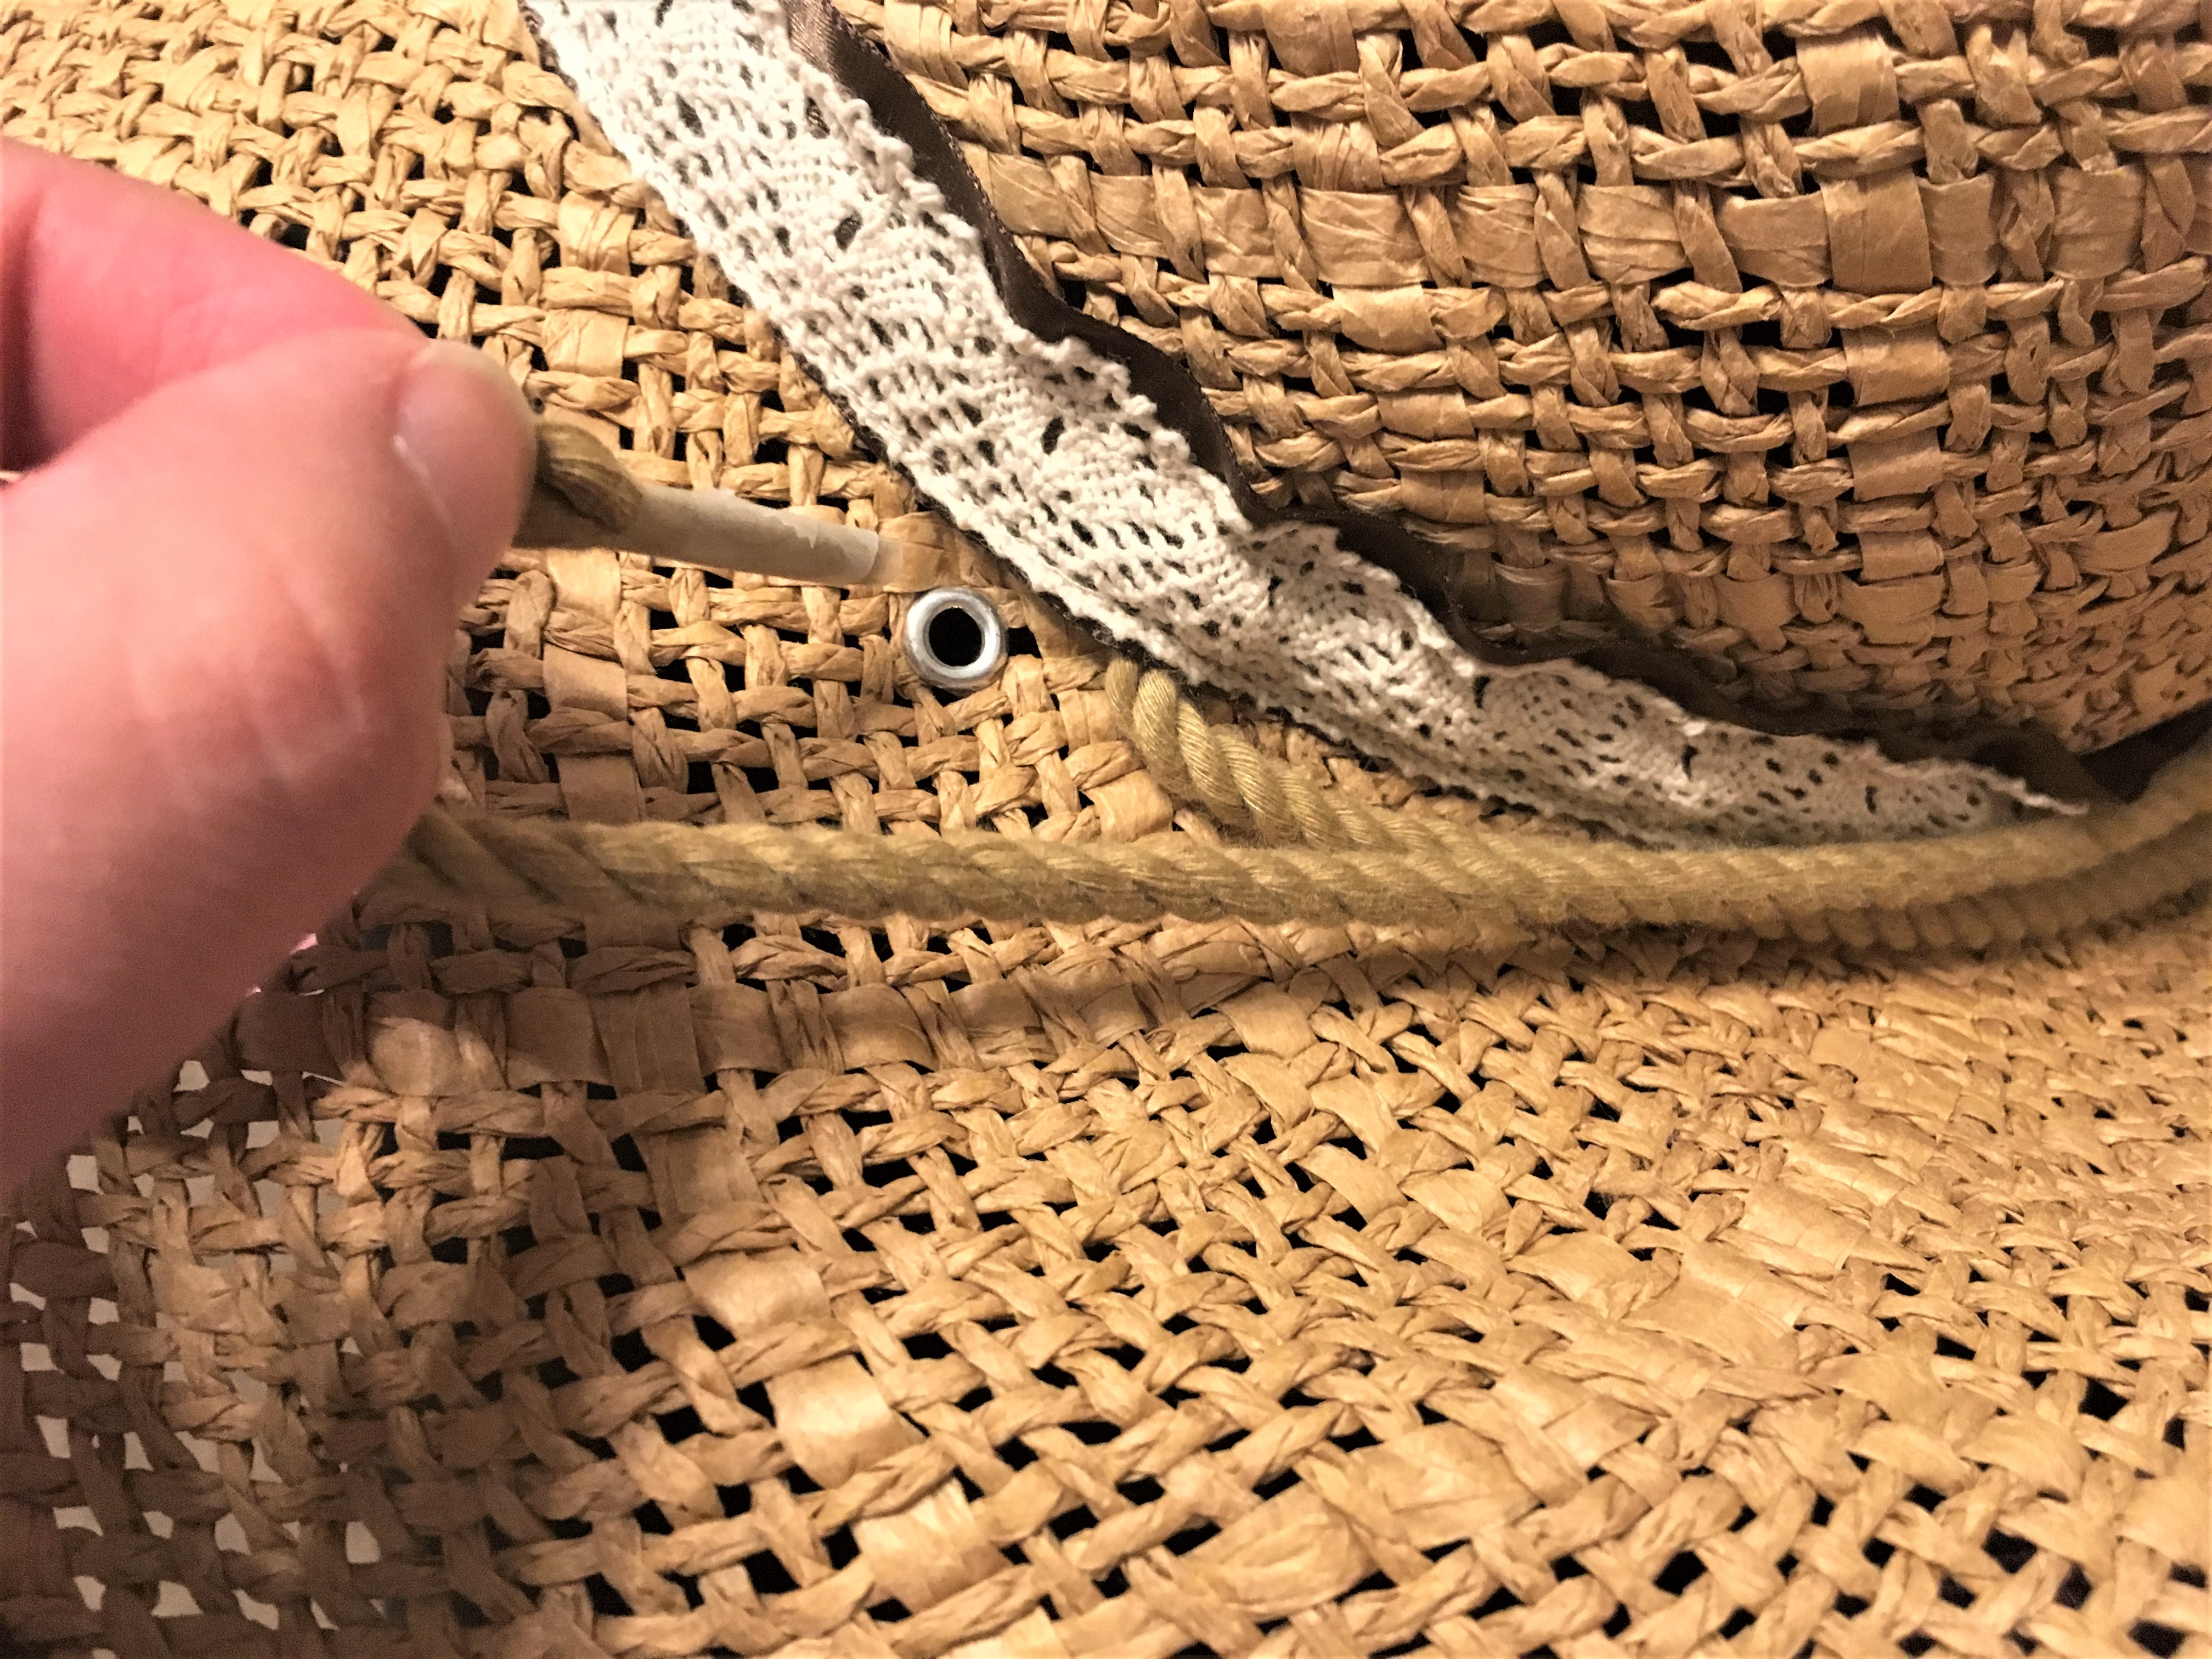
I started by trying to thread it from the outside, through the tunnel I had created under the ribbon, but this was not going well. Then I realized that if I tried to do it from the inside of the hat bowl there were natural holes in the hat fabric that I could work with to get my cording to go into the ribbon tunnel. So, I threaded it up through the eyelet on one side of the hat bowl, through a tiny seam-ripped gap in the stitching into the tunnel, and then from the inside I threaded it all along the front to the other side and out through another tiny seam-ripped gap and down through the opposite eyelet.


After doing all of this I realized that it would have been much easier if I had not even used the eyelets, but instead had just made the cording go through the ribbon tunnel and then exit on the inside of the hat through one of the natural holes. Ah well, one of my mistakes that someone else can benefit from.
Once the cording was threaded through where I wanted it to be, I bound up the ends very tightly with tape and with some careful wiggling and patient ooching, I was able to coax both cord ends through my big wooden bead. I tied knots in the cording so that they would not be making the reverse trip through the bead, and gave the bead a practice slide up and down the cords. There is quite a bit of friction in the slide which I think will be perfect for its intended purpose of keeping the hat on my head.
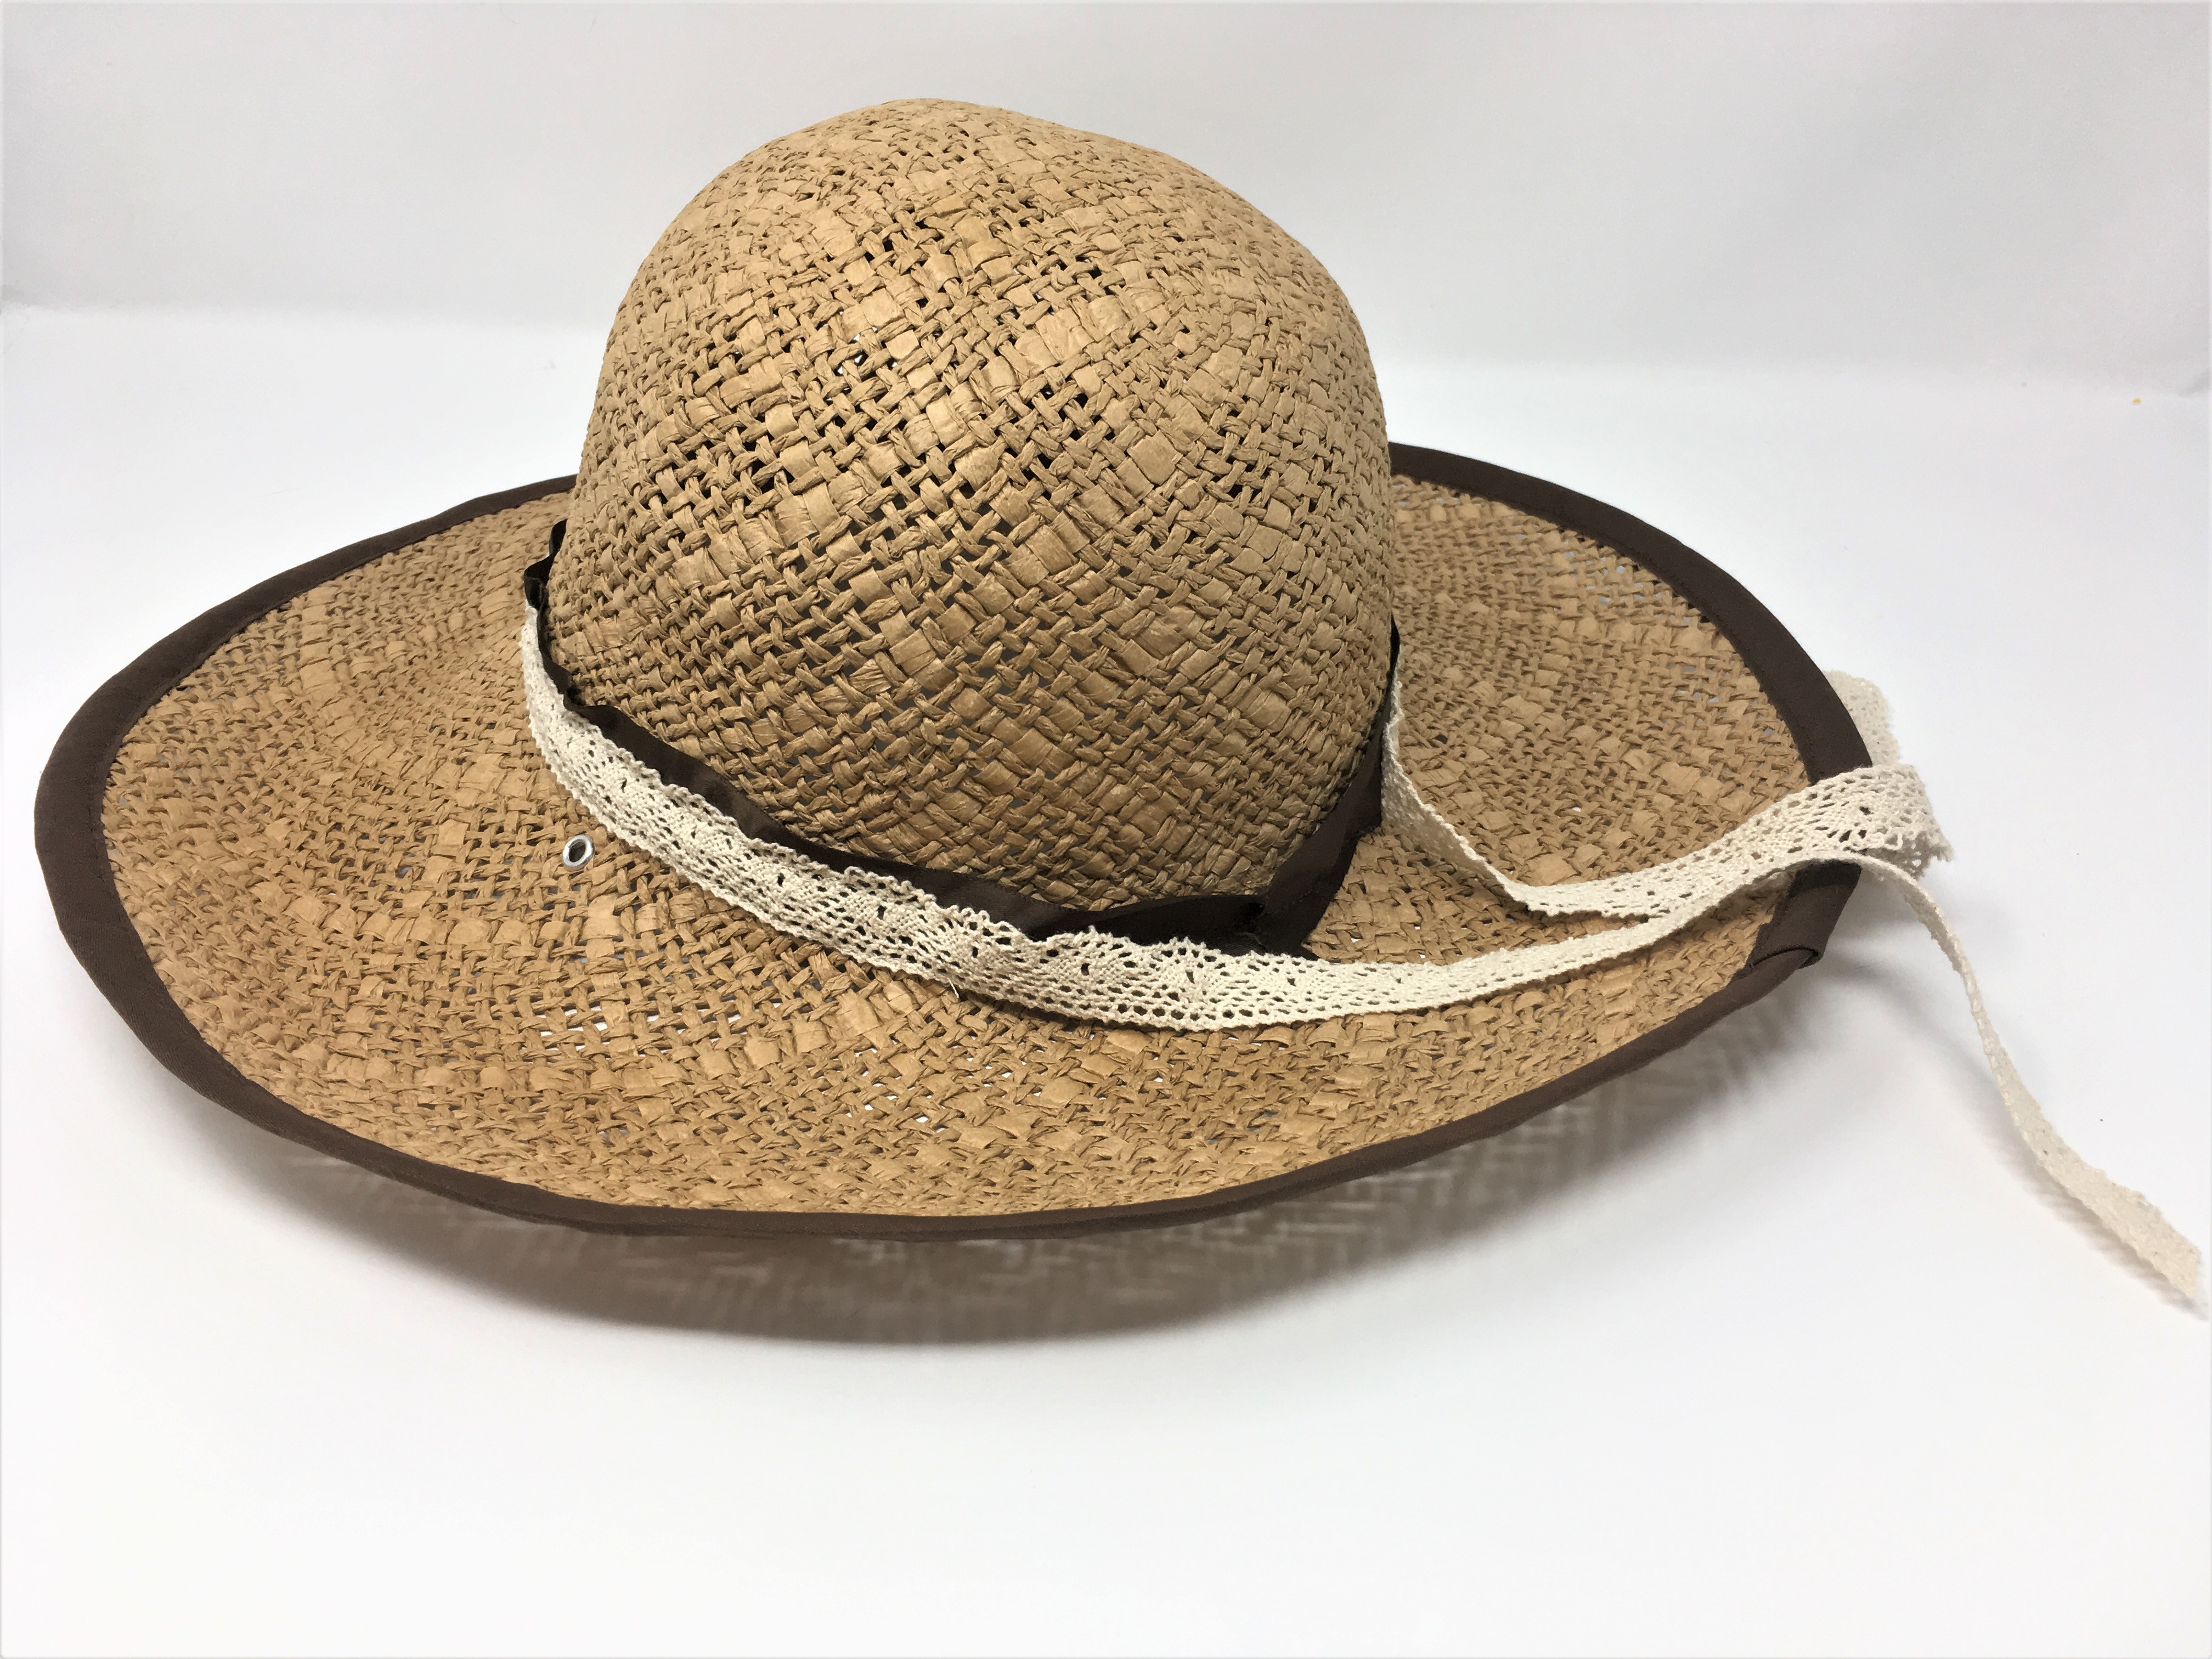
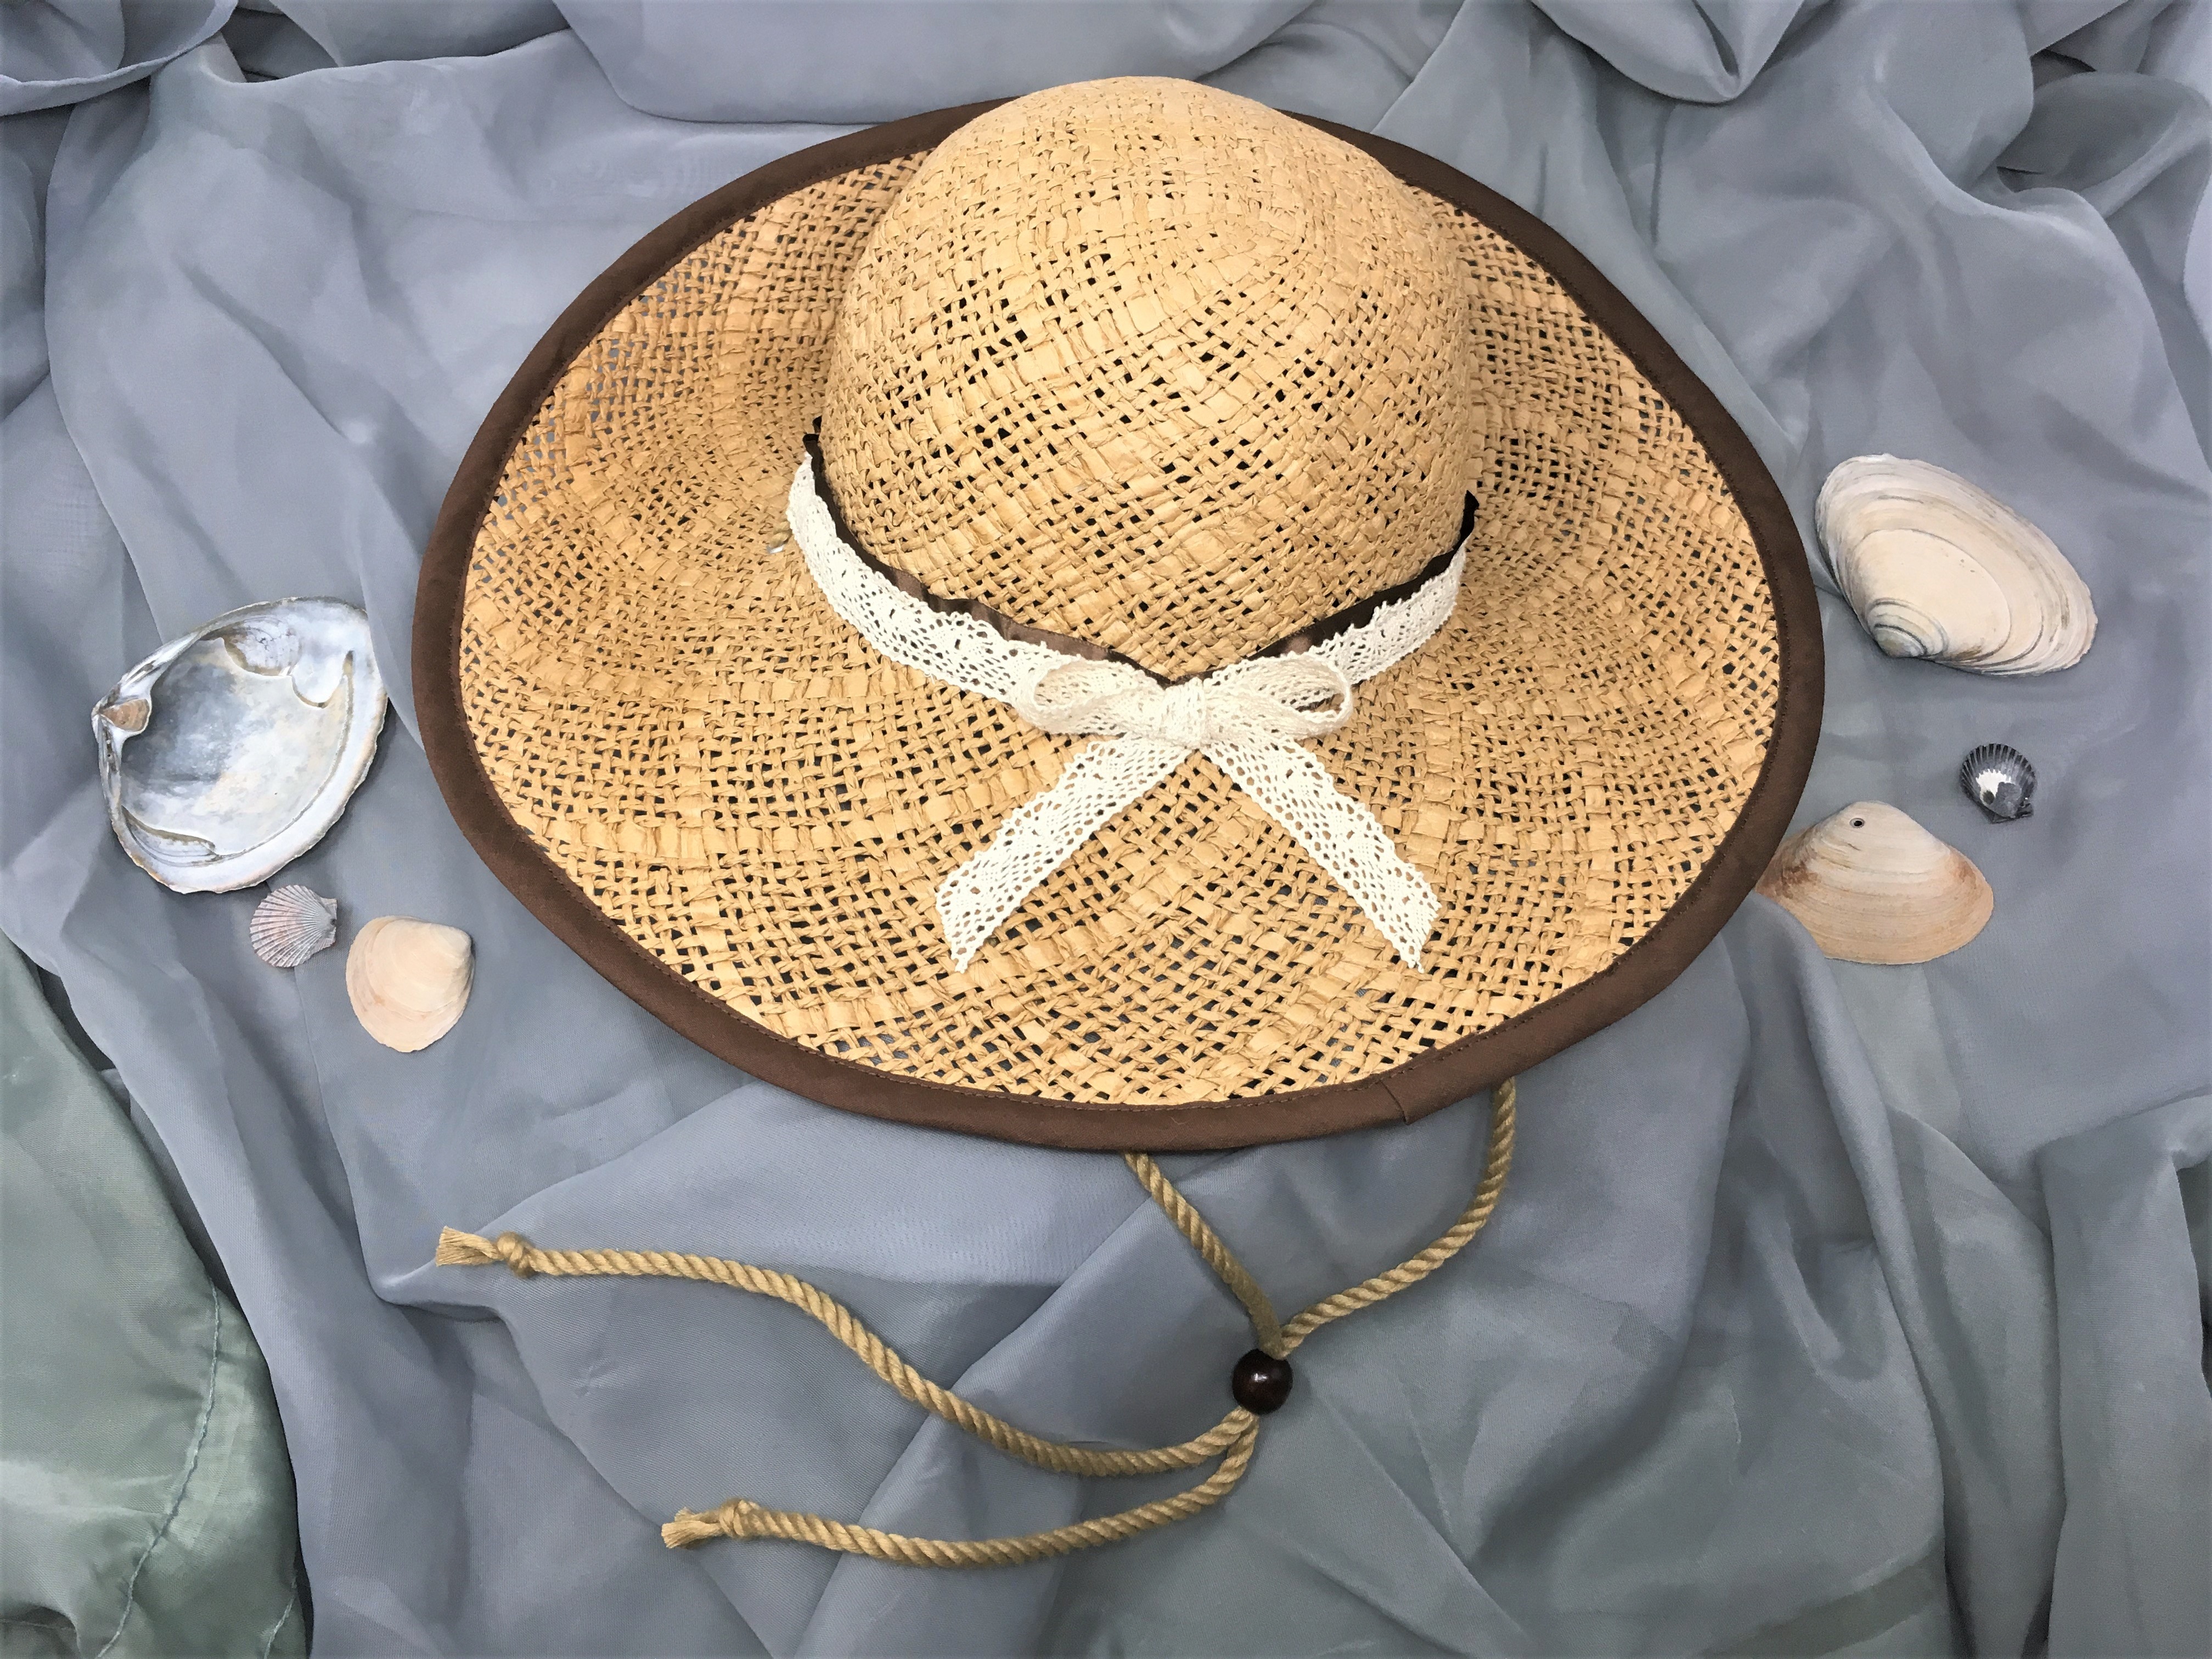
And the final product?
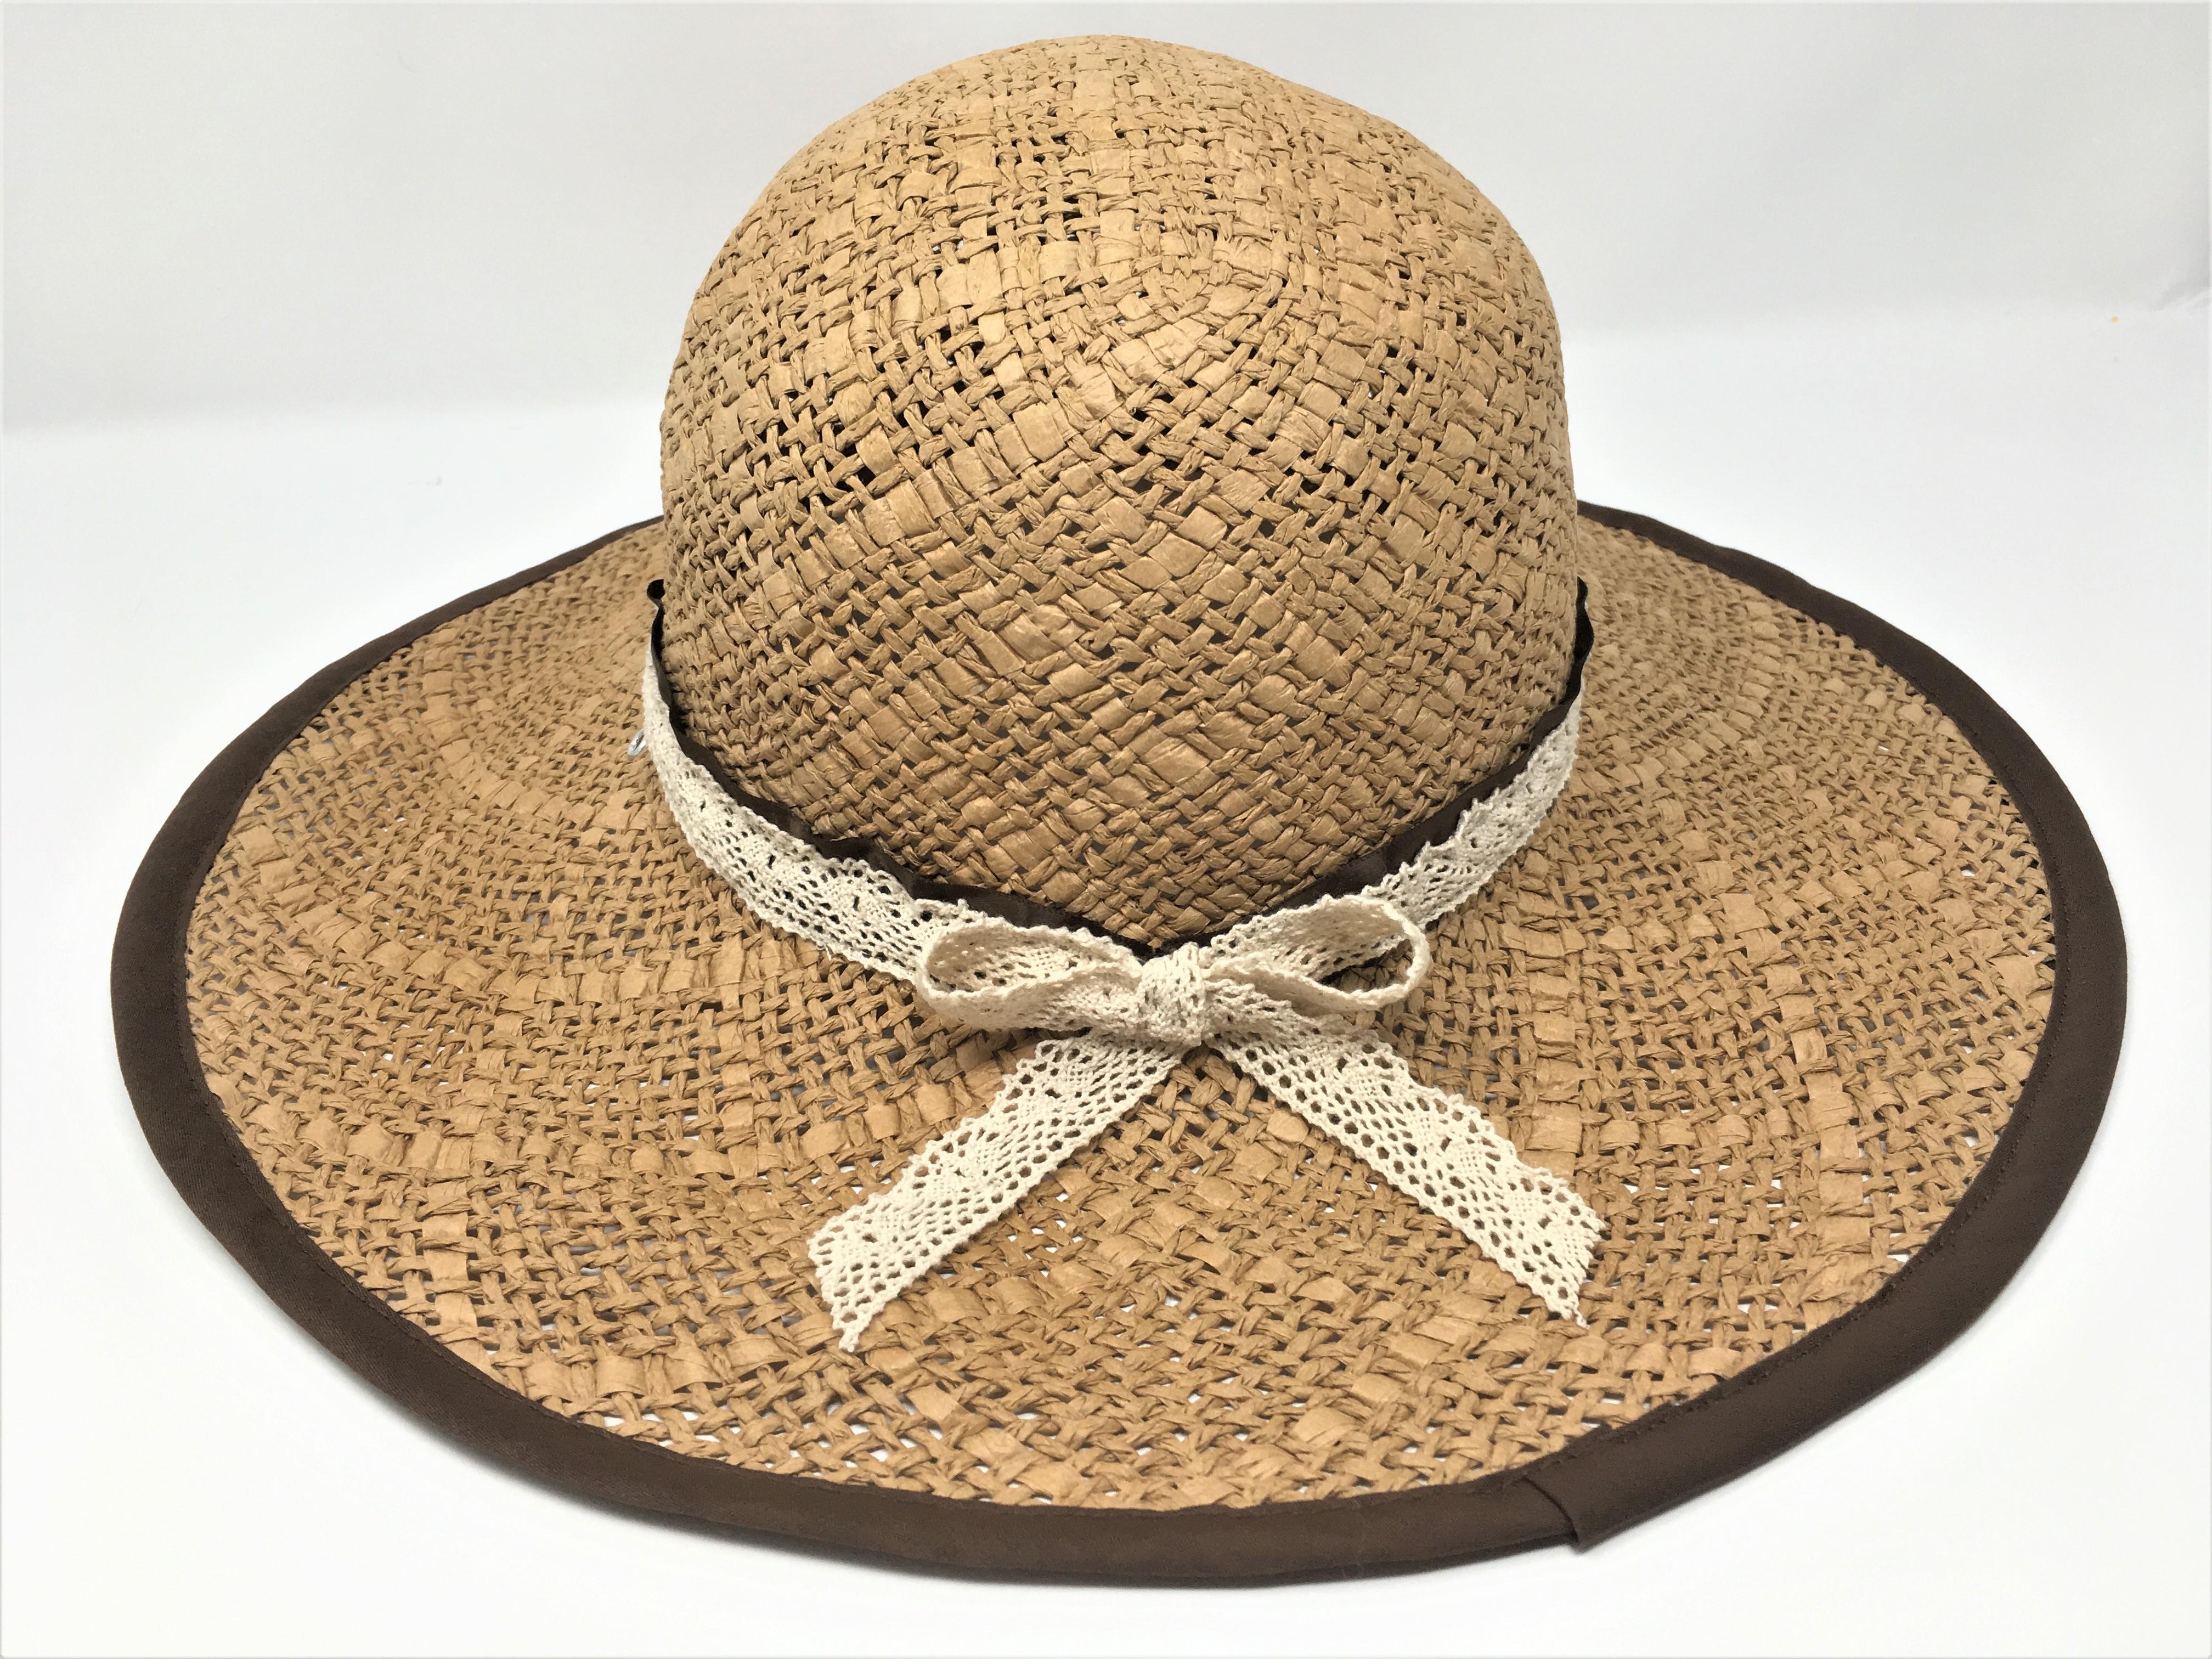
A beach hat to be proud of!

Introducing my new, simply sophisticated beach hat! Now I know why hats and hat making used to be such a big thing, it’s actually a lot of fun! I don’t know that I will go as far as to become a milliner (I’d be more apt to become the mad hatter), but I really did enjoy this project, and I hope you did too! I would love for someone to remake a big floppy hat using a giant gorgeous flower as an accent, or maybe even the pomp-a-doodle yarn that I made a child’s area rug with here! There are just so many fun options out there! I’m remembering the scene in the movie My Fair Lady with Audrey Hepburn, where they are at the horse race and everyone is wearing these huge black and white hats. Now THAT would be a fun project!
If you decide to remake a hat for yourself please post it in the comments. I’d love to see what beautiful creations others will come up with!
But regardless of whether you buy a hat, or remake a hat, or don’t wear a hat at all, I hope that you will have a great last few weeks of summer and enjoy those special summer activities that you love most!


